
Introduction
While many homeowners dream of a personal golfing paradise, the process of transforming a yard can be challenging. This guide will walk you through four essential steps to install golf artificial grass effectively, empowering you to create a stunning outdoor space that enhances both aesthetics and functionality. Without proper planning, homeowners may face unexpected challenges during installation. This understanding can prevent costly mistakes and ensure a successful project.
Gather Essential Materials and Tools for Installation
To achieve a successful installation of golf artificial grass, it is essential to gather the right materials and tools:
Materials:
- Artificial Grass Surface: Choose premium quality material specifically crafted for putting greens, ensuring it closely resembles the feel and roll of natural grass.
- Base Material: Use crushed stone or gravel, ideally 2-4 inches deep, to provide adequate drainage and stability. Incorporate a 1-2 inch drop per 8 feet into base construction to facilitate proper drainage, as advised by experts.
- Weed Barrier Fabric: This material inhibits weed development underneath the grass, guaranteeing a tidy and low-maintenance area.
- Infill Material: Silica sand or comparable infill is essential to weigh down the grass and improve its natural feel.
- Seaming Tape: Essential for securely joining pieces of grass together, ensuring a seamless appearance.
- Putting Green Cups: These are necessary for creating holes in your green, enhancing functionality.
Tools:
- Shovel: For digging and leveling the ground effectively.
- Rake: To spread and level the base material evenly.
- Compactor: This tool is crucial for compacting the base material, ensuring stability.
- Utility Knife: Required for cutting the grass to the appropriate size.
- Hammer or Mallet: To secure the edges of the turf firmly in place.
- Measuring Tape: Ensures accurate measurements of the installation area for a precise fit.
- Level: To verify that the surface is even, which is critical for a functional putting green.
Cost Consideration:
The average cost of artificial turf typically ranges from $15 to $30 per square foot, depending on the quality and design intricacy.
Having these materials and tools prepared will simplify your setup process, positioning you for success. Without the right materials and tools, the installation of artificial grass can lead to subpar results and increased maintenance. A well-maintained putting green can endure for 10 to 15 years, representing a valuable investment in your outdoor area. Our team at Hall Turf, including experts like Brock, is committed to delivering outstanding service. This dedication is evidenced by our numerous satisfied clients.

Prepare the Installation Site for Artificial Grass
Preparing your installation site for artificial grass is crucial for achieving optimal results.
- Clear the Area: Begin by removing any existing grass, debris, rocks, and vegetation from the setup site. This creates a clean slate, ensuring optimal conditions for installation.
- Excavate the Soil: Dig down to a depth of 4 inches to establish a level base. This depth is crucial for drainage, helping to prevent water buildup and extending the life of your grass. It also helps avoid disturbing underground utilities, which are typically buried between 18 and 24 inches deep.
- Install a Weed Barrier: Lay down a weed barrier fabric over the excavated area. This step is essential for stopping weeds from growing through the grass, which can undermine its appearance and performance. Note that a weed barrier is not advised for pet grass installations.
- Add Base Material: Spread 2 to 3 inches of Class II Road Base or high-quality crushed stone evenly across the area. This layer offers essential drainage and stability for the grass, supporting its structure over time.
- Compact the Base: Use a plate compactor to firmly pack the base material, aiming for at least 90% density for a reliable foundation. Proper compaction is critical to prevent settling and ensure a smooth, even surface that enhances the turf’s performance.
- Check for Level: Finally, use a level to verify that the surface is even. Make any necessary adjustments to eliminate low spots that could collect water, ensuring a flawless setup.
A well-prepared site not only enhances the appearance of your turf but also ensures its durability and effectiveness. Be sure to have the necessary tools on hand, including a rake, shovel, wheelbarrow, and compactor, to facilitate the installation process.

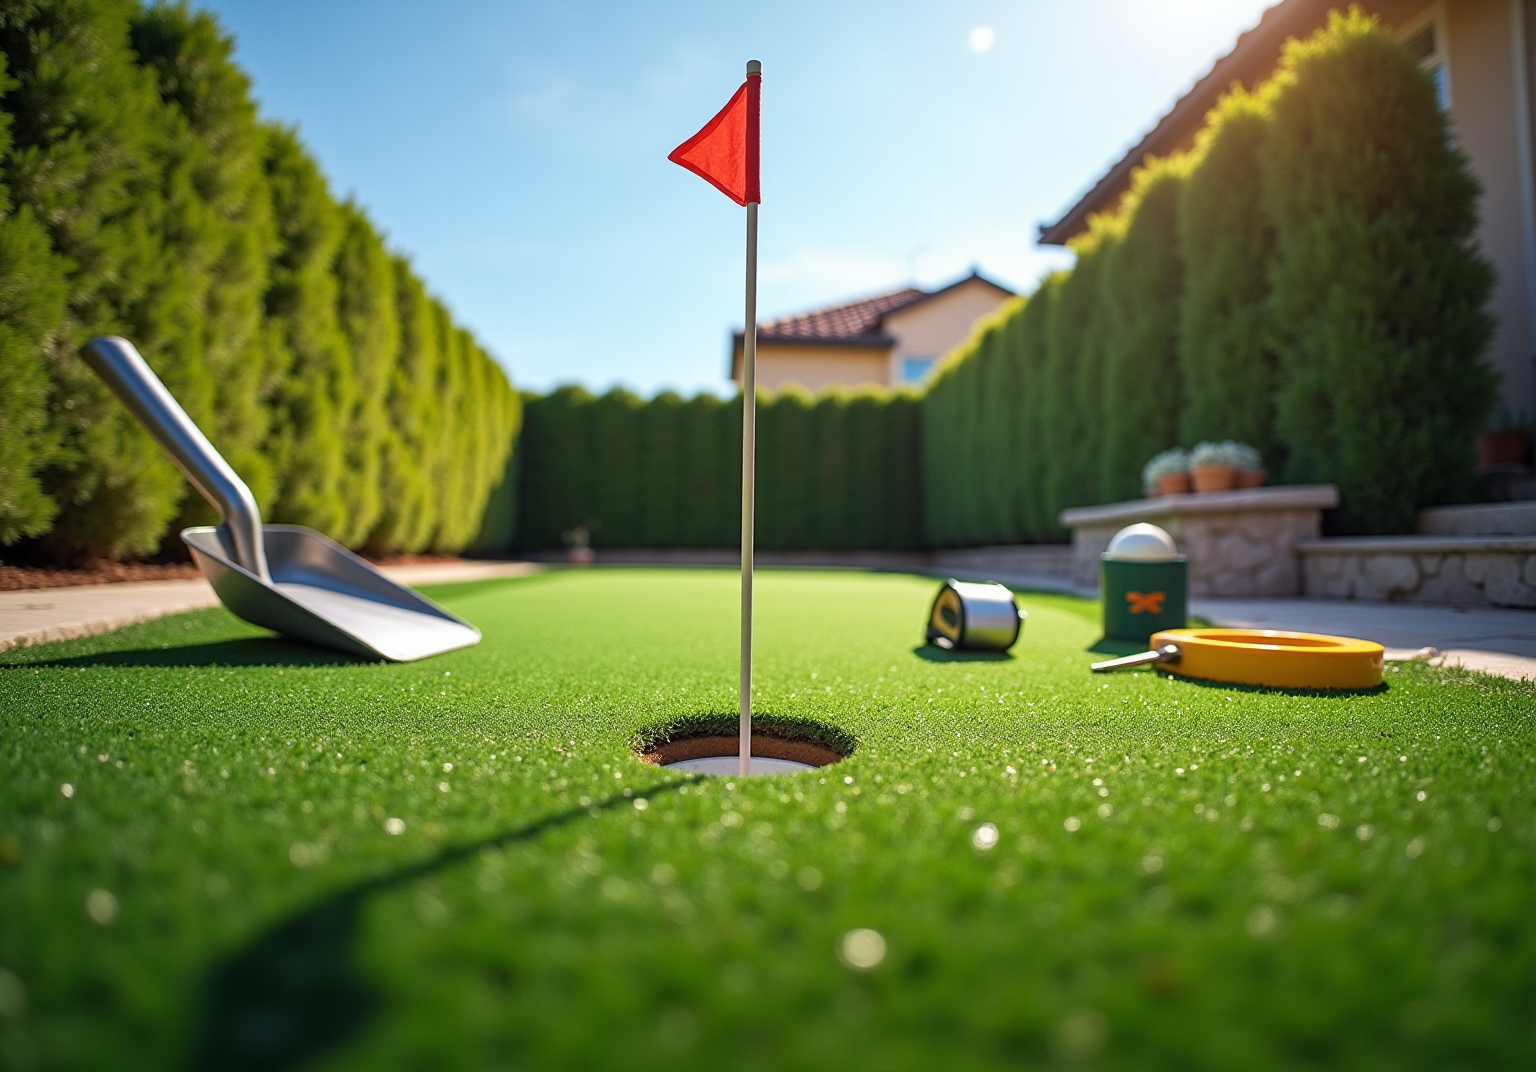
Install the Artificial Grass Turf with Precision
Achieving a flawless installation of your artificial grass turf requires careful attention to detail and adherence to essential steps:
- Roll Out the Turf: Unroll the artificial grass over the prepared base, allowing it to acclimate for 24 hours. This reduces wrinkles and creases for a smoother installation.
- Cut to Fit: Use a utility knife to trim the grass to the desired shape of your putting green. Leave a slight excess around the edges for any necessary adjustments.
- Secure the Ground: Start securing the ground by placing landscape staples or nails around the perimeter, spacing them approximately 6 inches apart. This will effectively hold the grass in place and prevent shifting.
- Join Seams: If your installation includes several sections of grass, align the edges carefully and use seaming tape to connect them. Ensure the seams are tight and secure to maintain a seamless appearance.
- Install Putting Green Cups: Cut holes for the putting green cups according to the manufacturer’s specifications. Ensure that the cups are flush with the surface of the ground for optimal playability.
- Add Infill: Evenly distribute high-quality infill material across the surface of the grass. Utilize a broom to work it into the grass fibers, which helps weigh down the sod and provides a natural feel.
- Final Adjustments: Inspect for any wrinkles or uneven areas and make adjustments as necessary. Ensure the surface is smooth and securely fastened, enhancing both aesthetics and functionality.
Furthermore, consider placing a weed barrier under the turf to prevent future growth and preserve the quality of your putting area. Ensure the area maintains a gentle slope of approximately 1-2% to facilitate proper drainage. By adhering to these guidelines, you ensure a professional installation that enhances both the aesthetic and functional qualities of your turf. Numerous homeowners have praised Hall Turf for their exceptional service and expertise, reinforcing their reputation in the industry.

Finalize Installation and Maintain Your Putting Green
To ensure your artificial grass putting green remains in optimal condition, follow these essential steps for installation and maintenance:
- Inspect the Installation: Walk around the putting surface to check for any loose areas, wrinkles, or uneven spots. Make necessary adjustments to ensure a smooth surface before proceeding.
- Water the Grass: Lightly water the grass to help settle the infill and ensure the fibers stand upright, enhancing the overall appearance and playability.
- Regular Maintenance: To keep your putting green in top condition:
- Brush the Turf: Regularly brush the turf with a stiff broom to keep the fibers upright and remove debris, preventing matting and compaction.
- Rinse: Occasionally wash the surface with water to remove dust and dirt, maintaining a clean area for optimal play.
- Check Infill Levels: Monitor the infill levels and add more as needed to maintain the desired feel and performance. A top-up is typically needed every 2 to 3 years to ensure proper ball speed and stability.
- Remove Debris: Regularly clear leaves, twigs, and other debris to prevent buildup, which can affect drainage and playability.
- Seasonal Care: Depending on your climate, consider seasonal maintenance such as deeper cleaning or checking for drainage issues after heavy rains. Neglecting regular inspections can lead to unnoticed wear and tear, resulting in costly repairs. For instance, after heavy rains, check that your drainage system is working properly to avoid standing water, which may signal a clog or base issue.
By adhering to these final steps and maintenance tips, you can ensure that your artificial grass putting green remains a beautiful and functional addition to your yard for years to come. With regular maintenance, you can extend the life of your artificial turf by as much as 25%, adding an extra 3 to 5 years of effective use. This proactive approach ensures your investment remains valuable and effective over time. By committing to these maintenance practices, you not only protect your investment but also enhance your enjoyment of the putting green for years to come.

Conclusion
Installing golf artificial grass significantly enhances a yard’s aesthetic and functional qualities. Homeowners can create a durable putting green by gathering the right materials, tools, and following a precise installation and maintenance plan.
Key points discussed include:
- The necessity of selecting high-quality materials, such as premium artificial grass and appropriate base materials.
- The importance of thorough site preparation and careful installation techniques.
- Regular maintenance practices to ensure the longevity and performance of the turf, allowing for an enjoyable golfing experience.
Investing in proper installation and care of artificial grass ensures a beautiful outdoor space and a valuable recreational area for family and friends. Neglecting these practices may result in a less enjoyable outdoor experience, diminishing the potential of your yard.
Frequently Asked Questions
What materials are needed for installing golf artificial grass?
The essential materials include artificial grass surface, base material (crushed stone or gravel), weed barrier fabric, infill material (silica sand), seaming tape, and putting green cups.
What is the purpose of the base material in the installation?
The base material provides adequate drainage and stability, with a recommended depth of 2-4 inches and a 1-2 inch drop per 8 feet to facilitate proper drainage.
Why is weed barrier fabric important?
Weed barrier fabric inhibits weed development underneath the grass, ensuring a tidy and low-maintenance area.
What role does infill material play in the installation?
Infill material, such as silica sand, weighs down the grass and enhances its natural feel.
What tools are required for the installation of artificial grass?
The necessary tools include a shovel, rake, compactor, utility knife, hammer or mallet, measuring tape, and level.
How does a compactor contribute to the installation process?
A compactor is crucial for compacting the base material, ensuring stability for the artificial grass.
What is the average cost of artificial turf?
The average cost of artificial turf typically ranges from $15 to $30 per square foot, depending on the quality and design intricacy.
How long can a well-maintained putting green last?
A well-maintained putting green can endure for 10 to 15 years, making it a valuable investment in your outdoor area.
List of Sources
- Gather Essential Materials and Tools for Installation
- Artificial Turf Market Size And Share | Industry Report, 2033 (https://grandviewresearch.com/industry-analysis/artificial-turf-market)
- Master Putting Green Turf Installation in 4 Simple Steps (https://californiaturfco.com/master-putting-green-turf-installation-in-4-simple-steps)
- DIY Putting Green Installation: A Step-by-Step Guide (https://artificialturfexpress.com/blog/installing-the-best-putting-greens-in-your-yard-the-ultimate-diy-guide)
- databridgemarketresearch.com (https://databridgemarketresearch.com/reports/global-artificial-turf-flooring-materials-market?srsltid=AfmBOorBfeq-5mT0rnPBHD2_iSbLT5m1hfFsYu7uy8dCW48dM28DTi1h)
- cclawnpros.com (https://cclawnpros.com/how-to-install-artificial-grass-putting-green)
- Prepare the Installation Site for Artificial Grass
- How to Prepare the Base for Artificial Grass | Professional Installation Guide (https://globalsynturf.com/site-base-preparation)
- eliteturfutah.com (https://eliteturfutah.com/blogs/preparing-ground-for-artificial-grass)
- How to Prep the Base for Artificial Grass (https://installartificial.com/how/to-prep-the-base-for-artificial-grass)
- californiaturfco.com (https://californiaturfco.com/4-best-practices-for-artificial-grass-outdoor-installation-now)
- Install the Artificial Grass Turf with Precision
- cclawnpros.com (https://cclawnpros.com/how-to-install-artificial-grass-putting-green)
- Artificial Turf Infill Market: Trends & Growth Analysis 2035 (https://wiseguyreports.com/reports/artificial-turf-infill-market)
- How To Build a Backyard Putting Green (https://xgrass.com/how-to-build-putting-green.html)
- sgwnevada.com (https://sgwnevada.com/blog/four-tips-for-a-perfect-artificial-grass-putting-green-installation)
- How To Install the Ultimate Artificial Turf Putting Green | Synthetic Grass Warehouse (https://syntheticgrasswarehouse.com/blog/how-to-install-the-ultimate-artificial-turf-putting-green)
- Finalize Installation and Maintain Your Putting Green
- Artificial Golf Greens Maintenance Tips (https://southwestgreens.com/blog/artificial-golf-greens-maintenance-tips)
- How to Clean and Maintain Putting Green Turf: A Seasonal Guide (https://backninegreens.com/blog/how-to-clean-and-maintain-putting-green-turf-seasonal-checklist)
- How To Properly Maintain An Artificial Grass Putting Green (https://wintergreengrass.com/how-to-properly-maintain-an-artificial-grass-putting-green)
- Artificial Putting Green Maintenance: Year-Round Care Guide (https://aglgrass.com/blogs/artificial-putting-green-maintenance)
- knoxnews.com (https://knoxnews.com/press-release/story/172208/synthetic-putting-greens-gain-ground-in-backyard-installations)