
Introduction
Mastering outdoor landscaping can truly transform any home into a serene retreat. However, many homeowners often overlook the critical aspects of installation, particularly regarding turf and stepping stones. This article explores essential tips and best practices for creating a stunning and functional outdoor space that not only enhances curb appeal but also offers lasting enjoyment.
Homeowners frequently encounter challenges in achieving a seamless installation. Understanding these challenges and learning how to avoid common pitfalls can prevent costly mistakes.
Prepare Your Site for Turf and Stepping Stones
- Clear the Area: Begin by removing any existing grass, weeds, or debris from the setup site. This creates a clean slate for your turf and pathways.
- Excavate the Soil: Dig down approximately 3-4 inches to establish a base. This depth facilitates drainage, which is crucial for a healthy lawn.
- Level the Ground: Use a rake to level the excavated area, ensuring it is smooth and even. This step is vital for avoiding uneven surfaces that can lead to water pooling or shifting materials, jeopardizing the integrity of your project.
- Install a Weed Barrier: Consider placing a weed barrier fabric to prevent unwanted growth beneath your grass and rocks. This proactive measure helps maintain the setup’s appearance and functionality over time.
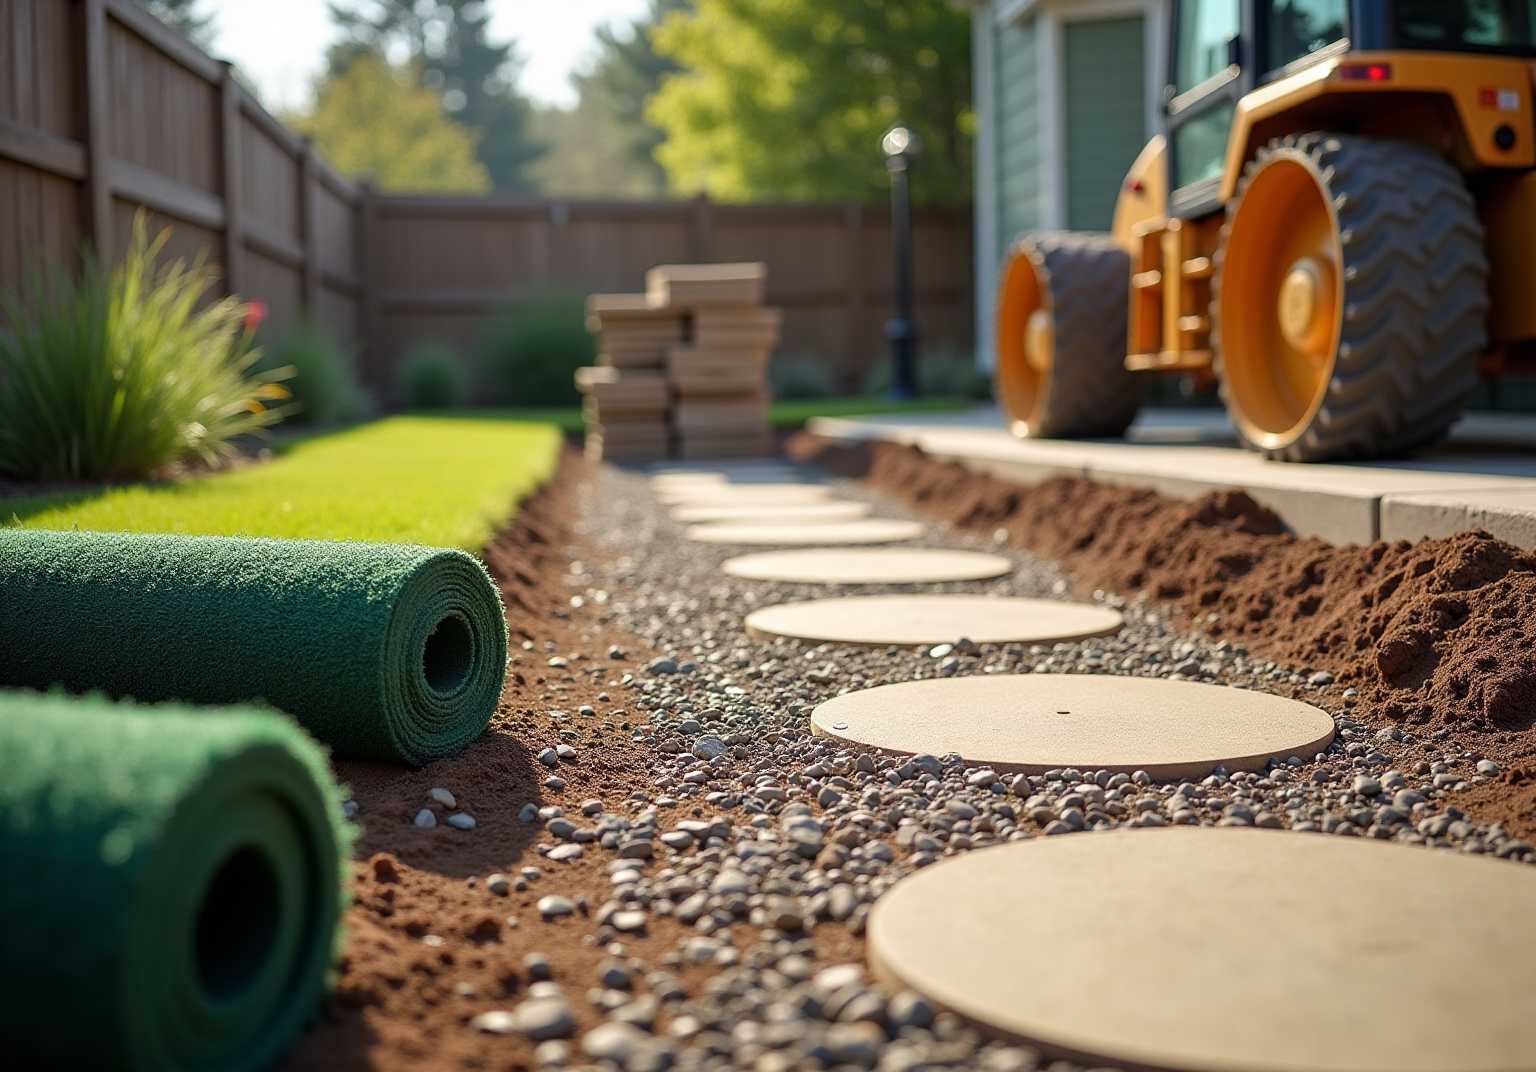
- Compact the Base: Utilize a plate compactor to compress the soil, creating a solid foundation that will support the weight of the grass and stepping stones. This step is essential for stability and longevity, as a well-compacted base of turf with stepping stones minimizes the risk of shifting or settling.
Proper site preparation is the cornerstone of a successful installation. As one homeowner noted, “When I required a solution to my lawn problem, Brock arrived, assessed my needs, and proposed the best remedy. I went with his advice, and the recommendation was perfect!” This underscores the importance of preparation in achieving optimal results. Additionally, homeowners should be aware that maintenance is an important consideration for long-term planning. By following these steps and being mindful of potential pitfalls, you can ensure a landscape that enhances your property.

Gather Essential Materials and Tools
Collecting the appropriate materials and tools is essential for a successful surface setup. Here’s what you’ll need:
Materials Needed:
- Rolls of turf
- Stepping stones (options include concrete, natural stone, or pavers)
- Landscape fabric to prevent weed growth
- Gravel or decomposed granite for a solid foundation
- Sand for leveling the surface
- Fertilizer to enhance the turf’s performance and appearance
- 40-D 5 inch non-galvanized turf nails to secure the turf to the base
Tools Required:
- Shovel and spade for excavation and soil removal (remember to remove the top 2-4 inches of soil for proper preparation)
- Rake for leveling the base material
- Plate compactor to ensure proper soil compaction, which is important for stability
- Utility knife for precise cutting of turf to fit the designated area
- Level to guarantee even placement of stepping stones
- Rubber mallet for gently setting stones into place
- Measuring tape for accurate layout and spacing of turf and stones
Safety Gear: Always wear gloves, safety glasses, and sturdy footwear to protect yourself during the installation process. Proper safety measures are essential to ensure a smooth and secure setup experience.
Expert Insight: As Aaron Massey emphasizes, “Preparation is the most important part of the installation.” Ensuring the grass is taut and flat before securing it with nails is crucial to avoid missteps during your project. Furthermore, utilizing synthetic grass can avoid muddy puddles and decrease water usage, making it a cost-effective option for homeowners. With proper planning, including materials and tools, you can achieve a beautiful and functional outdoor space.

Execute the Installation Process: Step-by-Step Guide
- Lay the Base: Begin by excavating the existing soil to a depth of 2-1/2 inches. Next, spread a 2-3 inch layer of crushed stone or decomposed granite over the area. Rake the material evenly and compact it again using a tamper or plate compactor. This process creates a solid base that supports the grass and ensures proper drainage.
- Position the Grass: Unroll the grass and lay it over the prepared base. It is essential to ensure that the grass fibers are oriented in the same direction to achieve a uniform appearance across the installation.
- Cut the Grass: Utilize a utility knife to trim the edges of the grass, ensuring it fits snugly around the borders and aligns properly with the desired layout.
- Secure the Grass: Anchor the grass around the perimeter using landscape staples or nails, spaced every 4 to 6 inches. This will keep the grass securely in place and prevent any shifting over time.
- Install a Weed Barrier: Before placing the grass, roll out a weed barrier fabric over the compacted base to prevent weeds from growing through the soil. Secure it with ground nails or stakes around the perimeter.
- Position the Stepping Stones: Position the stepping slabs according to your planned layout. Use a level to ensure they are flush with the ground, adjusting the soil beneath them as necessary to maintain an even surface.
- Fill Gaps: Fill the gaps between the stones with sand or gravel to stabilize them and prevent shifting. This not only enhances the aesthetic but also contributes to the overall stability of the installation.
- Final Touches: Brush the grass fibers against the grain to help them stand upright, creating a natural look. If necessary, add infill to improve the durability and appearance of the grass, ensuring it remains vibrant and functional for years to come.

Maintain Your Turf and Stepping Stones for Longevity
- Regular Cleaning: To maintain the pristine appearance of your turf, it is essential to sweep or rinse the turf weekly. This routine not only removes debris, leaves, and dirt but also inhibits plant growth. With proper care, regular maintenance can extend the life of your lawn.
- Inspect Stepping Pathways: Regular inspections are crucial. If you observe any shifting or settling, it is important to re-level them and add base material as necessary to ensure a secure and even surface.
- Weed Control: Vigilance is key when it comes to weed management. Keep an eye out for any weeds that may sprout around the stones or through the grass. Employing a gentle herbicide or manually removing them will help maintain a tidy and healthy landscape.
- Brush Grass Fibers: At least once a month, use a stiff-bristled broom to sweep the grass fibers. This practice helps keep the fibers upright, preventing matting and ensuring the grass remains visually appealing. For larger lawns or areas with heavy foot traffic, consider utilizing a mechanical power brush for more effective maintenance.
- Address Spills Promptly: It is important to clean up any spills or pet waste immediately to prevent staining and odors. Rinse the affected area with water and a mild soap solution to maintain hygiene and appearance. Following these guidelines for artificial turf will help keep your lawn lush and beautiful for years to come.
- Seasonal Maintenance: At the start of each season, conduct a comprehensive inspection and cleaning. This proactive approach prepares your turf for optimal use and helps identify any maintenance needs early on. Remember, regular upkeep is essential, making it a manageable commitment for homeowners.

Conclusion
Mastering the art of turf installation with stepping stones significantly enhances the aesthetic appeal and functionality of outdoor spaces. By preparing the site meticulously and adhering to a structured installation process, homeowners can create a durable and visually pleasing landscape that endures over time.
Key steps such as:
- Clearing the area
- Excavating the soil
- Compacting the base
are essential for establishing a solid foundation. Gathering the appropriate materials and tools, along with following expert advice, streamlines the installation process and leads to optimal results. Regular maintenance practices, including cleaning and inspections, are crucial for prolonging the life of both the turf and the stepping stones, ensuring they remain vibrant and functional for years to come.
Ultimately, investing time and effort into the preparation and installation of turf and stepping stones yields significant rewards in creating an inviting outdoor environment. Homeowners are encouraged to adopt these best practices and take proactive measures in their landscaping projects. By doing so, they not only enhance their property value but also enjoy a beautiful, low-maintenance outdoor space that can be appreciated for generations.
Frequently Asked Questions
What is the first step in preparing a site for turf and stepping stones?
The first step is to clear the area by removing any existing grass, weeds, or debris to create a clean slate for the installation.
How deep should I excavate the soil for proper installation?
You should dig down approximately 3-4 inches to establish a stable base that facilitates proper drainage and prevents future settling.
Why is it important to level the ground during site preparation?
Leveling the ground is vital to avoid uneven surfaces that can lead to water pooling or shifting materials, which jeopardizes the integrity of the project.
What is the purpose of installing a weed barrier?
A weed barrier fabric prevents unwanted growth beneath the grass and rocks, helping to maintain the appearance and functionality of the setup over time.
How can I ensure a solid foundation for the turf and stepping stones?
You can ensure a solid foundation by compacting the soil with a plate compactor, which creates a stable base that minimizes the risk of shifting or settling.
What is the significance of proper site preparation for grass installation?
Proper site preparation is crucial for a successful grass installation, as it lays the groundwork for durability and aesthetics in the outdoor space.
What are the potential maintenance costs for synthetic grass?
Homeowners should be aware that upkeep for synthetic grass can cost between $0.25 and $1 per square foot per year, which is important for long-term planning.
List of Sources
- Prepare Your Site for Turf and Stepping Stones
- As California installs more artificial turf, health and environmental concerns multiply (https://latimes.com/science/story/2025-09-17/californias-love-hate-relationship-with-artificial-turf)
- Scorching temps from California turf raises questions about artificial turf, xeriscaping in humid states like Florida – News (https://blogs.ifas.ufl.edu/news/2025/07/30/scorching-temps-from-california-turf-raises-questions-about-artificial-turf-xeriscaping-in-humid-states-like-florida)
- usturfsandiego.com (https://usturfsandiego.com/news)
- Plastic Turf Fields Are Taking Over America (https://nytimes.com/2025/07/26/business/artificial-turf-grass-sports.html)
- UF/IFAS expert evaluates impact of installing synthetic turf (https://mainstreetdailynews.com/local-living/uf-ifas-impact-installing-synthetic-turf)
- Gather Essential Materials and Tools
- lowes.com (https://lowes.com/n/how-to/install-artificial-grass)
- DIY Guide: Essential Tools for Installing (https://blog.artificialgrassrecyclers.com/diy-guide-tools-you-need-to-install-your-own-artificial-turf)
- syntheticturfnorthwest.com (https://syntheticturfnorthwest.com/a-helpful-guide-to-installing-synthetic-turf-diy)
- Artificial Turf Installation a DIY Guide (https://synlawn.com/articles/artificial-turf-installation-a-diy-guide)
- How to Install Artificial Turf on Dirt | US Turf (https://usturfsandiego.com/news/how-to-install-artificial-turf-on-dirt)
- Execute the Installation Process: Step-by-Step Guide
- lowes.com (https://lowes.com/n/how-to/install-artificial-grass)
- tomahawk-power.com (https://tomahawk-power.com/blogs/articles/how-to-install-artificial-turf-in-your-yard-a-step-by-step-guide?srsltid=AfmBOoppdVyfgZyC02CYEK8KwG3ilBfi5mP7XzOEuP4dGrDq_LfkWU03)
- How to Install Artificial Turf: Step-by-Step Guide for DIY Artificial Grass Installation (https://petgrows.com/blogs/news/mastering-the-art-of-artificial-turf-installation-a-step-by-step-guide)
- How to Install Artificial Grass on Soil | US Turf (https://usturfsandiego.com/news/how-to-install-artificial-grass-on-soil)
- How Long Does Synthetic Grass Installation Take? – ForeverLawn Northern Ohio (https://foreverlawnnohio.com/blog/how-long-does-synthetic-grass-installation-take)
- Maintain Your Turf and Stepping Stones for Longevity
- usfamilyturf.com (https://usfamilyturf.com/artificial-turf-maintenance-101-how-to-clean-and-care-for-your-fake-grass)
- Artificial Turf Maintenance Guide | Cleaning & Care Tips (https://fieldturflandscape.com/maintenance/artificial-turf-maintenance-guide)
- dfwturf.com (https://dfwturf.com/how-to-maintain-artificial-grass)
- Exploring the Pros and Cons of Synthetic and Natural Athletic Turf (https://extension.illinois.edu/blogs/good-growing/2024-03-22-exploring-pros-and-cons-synthetic-and-natural-athletic-turf)
- texasbackyardliving.com (https://texasbackyardliving.com/tips-for-artificial-turf-maintenance)