

Introduction
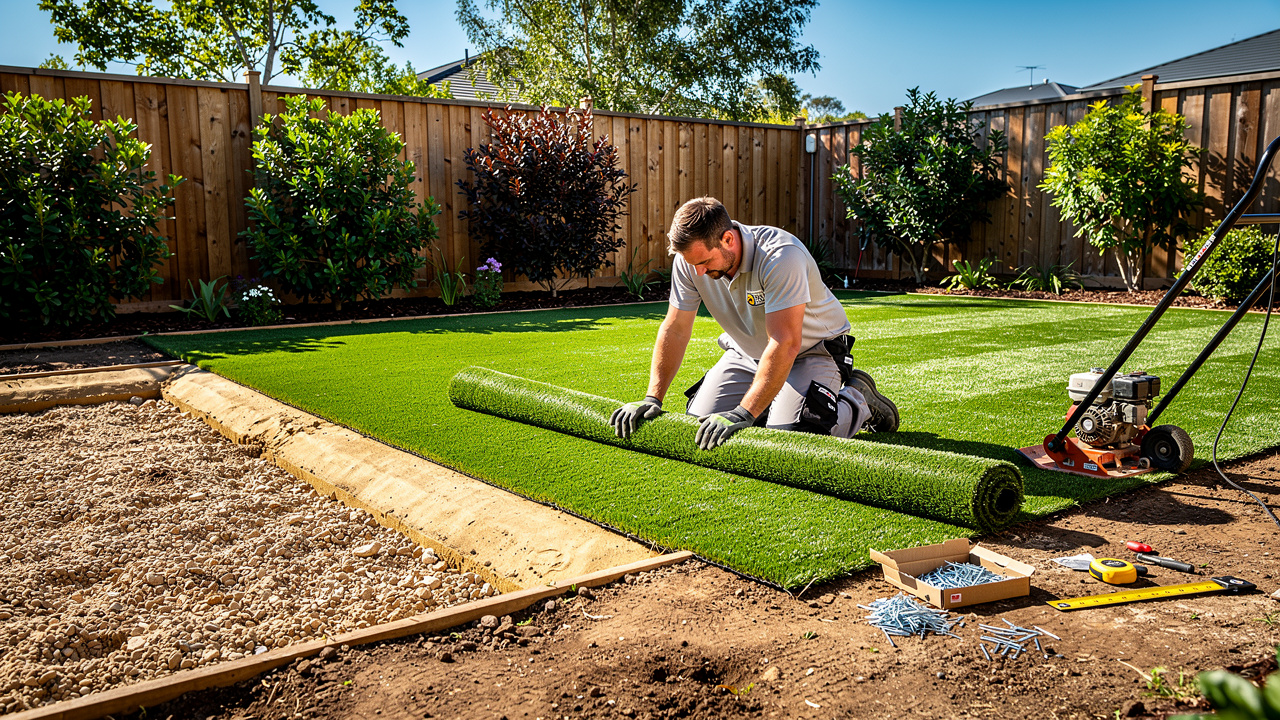
The rise of artificial turf is reshaping outdoor spaces in Kansas and Missouri, providing homeowners with a practical and attractive alternative to natural grass. This article shares key practices that can improve the look and durability of synthetic grass. Navigating the complexities of installation can be challenging for homeowners. What are the critical steps that ensure a successful installation?
Conduct Site Assessment and Preparation
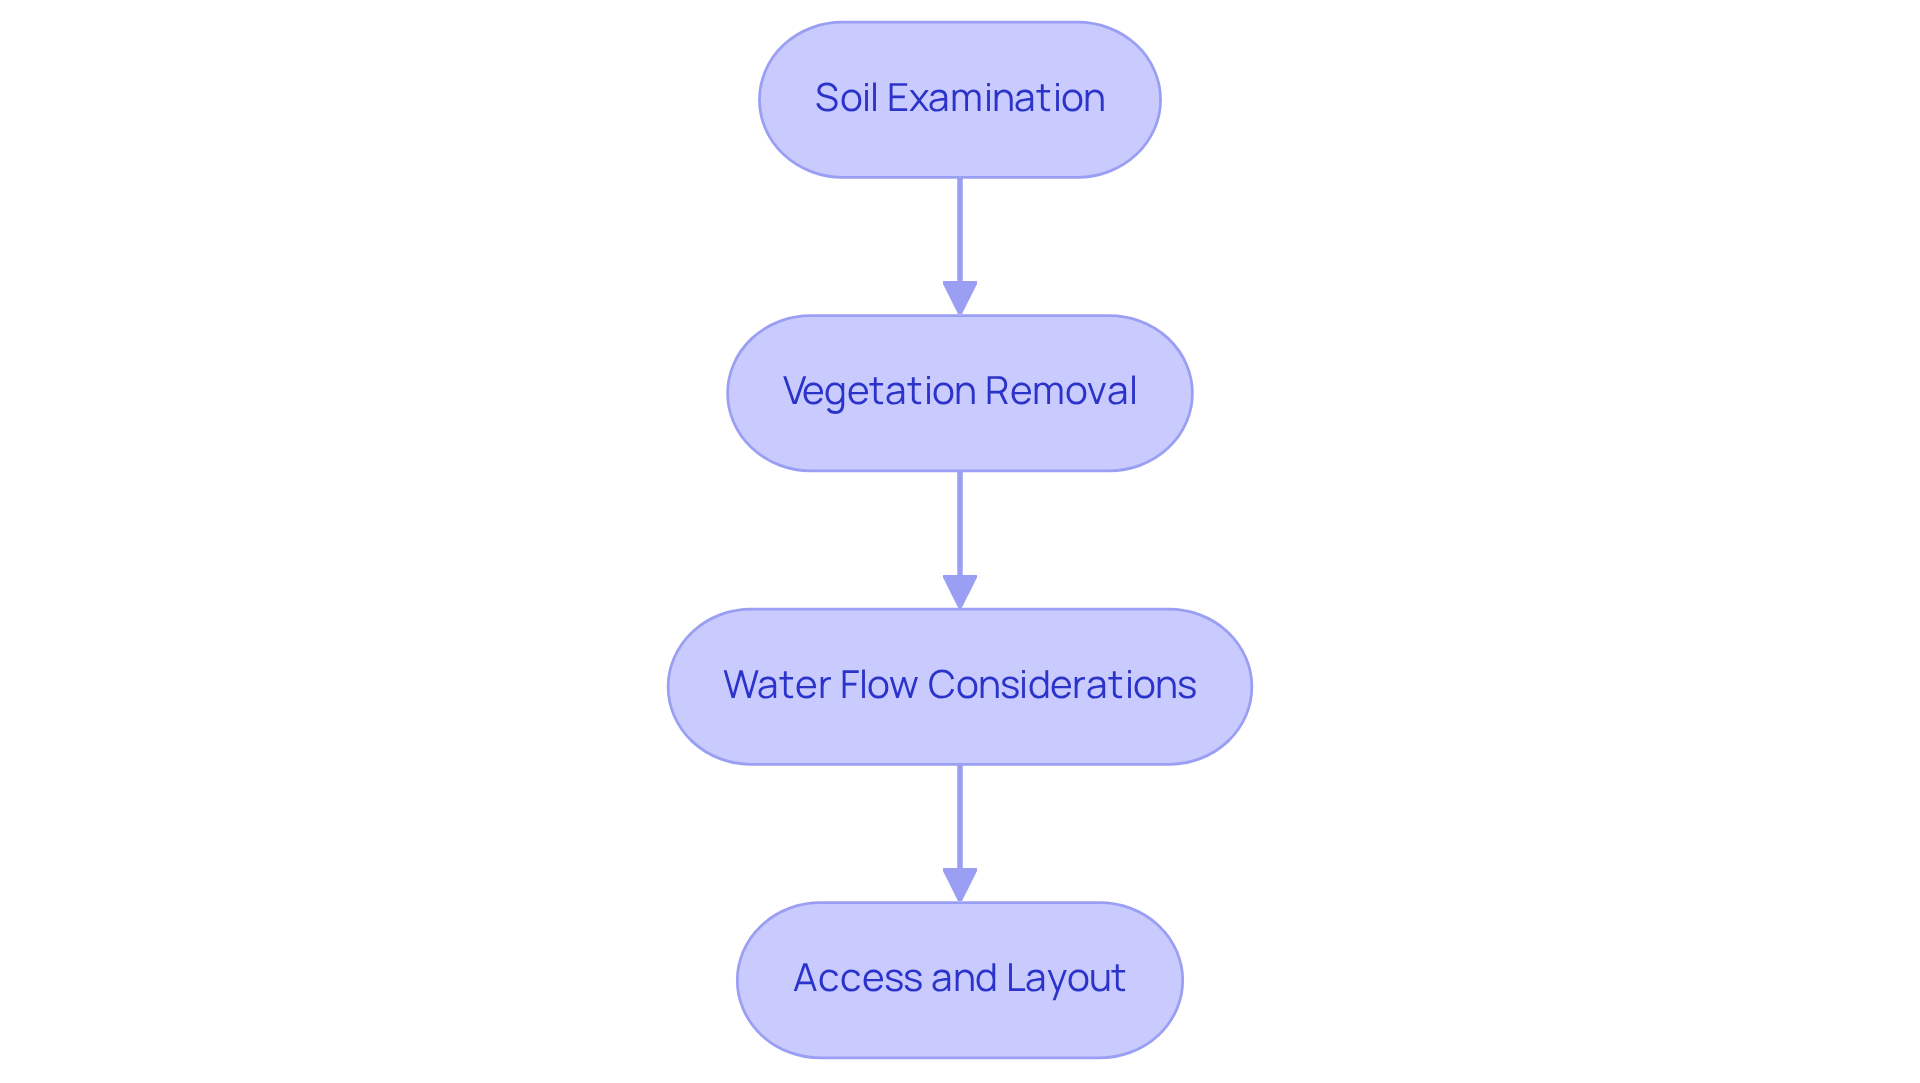
Before installing artificial turf, a thorough site assessment is essential to ensure optimal results. This assessment focuses on the current landscape, including soil type, water flow patterns, and any vegetation that needs removal. Key steps in this assessment include:
- Soil Examination: Soil testing is crucial for identifying nutrient levels and pH issues affecting grass quality. Inadequate drainage poses a significant risk to the longevity of the grass, as water accumulation can lead to damage over time.
- Vegetation Removal: Clear the area of existing grass, weeds, or debris to create a clean slate for the turf installation.
- Water Flow Considerations: Evaluate the location for water management issues. If necessary, plan for additional drainage solutions to prevent water accumulation, especially important in Kansas and Missouri where weather conditions can lead to excess moisture.
- Access and Layout: Identify optimal access points for equipment and materials, and plan the turf layout to maximize both aesthetic appeal and functionality.
Hall Turf, a licensed contractor with over 15 years of experience, guarantees that all setups adhere to industry standards and use certified products. Conducting a comprehensive site evaluation allows installers to customize their approach, resulting in a more effective and durable setup. This thorough preparation is key to ensuring synthetic grass performs effectively for homeowners in Kansas and Missouri. For instance, a recent project in Kansas City transformed a muddy patio into a lush, low-maintenance outdoor space, demonstrating the effectiveness of meticulous preparation. Furthermore, Hall Turf provides a variety of services, including pet grass setup and playground grass setup, ensuring that all elements of your project are addressed. As noted by satisfied clients such as Scott Sachse, who praised Hall Turf’s professionalism and attention to detail, the quality of preparation directly influences the installation’s success, affecting both aesthetics and functionality.
Execute Excavation and Grading
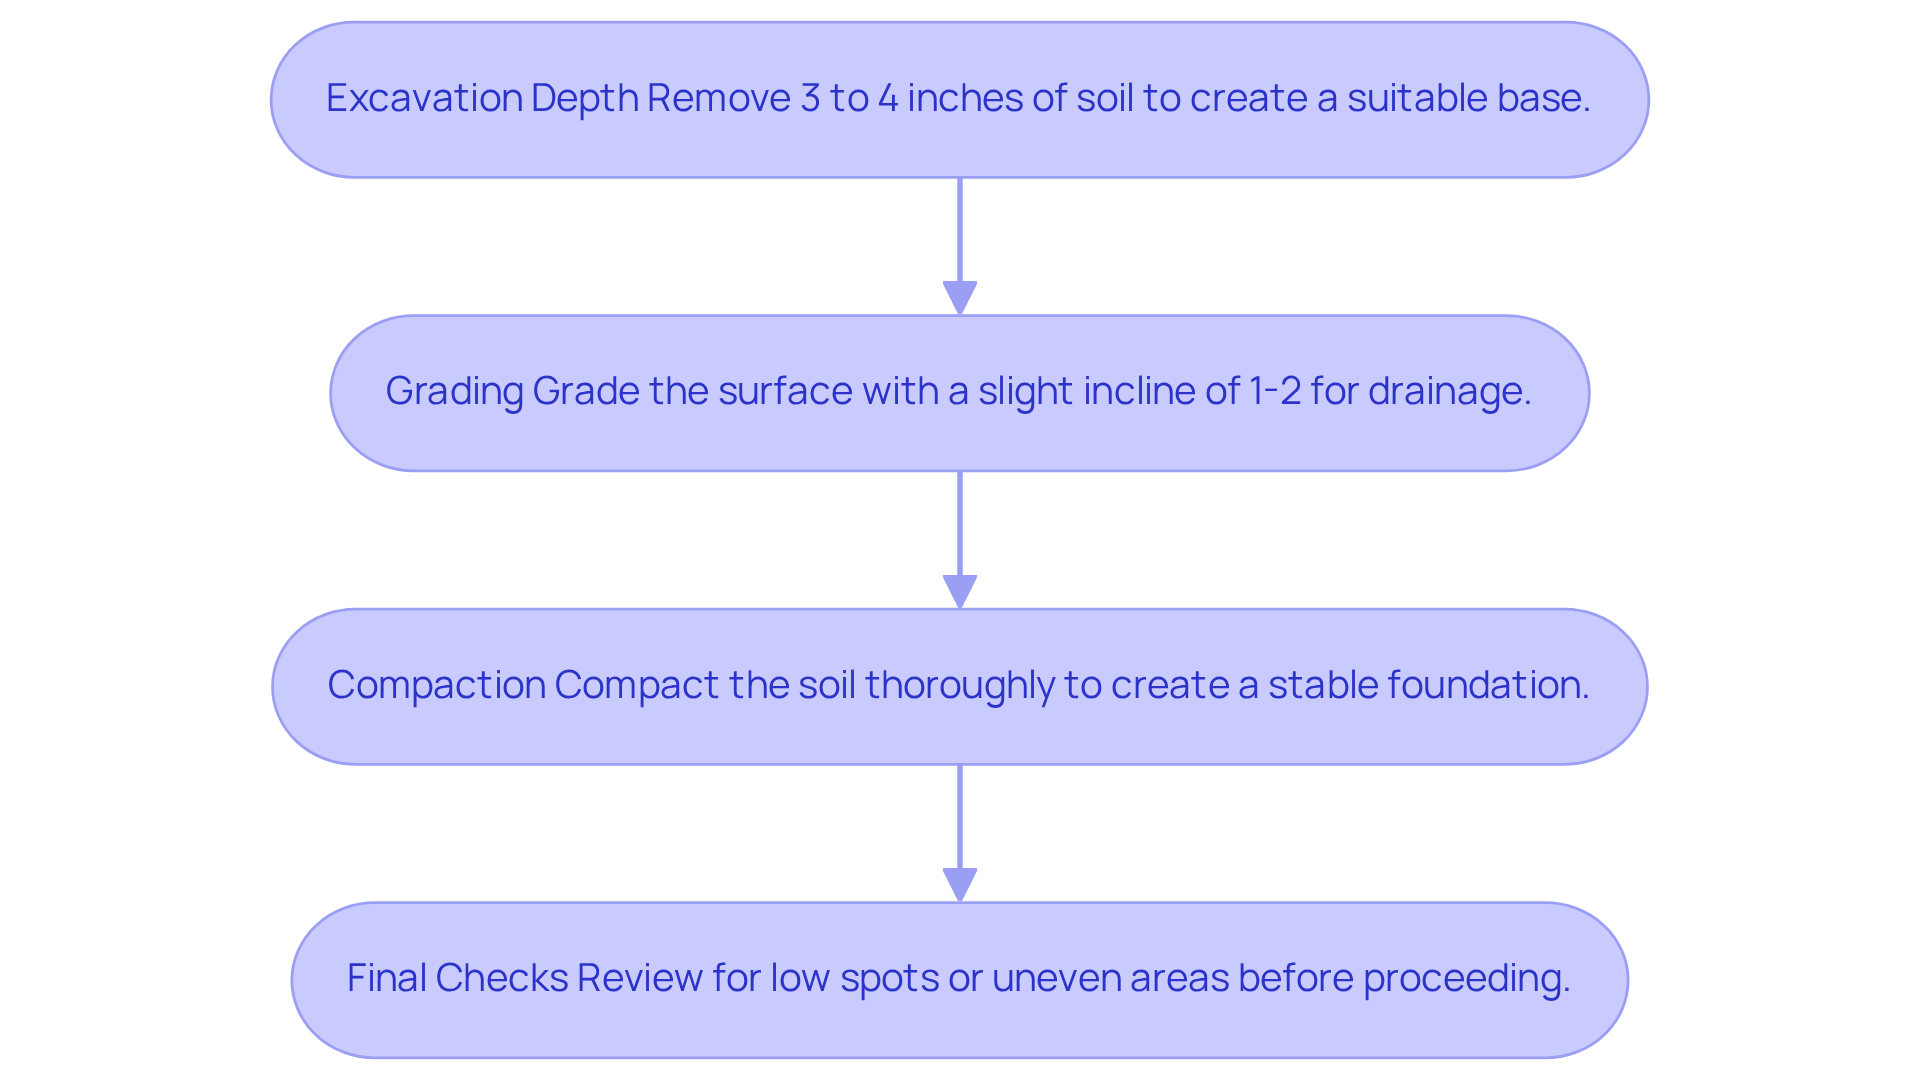
Proper excavation and grading are critical steps that can determine the success or failure of an artificial grass installation. This process involves several key components:
- Excavation Depth: Remove 3 to 4 inches of soil to create a suitable base for the grass. This depth holds the essential base materials and promotes adequate water flow, which is vital for preserving grass integrity.
- Grading: The surface must be graded to promote drainage away from structures. A slight incline of 1-2% is advised to ensure effective water runoff, preventing pooling and potential harm to the grass.
- Compaction: Compact the soil thoroughly to create a stable foundation. Proper compaction prevents settling over time, ensuring that the grass remains level and functional.
- Final Checks: After grading, perform a comprehensive review for any low spots or uneven areas that may need extra attention before moving on to the next phase of setup.
By following these excavation and grading best practices, installers can create a strong foundation that greatly improves the performance and durability of the synthetic grass. Ultimately, overlooking these foundational steps can compromise the longevity and effectiveness of synthetic grass installations.
Choose and Install Appropriate Base Materials
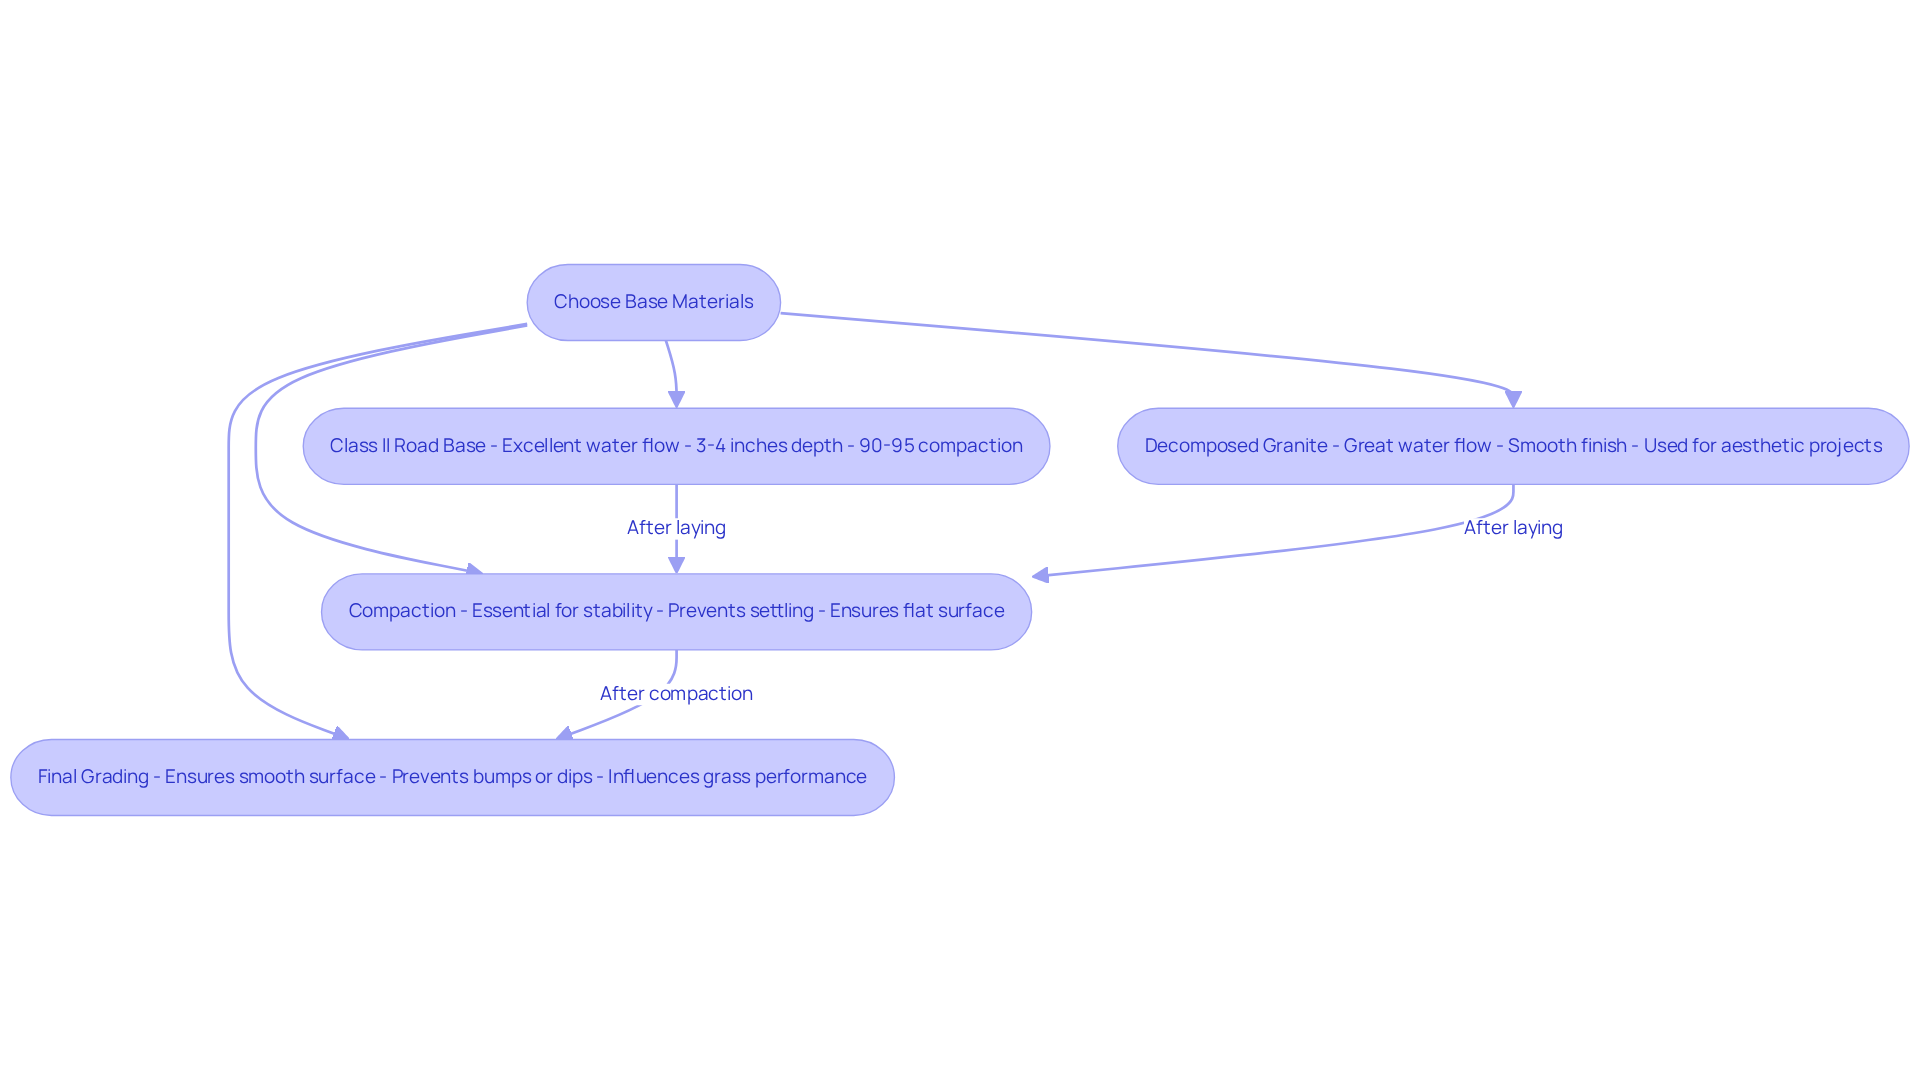
Selecting the right base materials is crucial for ensuring a successful artificial grass installation. The following materials are highly recommended:
- Class II Road Base: This crushed stone is known for its excellent water flow and compaction, making it ideal for grass installations. It should be laid to a depth of 3 to 4 inches to ensure stability and achieve the recommended 90-95% compaction, which is essential for the durability of the grass.
- Decomposed Granite: This option provides great water flow and stability, often used with other materials for better results. Its smooth finish makes it particularly suitable for putting greens and aesthetic projects, offering advantages over Crushed Miscellaneous Base (CMB) in specific applications.
- Compaction: After laying the base material, thorough compaction is essential to achieve a firm and level surface. This step prevents settling and ensures the surface remains flat over time. Industry specialists warn that without a proper foundation, issues like water accumulation and uneven surfaces can arise.
- Final Grading: Once the base is compacted, carry out a final grading to guarantee the surface is smooth and devoid of any bumps or dips, which can influence the grass’s performance. A suitable sub-base can assist synthetic grass in lasting 15-20 years, making it a valuable investment for homeowners.
By thoughtfully choosing and placing suitable base materials, installers can establish a robust foundation that supports the grass and improves its durability, tackling typical issues like drainage and stability. Ultimately, the right foundation not only enhances the grass’s longevity but also protects your investment in your outdoor space.
Lay and Secure the Turf with Final Inspection
Achieving a professional appearance with synthetic grass installation hinges on meticulous attention to detail during the final steps of the process. This involves laying and securing the synthetic grass, which is crucial for a polished look.
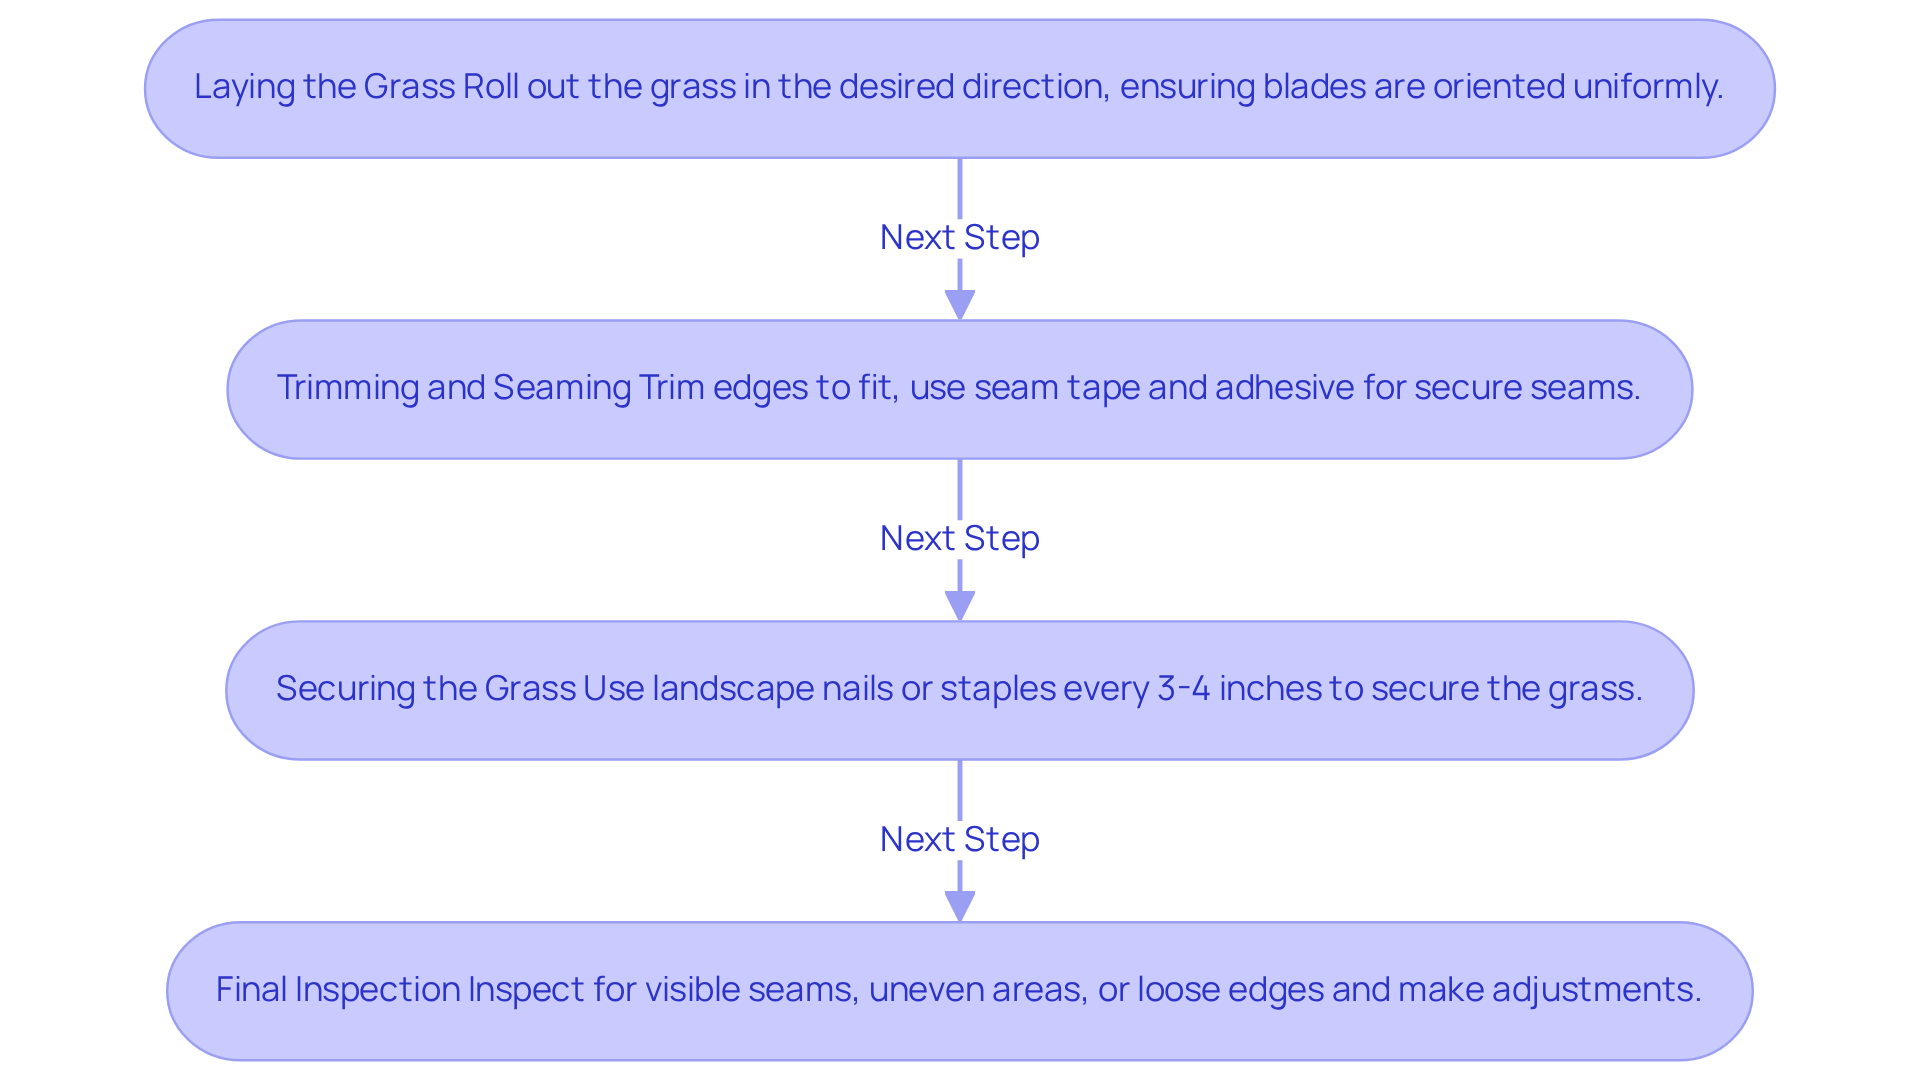
- Laying the Grass: Begin by rolling out the grass in the desired direction, ensuring that the blades are oriented uniformly. Getting this alignment right is crucial for achieving that natural look and avoiding any patchiness. When laying multiple rolls, ensure that the grain of the grass fibers points in the same direction for a consistent appearance.
- Trimming and Seaming: Carefully trim the edges of the grass from the backside to fit the designated area precisely, leaving excess for adjustments. Use seam tape and adhesive to secure any seams, ensuring they are tight and virtually invisible. Proper seaming techniques are essential for maintaining the integrity of the installation and enhancing its durability.
- Securing the Grass: Utilize landscape nails or staples to secure the grass around the perimeter and at seams. It is advised to position these fasteners every 3-4 inches to prevent movement and ensure the grass stays securely in place. Take care not to drive the nails too deep to avoid creating dips and divots in the grass.
- Final Inspection: Thoroughly inspect the installation for visible seams, uneven areas, or loose edges. Make necessary adjustments to ensure a flawless finish. This step is essential, as it enables the detection of any problems that could influence the durability and look of the grass.
Additionally, for areas with soil that shifts or needs pumping when saturated, it is advisable to install a weed barrier underneath the base to retain compaction integrity. By meticulously laying and securing the turf, installers can achieve a polished look that significantly enhances the overall aesthetic of the space. Following these best practices not only enhances visual attractiveness but also ensures long-lasting functionality of the artificial grass setup.
As noted by satisfied customers, Brock from Hall Turf exemplifies professionalism and attention to detail throughout the installation process. One client remarked, “Brock came out, evaluated my needs and came up with the best solution. I went with his advice and the recommendation was perfect!” Another client praised the crew’s professionalism, stating, “They did an exceptional job… beyond professional, polite, and courteous.” These testimonials reflect Hall Turf’s commitment to quality and customer satisfaction.
Ultimately, the commitment to quality in installation not only enhances visual appeal but also ensures long-lasting functionality of the artificial grass setup.
Conclusion
The installation of artificial turf is not merely a task; it requires a strategic approach to ensure lasting results. Homeowners and contractors can achieve a flawless finish by focusing on:
- Thorough site assessments
- Proper excavation and grading
- Selecting the right base materials
- Meticulously laying and securing the turf
Each step in the installation process is crucial for achieving optimal results. Conducting a comprehensive site assessment allows for tailored solutions that address specific landscape challenges, while proper excavation and grading create a solid foundation. Choosing the right base materials further supports the longevity of the turf, and attention to detail during the final installation steps ensures a professional appearance. With over 15 years of experience, Hall Turf emphasizes the importance of these best practices for quality and customer satisfaction.
Ultimately, the right installation practices can transform outdoor spaces into enduring assets that enhance property value. For those considering artificial turf installation in Kansas and Missouri, reaching out to Hall Turf at (816) 555-7890 or via email at info@hallturf.com can provide valuable insights and support. Embracing these essential practices will lead to a successful transformation of any outdoor space, making it a worthwhile investment for homeowners and commercial clients alike.
Frequently Asked Questions
Why is a site assessment important before installing artificial turf?
A site assessment is crucial to ensure optimal results by evaluating the current landscape, including soil type, water flow patterns, and any vegetation that needs removal. This preparation helps customize the installation approach for better durability and performance.
What does soil examination involve in the site assessment process?
Soil examination involves testing the soil to identify nutrient levels and pH issues that may affect grass quality. It also assesses drainage capabilities, as inadequate drainage can lead to water accumulation and damage to the turf over time.
What steps are taken for vegetation removal during the site assessment?
The area must be cleared of existing grass, weeds, or debris to create a clean slate for the turf installation. This ensures that the new turf can be installed effectively without interference from old vegetation.
How are water flow considerations addressed in the site assessment?
The assessment evaluates the location for potential water management issues. If necessary, additional drainage solutions are planned to prevent water accumulation, which is particularly important in Kansas and Missouri due to their weather conditions.
What factors are considered for access and layout during the site assessment?
Optimal access points for equipment and materials are identified, and the turf layout is planned to maximize both aesthetic appeal and functionality.
What experience does Hall Turf have in artificial turf installation?
Hall Turf is a licensed contractor with over 15 years of experience in the industry, ensuring that all setups adhere to industry standards and utilize certified products.
Can you provide an example of a successful project by Hall Turf?
A recent project in Kansas City transformed a muddy patio into a lush, low-maintenance outdoor space, showcasing the effectiveness of meticulous preparation in the installation process.
What services does Hall Turf offer related to artificial turf?
Hall Turf provides a variety of services, including pet grass setup and playground grass setup, ensuring that all elements of your project are comprehensively addressed.
How do customer testimonials reflect Hall Turf’s service quality?
Satisfied clients, such as Scott Sachse, have praised Hall Turf for their professionalism and attention to detail, indicating that the quality of preparation significantly influences the success of the installation.
List of Sources
- Conduct Site Assessment and Preparation
- From Worn-Out to Worth It: A Kansas City Patio Turf Transformation – Xtreme Green Synthetic Turf (https://xgreensynthetic.com/projects/from-worn-out-to-worth-it-a-kansas-city-patio-turf-transformation)
- How to Accurately Quote a Synthetic Turf Installation (https://siteone.com/en/articles/hardscapes-outdoor-living/quoting-synthetic-turf-installation-projects)
- The Importance of Year-Round Soil Nutrient Analysis (https://usga.org/content/usga/home-page/course-care/green-section-record/62/issue-04/the-importance-of-year-round-soil-nutrient-analysis-.html)
- The Importance of Soil Testing in Sportsfield Maintenance – Aquaritin Turf (https://aquaritinturf.com/the-importance-of-soil-testing-in-sportsfield-maintenance)
- Execute Excavation and Grading
- Artificial Turf Field Construction | Byrne & Jones Sports (https://byrneandjones.com/sports/turf-field-installation)
- Installing Artificial Turf for Football: What to Expect – Keystone Sports Construction (https://keystonesportsconstruction.com/installing-artificial-turf-for-football-what-to-expect)
- Understanding the Artificial Turf Installation Process (https://integriturf.com/glossary/understanding-the-artificial-turf-installation-process)
- Choose and Install Appropriate Base Materials
- Choosing & Installing the Best Sub-Base for Artificial Grass (https://ccgrass.com/best-sub-base-for-artificial-grass)
- Best Base for Artificial Turf: What Matters | US Turf (https://usturfsandiego.com/news/ideal-base-for-artificial-turf)
- Artificial Grass Sub-Base explained | Purchase Green Artificial Grass (https://purchasegreen.com/blog/artificial-grass-sub-base)
- What’s the Best Base Material for Artificial Turf? – Xtreme Green Synthetic Turf (https://xgreensynthetic.com/best-base-artificial-turf)
- Lay and Secure the Turf with Final Inspection
- How to Install Artificial Turf: Step-by-Step Guide | US Turf (https://usturfsandiego.com/news/how-to-install-artificial-turf)
- A Step-by-Step Guide to Installing Artificial Turf Grass (https://lowes.com/n/how-to/install-artificial-grass)
- How to Install Artificial Turf – RCP Block & Brick (https://rcpblock.com/installation-artificial-turf.html)
- How to Seam Artificial Grass | NexGen Lawns (https://nexgenlawns.com/how-to-seam-artificial-grass?srsltid=AfmBOooWsxkq1KpaLriDvfi2SBrPWWjhewHxYcSh9W3ubUMuJ4uKhwCy)
- 4 Ways to Anchor Artificial Grass to the Ground (https://blog.artificialgrassrecyclers.com/how-to-anchor-artificial-grass?hs_amp=true)