
Introduction
Preparing a home for an artificial turf installation can transform outdoor spaces into lush, green havens. However, achieving that perfect lawn requires careful planning and execution. This guide outlines four essential steps that not only ensure a successful installation but also enhance the longevity and aesthetics of synthetic grass.
What happens if the foundational work is rushed or overlooked? Understanding the critical nature of each preparation phase can make all the difference between a thriving lawn and a maintenance nightmare.
Prepare the Installation Area
- Clear the Area: Start by removing any existing grass, weeds, or debris from the setup site. Use a shovel or sod cutter to dig out the top layer of soil, typically between 2 to 4 inches deep, depending on the specific requirements of your chosen grass. This depth is vital for establishing a solid foundation for the turf.
- Examine for Water Flow: Proper drainage is crucial for the longevity of your synthetic grass. If the ground appears too flat, consider grading it to create a slight slope of about 2% away from any structures. This adjustment will help with drainage and ensure efficient drainage. Industry insights indicate that insufficient drainage can lead to significant maintenance issues and reduce the lifespan of your grass.
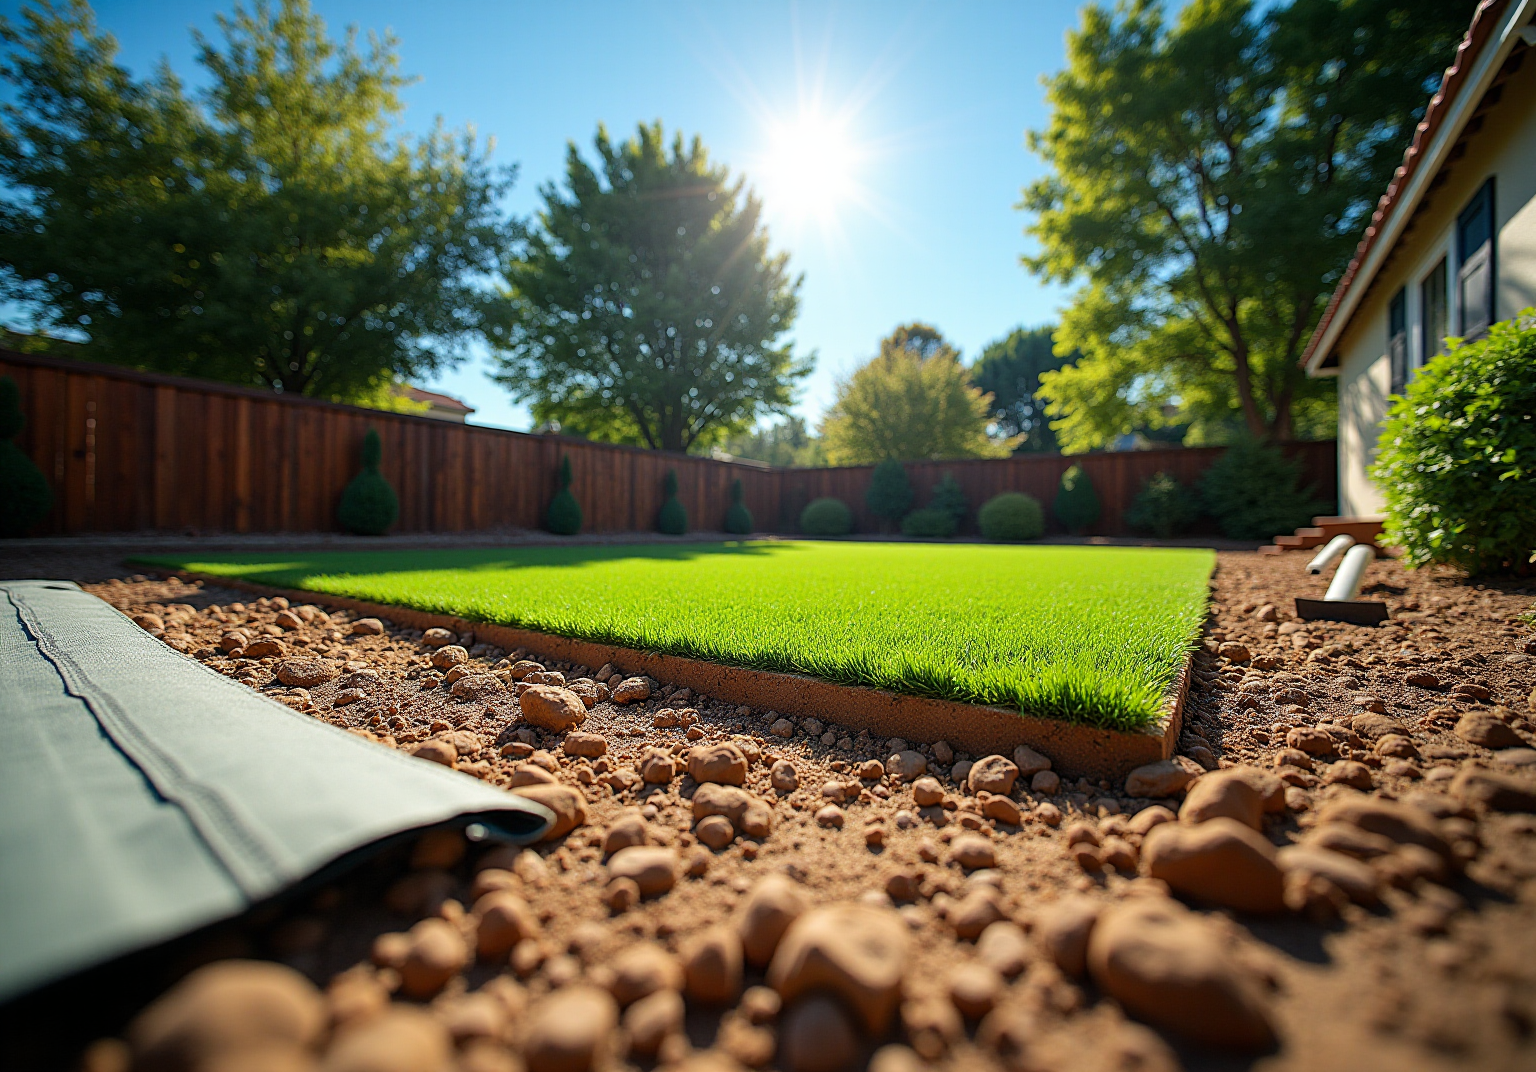
- Install a Weed Barrier: To preserve the integrity of your installation, lay down a weed barrier. This step is essential for preventing unwanted plants from growing through the grass, which can impact its appearance and functionality over time.
- Compact the Soil: After clearing and grading the area, compact the soil to create a stable base. Utilize a plate compactor or hand tamper to ensure the ground is firm and level, establishing a solid foundation for your artificial lawn.
Summary of Steps: In summary, preparing the setup area involves clearing the site, ensuring proper drainage, installing a weed barrier, and compacting the soil. Each of these steps is critical for achieving a successful installation. At Hall Turf, our team, led by professionals like Brock, is committed to ensuring that every installation meets the highest standards, delivering exceptional results for homeowners, whether for residential lawns, playgrounds, or pet areas.

Build a Solid Base Layer
- Choose the Right Materials: Selecting the right materials is crucial for a stable foundation. A combination of gravel and sand, with Class II road material being particularly effective due to its excellent compaction properties and drainage capabilities. The Association of Synthetic Grass Installers recommends an ideal ratio of 70:30 of solid mass to fines to create the best foundation for artificial grass.
- Layering: It is essential to apply a base layer approximately 3 to 4 inches thick across the installation area. This thickness is vital for effective drainage and support, helping to prevent issues such as puddling and uneven wear.
- Compact the Foundation: Thoroughly compacting the base layer with a plate compactor is necessary. This process ensures a sturdy base for the grass installation, as emphasized by industry professionals.
- Check for Levelness: After compaction, it is important to use a level to check the surface. Make any necessary adjustments by adding or removing material to achieve a perfectly flat base, which is essential for proper turf installation.

Lay the Artificial Grass
- Acclimatize the Grass: Before installation, allow the grass to acclimate in sunlight for 1-2 hours. This step enables the material to relax, facilitating easier handling and minimizing the risk of wrinkles during setup.
- Begin Installation: Start by placing the grass at one end of the designated area, carefully unrolling it to avoid creases. Ensure that the grass blades are aligned in the same direction to achieve a consistent appearance.
- Trim the Edges: Use a sharp utility knife to trim the edges of the grass for an accurate fit. Take care to cut only through the backing, ensuring that the grass blades remain undamaged.
- Secure the Seams: When working with multiple pieces of grass, verify that the seams are tight. Employ seam tape and an appropriate adhesive to secure the edges together, resulting in a seamless finish.

Secure the Turf and Add Infill
- Secure the Edges: Start by fastening the grass around the perimeter using nails. Space the nails approximately 6-8 inches apart to ensure stability and prevent any shifting or lifting of the grass edges. Additionally, place nails every 1-2 feet across the central surface of the grass for added support.
- Add Infill: After securing the grass, evenly distribute infill material across the surface. This step is vital as it helps weigh down the grass, keeps the blades upright, and enhances the durability of the installation.
- Brush the Surface: Once the infill is applied, use a broom or a power brush to work the infill into the grass. This action not only ensures even distribution of the infill but also improves the appearance, making it look lush and well-maintained.
- Final Inspection: Conduct a thorough inspection to confirm that the surface is level, the infill is evenly distributed, and there are no visible seams or wrinkles. This step is essential for achieving a professional finish and ensuring the longevity of your installation.

Conclusion
In conclusion, successfully installing artificial turf at home not only enhances your outdoor space but also provides a durable and low-maintenance lawn. By adhering to the outlined steps, homeowners can achieve a beautiful lawn that stands the test of time. The process begins with meticulous site preparation, which is crucial for a long-lasting installation.
Key steps include:
- Clearing the area
- Ensuring proper drainage
- Establishing a solid base layer
The choice of materials and the compaction of the foundation are vital, as they significantly impact the turf’s performance and longevity. Furthermore, laying the grass correctly and securing it with infill are essential for achieving a seamless and professional finish.
Ultimately, investing in artificial turf leads to a lush, green lawn that offers enjoyment for years to come. By following these detailed installation guidelines, homeowners can create an inviting outdoor environment that withstands daily use while minimizing upkeep. Embrace the opportunity to enhance your property with artificial grass and enjoy the benefits of a beautiful lawn without the hassle of traditional grass care.
Frequently Asked Questions
What is the first step in preparing the installation area for artificial turf?
The first step is to clear the area by removing any existing grass, weeds, or debris. This involves digging out the top layer of soil, typically between 2 to 4 inches deep.
Why is it important to examine water flow before installing artificial turf?
Examining water flow is crucial to ensure adequate drainage and prevent water accumulation, which can lead to maintenance issues and reduce the lifespan of the synthetic grass.
What slope should be created for proper drainage during installation?
A slight slope of about 2% away from any structures should be created to ensure efficient drainage.
What is the purpose of installing a weed barrier during the preparation process?
The weed barrier fabric is installed to prevent unwanted plants from growing through the grass, which can negatively impact its appearance and functionality over time.
How should the soil be treated after clearing and grading the area?
The soil should be compacted using a plate compactor or hand tamper to create a stable and level base for the artificial lawn.
What are the key steps summarized for preparing the setup area for artificial turf installation?
The key steps include clearing the site, ensuring proper drainage, installing a weed barrier, and compacting the soil. Each step is critical for a successful installation.
List of Sources
- Prepare the Installation Area
- Synthetic Turf News | Stadia Magazine (https://stadia-magazine.com/news/synthetic-turf)
- Artificial Grass News | American Syn-Turf Industry Updates (https://americansynturf.com/news)
- usturfsandiego.com (https://usturfsandiego.com/news)
- Plastic Turf Fields Are Taking Over America (https://nytimes.com/2025/07/26/business/artificial-turf-grass-sports.html)
- usatoday.com (https://usatoday.com/story/sports/nfl/columnist/bell/2026/01/08/nfl-grass-vs-turf-stadiums-playing-surface-standards/87687167007)
- Build a Solid Base Layer
- Create the Best Base for Artificial Grass: A Homeowner’s Guide – Hall Turf | Artificial Turf Installation Kansas City KS & MO (https://hallturf.com/create-the-best-base-for-artificial-grass-a-homeowners-guide)
- 2026’s Biggest Artificial Turf Putting Green Design Trends – OC Turf & Putting Greens (https://octurfandputtinggreens.com/2026s-biggest-artificial-turf-putting-green-design-trends)
- aquablumosaics.com (https://aquablumosaics.com/blogs/news/turf-hardscape-trends-2026?srsltid=AfmBOooYs7b-GQDgeJLAJP1Z-Ci_Mfa4cZTHLP7HhI7DR-IH065v2pZh)
- How to Choose the Right Base for Artificial Grass (https://realturf.com/us/what-sub-base-is-best-for-your-artificial-grass)
- glscapesinc.com (https://glscapesinc.com/pet-turf-installation-guide)
- Lay the Artificial Grass
- lawnpop.com (https://lawnpop.com/installation-times-what-to-expect-from-artificial-turf)
- As the world heats up, so does the debate around artificial turf (https://thenewlede.org/2024/08/as-the-world-heats-up-so-does-the-debate-around-artificial-turf)
- 18 Artificial Grass Installation Mistakes (and How to Solve Them) (https://neograss.co.uk/18-artificial-grass-installation-mistakes-and-how-to-solve-them)
- neograss.co.uk (https://neograss.co.uk/5-important-artificial-grass-installation-tips)
- When’s The Best Time To Install Artificial Turf? (https://watersaversturf.com/best-time-to-install-artificial-turf)
- Secure the Turf and Add Infill
- prnewswire.com (https://prnewswire.com/news-releases/the-astroturf-rootzone-gt-b-usda-approved-system-delivers-positive-impact-across-athletic-facilities-nationwide-302655077.html)
- Plastic Turf Fields Are Taking Over America (https://nytimes.com/2025/07/26/business/artificial-turf-grass-sports.html)
- Emerging opportunities in fertile synthetic turf – Floor Covering News (https://fcnews.net/2025/08/emerging-opportunities-in-fertile-synthetic-turf)
- Synthetic Turf News – East River Park ACTION (https://eastriverparkaction.org/synthetic-turf-news)
- jcturf.com (https://jcturf.com/artificial-grass/material/nails)