
Introduction
Transforming a concrete space into a lush, green oasis is an achievable goal, and the appeal of artificial grass is undeniable. This guide provides a clear, step-by-step approach to the installation process, detailing the essential tools and techniques required for a professional finish.
However, challenges may arise, particularly when the underlying surface is not ideal. Understanding how to address these common installation issues is crucial for achieving a stunning result that enhances both aesthetics and functionality.
Gather Essential Tools and Materials
Select high-quality grass that fulfills both aesthetic and functional needs, ensuring durability alongside an appealing appearance. Hall Grass specializes in providing expert in Kansas City, catering to installations for , , and pet areas. When I faced a grass issue, Brock assessed my requirements and recommended the optimal solution. Following his advice proved to be the right choice! – Dick Bryant.
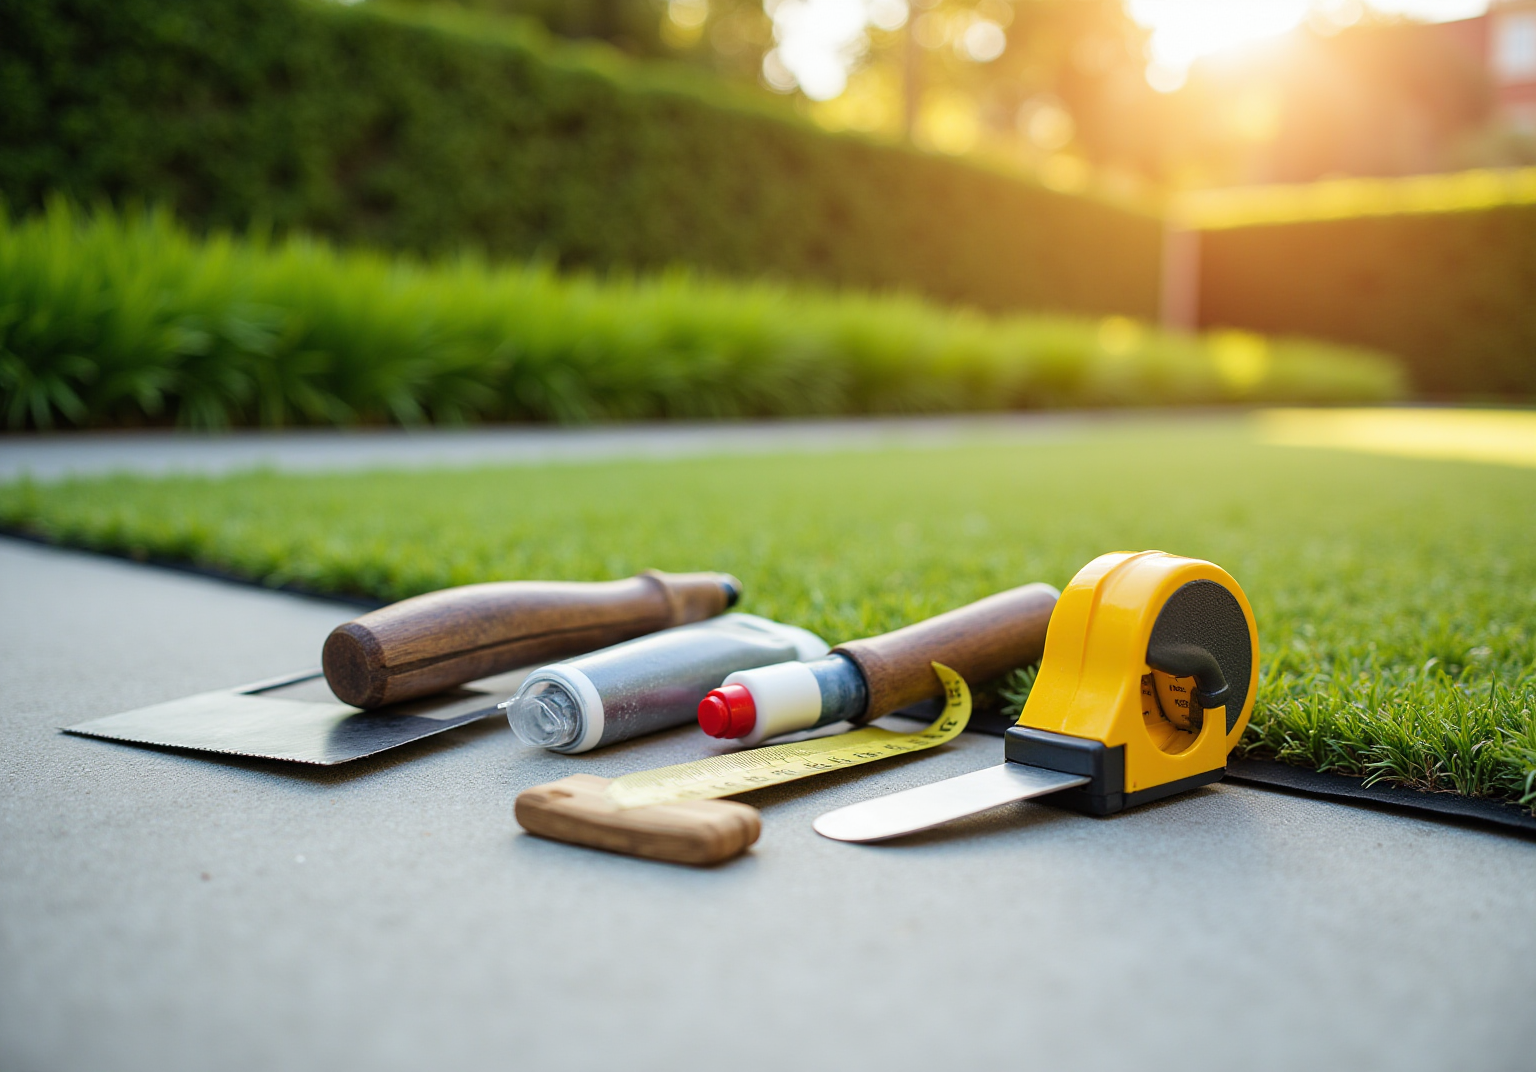
A utility knife is an essential tool for your installation, allowing for to fit your designated area, which ensures a professional finish. Additionally, a strong, , such as polyurethane-based outdoor turf glue, is necessary to securely bond the to the surface. A notched trowel is ideal for evenly distributing adhesive across the area, ensuring a robust bond; a notched trowel with a size of 3-5 mm is recommended for optimal results.
is crucial for obtaining accurate measurements of the setup area, helping to avoid waste and ensuring a perfect fit. A broom or leaf blower is also vital for thoroughly before installation, removing dust and debris that could hinder adhesion. It is important to ensure the surface is clean and even to promote effective bonding. If you choose adhesive in a tube, a caulk gun will facilitate easy application. Lastly, wearing protective gloves and knee pads is advisable for safety and comfort during the installation process.
Having these in advance, along with dry-fitting the sod before securing it, will streamline your setup, minimizing interruptions and enhancing the overall effectiveness of the project. Brock’s attention to detail and commitment to quality ensure that your installation will be completed on time and within budget, as satisfied clients like Scott Sachse and Les Boatright have experienced.

Prepare the Concrete Surface for Installation
To ensure a successful installation of on concrete, it is crucial to follow these essential steps for :
- : Start by using a broom or leaf blower to remove all debris, dirt, and dust from the pavement. A clean area is vital for ensuring proper adhesion, as any impurities can compromise the bond between the grass and the hard substrate.
- : Carefully examine the surface for any cracks or holes. Filling these imperfections with a patching material is necessary to create a that effectively supports the turf.
- : If stubborn stains or residues persist, utilize a pressure washer to . After washing, allow the surface to dry completely to ensure optimal adhesion.
- Consider Drainage: To prevent water accumulation, which can lead to mold and damage, consider adding a drainage layer or selecting grass designed with . A slight slope of 1-2% away from structures is recommended to facilitate water runoff. As US Turf highlights, ” is another important element of the setup.”
- Smooth the Surface: Ensure the cement is even, as any irregularities can cause issues during grass installation and affect the overall performance of the lawn. Additionally, using a permeable layer between the cement and grass backing is crucial for adequate drainage.
- : When installing the turf, use landscape pins or nails every 6-8 inches to secure seams and ensure stability.
By meticulously preparing the surface, you establish a solid foundation for installing fake grass for concrete, enhancing its longevity and functionality. Successful projects demonstrate that thorough preparation of the area is essential to avoid common pitfalls and ensure a durable, visually appealing installation.

Install the Artificial Grass: Step-by-Step Process
To successfully install on concrete, follow these detailed steps:
- Clean the Surface: Begin by thoroughly with a broom or leaf blower to eliminate dirt, debris, and oil stains. This step is essential for ensuring proper adhesion of the turf.
- : Inspect the concrete to confirm it is smooth and level. If any low spots are present, consider using a self-leveling compound to create an appropriate foundation, which will help prevent issues such as wrinkles or uneven surfaces.
- : Accurately measure the area designated for grass installation. Use a utility knife to , allowing for a slight overhang to ensure complete coverage.
- Dry Fit the Grass: Place the cut grass over the concrete to verify the fit. Make any necessary adjustments to ensure perfect alignment before securing it.
- Apply Adhesive: With a trowel, to the concrete surface where the grass will be placed. Follow the manufacturer’s guidelines for the adhesive to ensure optimal bonding.
- Lay the Grass: Carefully position the grass onto the adhesive, starting from one end and progressing to the other. Press down firmly to ensure a strong bond with the adhesive.
- Secure the Edges: To prevent lifting or curling, use additional adhesive or nails to secure the edges of the grass.
- : After laying the grass, trim any surplus material along the edges for a tidy finish.
- Allow to Cure: Let the adhesive cure according to the manufacturer’s instructions before using the area.
By following these steps, including the essential cleaning and leveling procedures, you will achieve a seamless and professional for concrete, enhancing both the aesthetic appeal and functionality of your .

Troubleshoot Common Installation Issues
Common issues during can be effectively resolved with the right techniques. Here are some frequent problems and their solutions:
- : To address , carefully lift the affected area and reapply adhesive, ensuring an even spread. Press down firmly to eliminate any air pockets, which can compromise the surface’s appearance.
- : If the grass is not adhering properly, verify that the concrete surface was thoroughly cleaned and that the adhesive used is suitable for outdoor conditions. If necessary, reapply the adhesive to ensure a strong bond.
- : When seams between grass pieces are noticeable, utilize seam tape and adhesive to secure them more tightly. Precise cutting of the grass is essential to minimize gaps and enhance the overall appearance.
- : If water gathers on the surface, check that the grass has adequate drainage. Installing a drainage layer beneath the grass or selecting grass designed for improved water flow can help mitigate this issue.
- : Over time, artificial grass may fade due to UV exposure. and consider applying a protective coating to maintain its vibrant appearance.
By proactively addressing these , you can achieve a of fake grass for concrete.

Conclusion
Installing fake grass on concrete is a valuable investment that can significantly enhance an outdoor space, making it both visually appealing and functional. By adhering to the recommended steps, anyone can achieve a professional-grade installation that endures over time. Key elements such as thorough preparation, careful execution, and meticulous attention to detail are crucial for ensuring a successful outcome.
This guide emphasizes essential aspects like:
- Gathering the appropriate tools
- Preparing the concrete surface
- Addressing common installation challenges
High-quality synthetic grass, reliable adhesive, and tools such as utility knives and trowels are vital for the project’s overall success. Each phase, from cleaning the concrete to securing the grass, plays a pivotal role in achieving a seamless installation that not only looks impressive but also performs effectively.
In conclusion, the choice to install fake grass on concrete leads to a more enjoyable outdoor environment. By diligently following the outlined steps and proactively tackling any challenges, the result will be a durable, low-maintenance lawn that enhances both the beauty and utility of the space. This is an opportunity to create an inviting area that reflects personal style while meeting practical needs, ensuring a vibrant outdoor setting for years to come.
Frequently Asked Questions
What type of grass should I select for my installation?
You should select high-quality grass that fulfills both aesthetic and functional needs, ensuring durability alongside an appealing appearance. Hall Grass specializes in providing expert synthetic grass solutions in Kansas City for various installations.
What tools are essential for installing synthetic grass?
Essential tools for installing synthetic grass include a utility knife for precise cutting, a strong weather-resistant outdoor adhesive, a notched trowel for adhesive distribution, measuring tape for accurate measurements, a broom or leaf blower for cleaning the surface, and a caulk gun if using adhesive in a tube.
Why is it important to clean the concrete surface before installation?
Cleaning the concrete surface is vital to remove dust and debris that could hinder adhesion, ensuring that the surface is clean and even to promote effective bonding.
What size notched trowel is recommended for applying adhesive?
A notched trowel with a size of 3-5 mm is recommended for optimal results when applying adhesive.
What safety gear should I wear during the installation process?
It is advisable to wear protective gloves and knee pads for safety and comfort during the installation process.
How can preparing tools and materials in advance benefit my project?
Having tools and materials prepared in advance, along with dry-fitting the sod before securing it, will streamline your setup, minimizing interruptions and enhancing the overall effectiveness of the project.
Who can I contact for expert synthetic grass solutions in Kansas City?
Hall Grass specializes in providing expert synthetic grass solutions in Kansas City, catering to installations for putting greens, playgrounds, and pet areas.