
Introduction
Transforming a backyard into a golfer’s paradise is now more achievable than ever, thanks to the rise of artificial golf putting greens. These synthetic surfaces provide numerous benefits, including low maintenance and year-round playability, making them an appealing choice for homeowners who desire both functionality and aesthetics.
However, the installation process presents a challenge: what steps must be taken to ensure a successful and long-lasting setup? This guide offers a comprehensive, step-by-step approach to installing an artificial putting green, detailing the tools, materials, and techniques necessary to create a personal golfing haven right at home.
Understand the Benefits of Artificial Golf Putting Greens
The advantages of synthetic golf surfaces make an excellent addition to any backyard. Here are some key benefits:
- Low maintenance is a significant advantage of an artificial putting green, as it requires minimal upkeep compared to natural grass. There’s no need for mowing, watering, or fertilizing, allowing you to enjoy your green without the hassle of traditional lawn care. A grassy lawn of 1,800 square feet can save up to 99,000 gallons of water annually, making it an eco-friendly choice.
- With an artificial putting green, you can enjoy and practice your golf skills regardless of the weather. Rain or shine, your putting green remains in optimal condition, providing a consistent playing surface that enhances your practice experience.
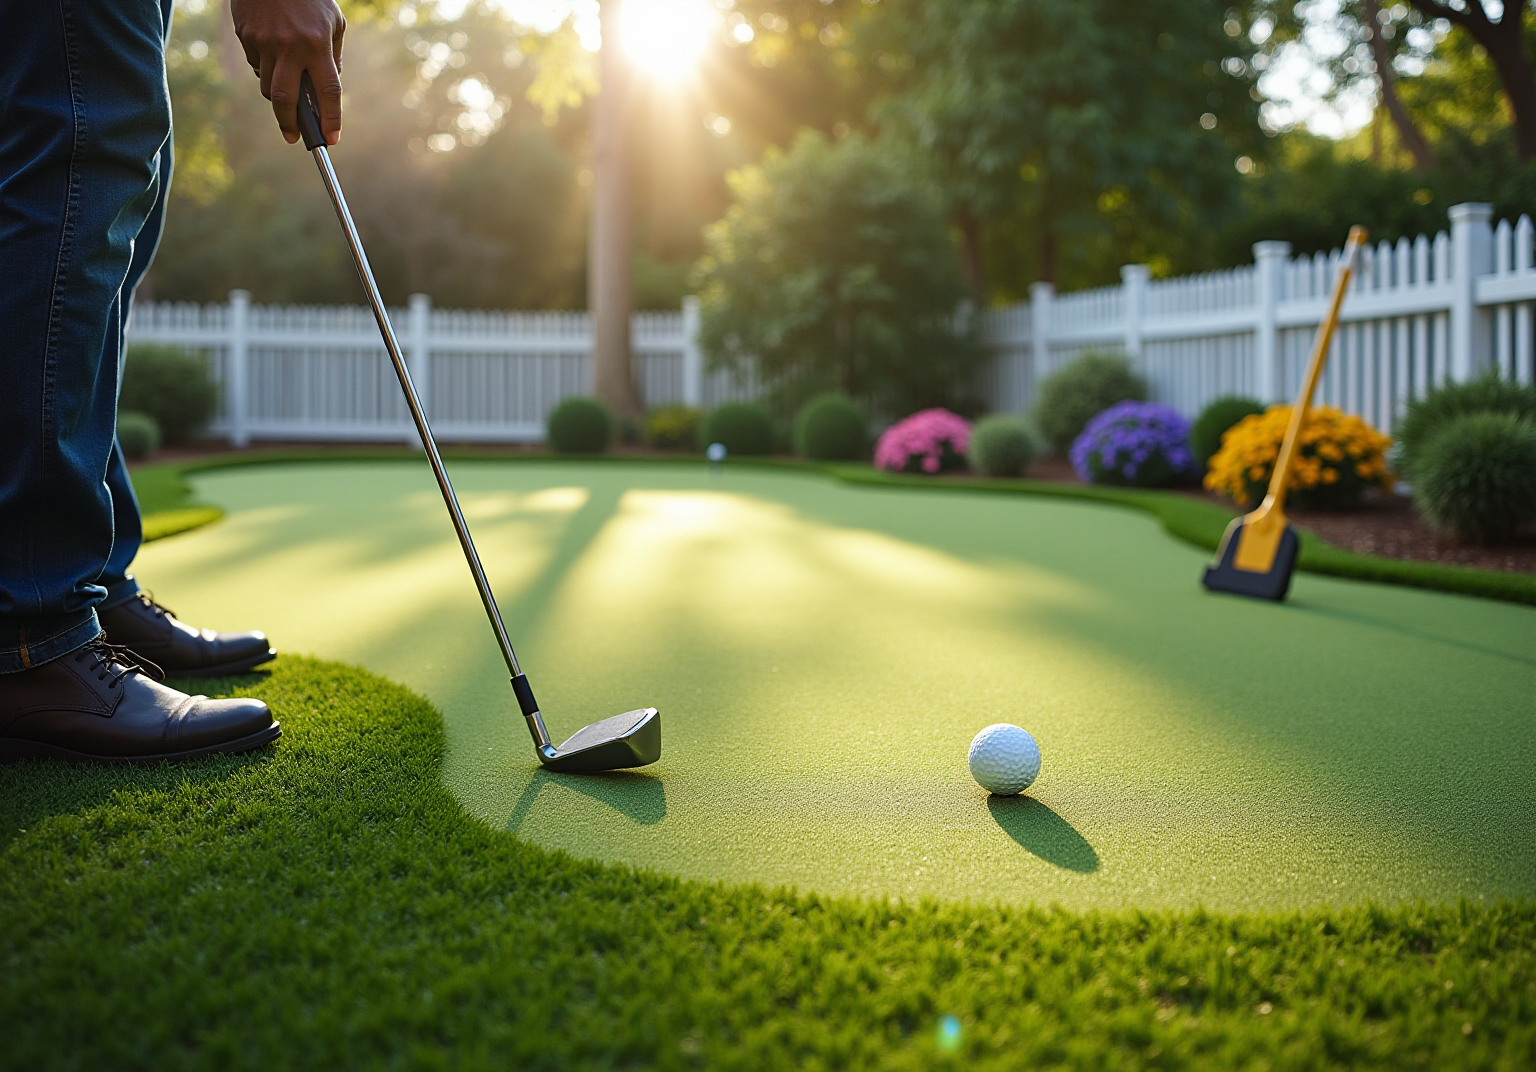
- Aesthetic appeal: A well-installed putting green significantly enhances the visual charm of your yard, creating a luxurious and inviting space for family and friends. The vibrant colors and textures of contemporary synthetic grass can mimic natural lawns, enhancing the overall beauty of your landscape.
- Durability: High-quality synthetic turf is designed to withstand harsh and severe weather conditions, ensuring that your putting green remains functional and appealing for years to come. This durability leads to reduced long-term expenses, as you won’t need to frequently replace or repair your installation.
- Customization: An artificial putting green can be tailored to meet your specific needs, including size, shape, and features like slopes and bunkers. This level of customization allows for a unique experience at home, catering to both casual players and serious golfers alike.
Overall, the benefits of artificial putting greens make them a wise investment for homeowners looking to enhance their outdoor spaces while enjoying the advantages of low upkeep and year-round usability. With Hall Turf’s expert solutions in Kansas City, you can trust that your installation will be managed with professionalism and attention to detail. Satisfied customers have transformed their backyards into golfing paradises, underscoring Hall Turf’s commitment to quality and service.

Gather Necessary Tools and Materials for Installation
Before starting the installation of your artificial golf putting green, it is essential to gather the necessary tools and materials to ensure a successful project.
Tools:
- Sod Cutter: This tool is crucial for removing existing grass and vegetation from the installation area, providing a clean slate for your project.
- Shovel and Rake: These are necessary for excavating and leveling the ground, ensuring a smooth surface for the grass.
- Plate Compactor: An important instrument for compressing the soil, it forms a sturdy foundation that enhances the longevity of the golf course.
- Utility Knife: This tool is used for cutting the grass to the desired size, ensuring precise fitting around edges and cups.
- Measuring Tape: Accurate measurements of the area are vital for a well-fitted installation.
- Weed Barrier Fabric: This material helps prevent weed growth beneath the grass, preserving the quality of your green.
- Broom: After installation, a broom is utilized to sweep the grass fibers, ensuring they stand upright for optimal playability.
- Grass Stretching Tool: A useful tool for pulling and stretching synthetic grass into place with minimal effort, reducing physical strain during installation.
- Industrial Power Broom: This tool operates approximately seven times faster than a traditional push broom, streamlining the preparation process before installation.
- Circle Cutter: A precise tool for cutting small round pieces of synthetic grass, ideal for creating openings for golf cups.
Materials:
- Choose specifically designed turf for an artificial putting green to provide a realistic playing surface.
- Base Material: These materials create a stable base, essential for proper drainage and support.
- Infill Material: Sand is commonly used to offer stability and support for the grass, enhancing its performance.
- Cup Cutters: These are essential for creating holes on your lawn, allowing for a complete golfing experience.
- Seaming Tape: This is used to secure seams between turf pieces, ensuring a seamless appearance and durability.
Proper preparation is vital for the durability and functionality of your golf surface, so ensure that your base materials promote effective water runoff.

Follow Step-by-Step Installation Instructions
To successfully install your putting green with Hall Turf’s products, follow these detailed steps:
- Select the Site: Choose a flat area in your yard that receives ample sunlight and is free from obstructions. The appropriate location is essential for the optimal performance and durability of the golf surface.
- Measure the Area: Use measuring tape to determine the dimensions of your putting space. Mark the outline with spray paint or string to ensure accuracy.
- Remove Existing Grass and Debris: Utilize a sod cutter to eliminate any grass, plants, or debris from the marked area. Ensure the ground is clear and level to prevent future issues.
- Level and Compact the Ground: Excavate about 3-5 inches and employ a plate compactor to create a solid, level base. This step is crucial for preventing uneven areas, which can diminish the green’s playability.
- Install Landscape Fabric: Lay down landscape fabric over the compacted soil to inhibit weed growth through the grass, ensuring a low-maintenance surface.
- Add Base Material: Spread a layer of crushed stone or decomposed granite over the fabric, leveling it out and compacting it again to establish a stable foundation.
- Roll Out the Surface: Unroll the artificial surface over the prepared base, allowing it to acclimate for a few hours to minimize creasing and ensure a smooth installation.
- Cut and Fit the Grass: Use a utility knife to trim the grass to fit the area, ensuring a snug fit around edges and corners for a seamless appearance.
- Secure the Surface: Apply adhesive or seaming tape to fasten the edges and seams of the surface, ensuring it stays in position and retains its visual attractiveness.
- Install Golf Cups: Cut openings for the golf cups and place them at preferred spots, ensuring they are aligned with the grass for optimal play.
- Add Infill Material: Spread infill material, such as sand, uniformly over the surface to offer stability and support for the fibers, improving durability.
- Brush the Turf: Use a broom to sweep the turf fibers upright, enhancing the appearance and playability of your golf surface.
Neglecting proper drainage can lead to water pooling, and failing to secure seams adequately can result in visible lines. By adhering to these guidelines, you can create an attractive and practical putting green that enhances your outdoor area.
With Hall Turf’s expertise, as highlighted by satisfied customers like Dick Bryant and Scott Sachse, you can trust that your installation will be handled with professionalism and attention to detail, ensuring a product that meets your needs.

Maintain Your Artificial Putting Green for Longevity
To ensure the longevity and performance of your putting green, follow these essential maintenance tips:
- Debris Removal: Consistently remove debris such as leaves and dirt to keep the surface pristine. Using a leaf blower or broom is effective for this task.
- Brushing: Periodically brush the grass fibers to keep them upright and maintain a natural appearance. This practice also helps evenly distribute the infill, which is essential for the surface’s performance.
- Rinsing: Rinse the surface with water to eliminate spills or stains. For more stubborn stains, a mild soap solution can be applied to restore cleanliness.
- Weed Control: Regularly examine the borders of the grass for any weed development and eliminate them quickly to prevent spreading, maintaining a neat appearance.
- Infill Maintenance: Add infill to provide sufficient support for the grass. This is vital for maintaining the green’s playability and longevity.
- Avoid Heavy Objects: Refrain from placing heavy furniture or equipment on the grass, as this can lead to indentations and damage the fibers, compromising the integrity of the area. Additionally, avoid using metal tools to remove snow to prevent tearing the turf.
- Winter Care: During colder months, gently clear snow. It is advisable to avoid using salt or chemicals that could harm the synthetic fibers. Also, check for low spots or bumps after the winter freeze-thaw cycle to ensure a smooth surface.
By following these guidelines, you can extend the lifespan of your putting green, which can last between 15 to 25 years with proper care. Regular maintenance not only enhances the aesthetic appeal but also ensures a consistent playing experience, allowing you to enjoy your backyard golf practice year-round.

Conclusion
Installing an artificial golf putting green presents a valuable opportunity to enhance outdoor spaces while reaping the numerous benefits that synthetic surfaces offer. These greens require minimal maintenance, can be used year-round, and feature customizable options, catering to both casual golfers and enthusiasts. When the installation process is executed meticulously, a backyard can be transformed into a personal golfing paradise, ensuring a consistent and enjoyable practice experience.
Key points discussed include:
- The significant advantages of artificial putting greens
- The essential tools and materials needed for installation
- A comprehensive step-by-step guide for achieving a successful setup
Furthermore, maintaining the green is vital for its longevity, highlighting the importance of:
- Regular cleaning
- Infill management
- Seasonal care to keep the surface in optimal condition for years to come
Investing in an artificial putting green not only enhances the aesthetic appeal of a home but also creates a convenient and engaging environment for golf practice. By diligently following the outlined steps and maintenance tips, homeowners can establish a lasting feature that enriches their outdoor enjoyment, making every putt a step toward improvement and leisure. Seize the opportunity to transform your backyard into a golfer’s haven and enjoy the benefits of a well-installed artificial golf putting green.
Frequently Asked Questions
What are the main benefits of artificial golf putting greens?
The main benefits include low maintenance, year-round playability, aesthetic appeal, durability, and customization options.
How does maintenance compare between artificial golf putting greens and natural grass?
Artificial golf putting greens require minimal upkeep, eliminating the need for mowing, watering, or fertilizing, which saves time and effort.
Can I use an artificial golf putting green in any weather?
Yes, artificial golf putting greens provide year-round playability, allowing you to practice regardless of weather conditions.
How does an artificial golf putting green enhance the appearance of my yard?
A well-installed artificial golf putting green enhances the visual charm of your yard with vibrant colors and textures that mimic natural lawns, creating a luxurious and inviting space.
What makes artificial golf putting greens durable?
High-quality synthetic turf is designed to withstand significant foot traffic and severe weather conditions, ensuring the area remains functional and appealing for years.
Can I customize my artificial golf putting green?
Yes, artificial golf putting greens can be tailored to meet specific needs in terms of size, shape, and features like slopes and bunkers for a personalized golfing experience.
Why is investing in an artificial golf putting green a wise choice for homeowners?
Investing in artificial golf putting greens enhances outdoor spaces with low upkeep and year-round usability, making it a valuable addition for golf enthusiasts.
List of Sources
- Understand the Benefits of Artificial Golf Putting Greens
- Artificial Turf Market, Industry Size Forecast [Latest] (https://marketsandmarkets.com/Market-Reports/artificial-turf-market-121486580.html)
- Artificial Turf Market Size And Share | Industry Report, 2033 (https://grandviewresearch.com/industry-analysis/artificial-turf-market)
- Synthetic Turf Market Size & Share, Growth Trends 2026-2035 (https://gminsights.com/industry-analysis/synthetic-turf-market)
- deepmarketinsights.com (https://deepmarketinsights.com/report/golf-putting-green-market-research-report)
- sgwcolorado.com (https://sgwcolorado.com/denver/blog/2025/06/26/unexpected-health-benefits-of-installing-an-outdoor-putting-green)
- Gather Necessary Tools and Materials for Installation
- What’s the Best Base for Artificial Grass Installation? – US Turf (https://us-turf.com/uncategorized/best-base-artificial-grass-installation)
- 5 Tools That Contractors Installing Artificial Grass Should Use | Purchase Green Artificial Grass (https://purchasegreen.com/blog/crucial-tools-contractors-installing-artificial-grass-should-use)
- neograss.co.uk (https://neograss.co.uk/22-essential-tools-installing-artificial-grass)
- steeltoeu.com (https://steeltoeu.com/blog/how-to-install-artificial-turf-for-a-putting-green)
- Follow Step-by-Step Installation Instructions
- The 7 Common Mistakes When Installing Artificial Turf (https://integriturf.com/common-installation-mistakes)
- DIY Backyard Putting Green vs Pro Install: Which is Best? (https://aglgrass.com/blogs/diy-backyard-putting-green)
- astroklean.com.au (https://astroklean.com.au/the-best-practices-for-installing-and-maintaining-an-artificial-putting-green)
- growcycle.com (https://growcycle.com/learn/lawn-and-garden/lawn-care-tips-and-maintenance/artificial-turf-installation-made-simple-a-step-by-step-homeowner-guide?srsltid=AfmBOooLmb6UcMFTIN6QXwAtZYo5uEaw_id3NNuGSE7ix2x1vMPpnCXe)
- Maintain Your Artificial Putting Green for Longevity
- Artificial Putting Green Maintenance: Year-Round Care Guide (https://aglgrass.com/blogs/artificial-putting-green-maintenance)
- How To Properly Maintain An Artificial Grass Putting Green (https://wintergreengrass.com/how-to-properly-maintain-an-artificial-grass-putting-green)
- paversandturf.com (https://paversandturf.com/how-long-does-artificial-grass-last-east-bay-experts-explain)
- ecograssus.com (https://ecograssus.com/blog/2024/2/22/how-long-does-artificial-turf-last?srsltid=AfmBOooe52d190gMn0l1lPlPJZvlzYXC2ZnsyR6y53trJHatmED8q6XR)
- How Long Does Artificial Turf Last | Synthetic Turf International Blog (https://synthetic-turf.com/artificial-grass-durability-how-long-does-turf-last)