
Introduction
Transforming a yard into a lush, green oasis with artificial turf is a rewarding project that requires careful planning and execution. This guide outlines four essential steps to ensure a successful installation while enhancing the longevity and performance of the turf. However, improper ground preparation or common installation issues can lead to challenges. Understanding the nuances of site preparation and maintenance is crucial for achieving a stunning, durable lawn.
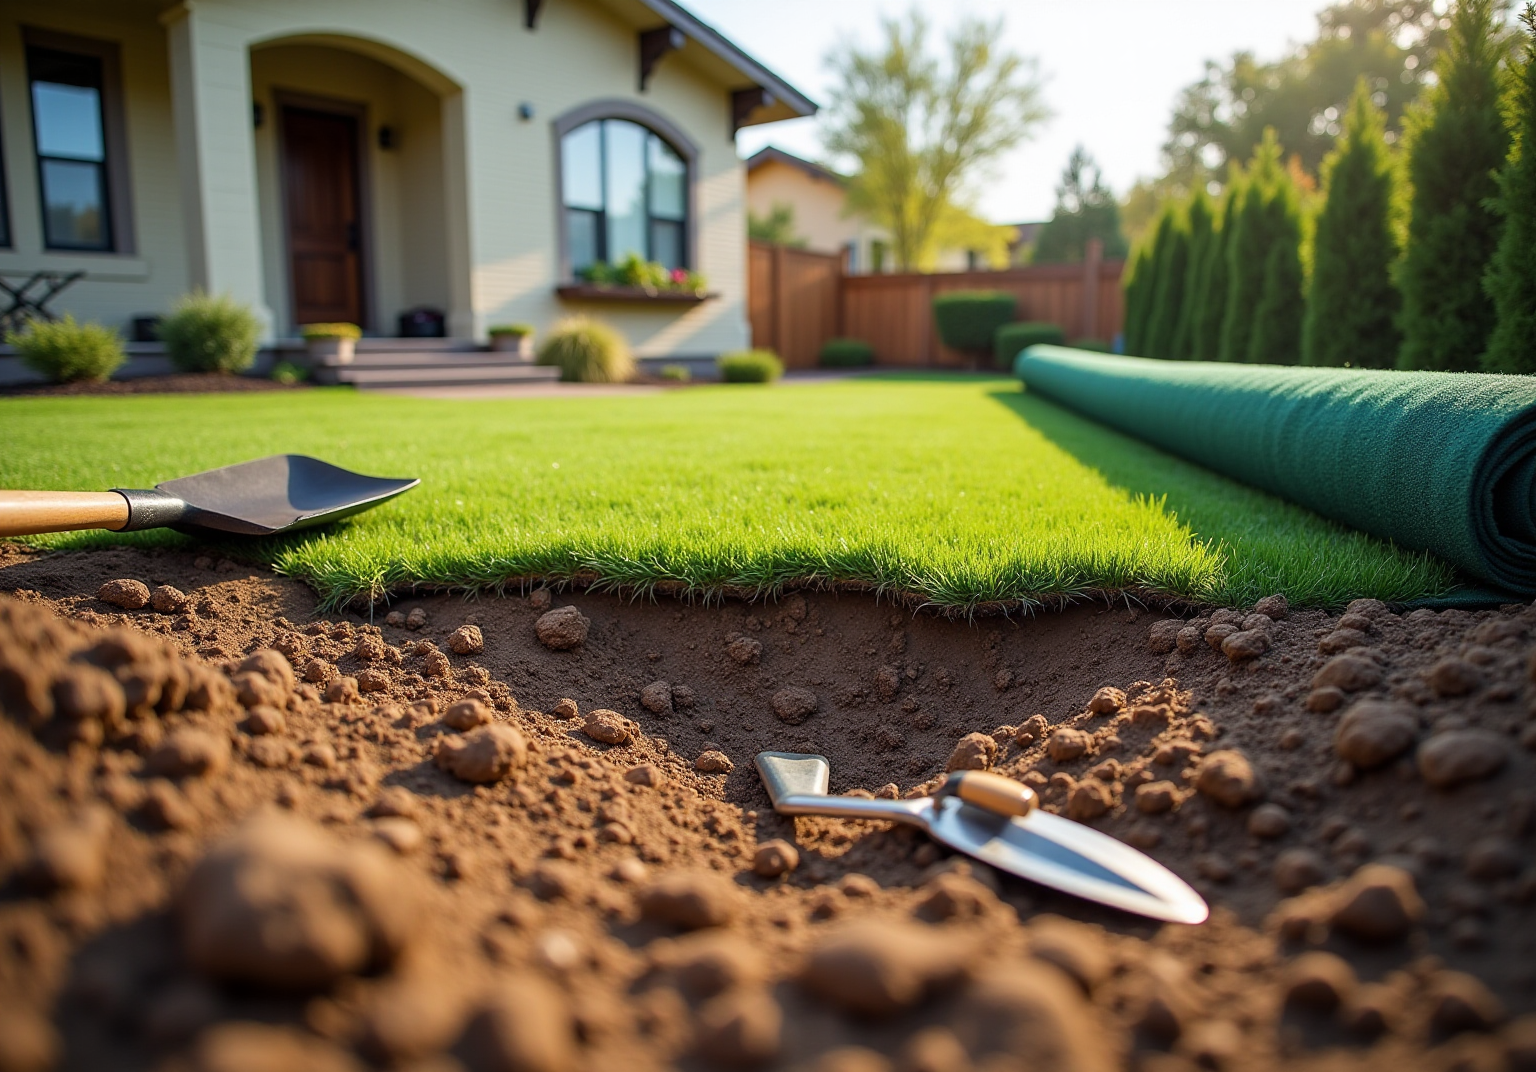
Prepare Your Site for Turf Installation
- Clear the Area: Begin by removing any existing grass, weeds, and debris from the installation site. Use a shovel or turf cutter to excavate the top layer of soil, typically 2-4 inches deep, depending on the type of turf selected. Proper preparation is essential, as it can lead to a subpar lawn.
- Check for Water Flow: Assess the drainage of the area. If the ground is too flat, grading may be necessary to create a slight slope away from structures, preventing water pooling. Effective drainage is critical; if water remains for 24 hours or longer, consider aeration to maintain lawn health.
- Install a Barrier: Place a fabric barrier to prevent weed growth beneath the grass. This step is vital for preserving the aesthetic and health of your lawn, ensuring that your new greenery remains pristine over time.
- During the compaction process, use a plate compactor to firmly compress the soil, establishing a solid foundation for the grass. This practice helps prevent settling and uneven surfaces, which can affect the quality of your lawn. Experts emphasize that effective water management prevents grass decay, mold, and damp areas, making it an essential aspect of site preparation.

Install the Turf: Step-by-Step Process
- Lay the Grass: Begin by rolling out the turf over the prepared area, ensuring it is aligned in the same direction. This alignment is essential for achieving a uniform appearance and coverage.
- Trim the Grass: Utilize a sharp utility knife to shape the edges of the grass, ensuring a snug fit within the designated area. It is important to leave a small gap along the edges to accommodate expansion due to temperature changes.
- Fasten the Grass: To prevent shifting and ensure a tight fit, secure the grass using staples placed every 3-4 inches around the perimeter. This step is crucial for maintaining the integrity of the installation and preventing movement over time.
- Infill the Grass Surface: Depending on the type of grass surface, adding infill material may be necessary. This infill supports the blades, helping them stand upright while providing cushioning. Distribute the infill uniformly over the surface and use a broom to work it into the grass fibers, enhancing both appearance and functionality. Regular maintenance, including brushing and rinsing, will further extend the life of your turf.
For smaller areas, installation typically takes 1-3 days, while larger projects may require up to a week. Preparation is essential for optimal results, which involves excavating existing sod and debris by digging down six inches and applying a layer of base material. Additionally, consider installing edge fencing or edge guards around the lawn to prevent warping or damage. Customers, such as Les Boatright, have expressed satisfaction with the timely and budget-friendly completion of their projects, highlighting Hall’s commitment to quality service, which includes installation for residential and safe playground areas.

Maintain Your Turf for Longevity and Performance
- Regular Cleaning: Begin by rinsing the surface with water to eliminate dust, debris, and pet waste. A gentle spray from a hose is generally adequate to maintain cleanliness without causing damage to the fibers.
- Regularly use a stiff-bristled broom to clean the fibers. This practice not only keeps the blades upright but also enhances the natural appearance of the grass, preventing matting and ensuring optimal drainage.
- Perform periodic inspections to identify signs of wear or damage, such as loose seams or areas that require re-stapling. Timely maintenance can prevent more serious problems and extend the lifespan of the grass, which can range from 8 to 15 years with proper maintenance.
- In colder months, carefully remove snow and ice to avoid damaging the grass. During warmer months, consider applying a deodorizer to eliminate odors and bacteria, ensuring a clean and safe environment for pets and children. Regular maintenance, including cleaning and inspections, are essential for maximizing the longevity and performance of your turf.

Troubleshoot Common Installation and Maintenance Issues
- Uneven Ground: An irregular surface often indicates issues with the base’s compaction and drainage. To address this, assess the area for unevenness and consider re-grading or adding infill as necessary. In 2025, the typical cost ranges from $1,000 to $3,330, with most homeowners spending approximately $2,180. Hall Turf’s expert team, led by professionals like Brock, can evaluate your specific needs and recommend the best solutions to ensure a successful installation. For inquiries, contact us at 816-368-4615.
- Wrinkling: Creases in synthetic grass can occur due to improper securing during installation. To remedy this, re-staple the edges and ensure the turf is stretched tightly. Mastering installation techniques is essential for achieving a natural appearance and preventing visible seams, which can enhance the overall aesthetic of your lawn. Clients have praised Brock for his attention to detail and commitment to delivering a flawless installation.
- Drainage issues: Examine the water removal system and confirm that the base is sloped correctly. Solutions may involve incorporating water channels or modifying the slope. Efficient water removal is crucial, as inadequately managed systems can lead to significant runoff issues, particularly in areas with substantial rainfall. Hall Turf’s knowledgeable team can help design and implement effective drainage solutions tailored to your property.
- Odors: Odors can develop from pet waste or organic debris trapped within the turf. Regular cleaning and the use of turf-safe disinfectants are essential for maintaining a fresh-smelling yard. A simple rinse-down with a hose and a good turf-safe enzyme cleaner can effectively manage odors and keep your artificial grass looking pristine. Customers have expressed satisfaction with Hall Turf’s services, ensuring their lawns remain inviting and odor-free.

Conclusion
Successfully installing a turf yard not only enhances the aesthetic appeal of a home but also provides a low-maintenance solution for outdoor spaces. Homeowners can enjoy a lush, green area with minimal upkeep by following a meticulous planning and execution process. Key steps in this process include:
- Clearing the area
- Checking water flow
- Laying the turf correctly
Proper installation techniques and ongoing maintenance are crucial for achieving a beautiful and durable lawn. Regular practices such as:
- Cleaning
- Brushing
- Inspecting for damage
help prolong the lifespan of the artificial grass. Additionally, addressing common installation issues, like uneven ground and wrinkling, is essential for maintaining both the attractive appearance and functionality of the turf.
By adhering to these steps and recommendations, homeowners can ensure their turf remains vibrant and inviting for years to come. Embracing these practices leads to a thriving lawn that offers enjoyment and satisfaction, making it a valuable addition to any property.
Frequently Asked Questions
What is the first step in preparing a site for turf installation?
The first step is to clear the area by removing any existing grass, weeds, and debris. This involves excavating the top layer of soil, typically 2-4 inches deep, depending on the type of turf selected.
Why is proper soil removal important for turf installation?
Proper soil removal is essential because poor soil conditions can lead to a subpar lawn, affecting the overall quality and longevity of the turf.
How should water flow be assessed before turf installation?
Assess the water management capabilities of the area by checking if the ground is too flat. If so, grading may be necessary to create a slight slope away from structures to prevent water pooling.
What should be done if water remains on the ground for 24 hours or longer?
If water remains for 24 hours or longer, it is advisable to consider installing drainage solutions to maintain lawn health.
What is the purpose of installing a weed barrier during turf installation?
A weed barrier fabric is placed to prevent weed growth beneath the grass, which helps preserve the aesthetic and structural integrity of the turf yard installation.
How can soil be compacted during turf installation?
Soil can be compacted by using a plate compactor to firmly compress it, establishing a solid foundation for the grass.
Why is effective water management critical during site preparation?
Effective water management is critical because it prevents grass decay, mold, and damp areas, which can compromise the health and appearance of the lawn.
List of Sources
- Prepare Your Site for Turf Installation
- rootsanalysis.com (https://rootsanalysis.com/artificial-turf-market)
- northpennnow.com (https://northpennnow.com/news/2025/nov/24/how-to-prepare-the-lawn-before-turf-arrives-how-soon-do-i-have-to-lay-new-turf-after-delivery)
- Artificial Turf Market Size And Share | Industry Report, 2033 (https://grandviewresearch.com/industry-analysis/artificial-turf-market)
- shawgrass.com (https://shawgrass.com/about/news-blog/how-to-prep-for-artificial-grass-installation)
- Artificial Sports Turf Market Value To Hit USD 5.0 Billion in 2033 (https://news.market.us/artificial-sports-turf-market-news)
- Install the Turf: Step-by-Step Process
- How Long Does It Take to Install Artificial Grass (https://syntheticturftc.com/how-long-does-it-take-to-install-artificial-grass)
- keystonesportsconstruction.com (https://keystonesportsconstruction.com/how-long-should-it-take-to-plan-budget-install-new-turf-fields)
- How to Install Artificial Turf on Dirt | US Turf (https://usturfsandiego.com/news/how-to-install-artificial-turf-on-dirt)
- How to Install Artificial Turf: Step-by-Step Guide | US Turf (https://usturfsandiego.com/news/how-to-install-artificial-turf)
- petgrows.com (https://petgrows.com/blogs/news/artificial-turf-installation-process-things-to-know-and-professional-advice)
- Maintain Your Turf for Longevity and Performance
- ideal-turf.com (https://ideal-turf.com/artificial-turf-lifespan)
- kron4.com (https://kron4.com/business/press-releases/ein-presswire/786909412/the-growing-demand-for-sports-turf-maintenance-revolutionizing-field-longevity-and-safety-with-the-sports-field-app)
- nexgenlawns.com (https://nexgenlawns.com/how-long-does-artificial-grass-last?srsltid=AfmBOooHk6hdcIf1L0vMtI1hr_2kLK9cov4y0oVoOziEm84qAtaP7djC)
- How Long Do Turf Fields Last? – Keystone Sports Construction (https://keystonesportsconstruction.com/how-long-do-turf-fields-last)
- magnoliaturf.com (https://magnoliaturf.com/how-long-do-turf-field-last)
- Troubleshoot Common Installation and Maintenance Issues
- UF/IFAS expert evaluates impact of installing synthetic turf (https://mainstreetdailynews.com/local-living/uf-ifas-impact-installing-synthetic-turf)
- modernize.com (https://modernize.com/foundations/lawn-leveling-cost)
- fischerlandscapingusa.com (https://fischerlandscapingusa.com/artificial-turf-drainage-problems)
- Artificial Grass Installation: Overcome Common Challenges (https://yavapailandscaping.com/overcoming-common-challenges-in-artificial-grass-installation)
- Problems With Artificial Grass (and Fixes) | US Turf (https://usturfsandiego.com/news/problems-with-artificial-grass)