
Introduction
Creating a backyard putting green presents an opportunity to enhance outdoor living while simultaneously honing golfing skills at home. This guide outlines the essentials of assessing your space, defining your goals, and gathering the necessary tools and materials for installation. However, the excitement of a DIY project can often meet challenges during site preparation and maintenance. Understanding how to navigate these hurdles is crucial for crafting a personal oasis that not only elevates your game but also transforms your yard into a stunning retreat.
Assess Your Space and Define Your Goals
- Evaluate your yard by beginning with a flat area that measures at least 10 feet by 15 feet for your putting surface. It is crucial to ensure that this space is free from trees or structures that could obstruct sunlight or create unwanted shade, as these elements can significantly affect the health and playability of the turf.
- Consider Sunlight: Choose a location that receives sunlight throughout the day. Areas oriented to the south are particularly advantageous, as they provide improved visibility during peak midday hours, thereby enhancing the overall experience.
- Define Your Goals: Clearly outline your objectives for the putting area. Whether your aim is practice, entertainment, or competition, understanding these goals will inform decisions regarding the layout of your space. We stress that aligning the design with your intended use is essential for maximizing both enjoyment and functionality.
- Check Drainage: Assess the drainage of the chosen location to prevent water accumulation. Effective drainage is vital for maintaining a playable surface. If necessary, consider leveling the area to direct water away from the turf, ensuring its durability and effectiveness.
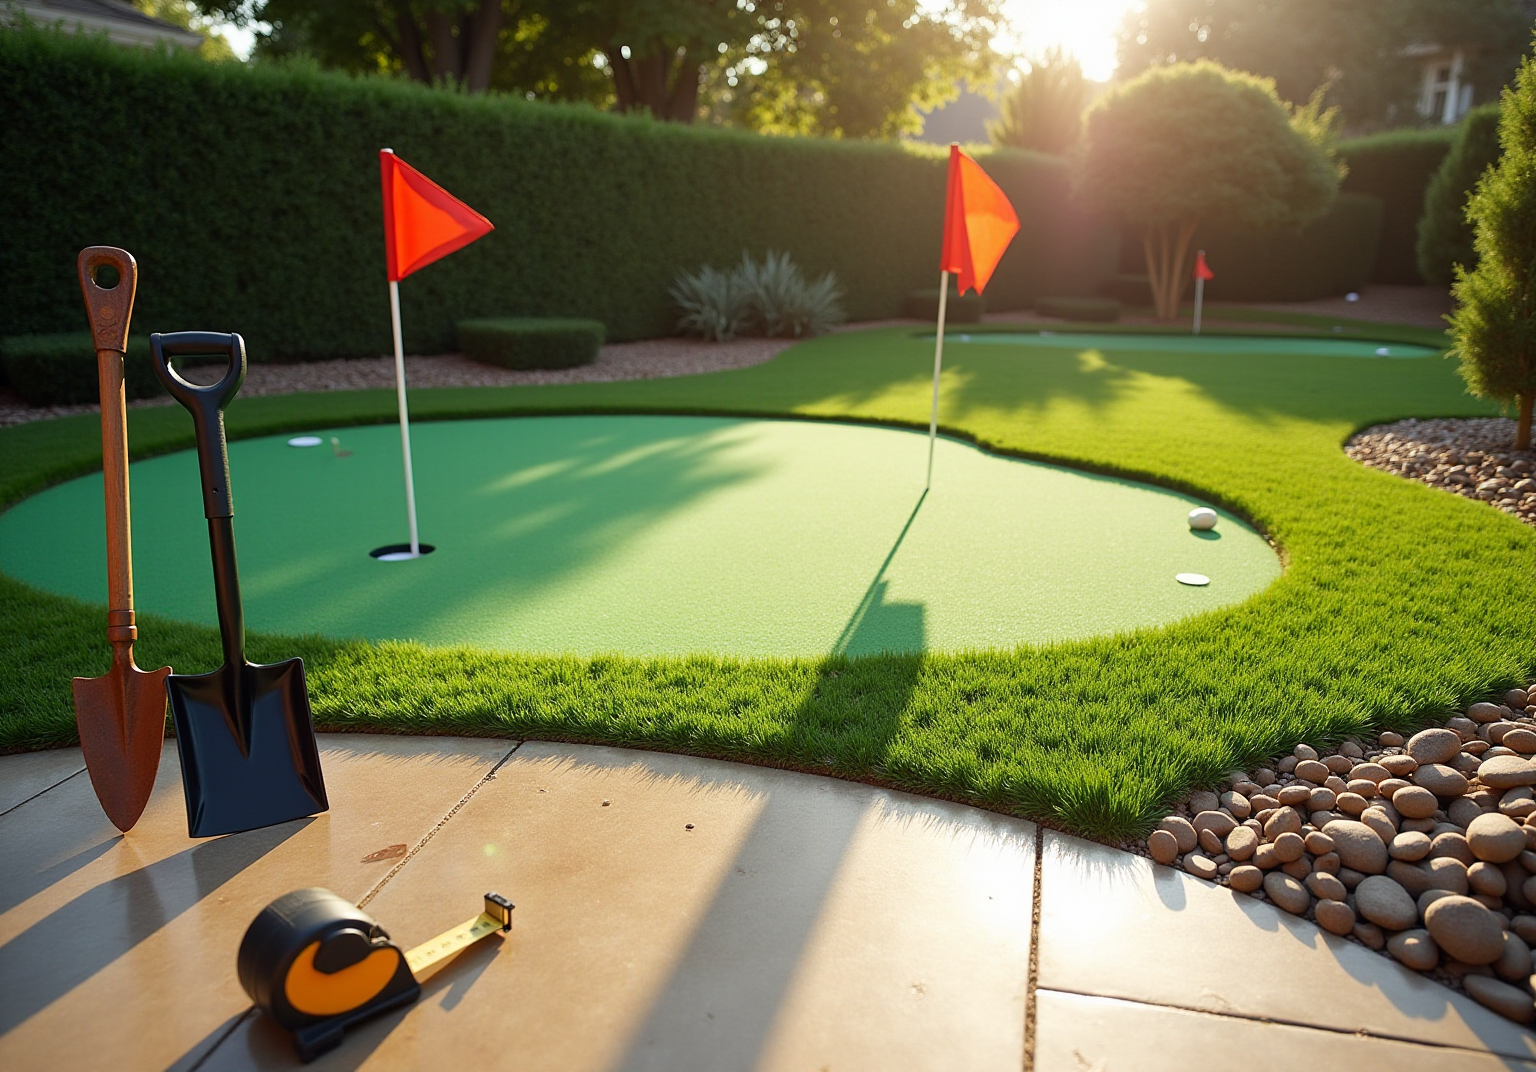
- Mark the Area: Use stakes and string to outline the intended area for your golf course. This visual representation will assist you in gauging the space and making any necessary adjustments, ensuring that the final design aligns with your expectations.
Gather Tools and Materials for Installation
-
Essential Tools: To successfully install your putting green, it is crucial to gather the following tools:
- Shovel
- Rake
- Tape measure (at least 25 feet)
- Utility knife
- Landscape scissors
- Plate compactor or roller
- Level
- Spray paint (for marking)
-
Materials Needed: To create a putting green, acquire these essential materials:
- turf specifically designed for putting greens
- Landscape fabric to prevent weed growth
- infill material to enhance the golfing experience
- Sand infill, if required for your chosen turf type, to provide a natural feel and improve performance
-
Optional Supplies: To enhance your installation, consider additional items such as a golf cup, edging materials to maintain the shape of the area, and flags.
-
Check: Before purchasing materials, it is important to verify any local regulations or HOA guidelines that may affect your backyard installation plans.

Prepare the Site and Install Your Putting Green
- Clear the Space: Start by clearing the designated area. Use a shovel or sod cutter to excavate approximately 3-5 inches, creating a clean surface for your putting green.
- Level the Ground: Assess the ground for playability. Utilize a rake to smooth the surface and a level tool to ensure uniformity throughout the space. This step is vital to prevent water pooling and to enhance the overall golfing experience.
- Install Base Layer: Add a 2-4 inch layer of crushed stone or gravel to form a solid base. Compact this layer thoroughly using a plate compactor or roller to ensure stability and prevent shifting over time.
- Lay Landscape Fabric: Place landscape fabric over the compacted base. This will inhibit weed growth while allowing for adequate drainage, ensuring your putting green remains pristine.
- Cut and Lay Grass: Roll out the grass over the prepared area, cutting it to fit with a utility knife. Ensure that the edges overlap slightly at the seams for a seamless appearance.
- Secure the Grass: Use landscape staples or adhesive to firmly secure the grass in place, particularly around the edges and seams. Ensuring the surface is taut will help avoid unsightly wrinkles and maintain a professional appearance.
- Install Holes for Cups: Finally, cut holes for cups and position them according to your design. Ensure they are aligned with the ground surface to create a seamless and functional putting green.

Add Finishing Touches and Maintenance Tips
- Trim Edges: Begin by using a utility knife to trim any excess grass along the edges, ensuring a clean finish. To enhance the appearance, consider adding landscaping features for a polished look.
- Infill (if applicable): If your putting green requires infill, spread it uniformly across the surface and use a broom to work it into the fibers. This process stabilizes the surface and improves playability, positively influencing ball roll and speed.
- Debris Removal: It is essential to consistently remove debris such as leaves and twigs from the surface. Periodically rinse the area with water to eliminate dust and dirt accumulation. Additionally, promptly clean spills and stains with mild soap and water to prevent permanent damage.
- Brushing: Employ a stiff-bristled broom to sweep the grass fibers weekly. This practice keeps the fibers upright and preserves the fresh appearance of the surface, thereby enhancing playability.
- Inspections: Conduct regular inspections for signs of wear or damage, particularly around seams and edges. Also, check the drainage system to ensure proper functioning and remove any obstructions to prevent pooling. Addressing issues quickly can prevent further decline and extend the longevity of your turf.
- Seasonal Maintenance: Adapt your maintenance routine to the seasons. For example, during winter, gently clear snow using a plastic shovel to protect the turf. Regularly monitor and adjust your care practices according to seasonal changes to ensure your putting green remains in excellent condition throughout the year.

Conclusion
Creating a backyard putting green significantly enhances your outdoor space and offers a personal sanctuary for golf enthusiasts. This investment not only transforms your yard but also elevates your home experience. By following the outlined steps – from assessing your yard to ensuring proper maintenance – anyone can turn their vision into reality.
The journey begins with understanding your goals and selecting the ideal location, which lays the groundwork for a functional and enjoyable putting surface. Key elements include:
- The importance of site preparation
- The necessary tools and materials for installation
- The ongoing care required to maintain your putting green in pristine condition
Each step, from leveling the ground to adding final decorative touches, contributes to the overall success of your project.
Regular maintenance practices are essential for longevity, allowing you to enjoy your putting green for years to come. Ultimately, this space serves not only as a place for practice and relaxation but also as a centerpiece for gatherings with family and friends. Embrace the opportunity to enhance your outdoor space and reap the benefits of having your own putting green right at home.
Frequently Asked Questions
What is the minimum size for a putting surface in a yard?
The minimum size for a putting surface is at least 10 feet by 15 feet.
Why is it important to have a flat area for the putting green?
A flat area is crucial to ensure the health and playability of the turf, as uneven surfaces can lead to drainage issues and affect gameplay.
What factors should be considered regarding sunlight when choosing a location for a putting green?
It is important to choose a location that receives ample sunlight throughout the day, with south-oriented areas being particularly advantageous for improved visibility during peak midday hours.
How can I define my goals for the putting area?
Clearly outline your objectives for the putting area, such as practice, entertainment, or aesthetic enhancement, as these goals will inform decisions about the size, shape, and characteristics of the space.
Why is drainage important for a putting green?
Effective drainage is vital for preventing water accumulation and maintaining a playable surface, ensuring the durability and effectiveness of the turf.
What steps should I take to measure and mark the area for my putting green?
Use stakes and string to outline the intended area, which will help you gauge the space and make any necessary adjustments to ensure the final design meets your expectations.
List of Sources
- Assess Your Space and Define Your Goals
- grizzlyoutdoor.com (https://grizzlyoutdoor.com/blog/what-to-consider-before-installing-backyard-putting-green-turf)
- How To Make Your Backyard Putting Green Dream a Reality (https://usga.org/content/usga/home-page/course-care/green-section-record/62/issue-17/how-to-make-your-backyard-putting-green-dream-a-reality.html)
- texasturfusa.com (https://texasturfusa.com/austin-landscape-design/the-perfect-backyard-putting-green-size-a-golfers-guide)
- fieldturflandscape.com (https://fieldturflandscape.com/golf-putting-green/how-to-position-your-backyard-putting-green)
- syntheticgrassdfw.com (https://syntheticgrassdfw.com/putting-greens/how-to-decide-on-the-right-backyard-putting-green-size)
- Gather Tools and Materials for Installation
- How To Build a Backyard Putting Green (https://xgrass.com/how-to-build-putting-green.html)
- 5 Tools That Contractors Installing Artificial Grass Should Use | Purchase Green Artificial Grass (https://purchasegreen.com/blog/crucial-tools-contractors-installing-artificial-grass-should-use)
- DIY Putting Green Installation: A Step-by-Step Guide (https://artificialturfexpress.com/blog/installing-the-best-putting-greens-in-your-yard-the-ultimate-diy-guide)
- waypointconstruction.com (https://waypointconstruction.com/our-work/backyard-putting-green-case-study)
- Prepare the Site and Install Your Putting Green
- Artificial Grass, Market Trends, Business Insights, and Analysis (https://installartificial.com/how/artificial-grass-business-insights-market-trends)
- How to Build a Putting Green in Your Backyard: 5 Tips – Motz (https://themotzgroup.com/infill_blog/tips-for-installing-a-putting-green-in-a-backyard)
- How to Install Artificial Turf on Dirt | US Turf (https://usturfsandiego.com/news/how-to-install-artificial-turf-on-dirt)
- getjobber.com (https://getjobber.com/academy/lawn-care/lawn-landscaping-industry-statistics)
- datainsightsmarket.com (https://datainsightsmarket.com/reports/synthetic-turf-installation-1462129)
- Add Finishing Touches and Maintenance Tips
- Artificial Golf Greens Maintenance Tips (https://southwestgreens.com/blog/artificial-golf-greens-maintenance-tips)
- Tour Greens | Putting Green Maintenance (https://tourgreens.com/putting-green-maintenance.html)
- wintergreengrass.com (https://wintergreengrass.com/10-tips-for-maintaining-an-artificial-grass-putting-green)
- How to Clean and Maintain Putting Green Turf: A Seasonal Guide (https://backninegreens.com/blog/how-to-clean-and-maintain-putting-green-turf-seasonal-checklist)
- californiaturfco.com (https://californiaturfco.com/4-essential-tips-for-your-artificial-turf-putting-green-maintenance)