
Introduction
Attaching artificial turf to concrete can transform a hard, uninviting surface into a lush, green oasis. However, this process requires careful preparation and execution. Homeowners can gain valuable insights into the essential steps, tools, and techniques needed for a successful installation. This ensures that their turf not only looks great but also lasts for years to come.
Yet, what are the common pitfalls that could derail this seemingly straightforward project? Exploring these challenges reveals the key to achieving a professional finish and long-lasting results.
Prepare the Concrete Surface for Turf Installation
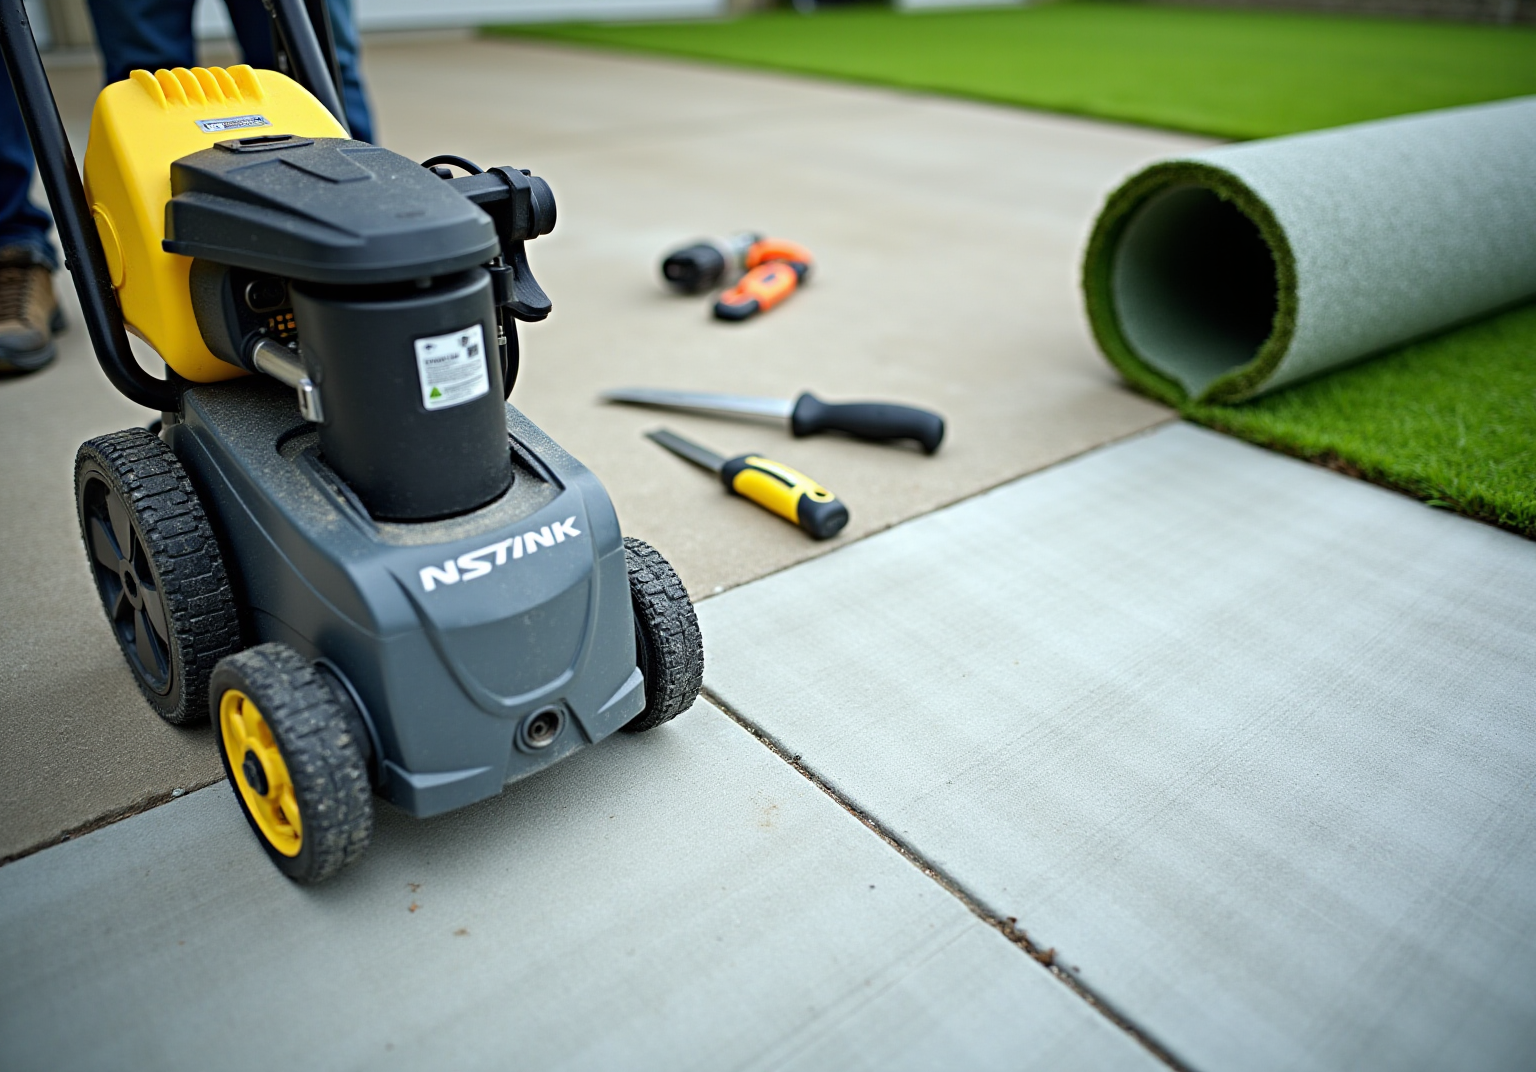
- Clean the Surface: Begin by thoroughly cleaning the surface from the concrete. A pressure washer is particularly effective for this task, with studies showing that a significant percentage of homeowners prefer this method for optimal cleanliness. If a pressure washer is not available, using a stiff broom along with a degreaser can also yield satisfactory results.
- Inspect for Damage: Carefully examine the concrete for any cracks or uneven areas. It is crucial to fill any cracks with a filler and smooth out rough spots to ensure a level surface, as this significantly impacts the durability and performance of the grass.
- Dry Fit the Grass: Before applying any adhesive, lay the grass over the concrete to check for fit. This step allows for necessary adjustments, ensuring that the grass aligns perfectly with the designated area.
- Allow to Dry: After using fillers or cleaners, ensure that the surface is completely dry before proceeding to the next steps. This precaution is vital for establishing a strong bond when the surface is ultimately secured.
At Hall Turf, we take pride in offering expert services in Kansas City, whether for residential, commercial, or pet areas. Our team, led by professionals like Brock, is committed to ensuring that your installation is seamless and satisfactory, reflecting the positive experiences of our clients.

Ensure Proper Drainage for Long-Term Performance
- Assess the Area: Start by evaluating the concrete layer for any existing cracks. If none are present, it is essential to create a drainage plan to prevent water accumulation, which can lead to damage over time.
- Install Drainage Mats: Position drainage mats beneath the grass as necessary. Consider using a specialized drainage mat with a raised, dimpled texture, as these materials are vital for facilitating water movement away from the installation area, ensuring that moisture does not accumulate and compromise the grass’s integrity.
- Create a Slope: Establish a slight slope of 1-2% away from structures to enhance drainage. This can be achieved by adjusting the base material, ensuring that water flows away from the concrete and prevents pooling.
- Test the Drainage: After installation, perform a drainage test by pouring water on the surface. Observe how the water flows; it should move away from the area efficiently, confirming that the drainage system is functioning as intended. Regularly inspect and maintain the drainage system for signs of standing water or clogged drains to ensure optimal performance.

Gather Essential Tools and Materials for Installation
To successfully install turf on concrete, it is essential to understand how to proceed by gathering the right tools and materials. Here’s what you’ll need:
Begin with a utility knife for cutting the turf, an adhesive, a measuring tape, and a stiff broom to brush the turf fibers. Additionally, include an edge trimmer for neat cuts along borders, a seam fix tool for aligning edges, a carpet knee kicker to stretch the grass and eliminate ripples, and a roller before laying down the grass. Optional tools that can enhance your installation include a grass cutter for precise cuts and a roller to smooth out the surface.
Materials Required: Invest in turf specifically designed for concrete, along with seam tape for securing edges. Depending on your project, additional adhesive may also be necessary. Ensure you purchase enough turf to cover your area, plus a little extra to accommodate trimming and adjustments.
Safety Gear: Protect yourself during the setup by wearing gloves to prevent cuts and scrapes, and knee pads to cushion your knees while working on the ground.
Organize Your Workspace: A clean and organized workspace is crucial. Arrange your tools and materials so they are easily accessible, streamlining the installation process and helping you work more efficiently.

Lay the Turf for a Professional Finish
- Use a Bonding Agent: Begin by applying a bonding agent spreader to evenly distribute a generous layer of a bonding agent, such as Turftak1, onto the concrete surface designated for the grass installation. Adhering to the manufacturer’s instructions is crucial for achieving optimal results, as proper application of the substance is essential for a strong bond.
- Position the Grass: Carefully roll out the turf, ensuring accurate alignment. Allow the grass to relax before making any cuts to achieve precise positioning. Firmly press down to ensure strong contact with the adhesive, which will help prevent any future lifting or shifting.
- Secure the Edges: To stabilize the installation, utilize adhesive around the perimeter of the grass. This step is critical in preventing movement and ensuring a professional finish.
- Trim the Edges: Once the grass is laid, trim any excess material around the edges for a polished appearance. Use a sharp utility knife for precise cuts, ensuring that the edges are clean and well-defined. Proper trimming not only enhances aesthetic appeal but also contributes to the overall durability of the installation.
By integrating these methods, you can learn how to attach turf to concrete effectively, during installation and ensuring that your synthetic grass not only looks impressive but also performs well over time. With Hall Turf’s expertise, including installation services and maintenance options, you can trust that your installation will be handled with professionalism and care.

Finalize Installation and Maintain Your Turf
- Inspect the Installation: After placing the sod, it is essential to conduct a thorough inspection of the entire area. This helps identify any loose edges or sections that may require additional adhesive. Make the necessary adjustments to ensure a secure fit.
- Add Infill: If applicable, evenly distribute infill across the surface. This step is crucial as it helps weigh down the grass, enhances its appearance, and contributes to its overall performance. A mixture of sand and rubber granules is recommended for optimal results. It is advisable to regularly top up infill in high-traffic areas every two to three years to maintain optimal conditions. As David Turner, proprietor of a lawn care business, states, proper maintenance, including infill, is essential for longevity.
- Establish a Maintenance Routine: To keep your grass in pristine condition, establish a routine that includes watering, mowing, and brushing the fibers to keep them upright. Monthly deep cleaning is essential to prevent organic buildup and maintain the grass’s aesthetic appeal. Utilizing a grass-safe cleaner, as suggested by lawn care experts, can assist in maintaining the turf with appropriate care.
- Address Issues Promptly: Be vigilant for any signs of wear or damage. Promptly addressing issues can prevent further deterioration and extend the life of your turf. Small repairs, such as seam fixes or infill replacement, can significantly enhance the longevity of your installation.

Conclusion
Successfully attaching turf to concrete requires a systematic approach that guarantees a durable and visually appealing finish. By adhering to the outlined steps, homeowners can transform their concrete spaces into vibrant green areas that enhance both aesthetics and functionality.
The importance of surface preparation, proper drainage, and the right tools for installation cannot be overstated. Cleaning and inspecting the concrete, along with implementing effective drainage solutions, are crucial steps that contribute to the longevity and performance of synthetic grass. Furthermore, gathering essential tools and materials, applying the turf correctly, and maintaining it regularly are vital for achieving a professional result.
Ultimately, investing time to understand and implement these processes can lead to a successful turf installation that not only looks great but also endures over time. Homeowners are encouraged to adopt these best practices and reap the benefits of a well-maintained artificial grass area, enhancing their outdoor spaces for years to come.
Frequently Asked Questions
What is the first step in preparing the concrete surface for turf installation?
The first step is to clean the surface by thoroughly removing dirt, debris, and oil stains. A pressure washer is recommended for this task, but a stiff broom and degreaser can also be used if a pressure washer is not available.
Why is it important to inspect the concrete for damage?
Inspecting the concrete for damage is crucial because any cracks or uneven areas need to be filled and smoothed out to ensure a level surface. This significantly impacts the durability and performance of the grass.
What should be done after cleaning the surface and inspecting for damage?
After cleaning and inspecting, you should dry fit the grass by laying it over the concrete to check for fit and make necessary adjustments before applying any adhesive.
How can you ensure the surface is ready for turf installation after using fillers or cleaners?
It is essential to allow the surface to completely dry after using fillers or cleaners before proceeding to the next steps. This ensures a strong bond when the surface is secured.
What should be assessed regarding drainage before turf installation?
You should assess the concrete layer for any existing drainage systems. If none are present, it is important to implement a drainage solution to prevent water pooling, which can lead to damage over time.
What materials can be used to facilitate drainage beneath the grass?
Drainage mats or perforated pipes should be positioned beneath the grass as necessary. A specialized drainage mat with a raised, dimpled texture is particularly effective for facilitating water movement away from the area.
How can you create proper drainage for turf installation?
You can create proper drainage by establishing a slight slope of 1-2% away from structures to enhance effective drainage, ensuring that water flows away from the concrete and prevents pooling.
How can you test the drainage after installation?
After installation, perform a drainage test by pouring water on the surface and observing how it flows. The water should move away from the area efficiently, confirming that the drainage system is functioning as intended.
What maintenance should be performed on the drainage system?
Regularly inspect and maintain the drainage system for signs of standing water or clogged drains to ensure optimal performance.
List of Sources
- Prepare the Concrete Surface for Turf Installation
- Step-by-Step Guide to Installing Artificial Grass on Concrete – Hall Turf | Artificial Turf Installation Kansas City KS & MO (https://hallturf.com/step-by-step-guide-to-installing-artificial-grass-on-concrete)
- Easy DIY Guide: Installing Artificial Turf on Concrete (https://artificialturfexpress.com/blog/the-diy-guide-to-installing-the-best-artificial-turf-on-concrete)
- Installing Artificial Grass on Concrete: Professional Guide (https://biltrightturf.com/installing-artificial-grass-on-concrete-professional-guide)
- Can Artificial Turf Be Installed Over Concrete? by Courts & Greens (https://courtsandgreens.com/can-artificial-turf-be-installed-over-concrete)
- Ensure Proper Drainage for Long-Term Performance
- hallturf.com (https://hallturf.com/6-steps-to-install-drainage-for-artificial-grass-successfully)
- How To Install Proper Drainage Under Artificial Grass For Long-Lasting Results (https://turftekusa.com/blog/how-to-install-proper-drainage-under-artificial-grass-for-long-lasting-results)
- Installing Artificial Grass on Concrete: Professional Guide (https://biltrightturf.com/installing-artificial-grass-on-concrete-professional-guide)
- DIY Artificial Grass Drainage Guide: Prevent Water Pooling (https://artificialturfexpress.com/blog/artificial-grass-drainage-101-ensuring-proper-water-runoff-for-your-diy-project)
- The Importance of Artificial Turf Drainage | Smart Turf® Artificial Grass (https://smartturf.com/the-importance-of-artificial-turf-drainage)
- Gather Essential Tools and Materials for Installation
- 15 Crucial Tools for DIY Artificial Grass Installation in San Jose (https://artificialturfexpress.com/blog/15-important-tools-youll-need-for-diy-artificial-grass-installation-in-san-jose)
- Turf Distributors | Built for the Demands of Professionals (https://artificialgrassliquidators.com/artificial-turf-installation-tools)
- 9 Must-Have Tools for Easy Artificial Turf Installation (https://skyjades.com/9-must-have-tools-artificial-turf-installation)
- 22 Essential Tools for Installing Artificial Grass (https://neograss.co.uk/22-essential-tools-installing-artificial-grass)
- DIY Guide: Essential Tools for Installing (https://blog.artificialgrassrecyclers.com/diy-guide-tools-you-need-to-install-your-own-artificial-turf)
- Lay the Turf for a Professional Finish
- The Complete Guide To Artificial Turf Glue | Chemique US (https://chemiqueadhesives.com/us/the-complete-guide-to-turf-glue)
- 10 Tips for Laying Synthetic Turf on Concrete | NexGen Lawns (https://nexgenlawns.com/tips-for-laying-synthetic-turf-on-concrete?srsltid=AfmBOopE8ULJBZAq2CLShb4r-jNNovi_j5Od__U3CzNrMyYMFW-cdUiC)
- turfrocks.com (https://turfrocks.com/backyard-drainage-turf-case-study)
- Supplying high-performance turf adhesives to large-scale US sports field installations (https://sapca.org.uk/case-studies/supplying-high-performance-turf-adhesives-to-large-scale-us-sports-field-installations)
- Finalize Installation and Maintain Your Turf
- How Long Does Artificial Turf Last in Florida and Texas? (https://magnoliaturf.com/how-long-does-artificial-turf-last-florida-texas)
- How to Keep Artificial Turf Clean Year-Round | US Turf (https://usturfsandiego.com/news/how-to-keep-artificial-turf-clean)
- Artificial Turf Lifespan & Maintenance Tips for Dallas – Fort Worth (https://wintergreengrass.com/artificial-turf-lifespan)
- Easy Steps for Maintaining Artificial Lawns (https://fieldmasters.ca/blog/seasonal-care-tips-for-your-artificial-lawn)
- How Long Does Artificial Turf Last | Synthetic Turf International Blog (https://synthetic-turf.com/artificial-grass-durability-how-long-does-turf-last)