
Introduction
Transforming a concrete surface into a backyard putting green can be a rewarding project for golf enthusiasts, yet it requires careful planning and execution. Many homeowners struggle with the initial steps of preparing a concrete surface for a putting green. Proper preparation is crucial to ensure a successful installation and long-lasting enjoyment of the putting green. This guide will walk you through the essential steps to successfully install a putting green on concrete, ensuring a durable and enjoyable result.
Evaluate Your Concrete Surface for Installation
- Inspect for Cracks and Damage: Begin by examining the flooring for visible cracks, chips, or uneven areas. Many property owners struggle with hardscape issues that complicate synthetic grass installation. Utilize a solid patching compound to fill any significant cracks, ensuring a smooth base for the turf.
- Check for Levelness: Utilize a level to confirm that the area is flat. Any dips or high spots should be addressed; grind down elevated areas or fill in low spots with a resurfacer to achieve an even surface.
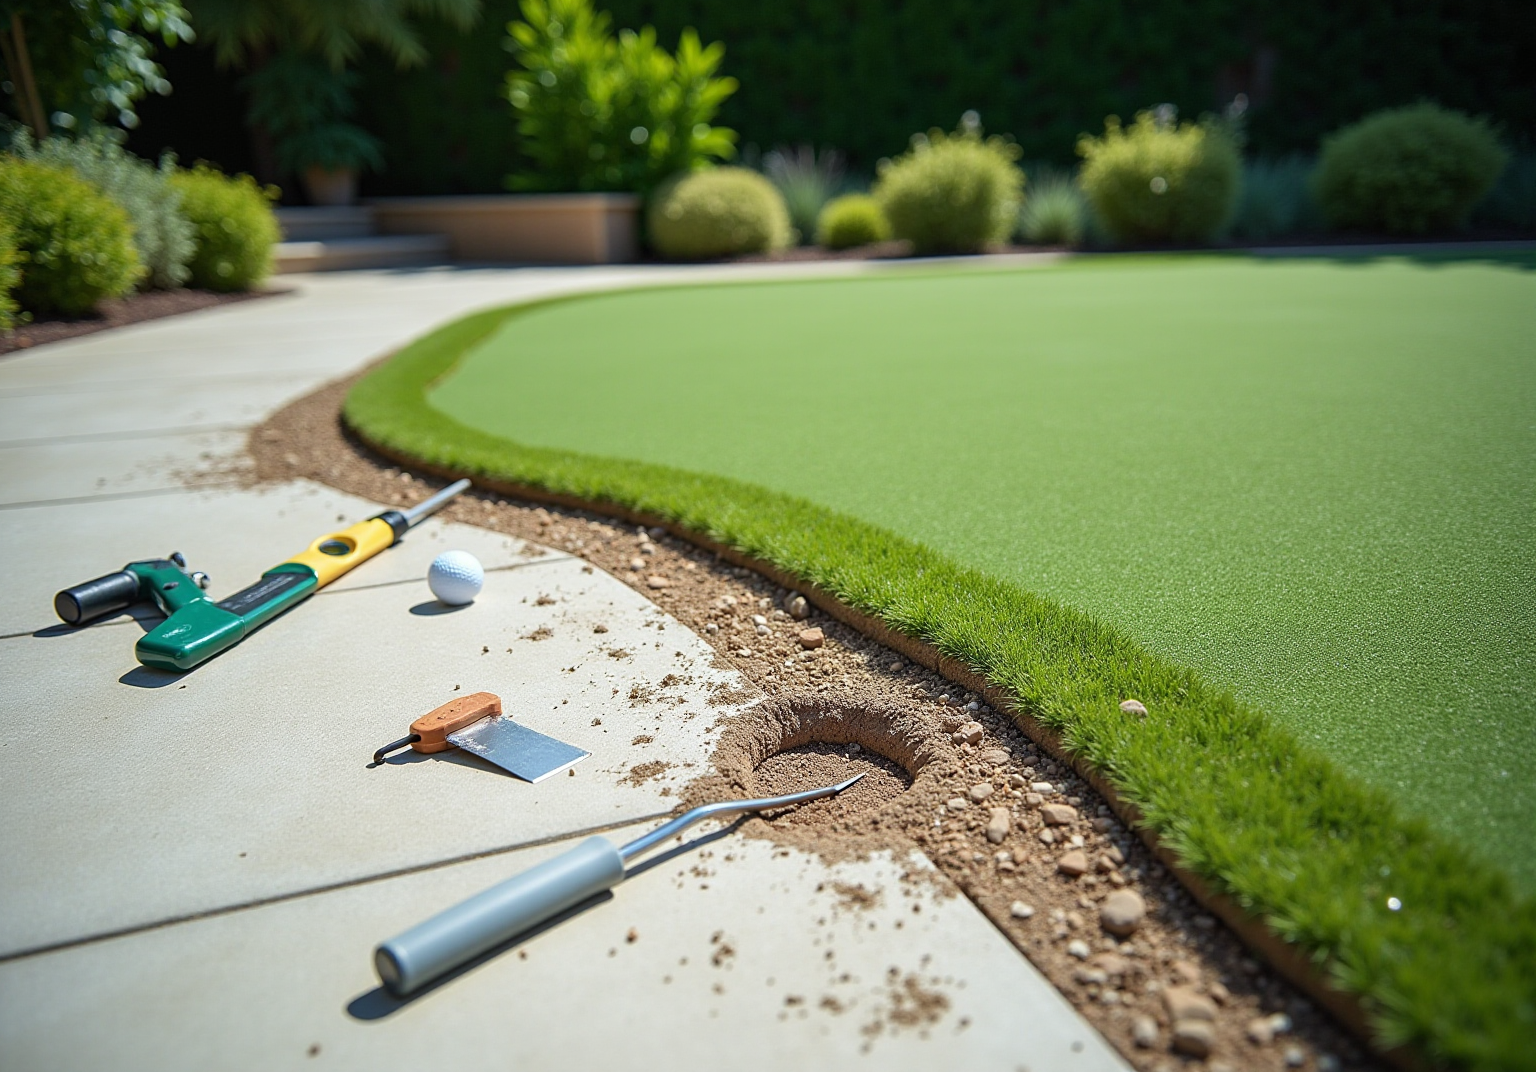
The project involves creating a putting green on concrete for golf enthusiasts. Assessing drainage is crucial for the longevity of your putting green on concrete. If water pools in certain areas, it’s advisable to drill small drainage holes or create a slight slope to guide water away from the installation site.
- Clean the Surface: Thoroughly clean the pavement by removing debris, dirt, or oil using a pressure washer or stiff broom. Keeping the area clean is key for the grass to bond effectively.
- Evaluate Surface Texture: The texture of the material should be rough enough to facilitate a strong bond with the adhesive. If the surface is too smooth, employ a concrete grinder to roughen it, ensuring optimal adhesion for the artificial turf.

Design Your Putting Green Layout
- Determine the Size: Begin by measuring the area designated for your putting surface. Evaluate the available space and decide how much of it you want to allocate for vegetation. Keep in mind that today’s designs often favor broader layouts that can serve multiple functions, such as hosting guests or accommodating children’s play.
- Sketch Your Design: Use graph paper or a digital design tool to draft a preliminary layout of your putting area. Include features like holes, slopes, and any additional landscaping elements. Today’s designs often feature geometric shapes and custom layouts that blend beautifully with your yard.
- Plan for Features: Decide on the number of holes and their strategic placement. Consider adding slopes or undulations to mimic the challenges of a real golf course, enhancing both playability and enjoyment. This approach aligns with the trend of creating versatile outdoor spaces that cater to various activities.
- Consider Accessibility: Make sure your design allows for easy movement throughout the garden. Plan for pathways or borders that facilitate smooth navigation around the space. Accessibility is crucial, especially if the green will be used for entertaining or family activities.
- Finalize Your Design: Review your layout to ensure it meets your needs and preferences. Make any necessary adjustments before proceeding to installation. A carefully planned design boosts both the functionality and the visual appeal of your outdoor area.

Prepare the Concrete Surface for Turf
Achieving a successful grass installation begins with meticulous ground preparation. Start by assessing the solid ground and then clean it thoroughly to remove any dust, debris, or grease. A pressure washer can be particularly effective for achieving a spotless finish, ensuring optimal adherence for the grass. Use a shovel or spade to remove any larger debris if necessary.
Next, inspect the area for cracks or holes and fill them with a concrete patching compound. Make sure to let the repairs set completely, following the manufacturer’s guidelines, to establish a stable base for the grass. Curing times vary by product, so expect this process to take several days.
To enhance water management, consider laying down a drainage layer or foam padding. This layer is essential for preventing water accumulation on the top, which can compromise the turf’s integrity over time. Using high-quality sub-base materials will also improve drainage efficiency.
After finishing repairs, reexamine the area for levelness using a spirit level. Make any necessary adjustments to ensure a flat and even area, as this is vital for both aesthetics and drainage efficiency. Check the levelness regularly to keep a consistent grade.
If any repairs were made, permit the mixture to set completely before continuing with the grass installation. Curing times can vary based on the product used, so be prepared for this process to take several days to ensure a solid base. As a grass installation expert observes, ‘Proper ground preparation is essential to guarantee a smooth, level, and durable area for grass installation.’ Neglecting these steps can result in costly repairs and an unsatisfactory lawn appearance.

Install the Artificial Turf on the Concrete
To achieve a flawless synthetic grass installation, meticulous preparation is essential. Start by thoroughly cleaning the flooring to eliminate any dirt, debris, and oil stains, which is crucial for proper bonding of the grass adhesive. Unroll the synthetic grass over the prepared cement surface and allow it to adjust to the temperature for a few hours. This adjustment helps prevent creases and guarantees a better fit. As noted by satisfied clients, the recommendations provided are consistently praised for their effectiveness. Hall Turf’s team, known for their professionalism and attention to detail, can assist in this initial step to ensure a flawless start.
Next, utilize a sharp utility knife to cut the grass according to your design specifications. Leave a slight excess around the edges to allow for precise trimming later, resulting in a precise and clean finish. Numerous clients have highlighted Hall Turf’s meticulous approach, often citing specific examples of their precision in installations.
After cutting, apply grass adhesive or double-sided tape to attach the grass to the concrete. For optimal adhesion, use a zigzag pattern when applying the adhesive, ensuring even coverage. Press the grass down firmly to establish a strong bond, because poor adhesion can cause problems such as mold and unpleasant odors later on. The expertise of Hall Turf’s crew ensures that this step is executed flawlessly, preventing future complications.
If your putting green on concrete consists of several sections of grass, join the edges using seam tape and adhesive. Align the fibers carefully to create a seamless appearance, creating a visually appealing look for your installation. Hall Turf’s attention to detail in this process has been highlighted by clients, ensuring a visually appealing result.
Finally, after securing the grass, employ a seam roller or a heavy roller to press down the grass, ensuring it adheres well to the concrete. This step is crucial for eliminating air pockets and achieving a smooth, professional finish. Additionally, consider incorporating foam padding beneath the surface for extra comfort and enhanced drainage, particularly in play areas. Routine evaluations following installation will aid in preserving the surface’s appearance and functionality, guaranteeing it endures for 8 to 15 years, as backed by industry data. Investing in professional installation not only enhances the aesthetic appeal but also ensures longevity and functionality of your grass surface.

Finalize and Maintain Your Putting Green
To achieve a professional-looking putting green, meticulous attention to detail is essential. After laying the grass, carefully trim any excess around the edges using a sharp knife. This gives your putting green a polished look that stands out.
If your grass surface requires infill, distribute it evenly across the area as per the manufacturer’s guidelines. This not only helps weigh down the turf but also replicates the texture of real grass, enhancing playability. Incorrect infill can negatively impact putting speed, leading to frustration during play.
Maintain a pristine putting surface by routinely removing debris such as leaves and dirt. Utilize a leaf blower or broom to keep the area neat, preventing moisture accumulation that can result in mold or weed growth. Additionally, rinsing off light debris with a garden hose helps maintain the appearance of the putting green.
Brushing the area periodically keeps the turf fibers upright and looking fresh. This practice helps prevent matting and ensures a smooth putting area, which is crucial for optimal play.
Conduct regular inspections of your putting surface for any signs of wear or damage. Promptly addressing issues, such as minor surface unevenness or fading, will help maintain the integrity and longevity of your green. This proactive approach not only enhances playability but also ensures longevity, saving costs in the long run.

Conclusion
Many golf enthusiasts may feel overwhelmed by the idea of transforming a concrete surface into a putting green, but it is a rewarding endeavor that can enhance outdoor enjoyment. Following the steps in this guide allows individuals to create a functional and attractive outdoor space that enhances leisure activities.
Key steps such as evaluating the concrete surface for cracks, designing an effective layout, and carefully installing the artificial turf are crucial for success. Each phase – from assessing drainage needs to maintaining the turf – plays a vital role in creating a putting green that meets personal expectations and stands the test of time. Regular upkeep, including cleaning and inspections, ensures that the green remains in excellent condition, ready for use whenever desired.
The effort invested in creating a putting green can lead to countless hours of enjoyment and memorable moments with loved ones. Embrace the challenge and take the first step toward transforming your yard into a golfer’s paradise, where friends and family can gather for fun and friendly competition.
Frequently Asked Questions
What should I inspect for before installing synthetic grass on a concrete surface?
Begin by examining the flooring for visible cracks, chips, or uneven areas. Fill significant cracks with a solid patching compound to ensure a smooth base.
How can I ensure the concrete surface is level for synthetic grass installation?
Use a level to confirm the area is flat. Grind down elevated areas or fill in low spots with a resurfacer to achieve an even surface.
Why is drainage important for a putting green on concrete?
Proper drainage is crucial for the longevity of your putting green. If water pools in certain areas, consider drilling small drainage holes or creating a slight slope to guide water away from the installation site.
How should I clean the concrete surface before installation?
Thoroughly clean the pavement by removing debris, dirt, or oil using a pressure washer or stiff broom. A clean surface is essential for effective bonding of the grass.
What is the ideal surface texture for installing artificial turf?
The surface should be rough enough to facilitate a strong bond with the adhesive. If the surface is too smooth, use a concrete grinder to roughen it for optimal adhesion.
How do I determine the size of my putting green?
Measure the area designated for your putting surface and evaluate the available space. Decide how much of it to allocate for vegetation, keeping in mind that broader layouts are often favored for multiple functions.
What should I include in my design for the putting green?
Use graph paper or a digital design tool to draft a layout that includes features like holes, slopes, and landscaping elements. Consider geometric shapes and custom layouts that enhance the visual appeal.
How can I enhance the playability of my putting green?
Decide on the number of holes and their strategic placement. Adding slopes or undulations can mimic real golf course challenges, improving both playability and enjoyment.
What should I consider for accessibility in my putting green design?
Ensure the design allows for easy movement throughout the garden by planning pathways or borders that facilitate smooth navigation, especially for entertaining or family activities.
How do I finalize my putting green design?
Review your layout to ensure it meets your needs and preferences, making any necessary adjustments before proceeding to installation. A well-planned design increases both functionality and visual appeal.
List of Sources
- Evaluate Your Concrete Surface for Installation
- transparencymarketresearch.com (https://transparencymarketresearch.com/concrete-repair-system-market.html)
- forconstructionpros.com (https://forconstructionpros.com/latest-news/article/22944042/polaris-market-research-concrete-repair-mortars-market-to-reach-65-billion-by-2034-amid-rising-infrastructure-demand)
- classicturf.org (https://classicturf.org/world-of-concrete-2026)
- Synthetic Playground Turf Covered in Proposed Standards | ASTM (https://astm.org/news/synthetic-playground-turf-covered-in-proposed-standard)
- Design Your Putting Green Layout
- 5 Popular Artificial Turf Putting Green Design Trends to Try in 2026 – SGW Sacramento (https://sgwsacramento.com/blog/5-popular-artificial-turf-putting-green-design-trends-to-try-in-2026)
- 🌱 Artificial Turf Trends for 2026: Style, Comfort, and Sustainability – InspireScapes (https://inspirescapes.com/artificial-turf-trends-for-2026-style-comfort-and-sustainability)
- bestputtinggreensandturfpalmdesert.com (https://bestputtinggreensandturfpalmdesert.com/blog/luxury-putting-green-trends-in-2026)
- backninegreenseastbay.com (https://backninegreenseastbay.com/blog/backyard-putting-green-trends-in-san-francisco-bay-area-for-2026)
- 2026’s Biggest Artificial Turf Putting Green Design Trends – OC Turf & Putting Greens (https://octurfandputtinggreens.com/2026s-biggest-artificial-turf-putting-green-design-trends)
- Prepare the Concrete Surface for Turf
- Master Ground Prep: DIY Turf Installation Made Easy (https://artificialturfexpress.com/blog/the-diyers-guide-to-ground-prep-for-turf-installation-and-accessories)
- durafield.com (https://durafield.com/how-to-secure-your-artificial-turf-to-concrete)
- Installing Artificial Grass on Concrete: Professional Guide (https://biltrightturf.com/installing-artificial-grass-on-concrete-professional-guide)
- Install the Artificial Turf on the Concrete
- Installing Artificial Grass on Concrete: Professional Guide (https://biltrightturf.com/installing-artificial-grass-on-concrete-professional-guide)
- nexgenlawns.com (https://nexgenlawns.com/tips-for-laying-synthetic-turf-on-concrete?srsltid=AfmBOool5623mXY0ac23Ifar8Ce_X0od7Zl9krfLoJ7DR0jzI8ITmqVU)
- Easy DIY Guide: Installing Artificial Turf on Concrete (https://artificialturfexpress.com/blog/the-diy-guide-to-installing-the-best-artificial-turf-on-concrete)
- sgwsacramento.com (https://sgwsacramento.com/blog/everything-you-need-to-know-about-installing-artificial-grass-on-concrete)
- 5 Steps to Lay Artificial Turf on Concrete for Your Yard – Hall Turf | Artificial Turf Installation Kansas City KS & MO (https://hallturf.com/5-steps-to-lay-artificial-turf-on-concrete-for-your-yard)
- Finalize and Maintain Your Putting Green
- Artificial Putting Green Maintenance: Year-Round Care Guide (https://aglgrass.com/blogs/artificial-putting-green-maintenance)
- Artificial Golf Greens Maintenance Tips (https://southwestgreens.com/blog/artificial-golf-greens-maintenance-tips)
- californiaturfco.com (https://californiaturfco.com/4-essential-tips-for-backyard-putting-green-maintenance)
- Artificial Backyard Putting Green: Cleaning and Maintenance Tips (https://texasturfusa.com/austin-landscape-design/how-to-clean-an-artificial-putting-green)
- How to Clean and Maintain Putting Green Turf: A Seasonal Guide (https://backninegreens.com/blog/how-to-clean-and-maintain-putting-green-turf-seasonal-checklist)