
Introduction
Installing an artificial turf pool deck can elevate an ordinary outdoor space into a luxurious oasis, providing both aesthetic appeal and practical benefits. This guide outlines a step-by-step approach to achieving a professional-grade installation, enabling homeowners to enjoy a beautiful, low-maintenance area around their pool. However, with numerous variables to consider – from accurately measuring the space to selecting the appropriate materials – what are the essential steps that can determine the success of this project?
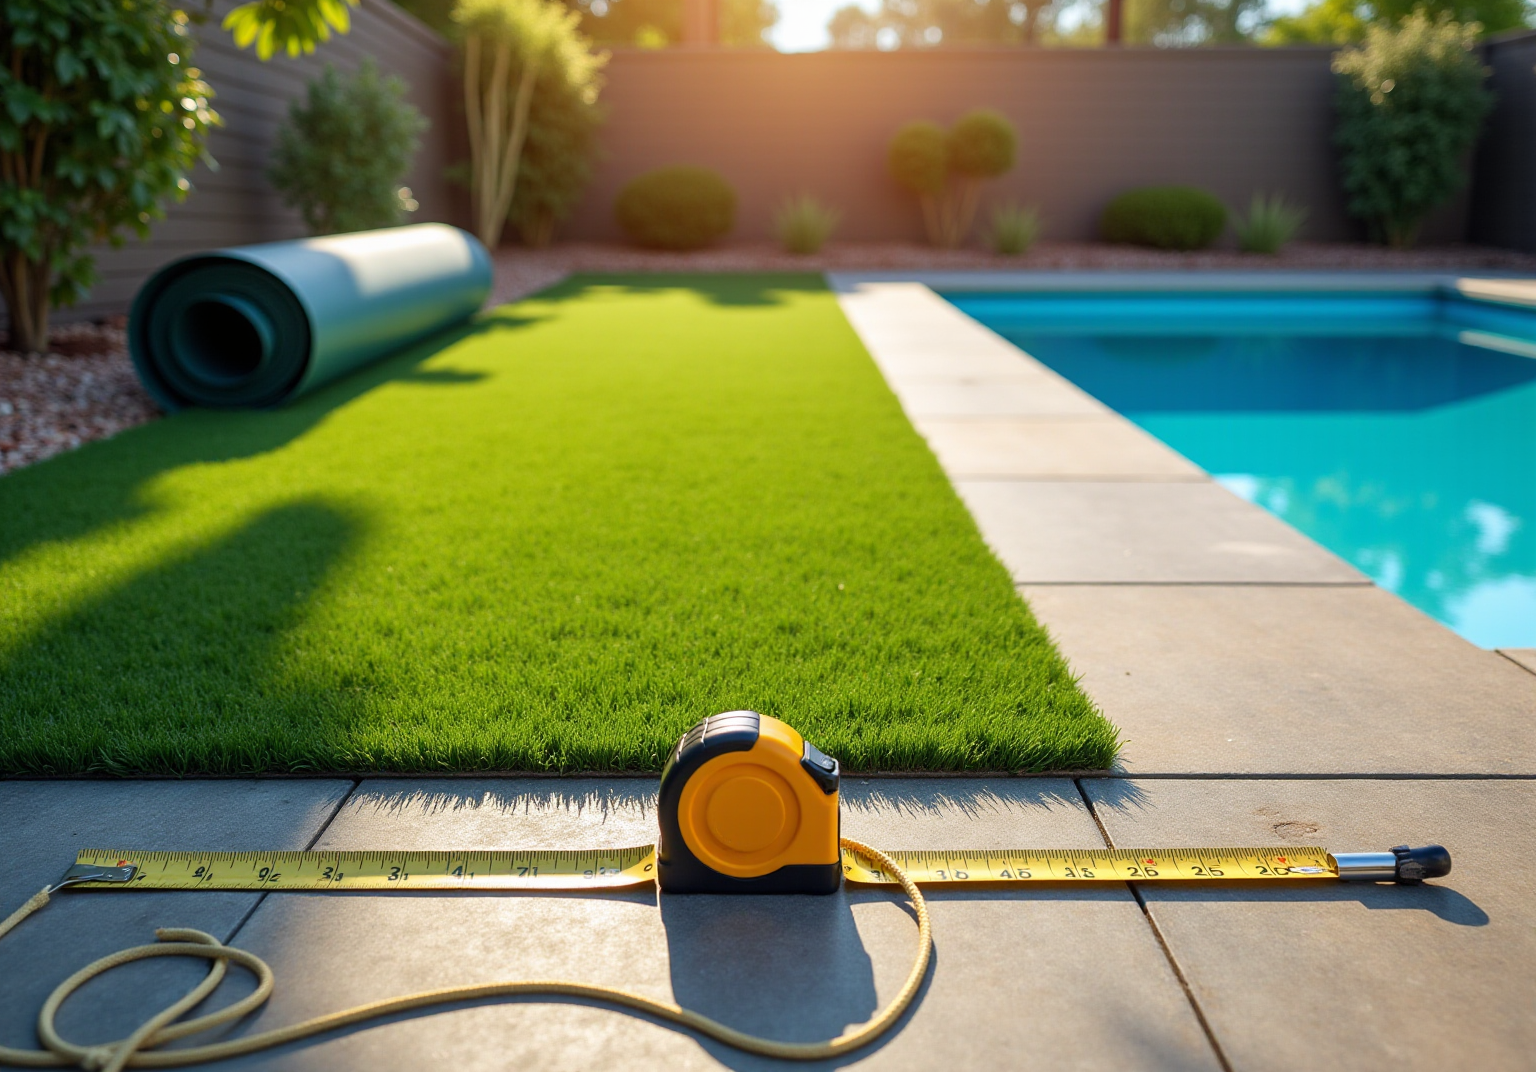
Plan and Measure Your Pool Area
- Gather Your Tools: Equip yourself with measuring tape, stakes, and string to ensure accurate measurements.
- Measure the Area: Start by measuring the length and width of your pool area. Use stakes to mark the corners, which will help in your planning.
- Determine the Grass Area: To effectively secure the grass, add an extra 1-2 feet around the pool’s perimeter. This extension is crucial for stability over time.
- Sketch the Layout: Create a diagram, incorporating your measurements. This visual reference will assist you during the setup process and help organize the installation.
- Check for Obstacles: Identify any structures or features that could impact the installation. This step is vital for ensuring a smooth process.

Gather Materials and Tools for Installation
To successfully install turf around your pool, it is essential to gather the following materials and tools:
- Materials Needed: Artificial grass is crucial, along with adhesive, landscape fabric, and edging.
- Essential Tools: Equip yourself with a utility knife for cutting the grass, a shovel, a rake for leveling the base, a hammer for securing the sod, and a tape measure.
- Choosing Quality Grass: Select high-quality turf. This choice enhances durability and safety, ensuring the surface withstands exposure to sunlight and moisture.
- Choosing Infill Material: If your turf requires infill, consider options such as silica sand or rubber granules. These materials improve stability and drainage, contributing to the longevity of your installation.
- Safety Precautions: Prioritize safety by wearing gloves and protective eyewear during setup. This protective gear is vital for preventing injuries while handling tools and materials.

Prepare the Ground for Turf Installation
- Clear the Area: Start by removing all existing grass, weeds, and debris from the pool area. This step is essential for establishing a clean base, ensuring that no organic material interferes with the new surface. As noted by satisfied clients, ‘Brock came out, assessed my requirements, and proposed the best solution,’ which facilitated a smooth installation.
- Excavate the Ground: Dig down approximately 4 inches to create a level base. This depth is ideal for accommodating the grass and its roots, allowing for proper growth. Clients have praised Hall Landscaping for their attention to detail during this critical phase, ensuring the grass is prepared for years of use.
- Compact the Soil: Use a plate compactor to firmly compress the soil. Proper compaction is crucial as it prevents settling after the turf is laid, providing a durable and even surface. Experts emphasize that achieving a solid base is vital for the longevity of your installation. Hall’s professional crew is recognized for their meticulous approach, ensuring every step is executed with precision.
- Install a Weed Barrier: Lay down a weed barrier over the compacted soil. This fabric will help prevent weeds from growing through the turf, significantly reducing maintenance needs and enhancing the overall appearance of your installation. Customers have expressed satisfaction with Hall’s recommendations for maintaining a pristine look.
- Add Base Material: Spread a layer of crushed stone to enhance drainage and provide a solid foundation. This should be evenly distributed and compacted to create a stable sub-base for the artificial grass, ensuring it remains flat and functional over time. Additionally, consider employing experts such as Hall Landscaping for the installation if you have concerns regarding the process or potential underground utilities. Their expertise guarantees a high-quality finish, as highlighted by numerous positive testimonials, including, “Brock is extremely professional, timely, and responsive.”

Lay Down the Artificial Turf
- Unroll the Grass: Begin by laying the grass out in the designated area, allowing it to acclimate for a few hours. This step helps the material relax and reduces the risk of wrinkles during installation.
- Cut to Fit: Use a sharp utility knife to trim the edges of the grass, ensuring a precise fit around the pool and any obstacles. Precise cutting is essential; it is advisable to leave a small space between the grass and the pool edge to allow for expansion and contraction.
- Seaming: If your project requires seams, ensure the seams are tight. Use seam tape and adhesive to secure the edges, following the manufacturer’s guidelines for optimal results. Poor seaming can occur if not executed correctly. As noted by Eric Fullerton, a Synthetic Grass Expert, ‘Proper seaming will make the setup process much simpler and more accurate.’
- Secure the Grass: Anchor the grass around the edges using landscape staples, placing them every 6-12 inches. This prevents movement and preserves the integrity of the setup, especially in windy conditions. Eric Fullerton emphasizes, “Using staples to secure the grass edges effectively prevents movement and preserves the integrity of the setup over time.”
- Check for Levelness: After securing the turf, ensure it is level. Adjust as necessary to avoid uneven surfaces, which can lead to water pooling and other issues. Additionally, compacting the base layer is essential to avoid shifting over time, ensuring the durability of your setup. With expert guidance, such as that of Brock, who is recognized for his attention to detail and dedication to quality, you can achieve a turf installation that meets your needs.

Secure and Finalize the Turf Installation
- Add Infill: If necessary, add infill material. This helps the blades stand upright and provides cushioning.
- Brush the Turf: Utilize a stiff broom to sweep the surface. This action aids in distributing the infill and fluffing the grass blades.
- Secure the Edges: Ensure that all edges are securely fastened and that there are no loose areas present.
- Inspect the Area: Walk around the area to identify any imperfections or areas that require adjustment.
- Clean the Surface: Remove debris, ensuring the area is clean and ready for use.

Conclusion
Successfully installing an astroturf pool deck requires meticulous planning and execution to achieve a professional finish. By following the outlined steps-from measuring the pool area to securing the turf-homeowners can transform their outdoor spaces into inviting and functional environments. This process not only enhances the aesthetic appeal of the pool area but also provides a safe and durable surface for leisure activities.
Key points discussed include:
- The importance of accurate measurements
- Selecting high-quality materials
- Properly preparing the ground before installation
Each step, from clearing the area to finalizing the turf, is crucial for ensuring the longevity and stability of the artificial grass. Utilizing the right tools and techniques, such as proper seaming and securing methods, further enhances the installation quality, making it a rewarding DIY project.
In conclusion, investing time and effort into the installation process pays off by creating a beautiful and low-maintenance pool deck. Embracing these best practices simplifies the installation and ensures a long-lasting, vibrant outdoor space. For those considering this upgrade, taking the plunge into artificial turf installation can significantly elevate the enjoyment and functionality of their pool area.
Frequently Asked Questions
What tools do I need to measure my pool area?
You will need a tape measure, stakes, and string to ensure accurate measurements of your pool area.
How do I measure the pool area?
Start by measuring the length and width of your pool area. Use stakes to mark the corners for precision in your measurements.
How much extra space should I add around the pool for grass?
It is recommended to add an extra 1-2 feet around the pool’s perimeter to effectively secure the grass and prevent shifting over time.
Why is it important to sketch the layout of the pool area?
Creating a simple diagram of the pool area with your measurements helps you during the setup process and organizes the grass layout.
What should I check for before installing grass around the pool?
Identify any existing structures, such as fences or landscaping features, that could impact the grass layout to ensure a smooth installation.
What materials are needed for installing artificial turf around a pool?
You will need high-quality artificial grass, infill material (if required), landscape fabric to prevent weed growth, and adhesive for securing seams.
What essential tools do I need for the installation of artificial turf?
Essential tools include a utility knife for cutting the grass, a grass cutter for precise edges, a rake for leveling the base, a hammer for securing the sod, and a compactor for a solid foundation.
What type of grass should I choose for poolside use?
Select UV-resistant grass specifically designed for poolside use to enhance durability and safety against sunlight and moisture exposure.
What options are available for infill material?
Consider silica sand or rubber granules as infill options, as they improve stability and drainage, contributing to the longevity of your installation.
What safety equipment should I wear during the setup?
It is important to wear gloves and protective eyewear to prevent injuries while handling tools and materials during the installation process.
List of Sources
- Plan and Measure Your Pool Area
- Easy Fixes: Installing Artificial Grass Around Your Pool (https://artificialturfexpress.com/blog/the-ultimate-troubleshooting-guide-for-installing-artificial-grass-around-your-pool)
- Swimming Pool Statistics (2026) (https://rubyhome.com/blog/swimming-pool-stats)
- Top 5 Turf Installation Quote Mistakes Contractors Keep Making (https://aglgrass.com/blogs/turf-installation-quote-mistakes)
- earthturfwood.com (https://earthturfwood.com/landscaping-blog/pool-design-case-study-lancaster-pa-landscape-contractor-pool-company-ultimate-backyard)
- sgwsacramento.com (https://sgwsacramento.com/blog/5-key-factors-to-consider-when-comparing-artificial-turf-quotes)
- Gather Materials and Tools for Installation
- syntheticturfnorthwest.com (https://syntheticturfnorthwest.com/a-helpful-guide-to-installing-synthetic-turf-diy)
- lowes.com (https://lowes.com/n/how-to/install-artificial-grass)
- Artificial Turf Market Size And Share | Industry Report, 2033 (https://grandviewresearch.com/industry-analysis/artificial-turf-market)
- horsemanslandscape.com (https://horsemanslandscape.com/artificial-turf-for-pool-areas-pros-cons-and-considerations)
- Artificial grass around the pool: how to lay it step by step and enjoy its permanent greenness (https://turfgrass.net/inspiration/artificial-grass-around-the-pool)
- Prepare the Ground for Turf Installation
- shawgrass.com (https://shawgrass.com/about/news-blog/how-to-prep-for-artificial-grass-installation)
- eliteturfsupply.com (https://eliteturfsupply.com/blogs/preparing-ground-for-artificial-grass)
- usturfsandiego.com (https://usturfsandiego.com/news/how-to-install-artificial-grass-on-soil)
- heavenlygreens.com (https://heavenlygreens.com/blog/what-you-need-to-know-before-installing-artificial-turf)
- lowes.com (https://lowes.com/n/how-to/install-artificial-grass)
- Lay Down the Artificial Turf
- gardenista.com (https://gardenista.com/posts/case-study-7-gardens-with-artificial-grass)
- earthturfwood.com (https://earthturfwood.com/case-studies)
- artificialturfexpress.com (https://artificialturfexpress.com/blog/diy-guide-how-to-install-artificial-grass-around-your-pool-area)
- Top 5 Turf Installation Quote Mistakes Contractors Keep Making (https://aglgrass.com/blogs/turf-installation-quote-mistakes)
- Easy Fixes: Installing Artificial Grass Around Your Pool (https://artificialturfexpress.com/blog/the-ultimate-troubleshooting-guide-for-installing-artificial-grass-around-your-pool)
- Secure and Finalize the Turf Installation
- turfdistributors.com (https://turfdistributors.com/blog/infill-for-artificial-grass)
- Artificial Turf Maintenance Guide | Cleaning & Care Tips (https://fieldturflandscape.com/maintenance/artificial-turf-maintenance-guide)
- syntheticgrassdfw.com (https://syntheticgrassdfw.com/artificial-grass/how-long-does-outdoor-artificial-grass-last-what-you-need-to-know)
- The Importance of Professional Installation for Artificial Turf – H2I Group (https://h2igroup.com/blogs/the-importance-of-professional-installation-for-artificial-turf)
- One moment, please… (https://usturfsandiego.com/news/artificial-turf-installation)