
Introduction
Installing artificial sod can transform any outdoor space into a lush, green oasis. However, achieving this transformation requires careful planning and execution. This guide outlines five essential steps that simplify the installation process while ensuring a beautiful and durable result. Even the slightest miscalculation or oversight can lead to costly mistakes. Therefore, it is crucial to navigate the complexities of artificial sod installation effectively. By following this guide, you can achieve a flawless finish that enhances both aesthetics and functionality.
Plan Your Artificial Sod Installation
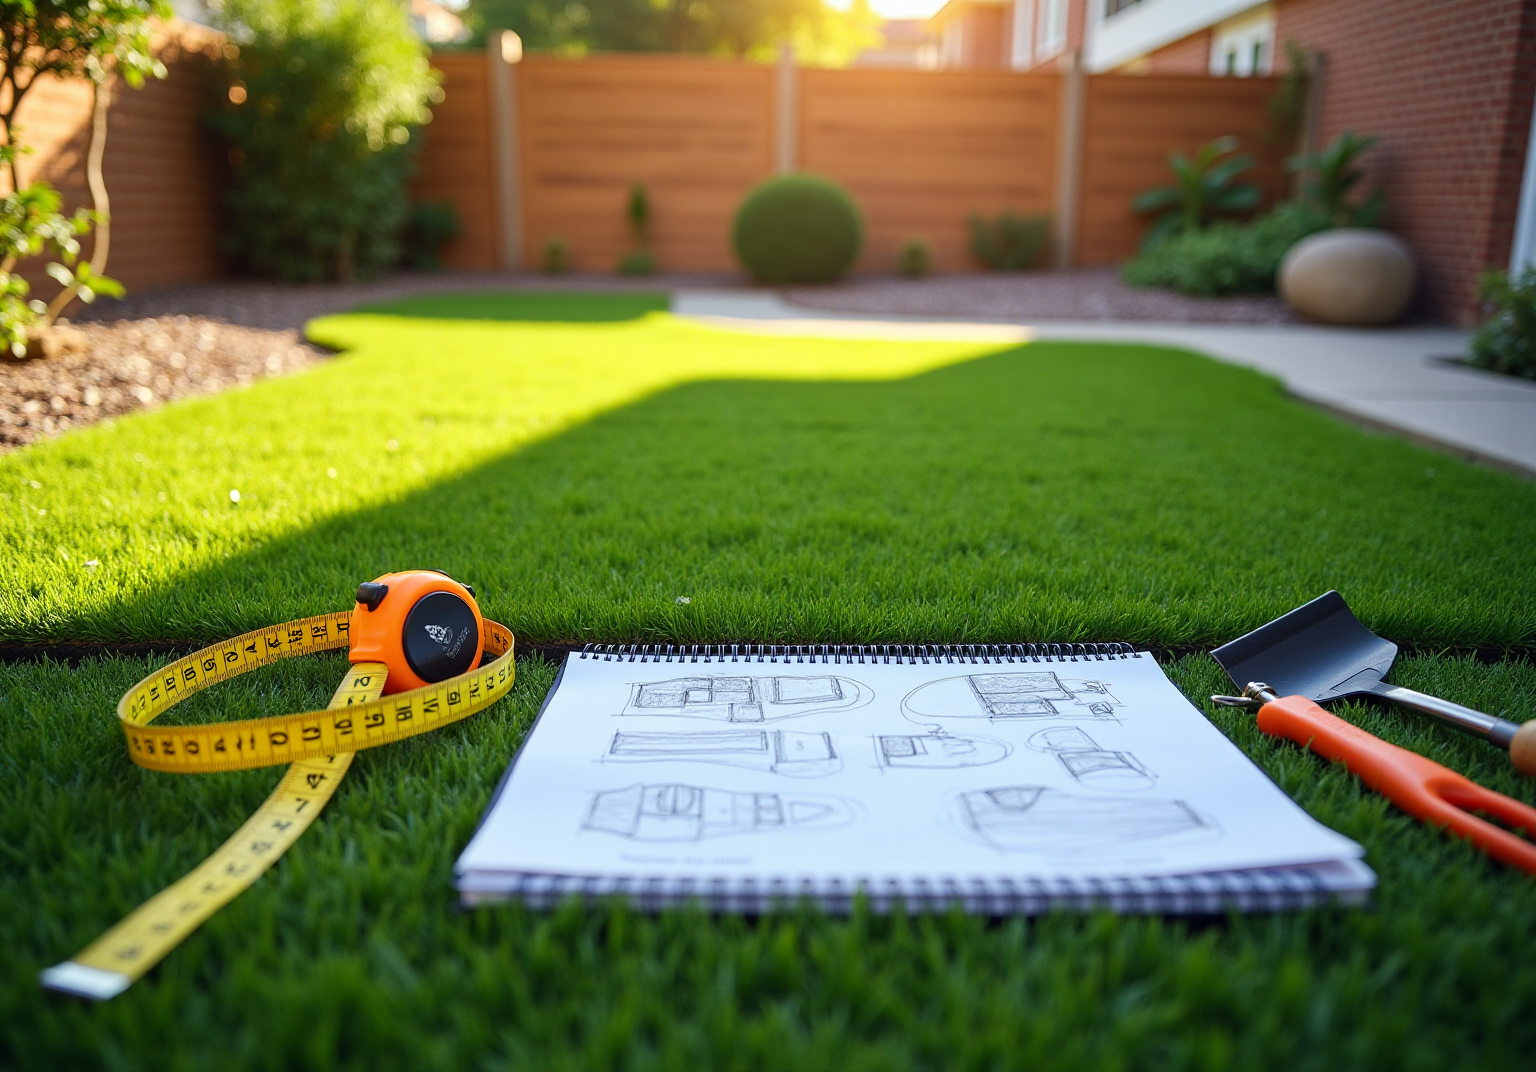
- Assess Your Space: Start by measuring the area designated for artificial sod. Use a measuring tape to determine both the length and width, then calculate the total square footage to understand the amount of turf required. This foundational step is crucial for accurate planning and budgeting related to installation.
- Choose the Right Turf: Selecting the appropriate type of synthetic grass is essential. Consider factors such as aesthetics, durability, and safety for children or playgrounds. Hall Turf offers premium products that are hypoallergenic and designed to withstand heavy traffic, ensuring a safe environment for your pets. As one satisfied customer, Dick Bryant, noted, “Brock came out, evaluated my needs and came up with the best solution. I went with his advice and the recommendation was perfect!”
- Consider Drainage: Evaluate the drainage conditions of your selected location. Proper drainage is vital to prevent water pooling, which can compromise the integrity of the turf over time. Hall Turf utilizes an advanced drainage system that prevents water accumulation, especially important in pet areas. This system significantly improves hygiene, enhancing cleanliness and comfort for your pets.
- Gather Materials: Compile a list of materials for the setup. This includes the turf itself, base materials, a weed barrier, and essential tools such as shovels, rakes, and compactors. Ensuring you have everything available will simplify the installation process.
- Create a Timeline: Develop a clear schedule for your project. Plan the start and completion dates while considering weather conditions and your personal availability. Hall Turf can assist you in establishing a timeline that suits your specific circumstances, ensuring a smooth installation. As Scott Sachse shared, “Brock is extremely professional, timely, and responsive. The crew was beyond professional, polite, and courteous.”

Prepare the Base for Installation
- Clear the Area: Start by removing any existing grass, weeds, and debris from the setup site. Use tools like a sod cutter or shovel to achieve a clean surface. This step is crucial for creating a stable base for the grass.
- Excavate the Soil: Dig down approximately 3 to 4 inches to create sufficient space for the turf. This depth is vital for proper installation. Ensure the area is free of any materials that could interfere with the installation.
- Install Landscape Fabric: Place a fabric across the excavated area to stop weeds from growing through the turf. Overlap the seams by at least 6 inches to guarantee complete coverage and effectiveness in blocking sunlight while allowing water to pass through.
- Add Base Material: Fill the excavated space with a material such as crushed stone or gravel. Spread it evenly across the surface and compact it thoroughly using a plate compactor. This creates a strong base that enhances drainage and prevents irregular surfaces, which is essential for the longevity of your synthetic lawn.
- Level the Base: Use a rake to smooth out the surface, ensuring it is flat and ready for grass installation. A well-leveled base is critical for achieving a seamless appearance and proper water drainage, thereby enhancing the durability of your synthetic lawn.
By following these steps, you can ensure a successful installation at home, which many satisfied clients have experienced with Hall Turf’s expert solutions, including residential lawns, commercial spaces, and pet zones. Brock’s meticulous attention to detail and commitment to quality guarantee that your project will be completed on time and to your satisfaction.

Lay the Artificial Grass
Before placing the artificial grass, ensure the area is clear of debris, stones, and plants. This preparation is essential for the successful installation. Additionally, applying a weed killer can help eliminate any existing weeds. Hall Turf’s team, led by professionals like Brock, is always available to provide guidance and support throughout the process.
Spread the artificial grass in the designated area, allowing it to settle for a few hours. This step helps minimize wrinkles and creases. Customers have commended Brock for his meticulous attention to detail and his commitment to ensuring a smooth experience.
After preparing the surface, roll out a weed barrier to prevent weed growth. Secure the barrier with nails or anchors. Brock’s expertise in turf installation ensures that each action is executed with precision, thereby enhancing the durability of your grass.
Use a sharp utility knife to trim the edges. Cut from the back of the grass to achieve clean edges. When using multiple pieces, align the seams, ensuring that the grass blades face the same direction for a natural appearance.
Secure the grass around the perimeter and at seams using landscape staples or galvanized nails, placing them every 6 to 12 inches. Additionally, lay down a 2 to 4-inch layer of aggregate after the weed barrier for a stable foundation. Customers like Scott Sachse have praised the professionalism of Hall Turf’s crew, who are dedicated to delivering exceptional results.
Smooth out any wrinkles or bubbles by pulling the turf taut and making adjustments as necessary. Remember, the warranty of up to 15 years on the artificial grass ensures quality and durability. If you have any questions during the installation process, feel free to reach out for expert advice from Hall Turf’s knowledgeable team.

Secure the Turf and Add Finishing Touches
- During the installation, begin by ensuring that all edges of the grass are secured. Pay particular attention to corners as necessary to reinforce these areas.
- Add Infill: Depending on the type of grass installed, it may be necessary to add infill materials, such as silica sand or rubber granules. This addition serves to weigh down the grass, helping it stay in place.
- Brush the Turf: Employ a broom to lift the grass blades and evenly distribute the infill. This process not only enhances the visual appeal but also aids in keeping the grass upright.
- Trim Edges: If there are any overhanging edges, trim them neatly to achieve a clean edge, ensuring a polished look.
- Final Inspection is important for creating a flawless finish. Inspect the area for the details: Finally, walk around to identify any loose spots or imperfections. Make adjustments as necessary to ensure a thorough and complete installation.

Maintain Your Artificial Sod for Longevity
- Regular Cleaning: Periodically rinse the surface with water to eliminate dust, debris, and pet waste. This practice not only prevents odors but also keeps the grass looking fresh. The lifespan of artificial sod can extend from 10-15 years to 20 years or more, underscoring the long-term benefits of maintenance.
- Brushing: Utilize a stiff broom or brush to fluff the grass blades, particularly in high-traffic areas. Regular brushing redistributes infill evenly, ensuring consistent support and cushioning while preventing matting and preserving a natural appearance.
- Inspection: Conduct regular checks for any signs of wear or damage, such as tears or loose seams. Promptly addressing any issues is crucial to prevent further damage and maintain the integrity of the artificial sod installation.
- Infill Maintenance: Ensure that the infill material is evenly distributed and replenished as needed to sustain the grass’s performance and appearance. Proper infill levels are vital for optimal shock absorption and overall aesthetics.
- Avoid Heavy Objects: Refrain from placing heavy furniture or equipment on the grass to prevent crushing the blades and damaging the structure. This simple precaution is essential for durability and functionality. As Brad Timsit states, “Proper, consistent maintenance for artificial sod is the key to getting the most out of its lifespan, appearance, and hygiene.”

Conclusion
In conclusion, successfully installing artificial sod at home not only requires careful planning and execution but also results in a beautiful, low-maintenance lawn. By following the outlined steps – from assessing your space to maintaining the turf – homeowners can create an outdoor area that enhances their property and provides a safe environment for pets and children.
Key considerations include:
- Selecting the right turf
- Ensuring proper drainage
- Preparing a solid base for installation
Each step, from clearing the area to securing the turf and adding finishing touches, is crucial for the longevity and aesthetic appeal of the artificial grass. Regular maintenance practices, such as cleaning and checking for damage, are essential for prolonging the life of the turf and keeping it vibrant.
Incorporating these strategies simplifies the installation process and ensures that the investment in artificial sod pays off in the long run. Embracing the advantages of artificial grass leads to a more enjoyable outdoor experience, allowing homeowners to spend less time on upkeep and more time enjoying their beautiful, lush lawns.
Frequently Asked Questions
What is the first step in planning for artificial sod installation?
The first step is to assess your space by measuring the area designated for installation, calculating the total square footage to understand the amount of turf required.
How do I choose the right type of synthetic grass?
When selecting synthetic grass, consider factors such as aesthetics, durability, and specific uses like pet spaces or playgrounds. Hall Turf offers premium pet-safe options that are hypoallergenic and designed for heavy traffic.
Why is drainage important for artificial sod installation?
Proper drainage is vital to prevent water pooling, which can compromise the turf’s integrity over time. Hall Turf uses an advanced drainage system that minimizes water accumulation and reduces ammonia odor from pet urine.
What materials are needed for the artificial sod installation?
Necessary materials include the artificial turf, base materials, a weed barrier, and tools such as shovels, rakes, and compactors.
How should I create a timeline for the installation project?
Develop a clear schedule by planning start and completion dates, considering weather conditions and your availability. Hall Turf can assist in establishing a timeline that fits your circumstances.
What is the process for preparing the base for installation?
The process includes clearing the area of existing grass and debris, excavating the soil to a depth of 3 to 4 inches, installing a weed barrier, adding base material, and leveling the surface.
Why is it important to level the base before installing artificial sod?
A well-leveled base is critical for achieving a seamless appearance and proper water drainage, which enhances the durability of the synthetic lawn.
What should I expect from Hall Turf regarding installation services?
Hall Turf provides expert solutions for various applications, including putting greens, playground surfaces, and pet zones, ensuring projects are completed on time and to customer satisfaction.
List of Sources
- Plan Your Artificial Sod Installation
- How Much Does Artificial Grass Cost in 2026? (https://lawnstarter.com/blog/cost/artificial-grass-price)
- hackmd.io (https://hackmd.io/@syntheticgrassmasters/top-artificial-turf-landscaping-trends-for-2026)
- linkedin.com (https://linkedin.com/pulse/synthetic-turf-installation-market-size-2026-key-players-growth-sllmf)
- aquablumosaics.com (https://aquablumosaics.com/blogs/news/turf-hardscape-trends-2026?srsltid=AfmBOopl0pgWksqRq1l6TavL-vlN9i00rgqcDJJVZ_w4jDusEs1aH60G)
- sinagrass.com (https://sinagrass.com/artificial-grass-for-landscaping-why-its-replacing-natural-lawns-2026)
- Prepare the Base for Installation
- shawgrass.com (https://shawgrass.com/about/news-blog/how-to-prep-for-artificial-grass-installation)
- usturfsandiego.com (https://usturfsandiego.com/news/how-to-install-artificial-grass-on-soil)
- lowes.com (https://lowes.com/n/how-to/install-artificial-grass)
- lawnpop.com (https://lawnpop.com/how-to-prepare-the-ground-before-laying-artificial-grass)
- synlawn.com (https://synlawn.com/articles/artificial-turf-installation-a-diy-guide)
- Lay the Artificial Grass
- How To Install Artificial Grass | SGW (https://sgwflorida.com/orlando/resources/installing-artificial-grass/step-by-step-guide-to-installing-artificial-grass)
- petgrows.com (https://petgrows.com/blogs/news/comprehensive-guide-to-installing-artificial-grass-step-by-step)
- exelgreen.com (https://exelgreen.com/en/blog/how-to-lay-artificial-grass-in-6-key-steps-n156)
- usturfsandiego.com (https://usturfsandiego.com/news/how-to-install-artificial-grass-on-soil)
- lowes.com (https://lowes.com/n/how-to/install-artificial-grass)
- Secure the Turf and Add Finishing Touches
- Calculating How Much Artificial Turf Infill You Need: A Guide (https://themotzgroup.com/infill_blog/how-many-pounds-of-infill-do-you-need-per-square-foot-of-turf)
- What is Artificial Grass Infill and Why Do You Need It? (https://themotzgroup.com/sport_blog/what-is-artificial-grass-infill-and-why-do-you-need-it)
- litagrass.com (https://litagrass.com/blogs/lita-artificial-grass-blog/best-infill-for-artificial-grass-types-amounts-when-to-use?srsltid=AfmBOopsN8_E6A0JK2KKw-qMhSSjVgueQoHd9jtHWKCrR8n54tkwcWxt)
- How Do You Secure The Edges of Artificial Grass? (https://mylovelylawn.com/how-do-you-secure-the-edges-of-artificial-grass)
- Maintain Your Artificial Sod for Longevity
- Artificial Turf Maintenance Guide | Cleaning & Care Tips (https://fieldturflandscape.com/maintenance/artificial-turf-maintenance-guide)
- How to Keep Artificial Turf Clean Year-Round | US Turf (https://usturfsandiego.com/news/how-to-keep-artificial-turf-clean)
- Maintaining and Cleaning Artificial Grass for Longevity: Expert Tips and Tricks | Smart Turf® Artificial Grass (https://smartturf.com/clean-maintain-artificial-grass)
- How to Clean Artificial Turf | A Complete Homeowner Guide (https://usturfsandiego.com/news/how-to-clean-artificial-turf)