

Introduction
Transforming a yard into a lush, green oasis is a goal for many homeowners. Achieving that perfect synthetic lawn, however, requires careful planning and execution. This guide provides a step-by-step approach to installing synthetic lawn turf, ensuring not only an attractive appearance but also long-lasting performance.
Rushing or improperly executing the installation process can lead to significant issues. Therefore, it is essential to follow the necessary steps to avoid common pitfalls and create an outdoor space that endures over time.
Prepare the Installation Area
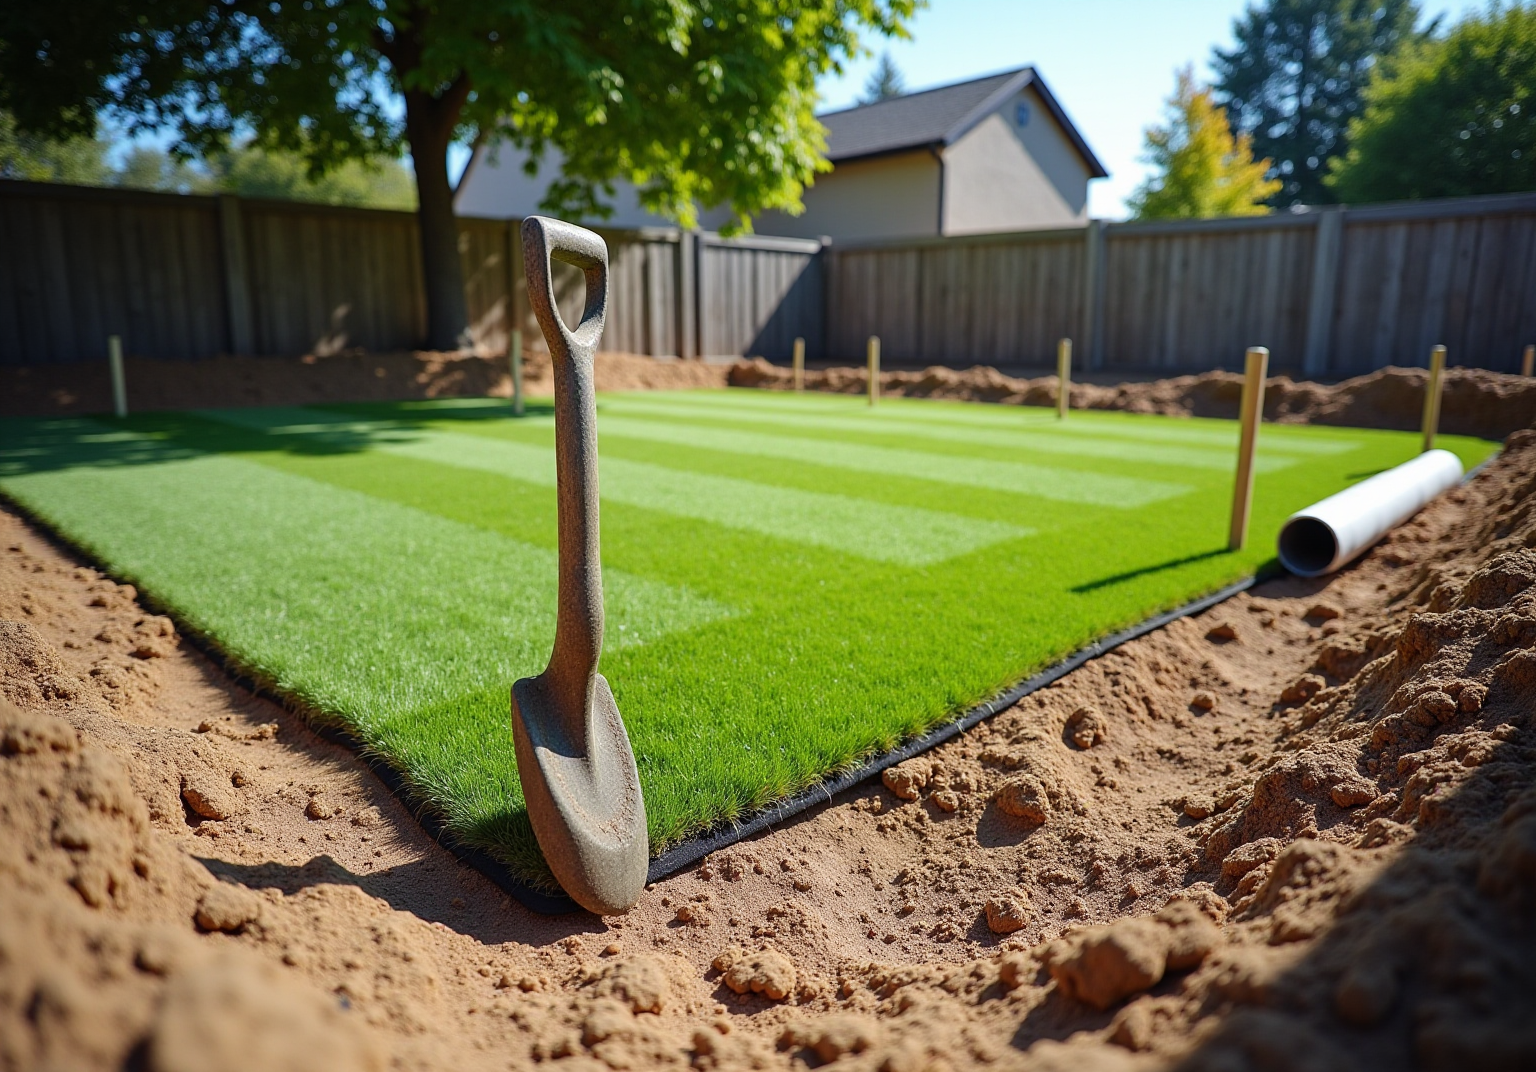
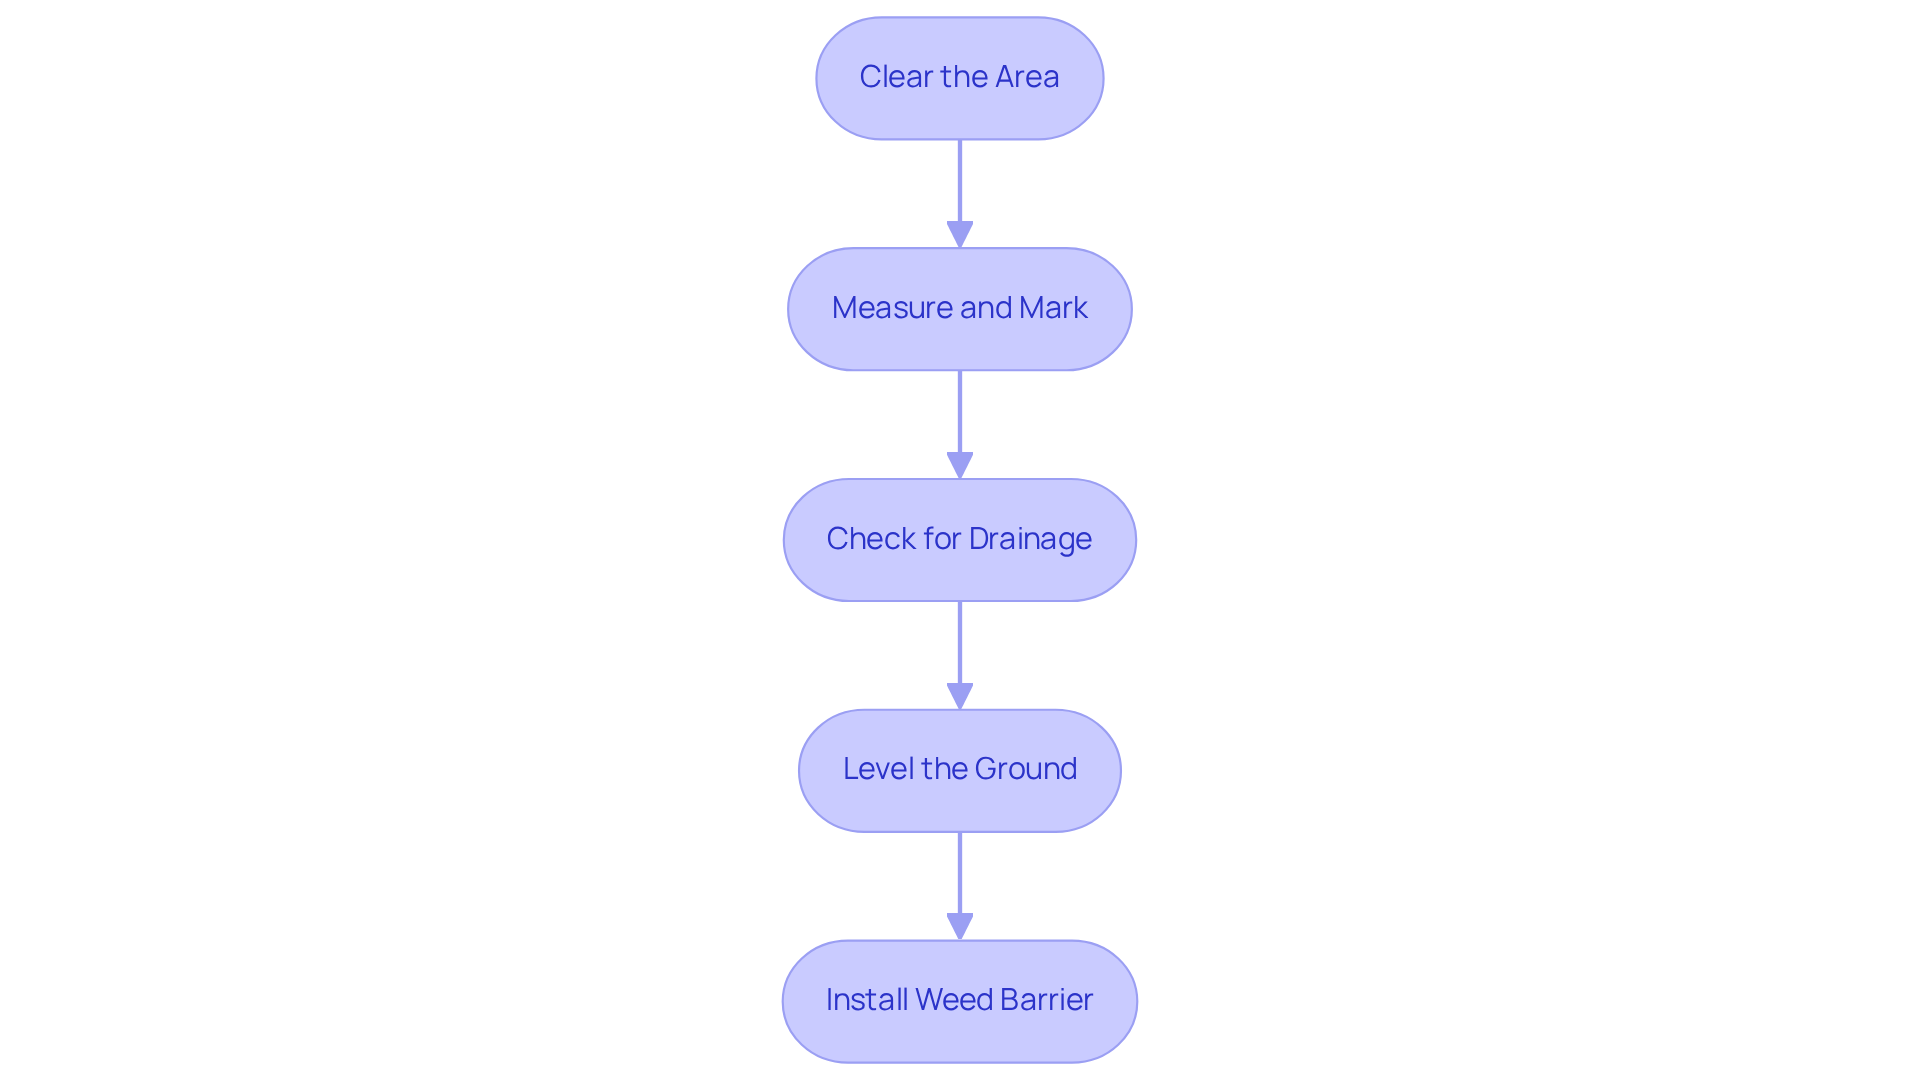
- Clear the Area: Begin by clearing the setup site. Utilize a shovel or sod cutter to ensure the area is entirely clear, as this foundational step is critical for a successful installation. Aim to remove 2 to 4 inches of topsoil to create space for the compacted sub-base layer.
- Measure and Mark: Employ stakes and string to outline the designated area for grass placement. This visual aid not only assists in accurately measuring the space but also ensures that the layout aligns with your design vision.
- Check for Drainage: Evaluate the drainage conditions of the area. If the ground appears excessively level, consider adjusting it to promote water drainage, thereby preventing potential accumulation that could damage the grass over time. Proper drainage is vital to avoid issues such as wrinkling and water retention.
- Level the Surface: Use a rake to achieve a level surface, filling in any low spots with soil. A smooth, even surface is essential to prevent wrinkles and irregularities in the final turf setup, enhancing both aesthetics and functionality. Additionally, place a sturdy barrier over the surface before adding base components to inhibit weed growth after installation.
Following these steps will not only streamline the installation process but also enhance the longevity and performance of your synthetic lawn. According to the Synthetic Turf Council, proper installation can significantly improve durability, ensuring a beautiful and durable outdoor space for years to come.
Lay the Sub-Base for Stability
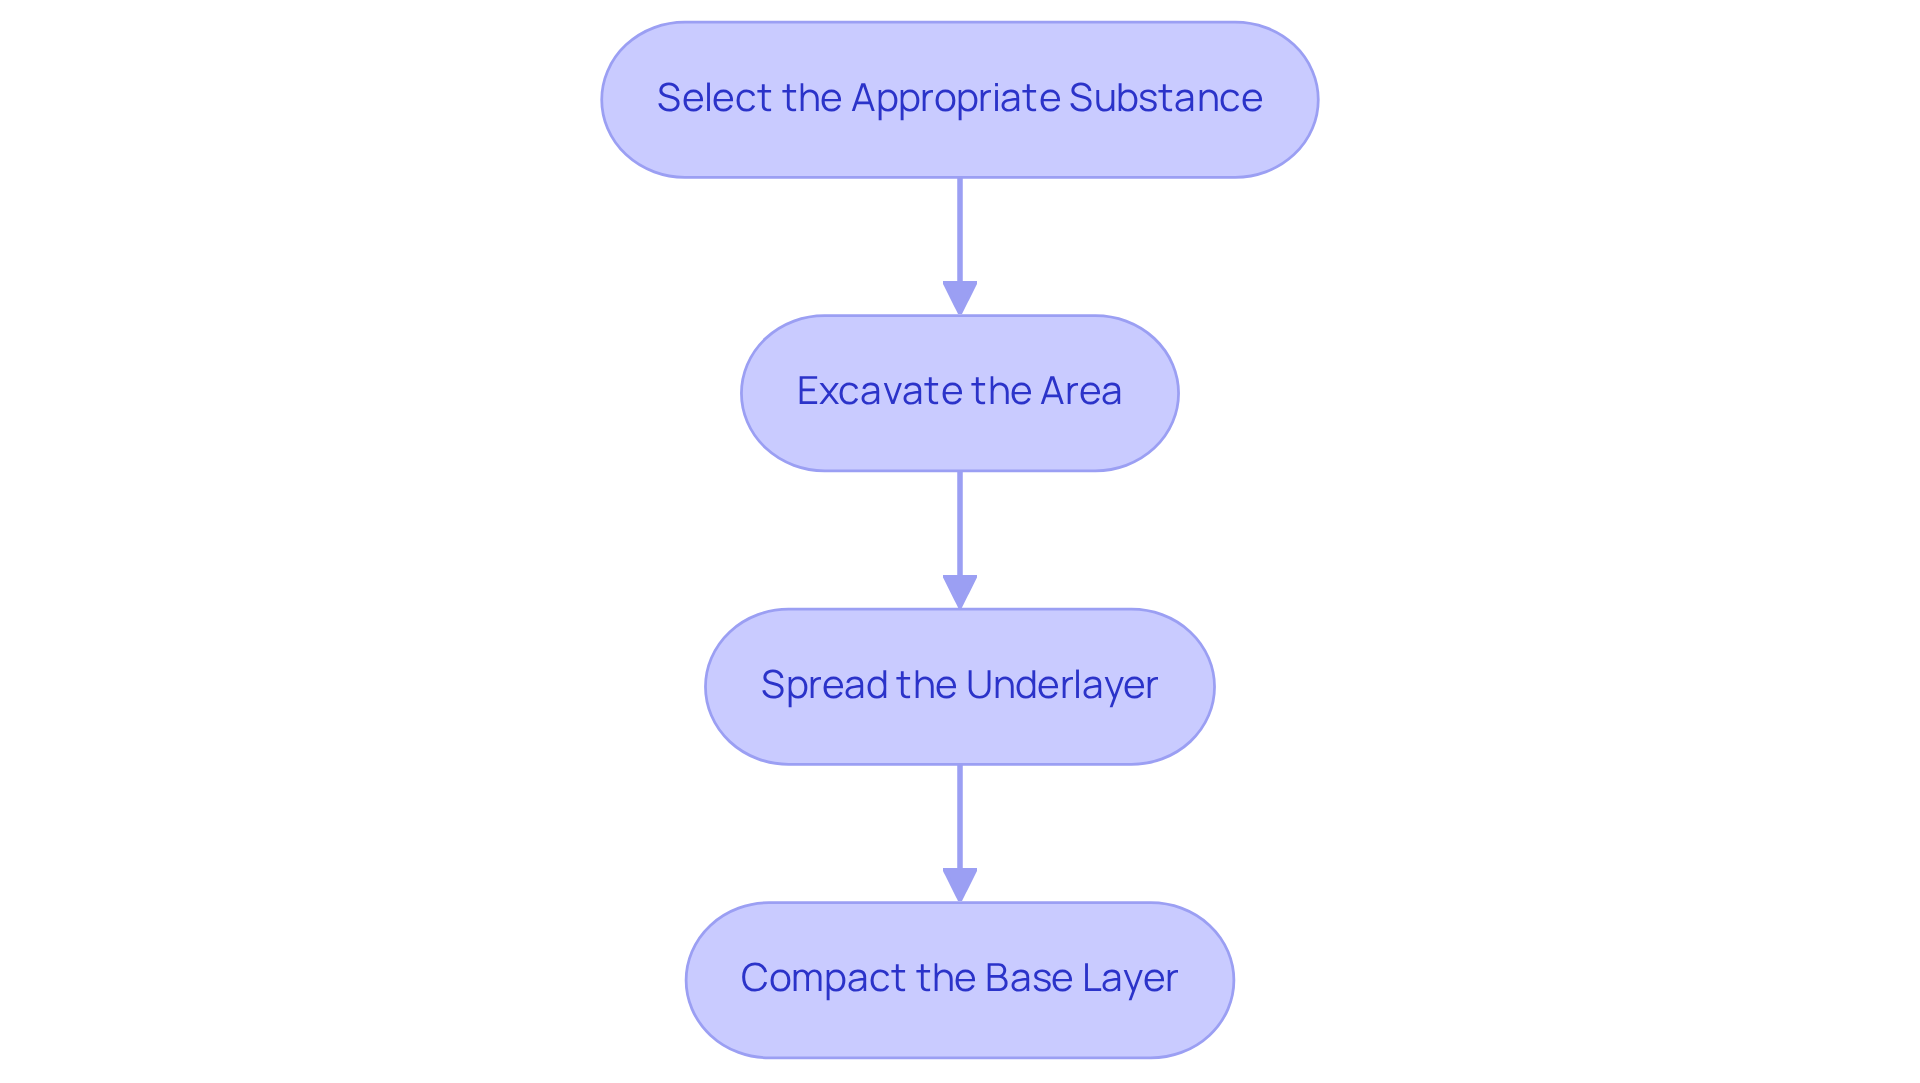
- Select the Appropriate Substance: Choose materials such as crushed granite or limestone, known for their durability and stability. Crushed granite is particularly favored for its ability to enhance drainage and provide a solid foundation. Additionally, consider using Type 1 material beneath the granite to further improve drainage and strength. A well-selected underlying layer can significantly enhance the longevity and performance of your lawn.
- Excavate the Area: Carefully dig down about 3-4 inches to prepare the site for the sub-base. This depth provides sufficient space to accommodate the material while ensuring a level surface. Proper excavation is essential to prevent future settling and maintain an even lawn. As experts emphasize, thorough excavation is crucial for a successful installation.
- Spread the Underlayer: Evenly distribute the underlayer material across the excavated area, aiming for a depth of approximately 2-3 inches. This layer is vital for providing a stable base and effective drainage, which helps prevent water pooling and extends the life of the turf. Additionally, place a barrier over the soil to prevent weeds from growing through the turf.
- Compact the Base Layer: Use a plate compactor or hand tamper to firmly compact the material. This step is essential for creating a solid base that minimizes the risk of sinking and ensures the turf remains stable over time. A well-compacted sub-base can last for 12-15 years, making it a worthwhile investment for your lawn.
Add Infill for Enhanced Performance
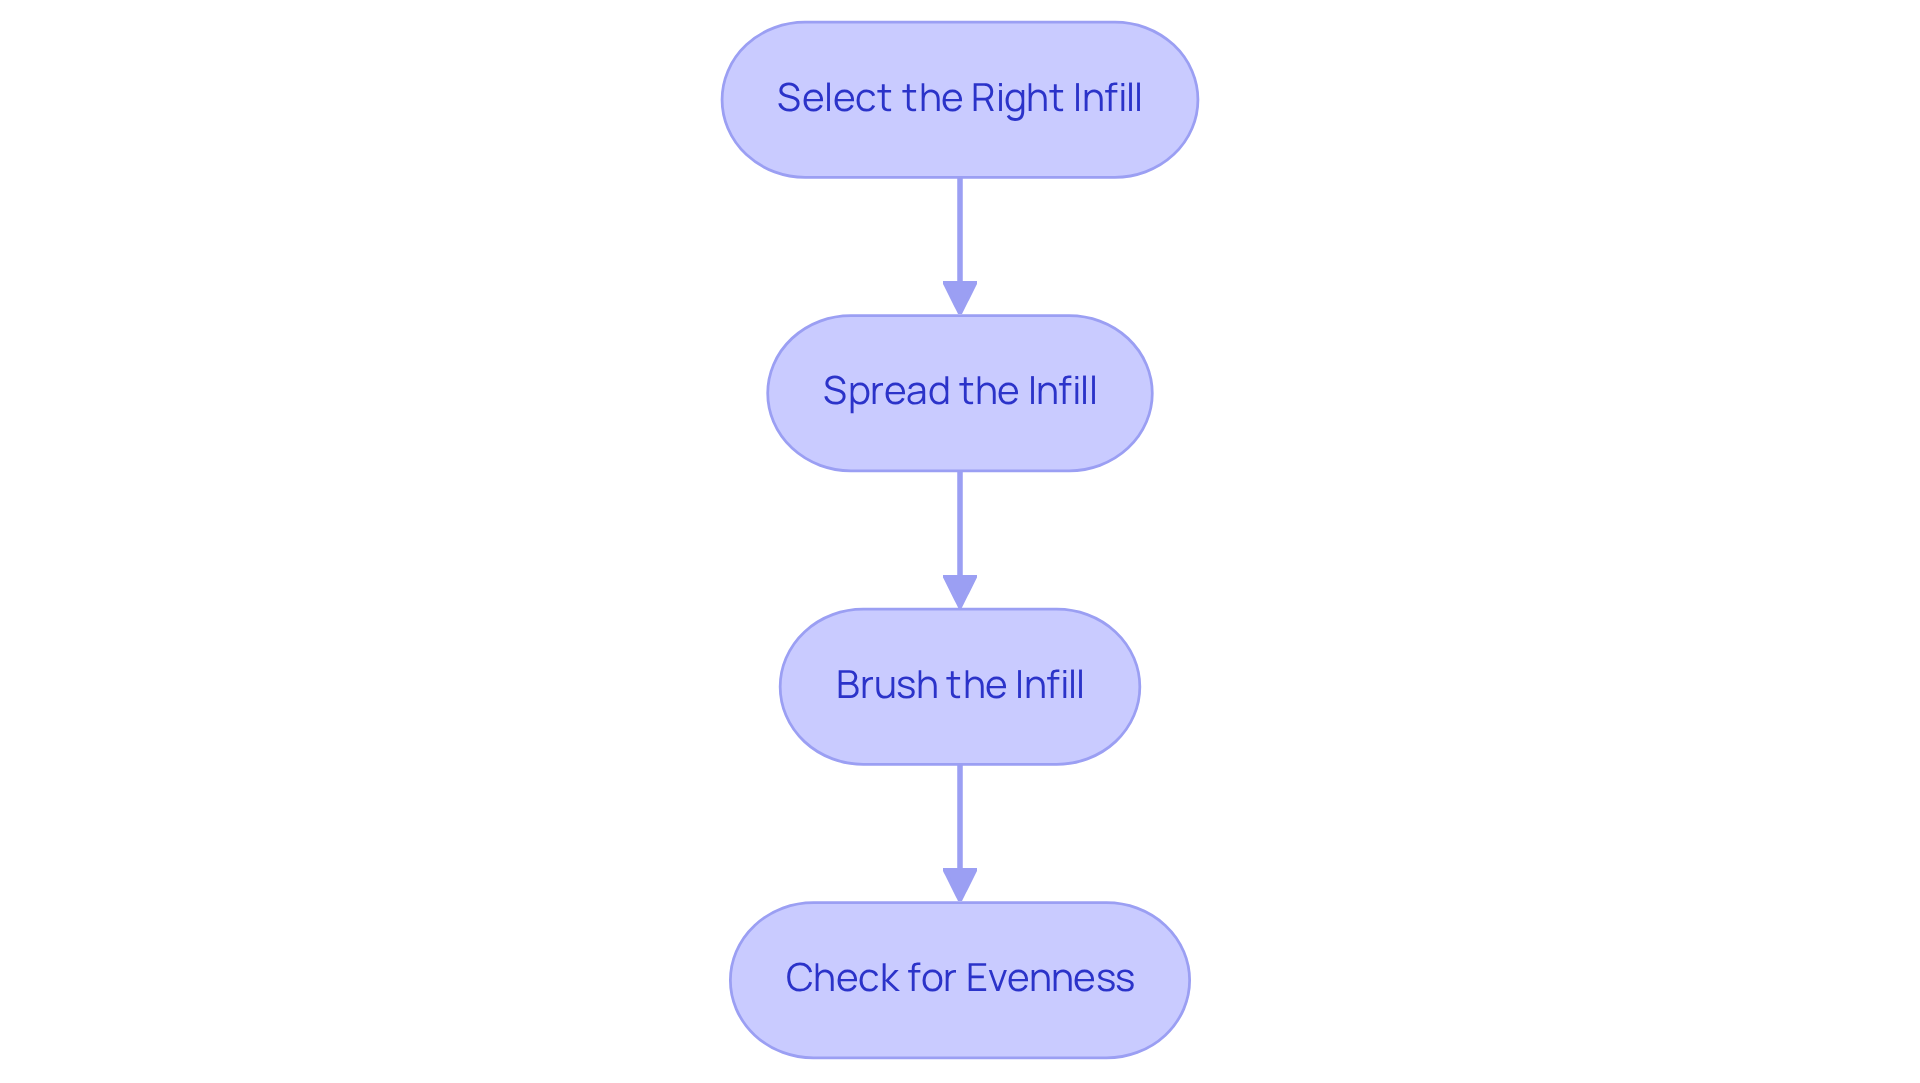
- Select the Right Infill: Choose an infill material. Options include rubber, known for its excellent drainage and stability; sand; and organic materials, which are environmentally friendly and promote grass ventilation.
- Spread the Infill: Use a broadcast spreader to distribute the infill across the turf. Aim for a depth of approximately 1-2 inches, adjusting based on the grass type and selected infill to ensure proper coverage.
- Brush the Infill: Employ a broom to work the infill into the grass fibers. This step is essential as it helps the infill settle properly, ensuring it penetrates the grass blades for improved stability and performance.
- Check for Evenness: After brushing, inspect the grass to ensure that the infill is evenly distributed. If needed, add more infill to achieve a consistent appearance and feel, ensuring your lawn looks its best while providing the desired functionality.
Secure and Finish the Turf Installation
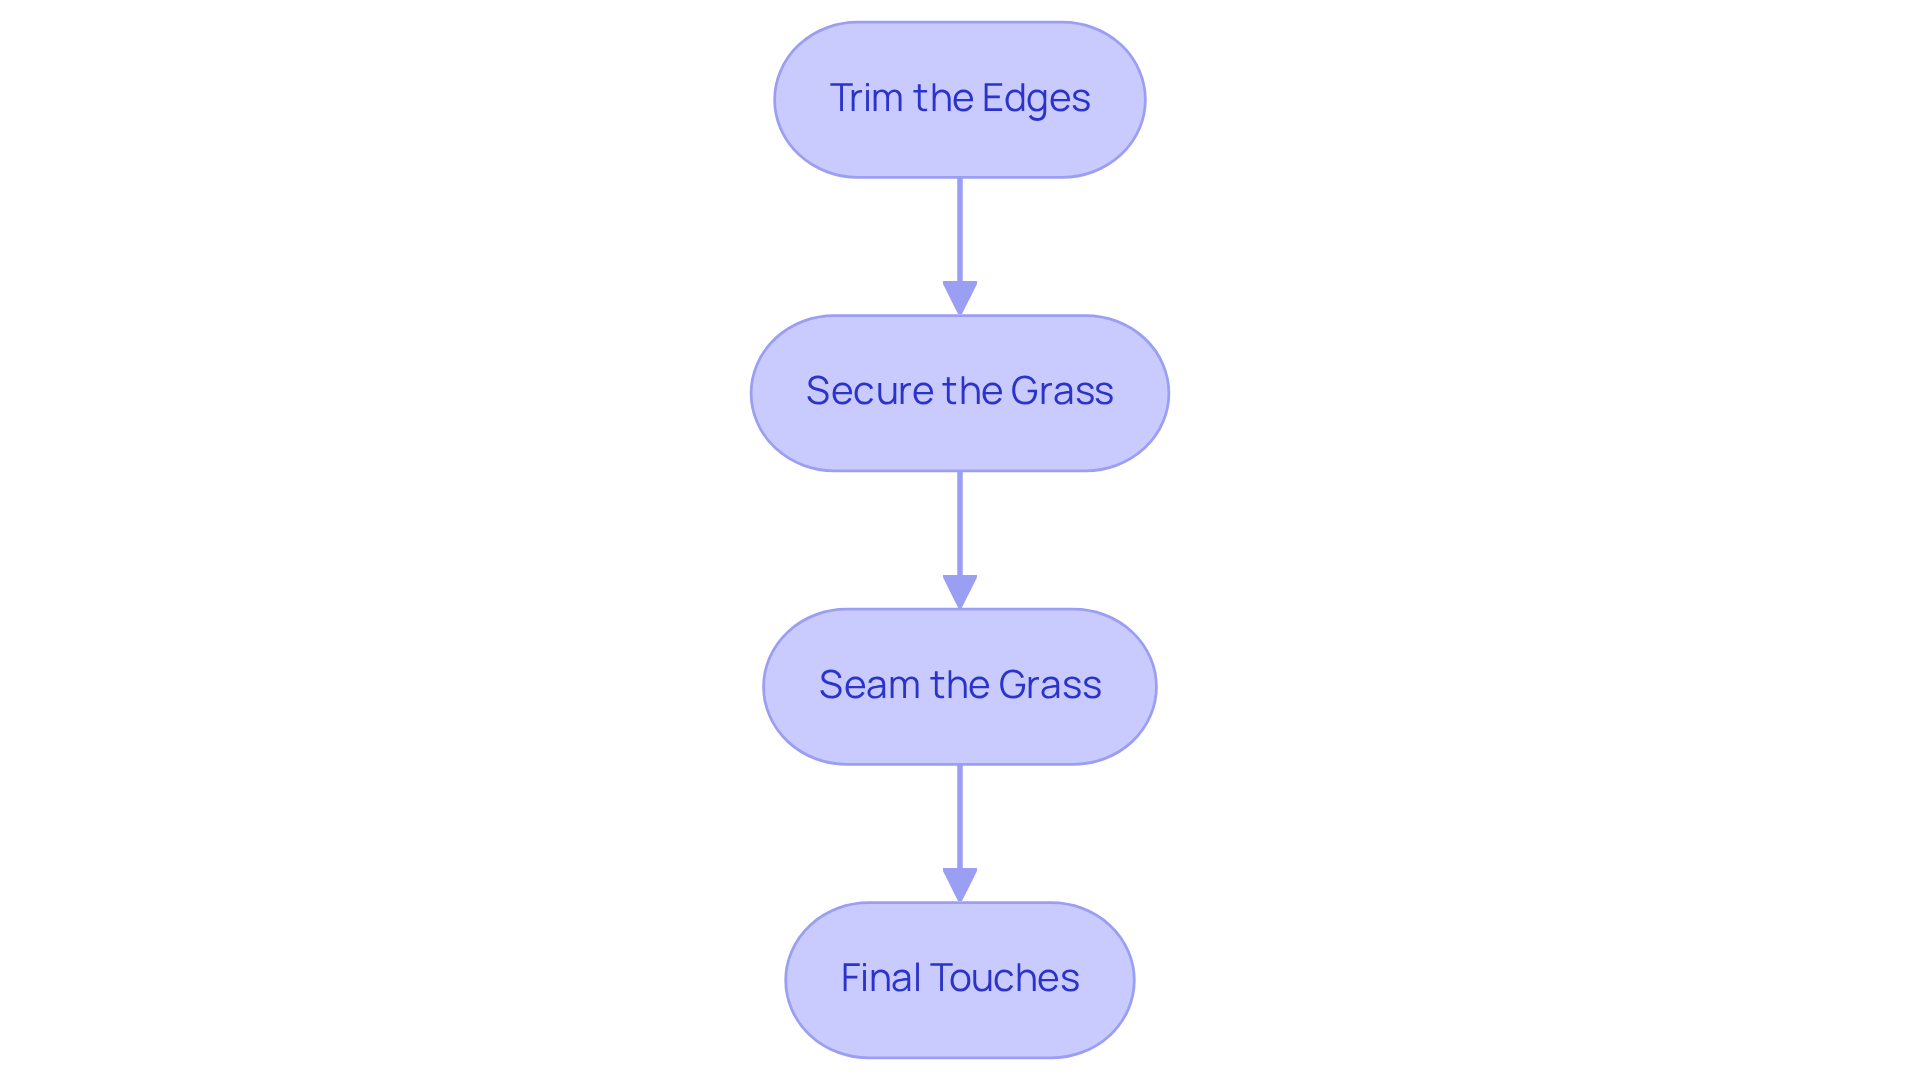
- Start by using a utility knife to carefully trim any excess grass along the edges of the installation area. This step is crucial for achieving a neat and professional outcome, ensuring that the grass fits snugly within the designated space.
- To keep the grass firmly in place, use landscape staples, spacing them approximately 6 inches apart along the perimeter. This method stabilizes the edges and prevents shifting over time, ensuring a secure installation.
- Seam the Grass: When working with multiple pieces of grass, it’s vital to ensure that the seams are tight and secure. Use adhesive to bond the edges together, creating a seamless appearance for your lawn. Proper seaming techniques are essential, as they help prevent visible seams and maintain the surface’s integrity.
- After securing the turf, brush the surface to lift the fibers and promote an even distribution of infill. Conduct a thorough inspection of the entire area for any loose edges or imperfections, making necessary adjustments to ensure a flawless finish. This attention to detail will enhance both the visual appeal and functionality of your lawn.
Conclusion
Installing synthetic lawn turf can transform outdoor spaces into lush, green havens. However, achieving a successful installation requires careful planning and execution. This guide emphasizes the importance of preparation, which includes:
- Clearing the area
- Ensuring proper drainage
- Laying a stable sub-base
- Securing the turf
Each phase is critical in ensuring that the synthetic lawn not only looks great but also lasts for years to come.
Key points discussed include:
- The necessity of clearing the installation area to create a solid foundation
- Selecting appropriate materials for the sub-base
- Applying the right infill to enhance the turf’s performance
Additionally, the guide highlights techniques for securing the turf and making finishing touches that contribute to a polished and professional appearance. Following these best practices can significantly extend the lifespan of synthetic lawn turf, making it a worthwhile investment for any homeowner.
Ultimately, the successful installation of synthetic lawn turf hinges on attention to detail and adherence to established methods. By committing to these steps, homeowners can enjoy the benefits of a beautiful, low-maintenance lawn that enhances their outdoor living experience. Embracing this process not only elevates the aesthetic appeal of a property but also fosters a sustainable environment that can be enjoyed for many years ahead.
Frequently Asked Questions
What is the first step in preparing the installation area for synthetic grass?
The first step is to clear the area by removing all existing grass, weeds, rocks, and debris. This can be done using a shovel or sod cutter, and it is important to remove 2 to 4 inches of topsoil to create space for the compacted sub-base layer.
How can I accurately measure and mark the area for grass placement?
You can accurately measure and mark the area by using stakes and string to outline the designated space. This visual aid helps ensure that the layout aligns with your design vision.
Why is it important to check for drainage before installation?
Checking for drainage is important to evaluate the ground’s ability to handle water. If the area is too level, it may need adjustments to promote water drainage and prevent accumulation, which could damage the grass over time.
How do I ensure the ground is level before installing synthetic grass?
To ensure the ground is level, use a rake to create a smooth surface and fill in any low spots with soil. A level surface is essential to prevent wrinkles and irregularities in the final turf setup.
What additional step can be taken to prevent weed growth after installation?
Before adding base components, place a sturdy weed barrier fabric over the surface. This helps inhibit weed growth after the installation of synthetic grass.
How can proper ground preparation affect the lifespan of synthetic lawn turf?
Proper ground preparation can extend the lifespan of synthetic lawn turf by up to 30%, enhancing the longevity and performance of your outdoor space.
List of Sources
- Prepare the Installation Area
- lawnpop.com (https://lawnpop.com/how-to-prepare-the-ground-before-laying-artificial-grass)
- 2026’s Biggest Artificial Turf Putting Green Design Trends – OC Turf & Putting Greens (https://octurfandputtinggreens.com/2026s-biggest-artificial-turf-putting-green-design-trends)
- shawsportsturf.com (https://shawsportsturf.com/en-us/resources/news/shaw-sports-turf-to-return-in-2026-as-the-official-synthetic-turf-provider-of-the-college-football)
- aquablumosaics.com (https://aquablumosaics.com/blogs/news/turf-hardscape-trends-2026?srsltid=AfmBOorF-0J5NKLImD6CKH70vbxDQeDFu1j49AN-cz-QstGxxgUujlLx)
- Lay the Sub-Base for Stability
- thestarpress.com (https://thestarpress.com/press-release/story/16090/nick-ogilvie-advancing-installation-safety-and-long-term-performance-standards-nationwide)
- artificiallawn.co.uk (https://artificiallawn.co.uk/latest-news/what-sub-base-should-i-use-with-artificial-lawn)
- redding.com (https://redding.com/press-release/story/12961/nick-ogilvie-advancing-installation-safety-and-long-term-performance-standards-nationwide)
- What is the Best Base to Put Under Artificial Grass? (https://delaturf.com/post/what-is-the-best-base-to-put-under-artificial-grass)
- 4 Essential Facts About Installing a Sub-Base Under Your Artificial Turf | Synthetic Grass Warehouse (https://syntheticgrasswarehouse.com/blog/4-essential-facts-about-installing-a-sub-base-under-your-artificial-turf)
- Add Infill for Enhanced Performance
- Artificial Turf Infill Market Size 2026 | Strategy, Trends & Challenges 2033 (https://linkedin.com/pulse/artificial-turf-infill-market-size-2026-strategy-sgkdc)
- aquablumosaics.com (https://aquablumosaics.com/blogs/news/turf-hardscape-trends-2026?srsltid=AfmBOoru2D-DDVK3k18shPhSrOUfV3VSgOPF0DnXpcAeRW6_RhU0KtH7)
- Artificial Turf Infill Options (Pros, Cons & Best Uses) | US Turf (https://usturfsandiego.com/news/artificial-turf-infill-options)
- 2026’s Biggest Artificial Turf Putting Green Design Trends – OC Turf & Putting Greens (https://octurfandputtinggreens.com/2026s-biggest-artificial-turf-putting-green-design-trends)
- Secure and Finish the Turf Installation
- synlawnchicago.com (https://synlawnchicago.com/blog/little-known-facts-of-installing-artificial-turf-how-to-get-the-best-results)
- nexgenlawns.com (https://nexgenlawns.com/how-to-seam-artificial-grass?srsltid=AfmBOoq3ax3TTe_viog5_ojn0DjFtza1sO-hDPlYGpEaSS4OJ8AwEtn_)
- grass-direct.co.uk (https://grass-direct.co.uk/gdblog/how-to-secure-artificial-grass)
- How to Seam Your Artificial Turf Project (https://artificialturfsupply.com/how-to/how-to-seam-your-artificial-turf-project)
- The Seaming Techniques You Need To Know to Install Artificial Grass Like a Pro | Synthetic Grass Warehouse (https://syntheticgrasswarehouse.com/blog/the-seaming-techniques-you-need-to-know-to-install-artificial-grass-like-a-pro)