
Introduction
Creating a stunning outdoor space often hinges on the details, with the installation of artificial turf edges being one of the most critical aspects. When executed properly, this installation not only enhances visual appeal but also ensures the longevity and functionality of the turf. Many homeowners, however, face the challenge of achieving that perfect finish and often wonder what steps are essential for a seamless edge. This guide outlines four key steps to perfecting artificial turf edge installation, providing valuable insights that will empower readers to transform their landscapes with confidence.
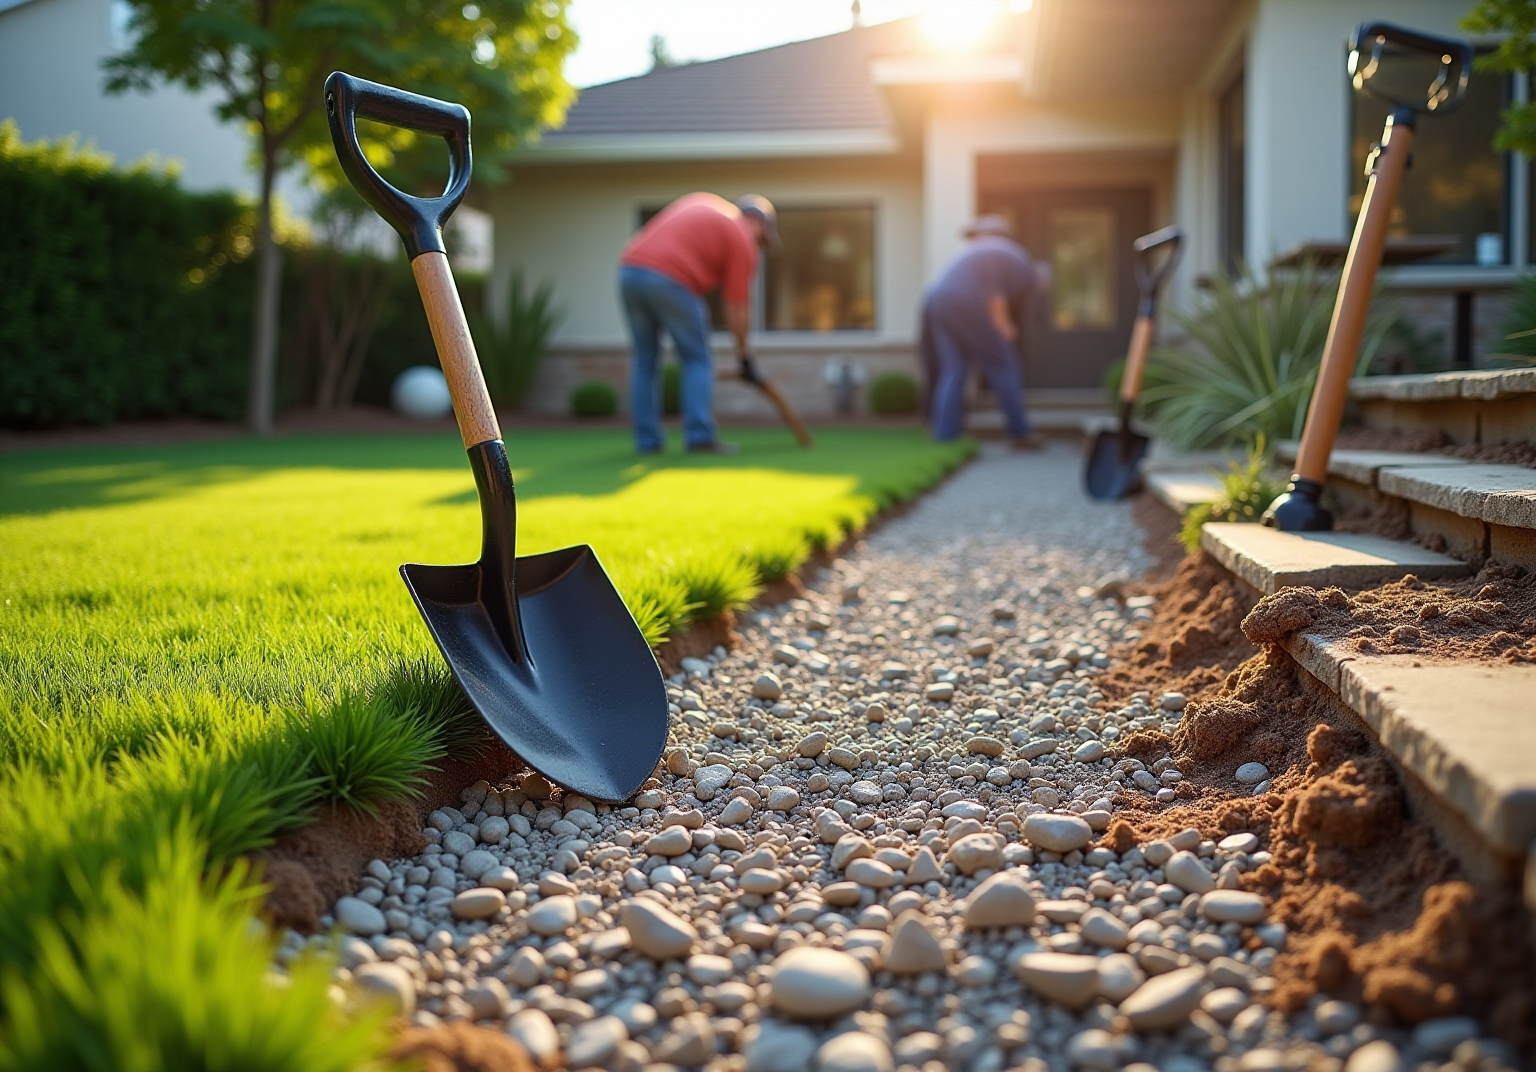
Prepare the Installation Area
- Clear the Area: Start by clearing the area. Utilize a shovel or sod cutter to excavate the top layer of soil to a depth of 3 inches. This step is crucial for establishing a solid base and ensuring that the grass aligns level with the surrounding hardscaping. As noted by Dick Bryant, when he faced a landscaping challenge, Brock assessed his needs and provided the ideal solution.
- Rake the Soil: After clearing the area, employ a rake to thoroughly level the soil. It is essential to eliminate any raised or sunken spots, as these irregularities can compromise both the aesthetic and functional quality of the grass installation. Scott Sachse commended the outstanding work performed by Brock and his team, emphasizing their professionalism and meticulous attention to detail during the installation of his putting green.
- Check for Drainage: Assess the area to ensure proper drainage. If the ground appears excessively flat, consider creating a slight slope to promote water runoff. This proactive approach helps prevent water accumulation, which can adversely affect the grass’s durability and performance. Les Boatright appreciated Brock’s creativity and commitment to completing the project on time and within budget, ensuring that all aspects, including drainage, were thoroughly addressed.
- Install a Weed Barrier: Place a weed barrier beneath the turf. This step is vital for preserving the cleanliness and visual appeal of the installation, ensuring it remains pristine over time. With Brock’s expertise, you can trust that your installation will be executed with care and professionalism.

Build a Solid Base for Turf
- Choose the Right Materials: Select a combination of crushed stone or gravel for your foundational material. Larger stones are ideal for a base due to their ability to lock together during compaction. A thickness of 3-6 inches is recommended to provide adequate support and stability for the turf setup.
- Distribute the Material: Evenly spread the foundational material across the installation area. Use a rake to level the surface, which is crucial for achieving a solid base.
- Compact the Foundation: Employ a plate compactor to thoroughly compress the material. This step is essential to prevent future settling and ensure a stable base. For optimal results, compress the foundation in layers, achieving at least 95% compaction for each layer to enhance stability. Proper compaction improves drainage and the overall efficiency of the installation, particularly at the edges in areas prone to heavy rainfall.
- Check for Levelness: After compaction, utilize a level to confirm that the surface is even. Make any necessary adjustments to ensure a flat base before proceeding with the grass installation. Proper leveling is vital for effective drainage and the overall performance of the turf. Additionally, remember to remove any debris before laying the turf to ensure a well-prepared foundation.

Lay and Secure the Artificial Turf
- Roll Out the Grass: Start by rolling out the grass over the prepared base. Allow the grass to acclimate for at least 30 minutes to minimize curling and ensure it lays flat, which is essential for a seamless installation. As Dick Bryant noted, when he faced a grass issue, Brock assessed his needs and provided the ideal solution.
- Cut to Fit: Trim the edges of the grass to fit the area accurately. Utilize a sharp utility knife for cutting, ensuring that the edges align with any borders or hardscapes. Proper cuts are crucial for achieving a clean finish and preventing future issues with seams. Scott Sachse commended Brock for their outstanding work in installing a lawn, emphasizing the professionalism and attention to detail of the crew.
- Secure the Grass: Fasten the grass around the perimeter using galvanized landscape nails or staples, spaced approximately 6 to 12 inches apart. As David Barbera, President, states, ‘Choosing the right technique to secure the grass and executing it properly is vital for a neat and lasting installation.’ This spacing ensures the grass remains taut without being overly stretched, which is important for maintaining its appearance and functionality over time. Les Boatright praised Brock’s reliability and meticulous approach, ensuring the project was completed on time and within budget.
- Seam the Grass: For installations involving multiple pieces of grass, use adhesive to securely join them. Following the manufacturer’s instructions during this process is critical for achieving a durable and visually appealing finish. Properly seaming the grass not only enhances aesthetics but also prevents water infiltration and shifting, ensuring longevity.
Additionally, keep in mind that synthetic grass eliminates the need for mowing, watering, and weekly lawn care, making it a low-maintenance option.

Finish with Infill and Grooming
- Add Infill: Begin by evenly spreading infill across the turf. A drop spreader is ideal for achieving uniform distribution, ensuring that the infill settles properly into the grass fibers.
- Brush the Surface: Next, utilize a broom or a brush to work the infill into the grass. This process helps lift the grass blades and guarantees that the infill is distributed throughout.
- Check for Evenness: After brushing, inspect the surface for evenness. If necessary, add more infill and brush again to ensure a smooth finish.
- Final Grooming: Finally, conduct a grooming of the grass to ensure all blades are standing upright and the surface looks natural. Regular grooming is essential for maintaining the appearance and performance over time.

Conclusion
In conclusion, achieving a flawless artificial turf edge installation requires a systematic approach that includes preparation, foundation building, turf laying, and finishing touches. Each of these steps is crucial for ensuring that the final product is not only visually appealing but also durable and functional. By following these guidelines, homeowners can create an outdoor space that enhances their property’s aesthetic while minimizing maintenance needs.
The process involves four critical steps:
- Preparing the installation area by clearing and leveling the ground
- Building a solid base with appropriate materials
- Laying and securing the turf properly
- Finishing with infill and grooming
Attention to detail is paramount in each phase, from ensuring proper drainage to achieving a seamless turf edge. Testimonials from satisfied customers further illustrate the value of professional execution and meticulous planning, highlighting how these practices contribute to successful installations.
Ultimately, investing time and effort into the preparation and installation of artificial turf edges yields long-term benefits. This not only enhances the beauty and functionality of outdoor spaces but also significantly reduces the need for ongoing maintenance. By embracing these best practices, homeowners can ensure a sustainable and attractive landscape that withstands the test of time. Whether you are a DIY enthusiast or considering professional assistance, understanding these steps is essential for achieving the perfect artificial turf edge.
Frequently Asked Questions
What is the first step in preparing the installation area for grass?
The first step is to clear the area by removing any existing grass, weeds, and debris. This involves using a shovel or sod cutter to excavate the top layer of soil to a depth of 3-4 inches.
Why is it important to level the ground after clearing the area?
Leveling the ground is essential to eliminate any raised or sunken spots, which can compromise both the aesthetic and functional quality of the grass installation.
How can I ensure proper drainage in the installation area?
Assess the area for adequate drainage and, if the ground is excessively flat, create a slight slope to promote water runoff. This helps prevent water accumulation that can adversely affect the grass’s durability and performance.
What is the purpose of installing a weed barrier?
A weed barrier fabric is installed to prevent unwanted growth beneath the turf, preserving the cleanliness and visual appeal of the artificial turf edge over time.
Who provided positive feedback about the installation process?
Dick Bryant, Scott Sachse, and Les Boatright provided positive feedback, commending Brock and his team’s professionalism, attention to detail, creativity, and commitment to completing projects on time and within budget.
List of Sources
- Prepare the Installation Area
- Plastic Turf Fields Are Taking Over America (https://nytimes.com/2025/07/26/business/artificial-turf-grass-sports.html)
- How to Install Artificial Turf on Dirt | US Turf (https://usturfsandiego.com/news/how-to-install-artificial-turf-on-dirt)
- Climate Connections: Too Hot for Turf! (https://missoulacurrent.com/climate-connections-turf)
- How to Prepare Ground for Artificial Turf Installation (https://turfkingz.com/articles/how-to-prepare-ground-for-artificial-turf)
- paloaltoonline.com (https://paloaltoonline.com/outdoor-recreation/2025/09/30/new-report-fails-to-settle-turf-war-at-palo-altos-fields)
- Build a Solid Base for Turf
- What Goes Under Artificial Turf? Best Base Materials for Artificial Grass Installation (https://mightygrass.com/what-goes-under-artificial-turf)
- Emerging opportunities in fertile synthetic turf – Floor Covering News (https://fcnews.net/2025/08/emerging-opportunities-in-fertile-synthetic-turf)
- royalgrass.com (https://royalgrass.com/blogs/suitable-base-for-artificial-grass)
- Artificial Grass Ground Preparation (https://artificialturfsupply.com/artificial-grass-ground-preparation.html)
- aquablumosaics.com (https://aquablumosaics.com/blogs/news/turf-hardscape-trends-2026?srsltid=AfmBOoqM2uIE23Hph0An3lEuFNc-ZGkXyZi27C3Yx5NVnWs0iEthiX4X)
- Lay and Secure the Artificial Turf
- How to Secure Artificial Turf Perimeter Edges: Galvanized Nails or Sod Staples (https://artificialturfsupply.com/how-to/how-to-secure-artificial-turf-perimeter-edges-galvanized-nails-or-sod-staples)
- turft.com (https://turft.com/spring-2026-turf-installation-why-now-is-the-best-time-to-upgrade-your-yard-with-synthetic-grass)
- 2026’s Top Backyard Upgrades: Artificial Grass & More! #O (https://bigbullyturf.com/the-7-backyard-upgrades-homeowners-love-in-2026)
- How to Install Artificial Turf on Dirt | US Turf (https://usturfsandiego.com/news/how-to-install-artificial-turf-on-dirt)
- hackmd.io (https://hackmd.io/@syntheticgrassmasters/top-artificial-turf-landscaping-trends-for-2026)
- Finish with Infill and Grooming
- themotzgroup.com (https://themotzgroup.com/sport_blog/how-to-synthetic-turf-field-grooming)
- Artificial Turf Infill Market Size 2026 | Strategy, Trends & Challenges 2033 (https://linkedin.com/pulse/artificial-turf-infill-market-size-2026-strategy-sgkdc)
- purchasegreen.com (https://purchasegreen.com/blog/grooming-artificial-grass)
- Caring for Your Synthetic Turf Field (https://trackandturf.com/blog/caring-for-your-synthetic-turf-field)
- Artificial Turf Maintenance Guide | Cleaning & Care Tips (https://fieldturflandscape.com/maintenance/artificial-turf-maintenance-guide)