
Introduction
Transforming a deck into a lush, green oasis is an appealing goal for many homeowners. However, the process of installing turf can appear daunting. This guide clarifies the steps involved, providing a clear pathway to achieving a beautiful and functional outdoor space. Yet, what occurs when the installation does not proceed as planned? From uneven surfaces to poor adhesion, potential pitfalls await those who embark on this DIY project. This article will help you navigate these challenges and ensure a successful turf installation that enhances any deck.
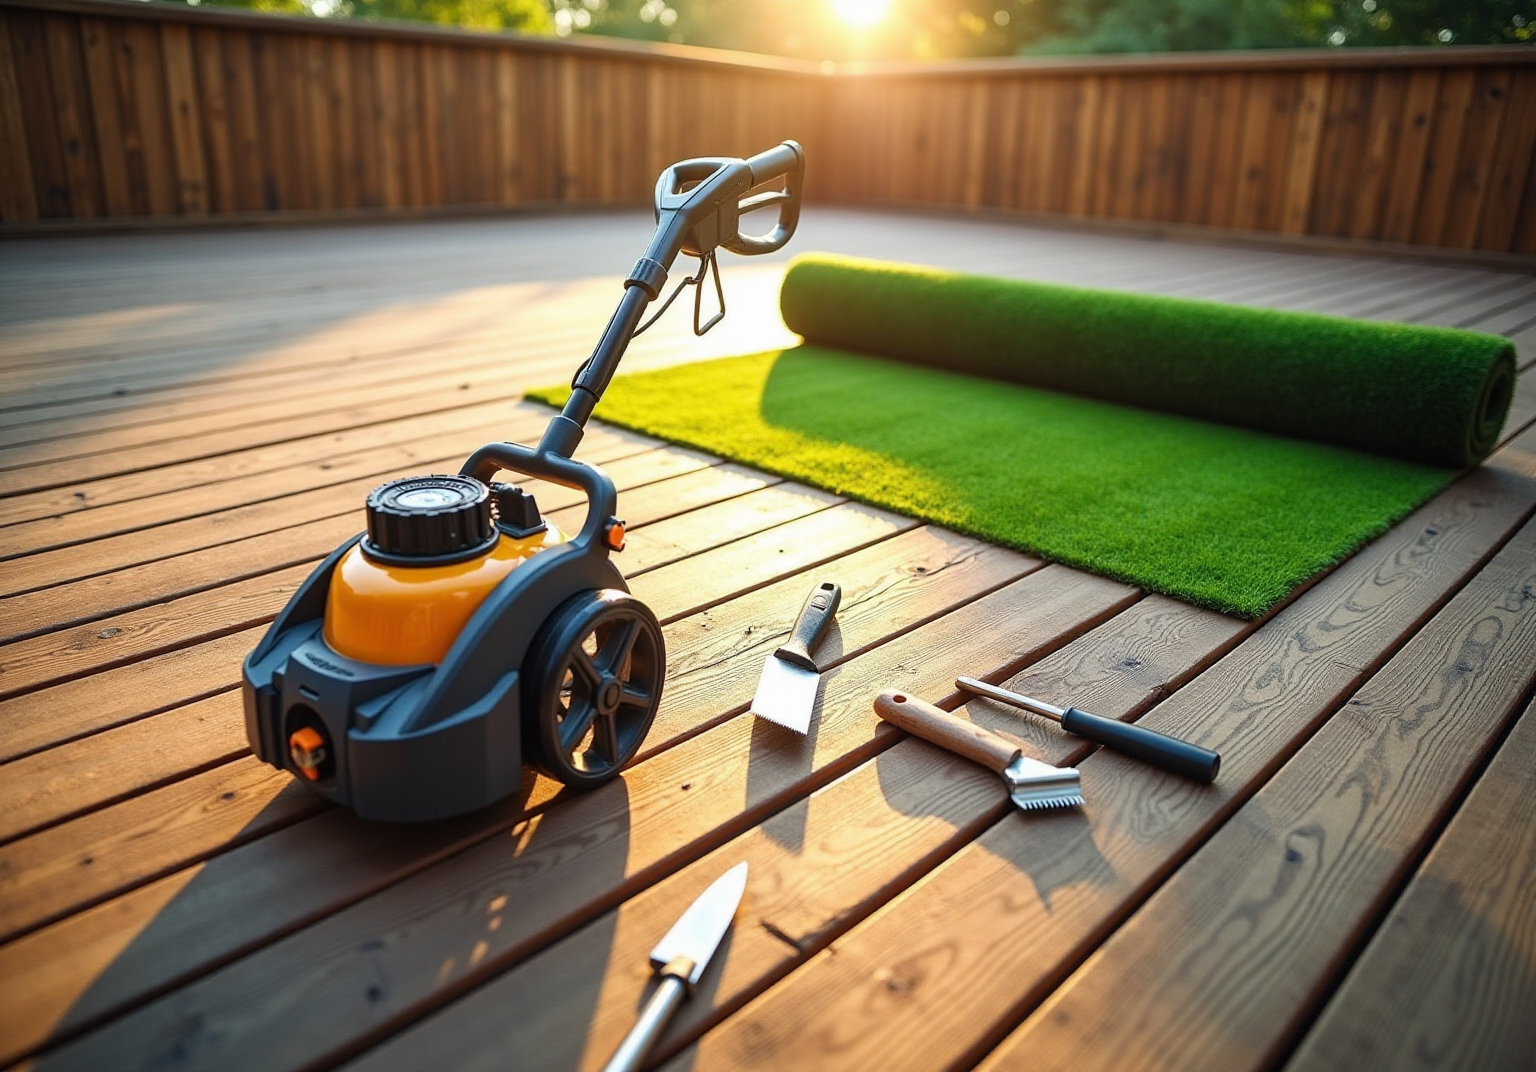
Prepare Your Deck for Turf Installation
- Begin by removing all furniture, debris, and dirt from the surface area. Utilize a power washer or broom to ensure the area is thoroughly clean. This step is essential, as any remaining dirt can adversely affect the bonding of the grass.
- Examine the surface for any loose boards, rot, or damage. It is important to replace or repair any problematic areas to establish a solid base for the grass.
- Level the Surface: If the platform has uneven sections, apply a leveling compound to fill in low spots. This will help improve stability and ensure a smooth surface.
- Install a Barrier: Consider laying down a barrier, such as an EPDM membrane, to protect the surface from moisture that may accumulate beneath the turf for deck. This is particularly crucial for longevity to prevent rot.
- Add Support (if necessary): If your deck is particularly uneven or if additional support is desired, consider laying down marine plywood. This provides a stable foundation for the grass and aids in drainage.

Install the Turf: Step-by-Step Instructions
- Measure and Cut the Grass: Start by measuring the area designated for grass installation. Cut the grass to size, allowing a little extra for final trimming. Ensure that the grain of the sod is aligned in the same direction to achieve a seamless look.
- Place the Sod: Unroll the grass over the prepared platform area, ensuring it fits snugly against the edges. If necessary, allow for slight overlaps to ensure complete coverage.
- Fasten the Grass: Use adhesive in a zigzag pattern across the surface to secure the grass. Ensure even coverage and press the grass down firmly to eliminate any air pockets, which can compromise the installation.
- Trim the Edges: After the adhesive has set, use a sharp utility knife to trim along the edges of the deck. Aim for straight cuts to maintain a clean finish.
- Add Infill (if applicable): If your grass requires infill, evenly distribute it across the surface using a broom. This step helps weigh down the grass and keeps the blades standing upright, enhancing the overall appearance and durability.
- Inspect the Installation: Examine the setup for any loose edges or seams that may require reinforcement. Ensure there is a small space between the edging and grass for proper water drainage, which is vital for preserving the integrity of the setup.
Throughout the setup process, Hall Grass’s team, led by experts like Brock, is dedicated to delivering exceptional results. Customers have praised Brock for his attention to detail and commitment to quality, ensuring that every project is completed on time and within budget. With Hall Grass, you can expect a smooth setup experience, similar to those appreciated by satisfied customers who have transformed their outdoor areas with turf, including residential lawns, playground surfaces, and pet zones.

Finalize Installation and Maintain Your Turf
- Inspect the Installation: After setup, it is essential to thoroughly examine the grass for any loose areas or imperfections. This is crucial to prevent further complications and ensure a safe installation.
- Regular Cleaning: To maintain the surface’s appearance, regular cleaning is necessary. Utilizing a leaf blower can effectively eliminate larger debris without harming the grass blades.
- Brush the Grass: Periodically brushing the grass with a stiff-bristled broom helps keep the blades upright and prevents matting, particularly in high-traffic areas. This simple step is vital for maintaining the look and feel.
- Rinse with Water: Rinse the turf to eliminate dust, allergens, and pet waste. A garden hose with a spray nozzle is ideal for this task, helping to keep the surface fresh and hygienic. For tougher stains, consider using a mild detergent to maintain its appearance.
- Check for Damage: Regularly inspect for damage. Promptly addressing any issues can significantly improve the durability of your installation, as proper maintenance can increase its lifespan from 10-15 years to 20 years or more. Additionally, adjust your maintenance routine seasonally, such as removing leaves in the fall and avoiding heavy snow buildup in the winter.

Troubleshoot Common Installation Issues
- Uneven Surface: If your grass appears uneven after installation, it is essential to check the base for irregularities. You may need to raise the grass, add more infill, or modify the base material to achieve a smooth finish. The average cost typically ranges from $1 to $2 per square foot, depending on the extent of the adjustments required. Furthermore, the average cost for a lawn leveling service is approximately $2,178, which can assist homeowners in budgeting effectively for this type of work.
- Lifting Grass: Lifting grass often signifies poor adhesion. It is crucial to ensure that the adhesive was applied correctly and that the surface was clean prior to installation. If necessary, reapply adhesive to secure the grass firmly. As design expert Peter Wierzba notes, “Proper adhesion is essential for the durability of your turf.” Professional services for reapplying adhesive can cost between $50 and $100 per hour, depending on the complexity of the job.
- Pooling Water: If water is pooling on the surface, it may be due to inadequate drainage. Check the slope of your deck and consider adding drainage holes to facilitate proper water flow. Adjusting the slope can incur costs ranging from $500 to $4,500, depending on the area being modified.
- Fading or Discoloration: To prevent fading, select high-quality turf. Regular cleaning and maintenance can also help preserve color vibrancy, ensuring your turf remains visually appealing.
- Visible Seams: Visible seams can detract from the overall appearance of your grass. Utilize seam tape and glue to secure them, ensuring that seams are properly aligned during installation to minimize visibility. Addressing seams promptly can prevent additional complications and maintain the quality of your grass setup. It is also important to note that proper site preparation is essential for successful installation, as highlighted in various studies.

Conclusion
Installing turf on a deck can significantly enhance an outdoor space, transforming it into a lush and inviting area that improves both aesthetics and functionality. Homeowners who invest time and effort into this project can achieve a successful installation that not only looks appealing but also endures over time.
Thorough preparation is crucial for a successful installation. This includes:
- Cleaning and inspecting the deck
- Ensuring a level surface
- Implementing proper moisture barriers
Each of these steps lays the groundwork for a durable and visually pleasing outcome.
The installation process itself is broken down into manageable steps, highlighting the importance of precision in measuring, cutting, and securing the turf. Attention to detail during this phase is essential for achieving a professional finish.
Moreover, maintaining the turf through regular cleaning and inspections is vital for prolonging its lifespan and preserving its pristine appearance. Consistent upkeep ensures that the investment made in the turf continues to pay off in the long run.
Ultimately, by properly installing and maintaining turf on a deck, homeowners can create a beautiful and functional outdoor retreat. With the knowledge and techniques provided, they are encouraged to take action and enhance their living space for years to come.
Frequently Asked Questions
What is the first step to prepare a deck for turf installation?
The first step is to clean the surface by removing all furniture, debris, and dirt. A power washer or broom can be used to ensure the area is thoroughly clean.
Why is it important to inspect the deck for damage before installing turf?
Inspecting the deck for damage is important to identify any loose boards, rot, or other issues that need to be repaired or replaced. This ensures a solid base for the turf.
How can I level an uneven deck surface before turf installation?
To level an uneven surface, apply a leveling compound to fill in low spots. This helps prevent water accumulation and ensures a level surface for the turf.
Should I install a moisture barrier before laying turf, and if so, what type?
Yes, it is advisable to install a moisture barrier, such as an EPDM membrane, to protect the surface from moisture accumulation beneath the turf, especially on wooden platforms to prevent rot.
When is it necessary to cut and lay marine plywood on the deck?
It is necessary to lay marine plywood if the deck is particularly uneven or if additional support is desired. This provides a stable foundation for the grass and aids in drainage.
List of Sources
- Prepare Your Deck for Turf Installation
- Best fake grass for decks: Ultimate 2025 Dream Decks (https://maslandscaping.com/fake-grass-for-decks)
- Artificial Grass on Wooden Decking: Deck Transformation Guide (https://realturf.com/us/artificial-grass-on-decking-guide)
- lowes.com (https://lowes.com/n/how-to/install-artificial-grass)
- All About Artificial Grass for Rooftops | Learn | CBA Blog (https://cbasports.com/blog/installing-turf-on-rooftop-deck-guide)
- Install the Turf: Step-by-Step Instructions
- Our Step-by-Step Turf Installation Process at Ideal Turf Solutions (https://idealturfsolutions.com/2022/12/step-by-step-overview-of-our-turf-installation-process)
- Mastering the Art of Artificial Turf Installation: A Step-by-Step Guide (https://petgrows.com/blogs/news/mastering-the-art-of-artificial-turf-installation-a-step-by-step-guide)
- How to Install Artificial Turf on Dirt | US Turf (https://usturfsandiego.com/news/how-to-install-artificial-turf-on-dirt)
- lowes.com (https://lowes.com/n/how-to/install-artificial-grass)
- Artificial Grass for Rooftop Decks: Complete Guide | US Turf (https://usturfsandiego.com/news/artificial-grass-for-rooftop-decks)
- Finalize Installation and Maintain Your Turf
- usturfsandiego.com (https://usturfsandiego.com/news/how-to-keep-artificial-turf-clean)
- Artificial Turf Maintenance Guide | Cleaning & Care Tips (https://fieldturflandscape.com/maintenance/artificial-turf-maintenance-guide)
- How To Maintain & Care For Your Synthetic Grass | SGW (https://syntheticgrasswarehouse.com/resources/maintenance-care)
- How to Maintain Your Artificial Grass All Year Round (https://synlawn.com/articles/how-to-maintain-artificial-grass)
- How To Maintain Artificial Grass: 9 Practical Tips (https://dfwturf.com/how-to-maintain-artificial-grass)
- Troubleshoot Common Installation Issues
- Experts issue warning amid skyrocketing installations of popular landscaping trend: ‘It’s really, really unsafe’ (https://thecooldown.com/green-home/fake-grass-los-angeles-ban)
- How Much Does a Lawn Leveling Service Cost? (2025 Data) (https://homeadvisor.com/cost/landscape/reslope-a-lawn)
- Debate about safety of synthetic turf and ‘forever chemicals’ raises concerns for some (https://abcnews.go.com/US/debate-safety-synthetic-turf-forever-chemicals-raises-concerns/story?id=108274911)
- Once it was hailed as a drought fix — but now California’s moving to restrict synthetic turf over health concerns (https://calmatters.org/environment/2023/10/california-synthetic-turf-pfas)
- As California installs more artificial turf, health and environmental concerns multiply (https://latimes.com/science/story/2025-09-17/californias-love-hate-relationship-with-artificial-turf)