
Introduction
Transforming a Kansas homeowner’s outdoor space into a lush, green oasis through artificial turf installation requires careful planning and execution. This guide will provide a step-by-step approach to ensure a successful DIY turf installation, from selecting the right materials to maintaining the finished product. With the right guidance, homeowners can confidently navigate the complexities of turf installation and achieve a beautiful outdoor space.
Plan and Prepare for Your Turf Installation
Installing diy turf requires careful planning and consideration of various factors to ensure a successful outcome.
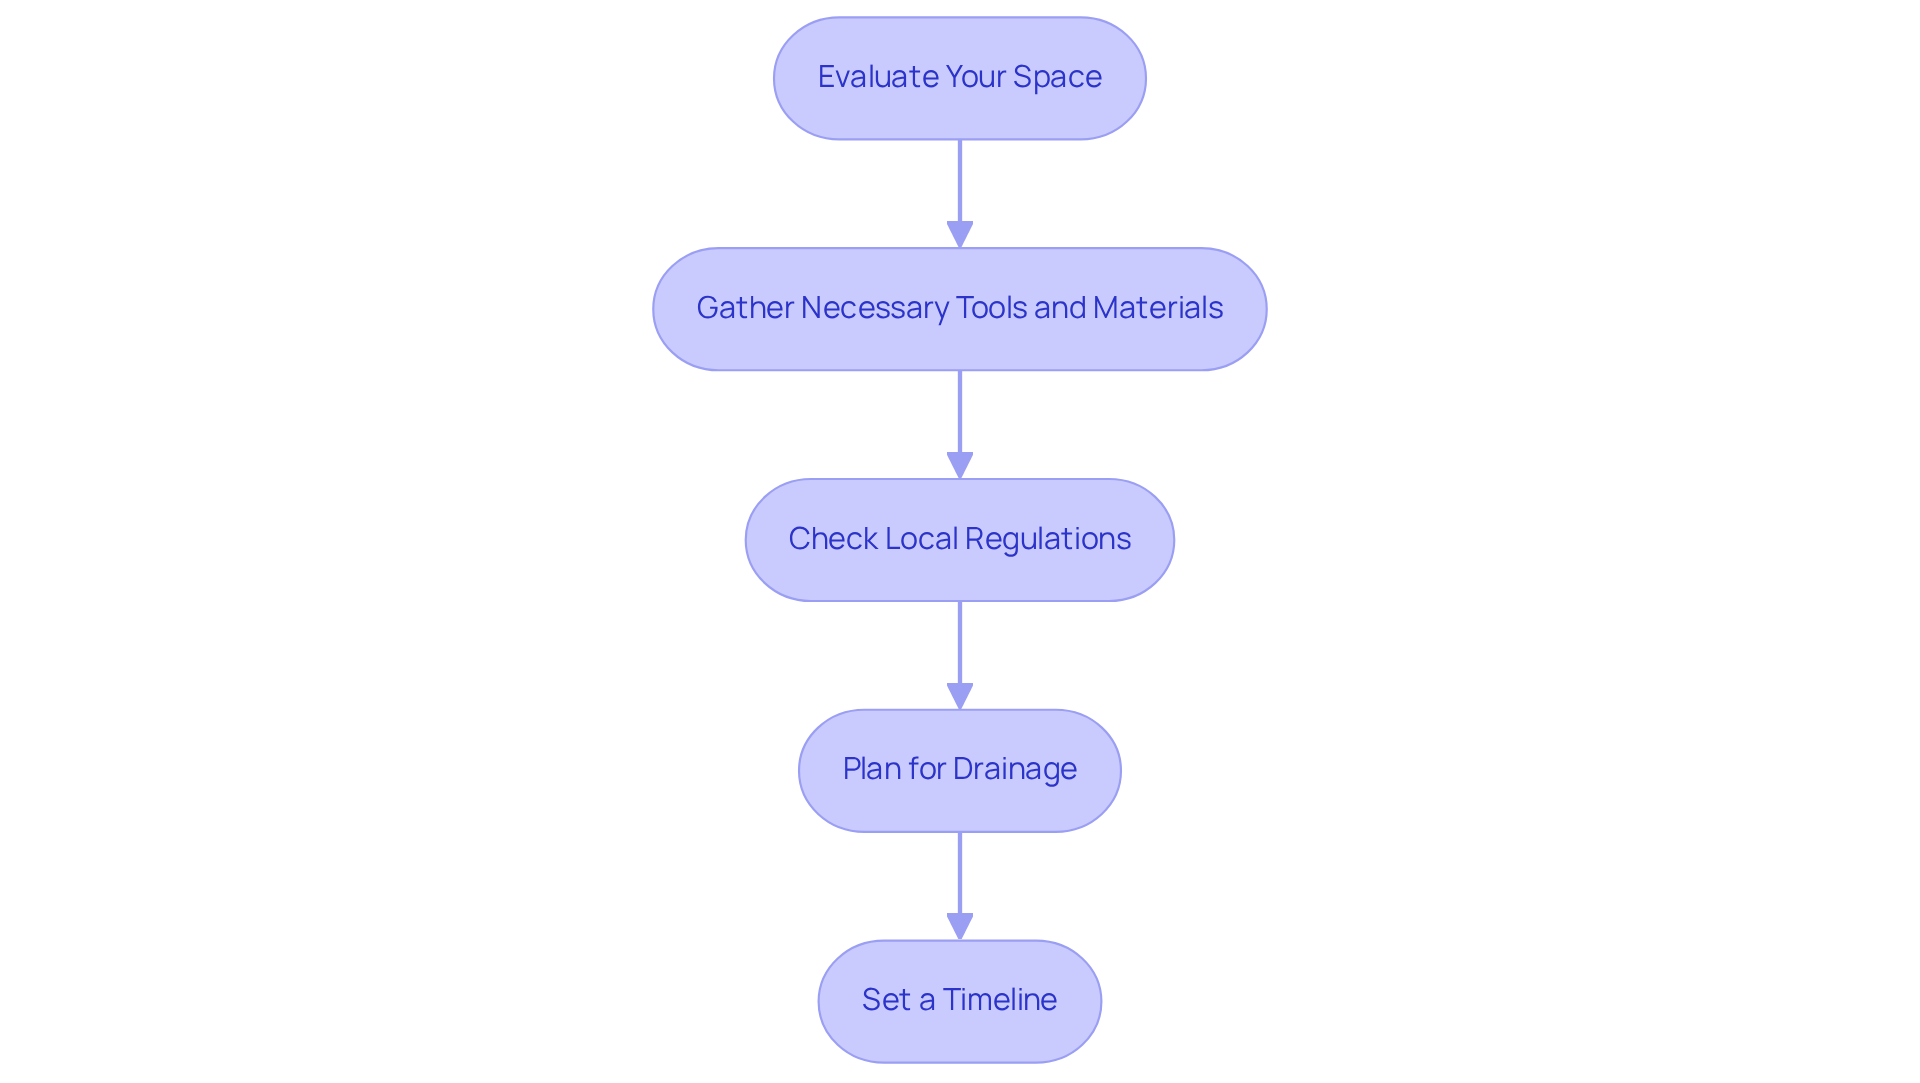
- Evaluate Your Space: Begin by measuring the area designated for grass installation. Take into account the shape of the space and any existing obstacles such as trees or flower beds. This assessment will assist you in determining the quantity of diy turf needed for your project.
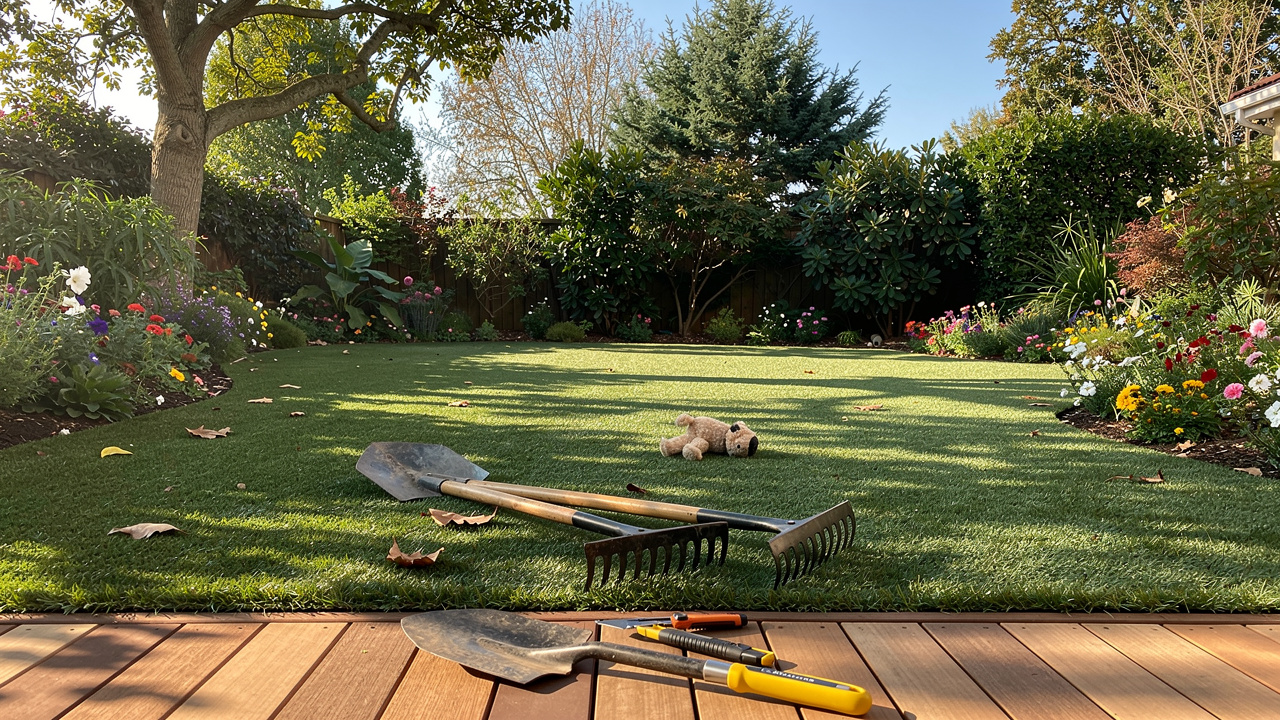
- Gather Necessary Tools and Materials: Essential tools for installation include a shovel, rake, compactor, utility knife, landscape staples, and a weed barrier. Ensure you have the diy turf rolls prepared for installation to streamline the process.
- Check Local Regulations: Before starting your project, confirm any local regulations or homeowners association (HOA) guidelines concerning synthetic grass installation in your location. Ignoring local regulations may lead to fines or project delays. Compliance with these regulations is crucial to avoid potential issues related to diy turf.
- Plan for Drainage: Proper drainage is essential to prevent water pooling in your installation location. Assess the site for grading needs or consider adding drainage solutions to ensure effective water management. Without proper drainage, you risk water pooling on your diy turf, which can damage the grass and result in additional costs.
- Set a Timeline: Establish a realistic timeline for your installation project. This will help you manage your time effectively and ensure you have adequate assistance throughout the process. On average, installing synthetic grass costs around $3,458, depending on the size of your project and the type of grass you choose. It’s wise to budget for these factors. Failure to address these considerations could result in increased costs and project complications down the line.
Choose the Right Turf for Your Needs
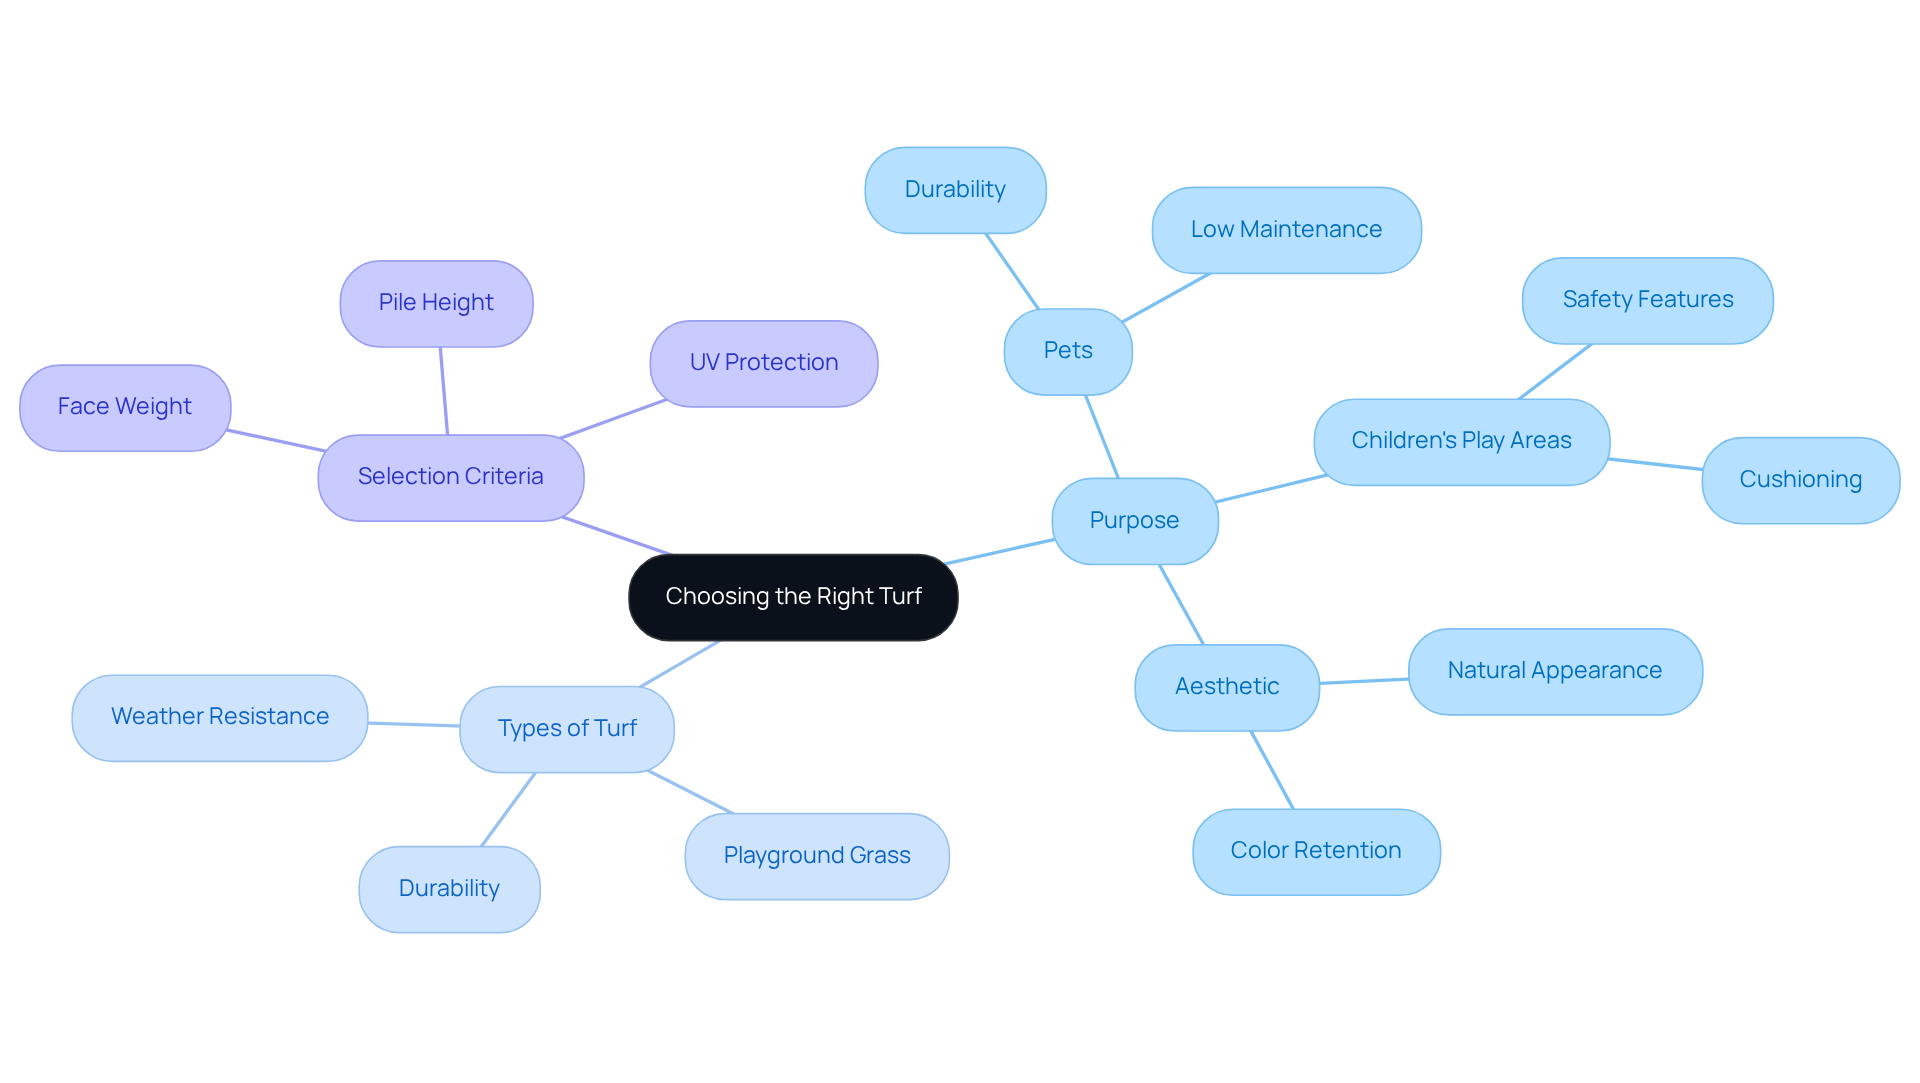
Selecting the right diy turf is crucial for ensuring safety and satisfaction in your outdoor space. Start by determining the main purpose of the diy turf, whether it will be for pets, children’s play areas, or purely aesthetic purposes. Each type of diy turf has unique characteristics that ensure safety and performance.
Familiarize yourself with the various types of diy turf that are available. For instance, diy turf is designed for durability and superior drainage, while playground grass often includes extra cushioning to enhance safety during play.
Given Kansas’s variable climate, it’s essential to select grass that can endure local weather conditions and the expected foot traffic. Opt for a diy turf product that is designed to withstand both the elements and the wear from active use.
When selecting diy turf, look for options with a high face weight and longer pile height, as these features contribute to a more natural appearance and feel. Additionally, ensure the diy turf has UV protection to prevent fading over time.
Whenever possible, obtain samples of the grass you are considering. This helps you see how it fits in your space and feel its texture, helping you make a more informed decision before purchasing. Making an informed choice regarding diy turf can significantly enhance the usability and enjoyment of your outdoor area.
Install Your Turf: Step-by-Step Instructions
To ensure a successful installation of diy turf, follow these essential steps for optimal results.
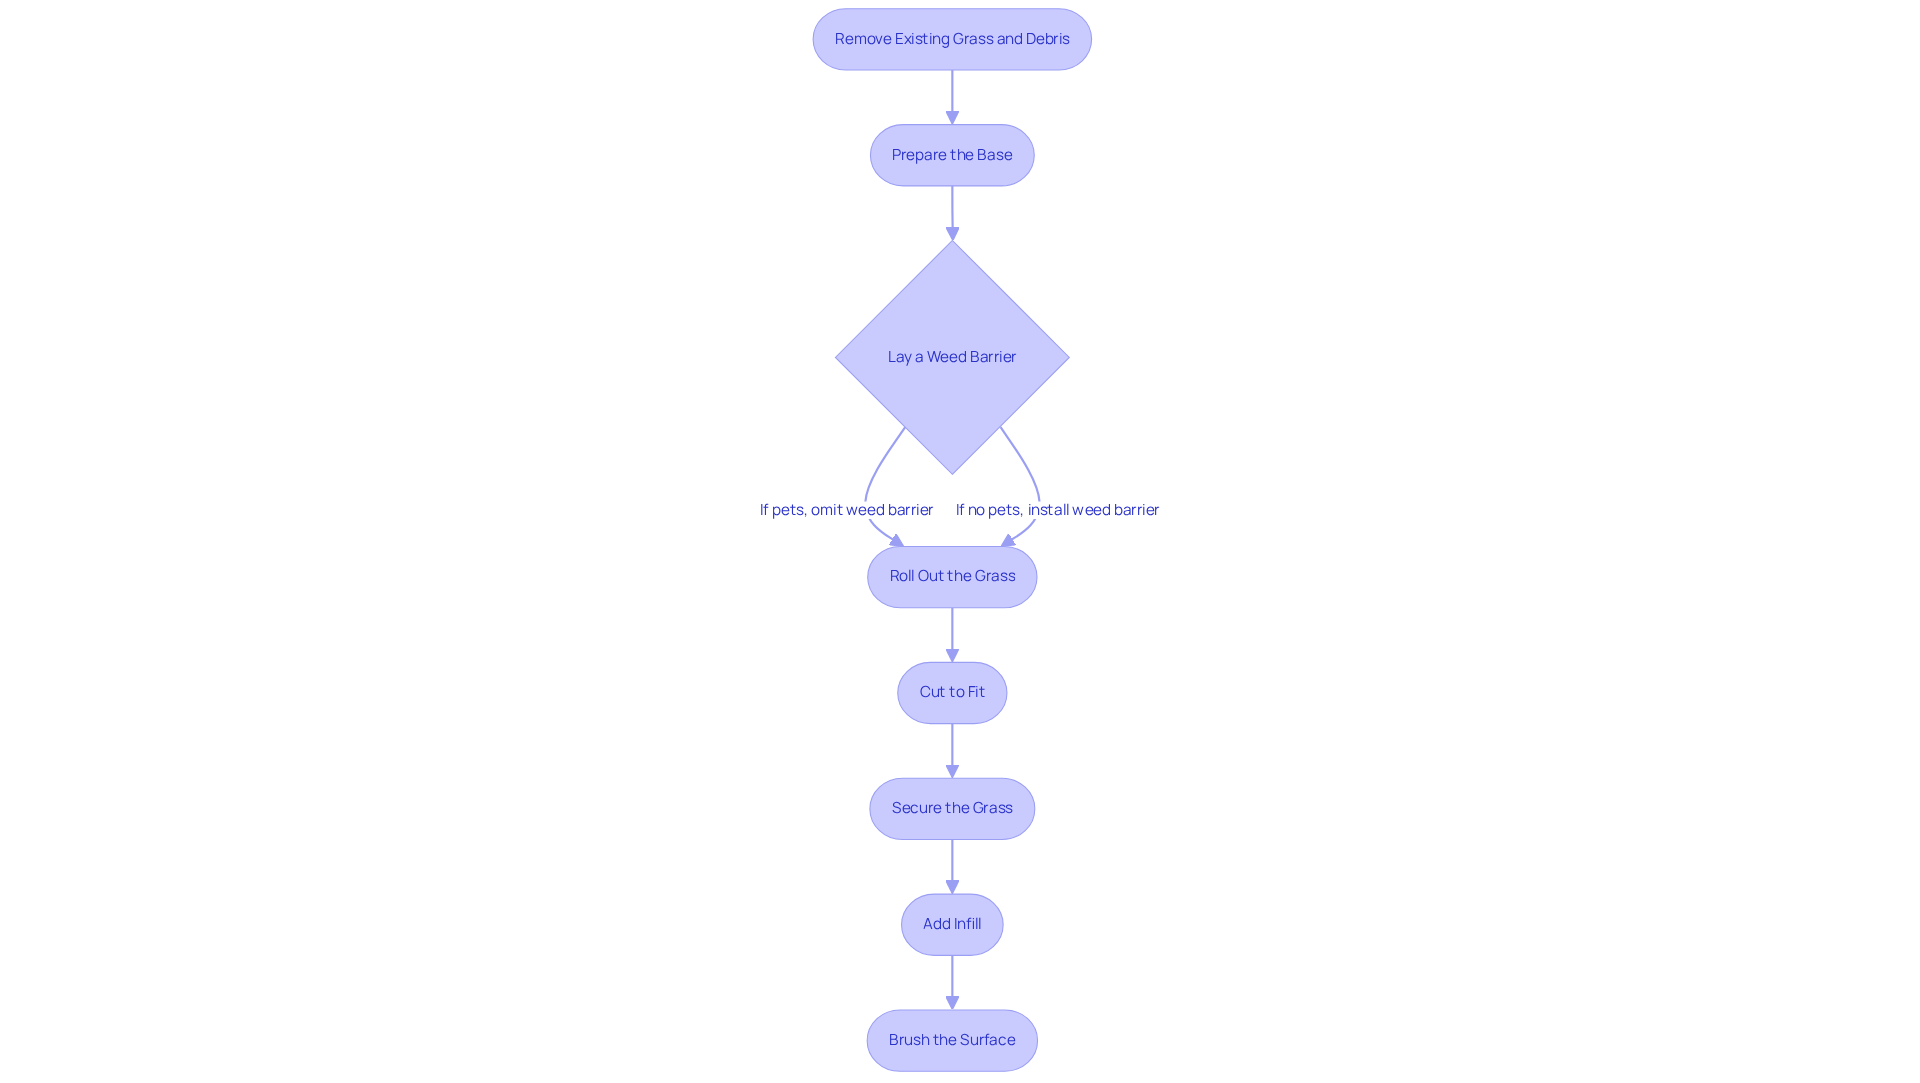
- Remove Existing Grass and Debris: Begin by using a shovel to clear the installation area of any existing grass, weeds, and debris. Ensure a depth of 3-4 inches to establish a solid foundation.
- Prepare the Base: Level the ground and compact it thoroughly to create a stable base. Consider adding a layer of crushed rock or gravel to enhance drainage and provide additional support for the grass, addressing potential drainage issues.
- Lay a Weed Barrier: Install a weed barrier fabric over the compacted base. This step is crucial for preventing weeds from growing through the grass, ensuring a clean and low-maintenance surface. However, if the space will be used by pets, consider omitting the weed barrier to avoid potential odor issues.
- Roll Out the Grass: Unroll the synthetic grass and lay it over the prepared area. Ensure that seams align properly if using multiple pieces to maintain a uniform appearance.
- Cut to Fit: Use a sharp utility knife to trim the edges of the grass, fitting it snugly around any obstacles or creating clean edges along borders.
- Secure the Grass: Fasten the grass using landscape staples or U-shaped nails around the perimeter and at seams. This step is vital to prevent shifting and ensure a tight fit.
- Add Infill: If your grass requires infill, distribute it evenly across the surface. For areas used by pets, consider using Zeolite to help manage odors. This helps weigh down the grass and provides cushioning, enhancing its functionality.
- Brush the Surface: Finally, use a broom or brush to fluff up the fibers, ensuring an even and aesthetically pleasing appearance. Regular upkeep, including brushing and rinsing, will prolong the lifespan of your grass, which can last between 8 to 15 years.
Many customers have shared their positive experiences with Hall, highlighting the expertise and professionalism throughout their projects. For example, Dick Bryant observed how Brock assessed his lawn requirements and offered the ideal solution, while Scott Sachse commended the outstanding work completed on his new putting green. Les Boatright highlighted Brock’s professionalism and attention to detail, ensuring the project was completed on time and within budget. Hall Grass is a licensed contractor with over 15 years of experience, providing a variety of diy turf services including lawns, playgrounds, and putting greens. For inquiries and quotes, please reach out to Hall Grass at (816) 477-0979 or email info@hallgrass.com. Proper installation and maintenance will ensure your synthetic grass remains a beautiful and functional space for many years ahead.
Finish and Maintain Your Turf for Longevity
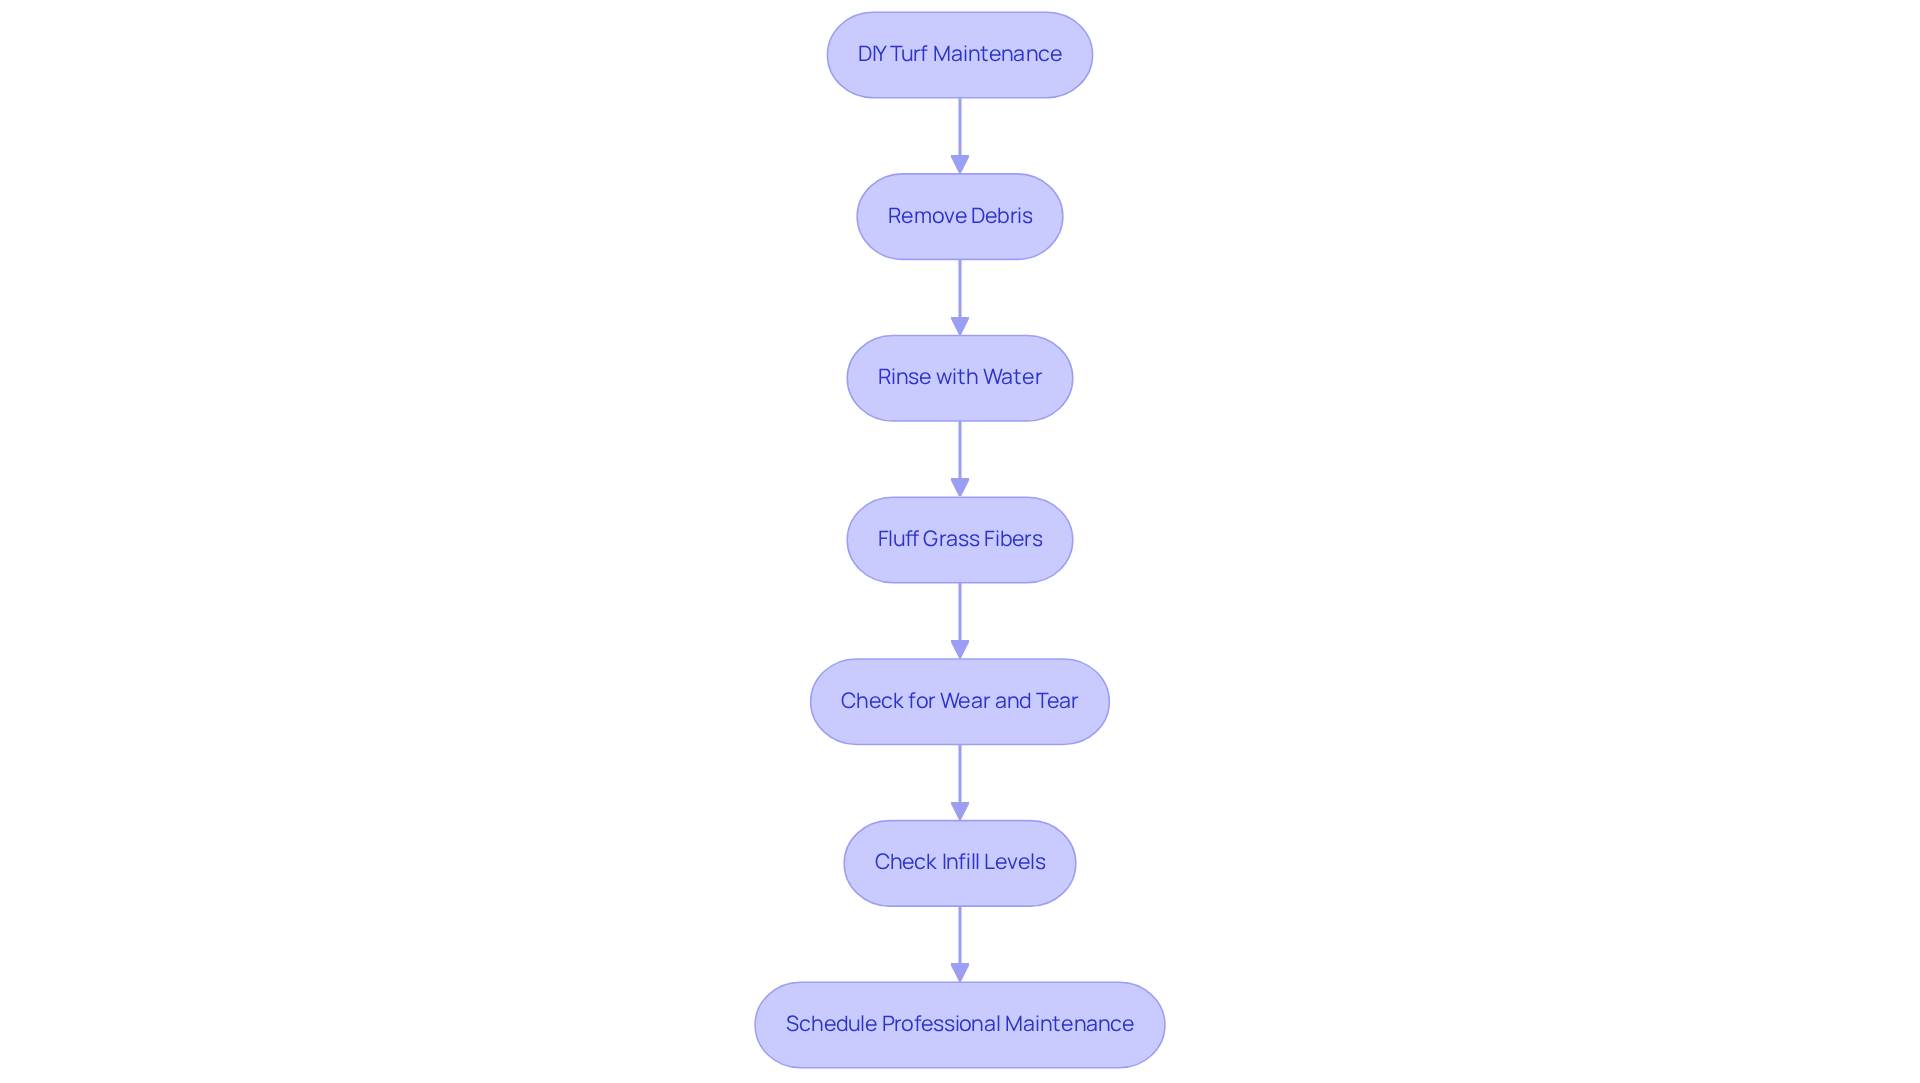
To ensure your diy turf remains in excellent condition, proactive maintenance is essential. To keep your diy turf in good condition, regularly remove debris such as leaves and dirt. Using a leaf blower or broom helps keep your diy turf clean and prevents odors and mold. Additionally, promptly removing animal waste is important to maintain the appearance of diy turf and avoid smells and discoloration. Hall’s artificial grass is designed to be hypoallergenic and anti-microbial, ensuring a safe play area for your pets.
Rinsing your diy turf with water helps remove dust and allergens, keeping it safe for your pets. This simple step of installing diy turf maintains hygiene and keeps your lawn looking vibrant. It’s also advisable to use a pet-safe disinfectant in areas frequently occupied by animals, enhancing Hall Turf’s sophisticated drainage system that reduces ammonia scent from pet urine by 99%.
Fluffing up the grass fibers with a synthetic brush every few weeks is crucial to prevent matting in diy turf, especially in high-traffic areas. This practice not only enhances the look of your lawn with diy turf but also improves drainage, which is essential for maintaining the performance of Hall’s durable and pet-friendly grass.
Make it a habit to check for wear and tear on your diy turf regularly. Examine your diy turf monthly and promptly address any issues, such as tears or loose seams, to avoid further deterioration and prolong its lifespan. Hall Turf’s commitment to long-term maintenance ensures that your artificial grass remains in top condition for years to come, backed by over 15 years of experience and a large satisfied client base.
If your diy turf utilizes infill, check the levels periodically and replenish as needed. Maintaining optimal infill levels in your diy turf ensures proper cushioning and stability, which enhances the overall performance of your lawn, especially in areas where pets play.
For optimal care, consider scheduling professional maintenance annually or biannually with Hall Turf. This is particularly important for high-traffic areas, as experts can provide thorough cleaning and repairs that may be challenging to manage on your own. By prioritizing maintenance, you can enjoy a beautiful and functional lawn created with diy turf for years to come.
Conclusion
Successfully installing DIY turf requires careful planning and execution to achieve the desired results. Thorough site preparation, selecting the appropriate turf type, and complying with local regulations are essential for a successful installation. Proper installation techniques and regular maintenance are vital to ensure the longevity and aesthetic appeal of synthetic grass.
Without careful planning and execution, homeowners risk ending up with a lawn that does not meet their expectations. Failure to adhere to these guidelines can lead to premature wear and dissatisfaction with the lawn’s appearance.
For those ready to enhance their outdoor space, Hall Turf offers expertise and support to ensure a successful installation that exceeds expectations.
Frequently Asked Questions
What is the first step in planning for a turf installation?
The first step is to evaluate your space by measuring the area designated for grass installation and considering the shape of the space and any existing obstacles such as trees or flower beds.
What tools and materials are necessary for installing DIY turf?
Essential tools for installation include a shovel, rake, compactor, utility knife, landscape staples, and a weed barrier. Additionally, ensure you have the DIY turf rolls prepared for installation.
Why is it important to check local regulations before installing synthetic grass?
Checking local regulations and homeowners association (HOA) guidelines is crucial to avoid fines or project delays. Compliance with these regulations helps prevent potential issues related to DIY turf installation.
How can I ensure proper drainage for my turf installation?
To ensure proper drainage, assess the site for grading needs and consider adding drainage solutions to prevent water pooling on your DIY turf, which can damage the grass and incur additional costs.
What should I consider when setting a timeline for my turf installation project?
Establish a realistic timeline to manage your time effectively and ensure you have adequate assistance throughout the process. It’s also important to budget for the average installation cost, which is around $3,458, depending on the project size and type of grass chosen.
List of Sources
- Plan and Prepare for Your Turf Installation
- KC Current files $2 million lawsuit over quality of turf fields at team practice facility (https://kmbc.com/article/kc-current-lawsuit-turf-fields-practice-facility/61544736)
- Current seek millions in lawsuit against turf installer (https://fox4kc.com/sports/kc-current/current-seeking-millions-in-lawsuit-after-defective-turf-installment)
- Legislation Seeks More Environmentally-Friendly Turf Removal (https://newsfromthestates.com/article/legislation-seeks-more-environmentally-friendly-turf-removal)
- The 10 Best Artificial Turf Installers in Kansas City, MO 2026 (https://thumbtack.com/mo/kansas-city/artificial-turf-installation)
- Choose the Right Turf for Your Needs
- Comparing Dog Artificial Turf and Natural Grass for Your Yard – Hall Turf | Artificial Turf Installation Kansas City KS & MO (https://hallturf.com/comparing-dog-artificial-turf-and-natural-grass-for-your-yard)
- Best Turf for Pets: Comparing Artificial and Natural Grass Options – Hall Turf | Artificial Turf Installation Kansas City KS & MO (https://hallturf.com/best-turf-for-pets-comparing-artificial-and-natural-grass-options)
- Compare 4 Types of Fake Grass for Your Kansas Home – Hall Turf | Artificial Turf Installation Kansas City KS & MO (https://hallturf.com/compare-4-types-of-fake-grass-for-your-kansas-home)
- Artificial Playground Turf in Kansas City, MO (https://kansascityartificiallawns.com/artificial-turf-installations/playgrounds)
- Kansas City leading the way in Playground safety (https://synlawn.com/articles/kansas-city-leading-the-way-in-playground-safety)
- Install Your Turf: Step-by-Step Instructions
- 4 Steps for Successful Turf Yard Installation at Home – Hall Turf | Artificial Turf Installation Kansas City KS & MO (https://hallturf.com/4-steps-for-successful-turf-yard-installation-at-home)
- How to Install Artificial Turf – RCP Block & Brick (https://rcpblock.com/installation-artificial-turf.html)
- Your Guide to Artificial Turf Install Opening Right Now in Kansas – Hall Turf | Artificial Turf Installation Kansas City KS & MO (https://hallturf.com/your-guide-to-artificial-turf-install-opening-right-now-in-kansas)
- Finish and Maintain Your Turf for Longevity
- How To Maintain & Care For Your Synthetic Grass | SGW (https://syntheticgrasswarehouse.com/resources/maintenance-care)
- How to Maintain Artificial Turf Grass (https://southernturfco.com/blog/how-to-maintain-artificial-turf-grass)
- How to Maintain Your Turf | TurFresh (https://turfresh.com/how-to-maintain-your-turf)
- Master Artificial Turf Care Maintenance for Your Home’s Beauty – Hall Turf | Artificial Turf Installation Kansas City KS & MO (https://hallturf.com/master-artificial-turf-care-maintenance-for-your-homes-beauty)
- Turf Maintenance Tips | Turf Now! | Synthetic Grass Installations (https://turfnow.com/resources/turf-maintenance-tips)