
Introduction
Preparing the ground for artificial grass installation is not merely about laying down turf; it requires a meticulous process that guarantees a long-lasting and visually appealing lawn. This guide outlines the essential steps for installing underlay for artificial grass on soil, highlighting the critical aspects of proper soil preparation, weed barriers, and selecting the right underlay materials.
If the foundation is not adequately prepared, what consequences might arise? Can overlooked details result in a lawn that fails to thrive? This article will reveal the necessary steps and best practices that can transform any outdoor space into a lush, green oasis.
Prepare the Soil for Underlay Installation
- Clear the Area: Start by removing any existing grass, weeds, or debris from the setup site. Use a shovel or a sod cutter for larger areas to ensure a clean surface.
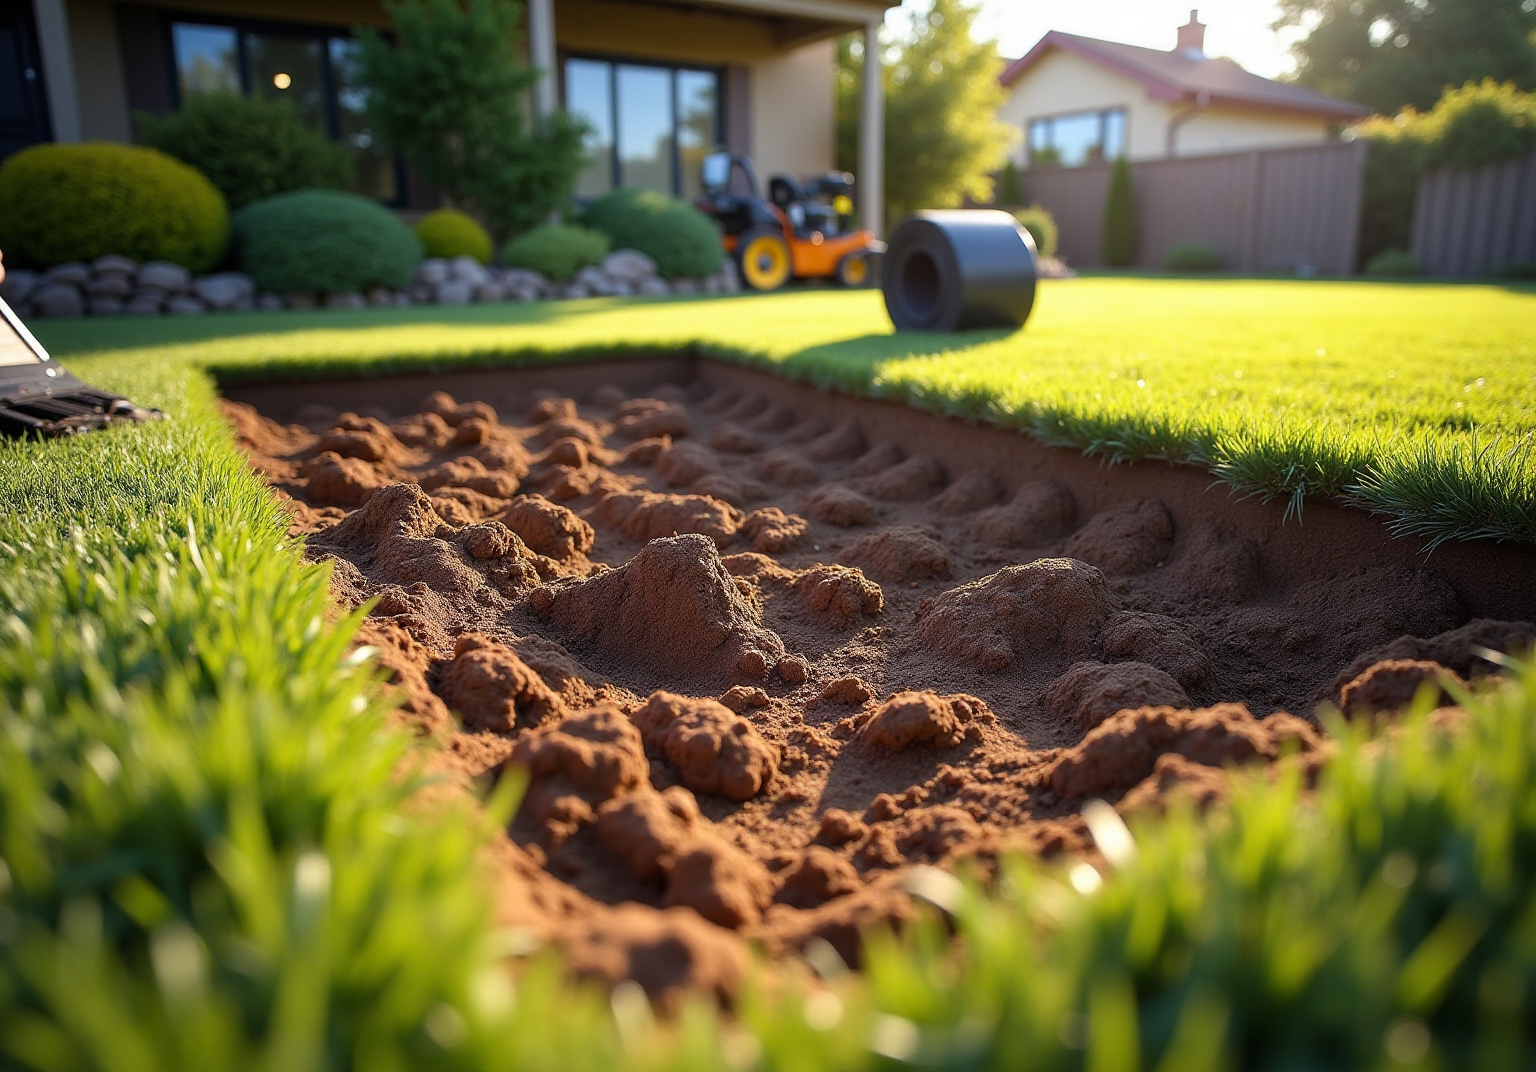
- Excavate the soil by digging down approximately 3-4 inches to create space for the underlay and the grass itself. This depth is crucial as it meets the grass’s needs while preventing issues related to ground expansion and contraction in colder climates. Ensure that the edges are well-defined and the area is as level as possible to facilitate drainage.
- Level the Soil: Use a rake to smooth out the soil, filling in any low spots to create an even surface. This step is vital for proper drainage, which can lead to uneven growth and potential harm to the grass over time.
- Compact the Soil: Employ a plate compactor or hand tamper to firmly compact the soil. Achieving a solid base is essential to prevent settling after the grass is installed, which can result in unsightly uneven surfaces. Regularly check for inconsistencies in the sub-base after drying and make necessary adjustments to ensure a solid foundation that includes an even layer on soil. Additionally, lightly wet the area to achieve proper compaction, and consider using a bow rake or similar tool to spread the sub-base material evenly.

Install a Weed Barrier to Prevent Weeds
- Select the Right Material: Choose a barrier that allows water and nutrients to flow through while blocking sunlight. Fabrics are often recommended due to their durability.
- Place the Barrier: Unroll the material over the soil, ensuring it covers the area where the grass will be installed. Overlap adjacent pieces by at least 6 inches to eliminate gaps.
- Secure the Barrier: Use stakes to hold the barrier in place, making sure it remains flat and taut against the soil. This prevents movement during the installation and grass growth.
- Trim Extra Material: After securing, cut any excess along the edges to achieve a neat finish that aligns with the perimeter.

Choose and Lay the Appropriate Underlay Material
- Select Base Material: Choose the appropriate base material based on the intended use of your synthetic grass. Foam padding is especially beneficial in play areas, as it enhances safety by reducing the risk of injury from falls. Research shows that foam padding can significantly improve comfort levels, making it a preferred choice for play areas. Rubber mats are ideal for high-traffic zones. Experts indicate that these pads can reduce impact force by up to 30%, creating a safer surface for users. Drainage layers are essential, preventing waterlogging and ensuring a stable base. Each material serves distinct functions, so select according to your specific needs, while considering that an underlay for installation on soil is essential to prevent inadequate drainage and minimize maintenance due to unwanted vegetation.
- Measure the area: Measure the area designated for installation accurately and cut material to fit. Ensure it covers the entire plant barrier without any gaps. A utility knife will yield clean edges for a professional finish.
- Place the Base Layer: Position the cut base layer material over the weed barrier, ensuring it lies flat and is properly aligned. If multiple pieces are used, overlap them slightly to eliminate any gaps that could compromise the installation.
- Secure the Underlay: Use landscape staples or adhesive to firmly hold the underlay in place, preventing any movement during installation. Before proceeding, verify that the surface is smooth and even, as this will enhance the longevity and performance of your underlay.

Secure and Inspect the Underlay for Optimal Performance
- Check for Levelness: Start by thoroughly inspecting the base to ensure it is level. Using a level tool is crucial for confirming an even surface, as any unevenness can lead to premature wear and instability in the turf. For most residential applications, a thickness of 10-15mm is sufficient, while sports fields or areas with heavy foot traffic may require a thickness of 10-25mm.
- Secure the Edges: It is vital to firmly attach the borders of the base to prevent any shifting during setup. Use additional staples or adhesive as needed to secure the edges, ensuring a stable foundation for the turf. Edge restraints play a critical role in the installation of artificial grass, as they help maintain the sub-base and prevent shifting, preventing collapse at the edges.
- Inspect for Damage: Conduct a thorough examination for any tears or damage in the material beneath. Addressing any issues promptly by replacing affected sections is essential to uphold the integrity of the installation, as damaged material can compromise the entire setup. Cutting corners on the quality of the material beneath the surface to save costs can result in early deterioration of the grass, leading to increased long-term expenses.
- Final Touches: After securing and inspecting the foundation, lightly compact it again if necessary to create a solid base. This is crucial for ensuring optimal performance and longevity of the turf, as a well-prepared underlay significantly enhances the overall durability and comfort of the artificial lawn.

Conclusion
In conclusion, meticulous preparation is essential for a successful artificial grass installation on soil. By investing time and effort in the outlined steps, from soil preparation to securing the underlay, one can create a durable and visually appealing lawn that withstands the test of time.
The process involves critical actions such as:
- Clearing and leveling the soil
- Installing a weed barrier
- Selecting the appropriate underlay material
- Conducting thorough inspections
Each of these phases is vital in preventing issues like uneven growth, water accumulation, and potential damage to the artificial grass, ultimately ensuring optimal performance and longevity.
Proper attention to detail not only enhances the aesthetic appeal of the lawn but also minimizes long-term maintenance and costs. By embracing these best practices, you can cultivate a vibrant, safe, and lasting outdoor space that can be enjoyed for years to come.
Frequently Asked Questions
What is the first step in preparing the soil for underlay installation?
The first step is to clear the area by removing any existing grass, weeds, or debris from the setup site. This can be done using a shovel or a sod cutter for larger areas.
How deep should I excavate the soil for underlay installation?
You should excavate the soil by digging down approximately 3-4 inches. This depth is important for accommodating the underlay for artificial grass and the grass itself while preventing issues related to ground expansion and contraction in colder climates.
Why is it important to level the surface of the soil?
Leveling the surface is vital for preventing water accumulation, which can lead to uneven growth and potential harm to the grass over time.
How can I compact the soil effectively?
You can compact the soil using a plate compactor or a hand tamper. Achieving a compaction level of up to 95% is essential to prevent settling after the grass is installed.
What should I do if I notice inconsistencies in the sub-base after drying?
You should regularly check for inconsistencies in the sub-base after drying and make necessary adjustments to ensure a solid foundation for the underlay.
Is there a technique to improve compaction of the soil?
Yes, lightly wetting the area can help achieve proper compaction. Additionally, using a bow rake or similar tool can help spread the sub-base material evenly.
List of Sources
- Prepare the Soil for Underlay Installation
- lavingtonturf.com (https://lavingtonturf.com/the-ultimate-guide-to-preparing-soil-for-turf-installation)
- Artificial Grass Installation DIY: My Experience, Tips, and Insights! | Purchase Green Artificial Grass (https://purchasegreen.com/diy-tips/artificial-grass-installation-diy-my-experience-tips-and-insights)
- Artificial Grass Ground Preparation (https://artificialturfsupply.com/artificial-grass-ground-preparation.html)
- smartgrass.co.nz (https://smartgrass.co.nz/dig-out-lawn-for-artificial-grass-installation)
- forum.homeone.com.au (https://forum.homeone.com.au/viewtopic.php?f=19&t=24715)
- Install a Weed Barrier to Prevent Weeds
- How to Install Artificial Turf on Dirt | US Turf (https://usturfsandiego.com/news/how-to-install-artificial-turf-on-dirt)
- Case Studies: Landscape & Recreation – Synthetic Turf Council (https://syntheticturfcouncil.org/page/Case_Studies_2)
- mdpi.com (https://mdpi.com/2071-1050/17/14/6292)
- mightygrass.com (https://mightygrass.com/what-goes-under-artificial-turf)
- returf.com (https://returf.com/avoid-these-diy-mistakes-installing-artificial-grass?srsltid=AfmBOopXowr_oRn5h7E1epWCe2NqDAfyafRSPAuQVNaC8gT53cpn1FzC)
- Choose and Lay the Appropriate Underlay Material
- maslandscaping.com (https://maslandscaping.com/underlay-for-artificial-grass-on-soil)
- Artificial Turf Market Size And Share | Industry Report, 2033 (https://grandviewresearch.com/industry-analysis/artificial-turf-market)
- artificialgrass-direct.com (https://artificialgrass-direct.com/what-goes-under-artificial-grass)
- marketsandmarkets.com (https://marketsandmarkets.com/Market-Reports/artificial-turf-market-121486580.html)
- Secure and Inspect the Underlay for Optimal Performance
- researchgate.net (https://researchgate.net/publication/305080926_Artificial_Turf_Field_-_A_New_Build_Case_Study)
- unreallawns.co.nz (https://unreallawns.co.nz/synthetic-grass-underlay-the-key-to-comfort)
- mdpi.com (https://mdpi.com/2071-1050/17/14/6292)
- 18 Artificial Grass Installation Mistakes (and How to Solve Them) (https://neograss.co.uk/18-artificial-grass-installation-mistakes-and-how-to-solve-them)
- Case Studies: Landscape & Recreation – Synthetic Turf Council (https://syntheticturfcouncil.org/page/Case_Studies_2)