

Introduction
Transforming an ordinary backyard into a golfer’s paradise begins with the installation of a personal putting green. Homeowners can enhance their outdoor space while improving their golfing skills and increasing property value. However, homeowners often face obstacles in:
- Selecting the right location
- Ensuring proper installation
- Maintaining the green
This article provides essential insights to navigate these challenges effectively, guiding readers through the process of creating a flawless practice area that meets their unique needs.
Select and Prepare the Ideal Site for Your Putting Green
Choosing the right location for your putting area is essential for creating an effective and enjoyable practice environment. Here are key considerations:
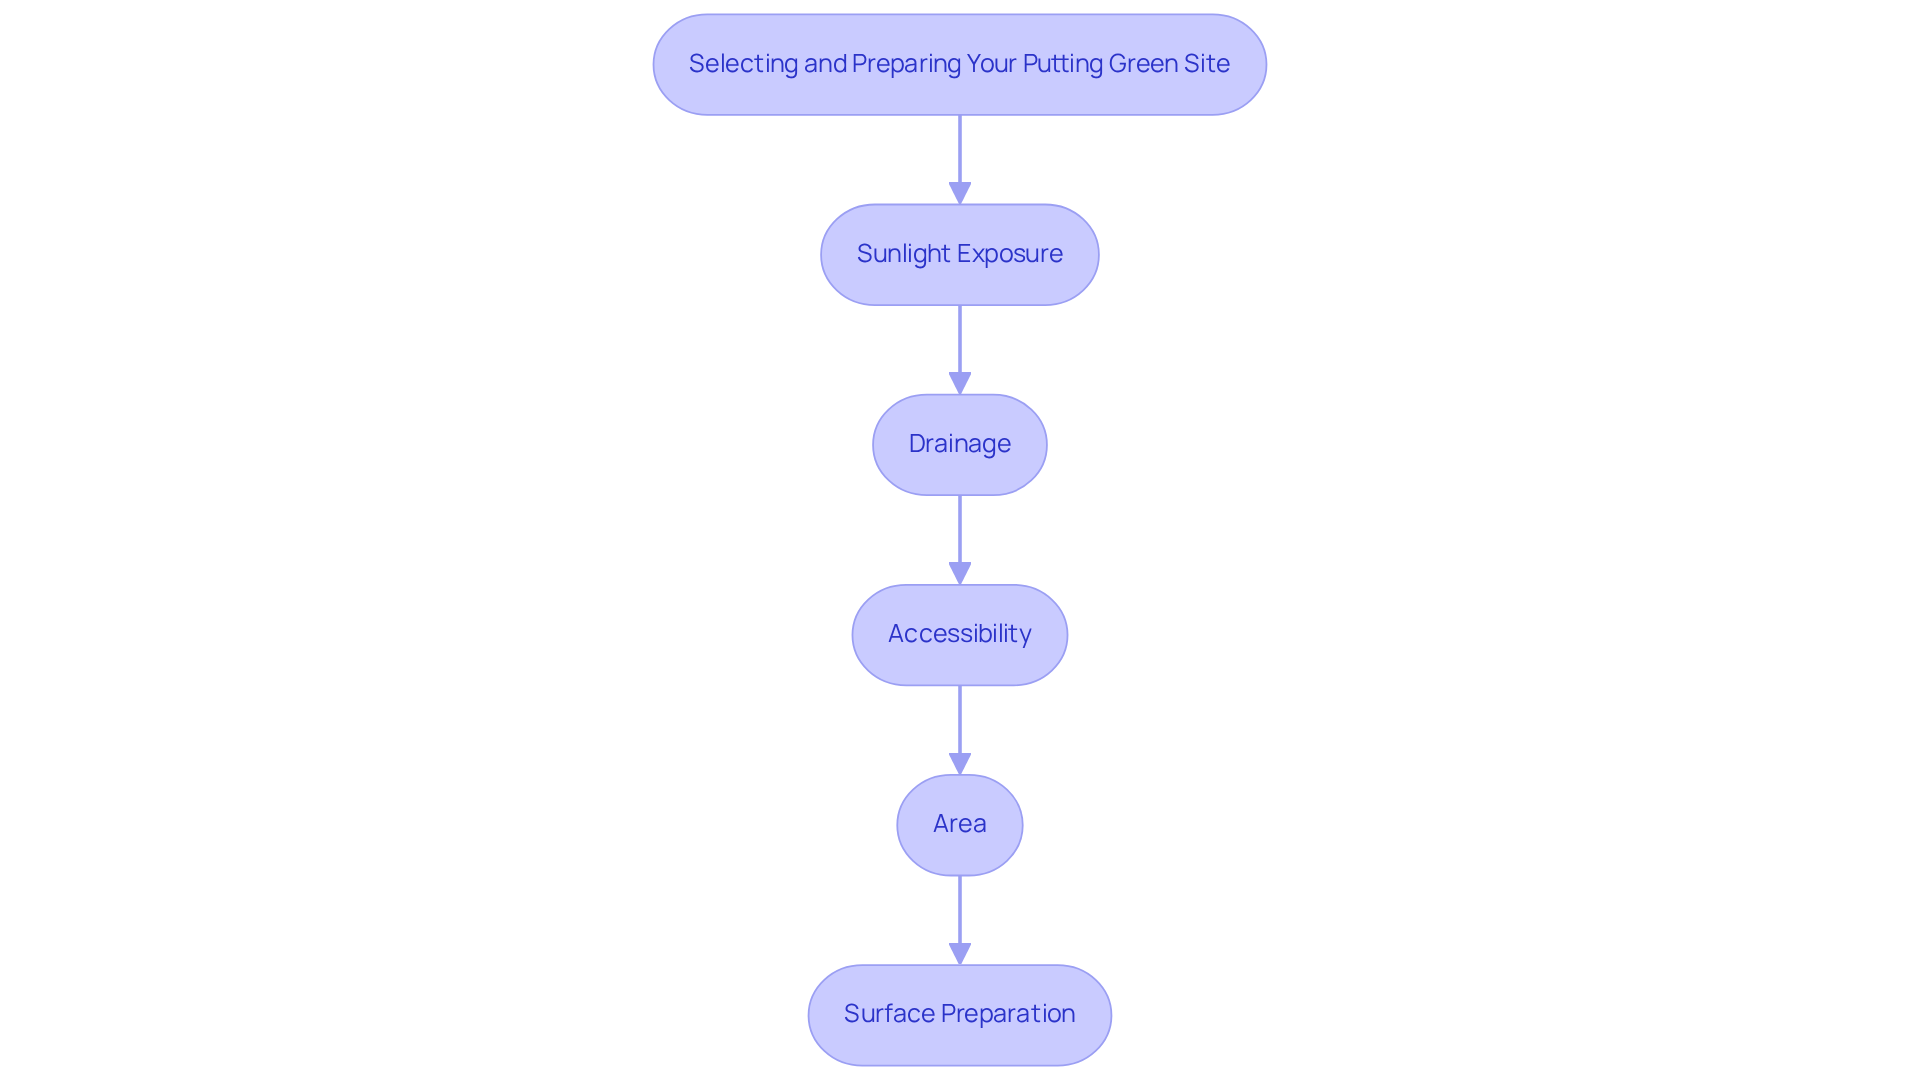
- Sunlight Exposure: Ensure the site receives ample sunlight throughout the day. This is crucial for maintaining the turf’s health and playability, as sunlight helps reduce fungal growth and promotes a vibrant appearance.
- Drainage: Select a location with effective drainage to prevent water pooling, which can lead to moss growth and disrupt the surface. Ideally, the ground should slope slightly away from the putting surface, with a recommended incline of no more than 2%, to facilitate water runoff and maintain a dry playing surface. Advanced subsurface drainage systems from Hall Turf enhance water management effectively.
- Accessibility: The site should be easily accessible for maintenance and play. Consider its proximity to your home and other outdoor features to enhance usability.
- Area: Ensure there is enough room for the size of the golf practice area you envision, typically ranging from 200 to 500 square feet, plus additional space for landscaping or seating areas.
- Surface Preparation: Clear the area of any existing grass, debris, or obstacles. Level the ground to create a smooth foundation for setup, as proper surface preparation is vital for preventing settling and ensuring consistent ball roll. With our expertise, we make sure the preparations are thorough, preventing uneven surfaces that can disrupt play.
By thoughtfully choosing and preparing the location, you establish the foundation for a successful putting green installation that meets your requirements and enhances your outdoor area. A well-prepared site not only enhances your practice experience but also adds lasting value to your outdoor space. Our team, led by experienced professionals like Brock, is dedicated to providing expert artificial turf solutions tailored to your needs. Brock’s meticulous approach ensures projects are completed on time and within budget, reflecting our commitment to quality.
Follow Step-by-Step Installation Techniques for Optimal Results
To achieve a professional-quality putting green, follow these essential steps for installation:
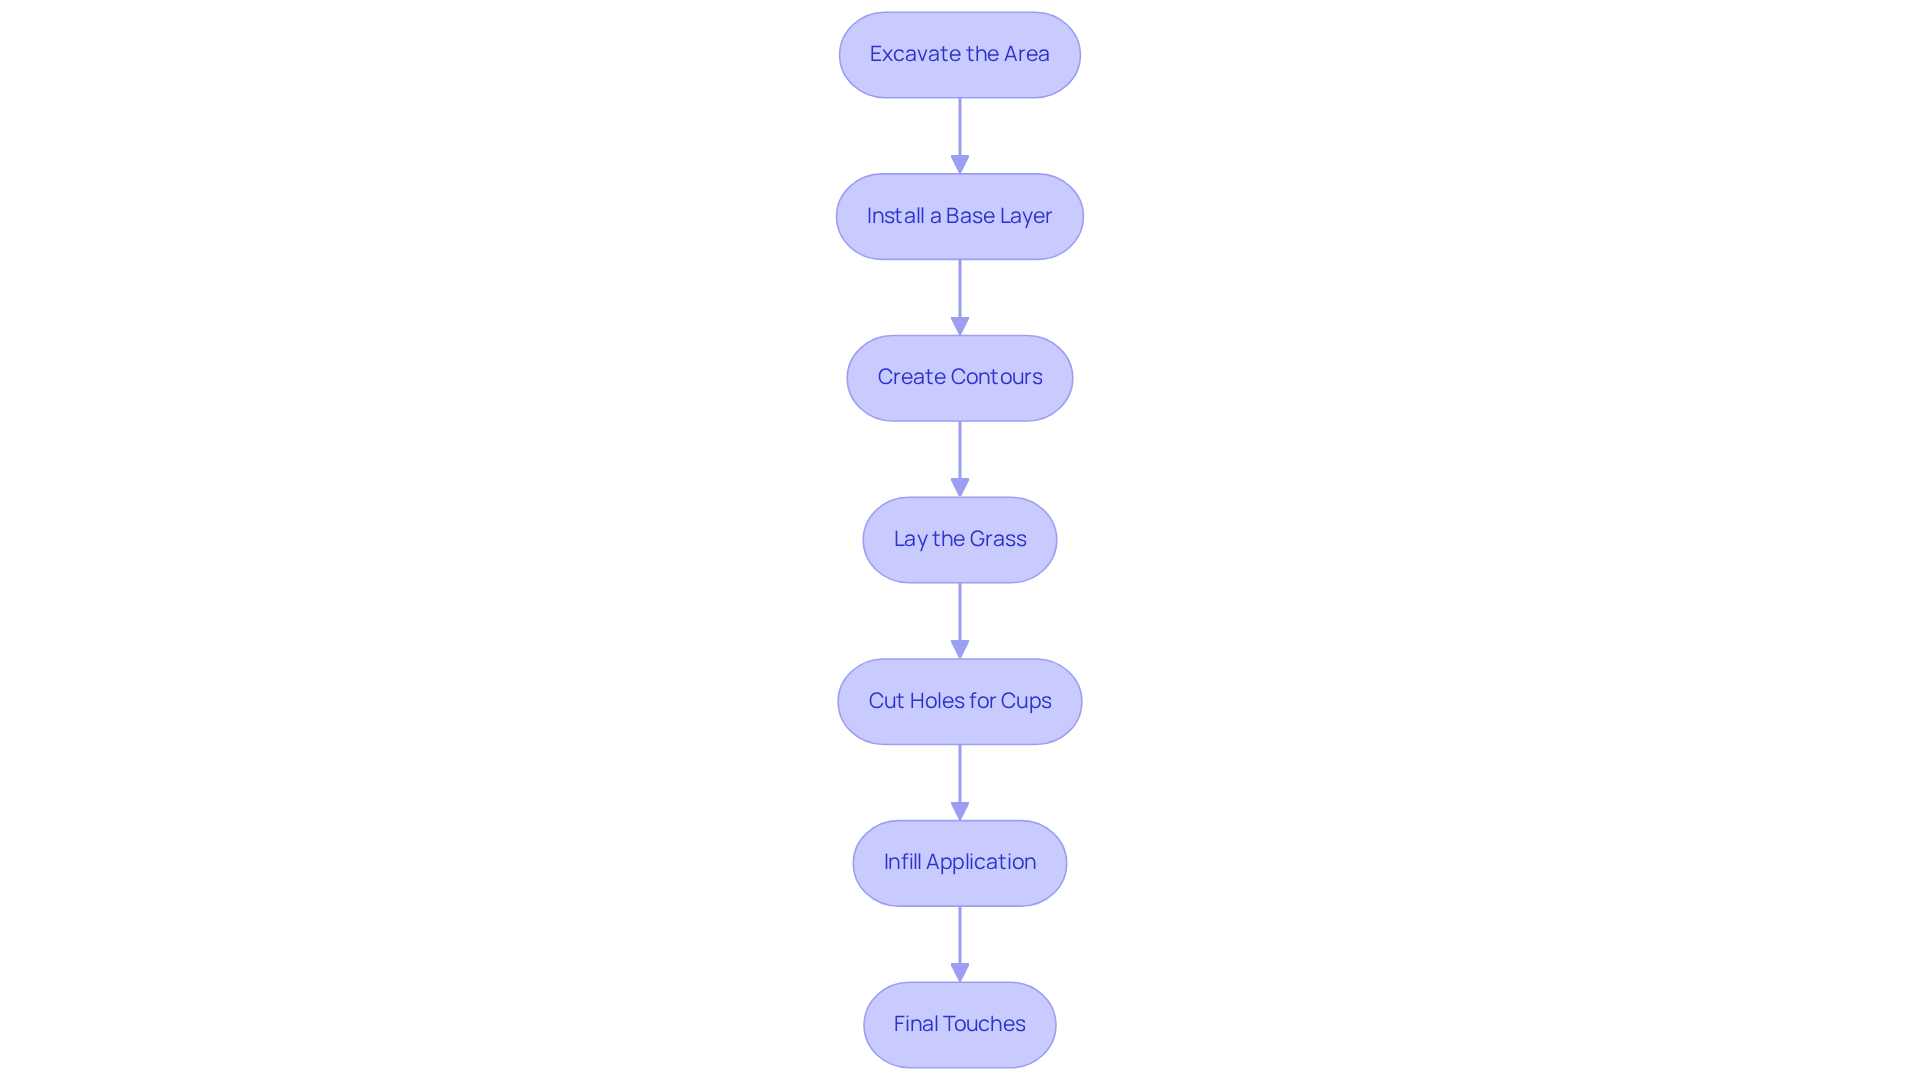
- Excavate the Area: Dig out the area to a depth of 4-6 inches, ensuring the base is level and compacted.
- Install a Base Layer: Add a layer of crushed stone or gravel (2-4 inches) to promote drainage. Compact this layer thoroughly.
- Create Contours: Shape the base to create undulations or slopes that mimic natural greens. This creates a more challenging and realistic golfing experience.
- Lay the Grass: Roll out the synthetic grass over the prepared base, ensuring it is smooth and free of wrinkles. Leave 16-18 inches from the panel edge when rolling out the pre-cut grass. Use landscape staples to secure the edges, placing 5-6 staples around the deck washer to secure it to the cup kit.
- Cut Holes for Cups: Carefully cut holes for the putting cups, ensuring they are positioned correctly for gameplay.
- Infill Application: If required, apply infill material to enhance the turf’s stability and performance. Brush the surface to ensure even distribution.
- Final Touches: Inspect the installation for any imperfections, and make adjustments as necessary to ensure a seamless finish.
Additionally, it is recommended to lay a weed barrier over the base to prevent weed growth and ensure proper drainage. By following these steps, homeowners can attain a professional-quality lawn that enhances their outdoor area. As noted by Eric Fullerton, approaching the installation like a pro is essential. Investing in high-quality materials is crucial, as compromising on artificial grass quality can lead to poor performance and durability. Clients such as Dick Bryant and Scott Sachse have commended Hall Turf’s services, mentioning the outstanding work accomplished by Brock and his team, emphasizing their professionalism and meticulousness in every stage of the setup process. By prioritizing quality and attention to detail, you can ensure that your installation of the putting green stands the test of time.
Implement Maintenance Strategies to Extend the Life of Your Putting Green
To keep your putting green in top shape, implementing effective maintenance strategies is crucial:
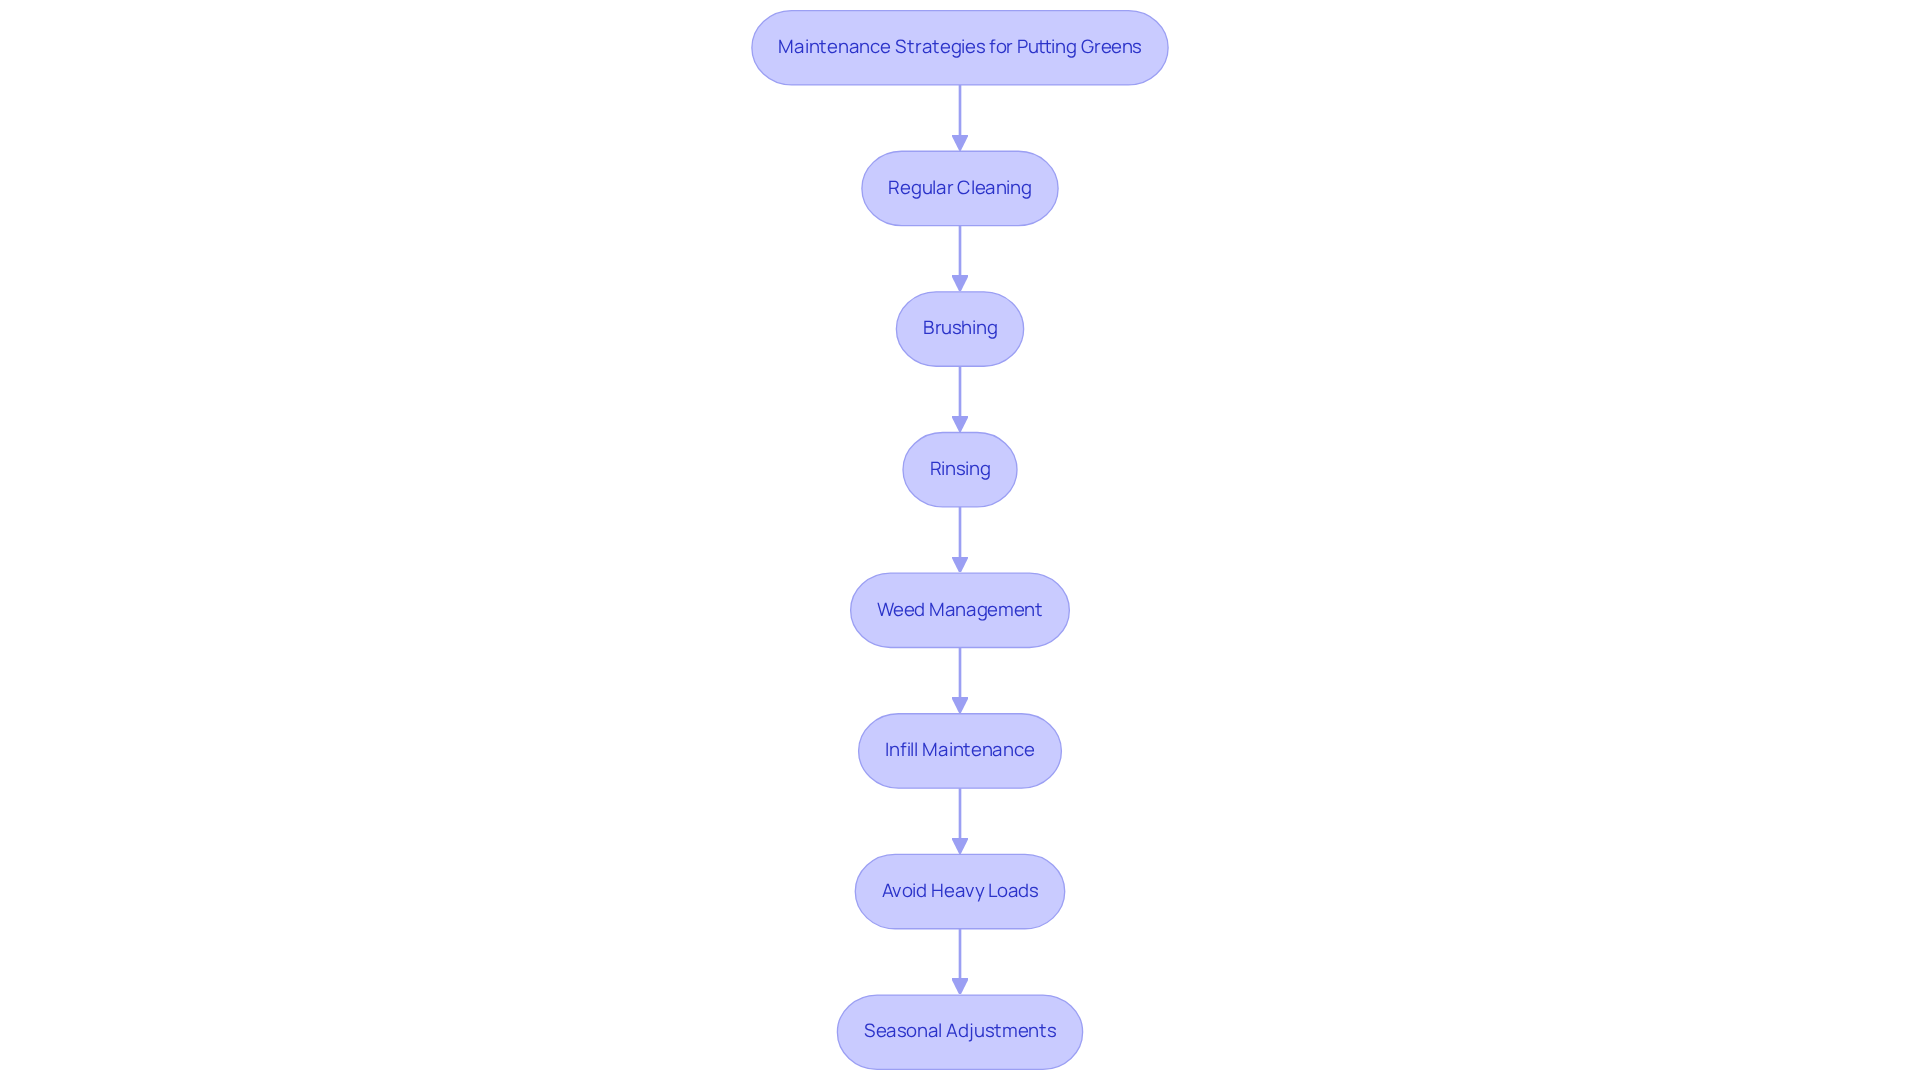
- Regular Cleaning: Consistently remove debris such as leaves, twigs, and dirt to prevent buildup that can hinder playability and lead to drainage issues.
- Brushing: Utilize a stiff-bristle broom or grass brush to keep grass blades upright and evenly distribute infill, which is crucial for maintaining a natural appearance and performance.
- Rinsing: Periodically wash the grass with water to remove dust and allergens, ensuring a clean and safe playing surface.
- Weed Management: Diligently observe for weeds and eliminate them quickly to stop them from taking root in the grass, which can jeopardize its integrity.
- Infill Maintenance: Regularly check infill levels and replenish as necessary to sustain the grass’s cushioning and performance, typically every 5 to 7 years.
- Avoid Heavy Loads: Heavy loads can compromise the turf’s integrity, leading to costly repairs. Refrain from placing heavy furniture or equipment on the grass, as this can damage the turf and affect its longevity.
- Seasonal Adjustments: Tailor your maintenance routine to seasonal changes, increasing cleaning efforts in the fall when leaves are more prevalent and require frequent removal.
Implementing these strategies helps homeowners maintain a vibrant and functional lawn that enhances enjoyment and property value over time.
Choosing Hall Turf means investing in a putting green installation that will provide enjoyment and value for years to come. Hall Turf is dedicated to delivering quality in every putting green installation and maintenance project. Clients like Dick Bryant and Scott Sachse appreciate Brock’s professionalism and meticulous attention to detail.
Evaluate DIY vs. Professional Installation: Making the Right Choice
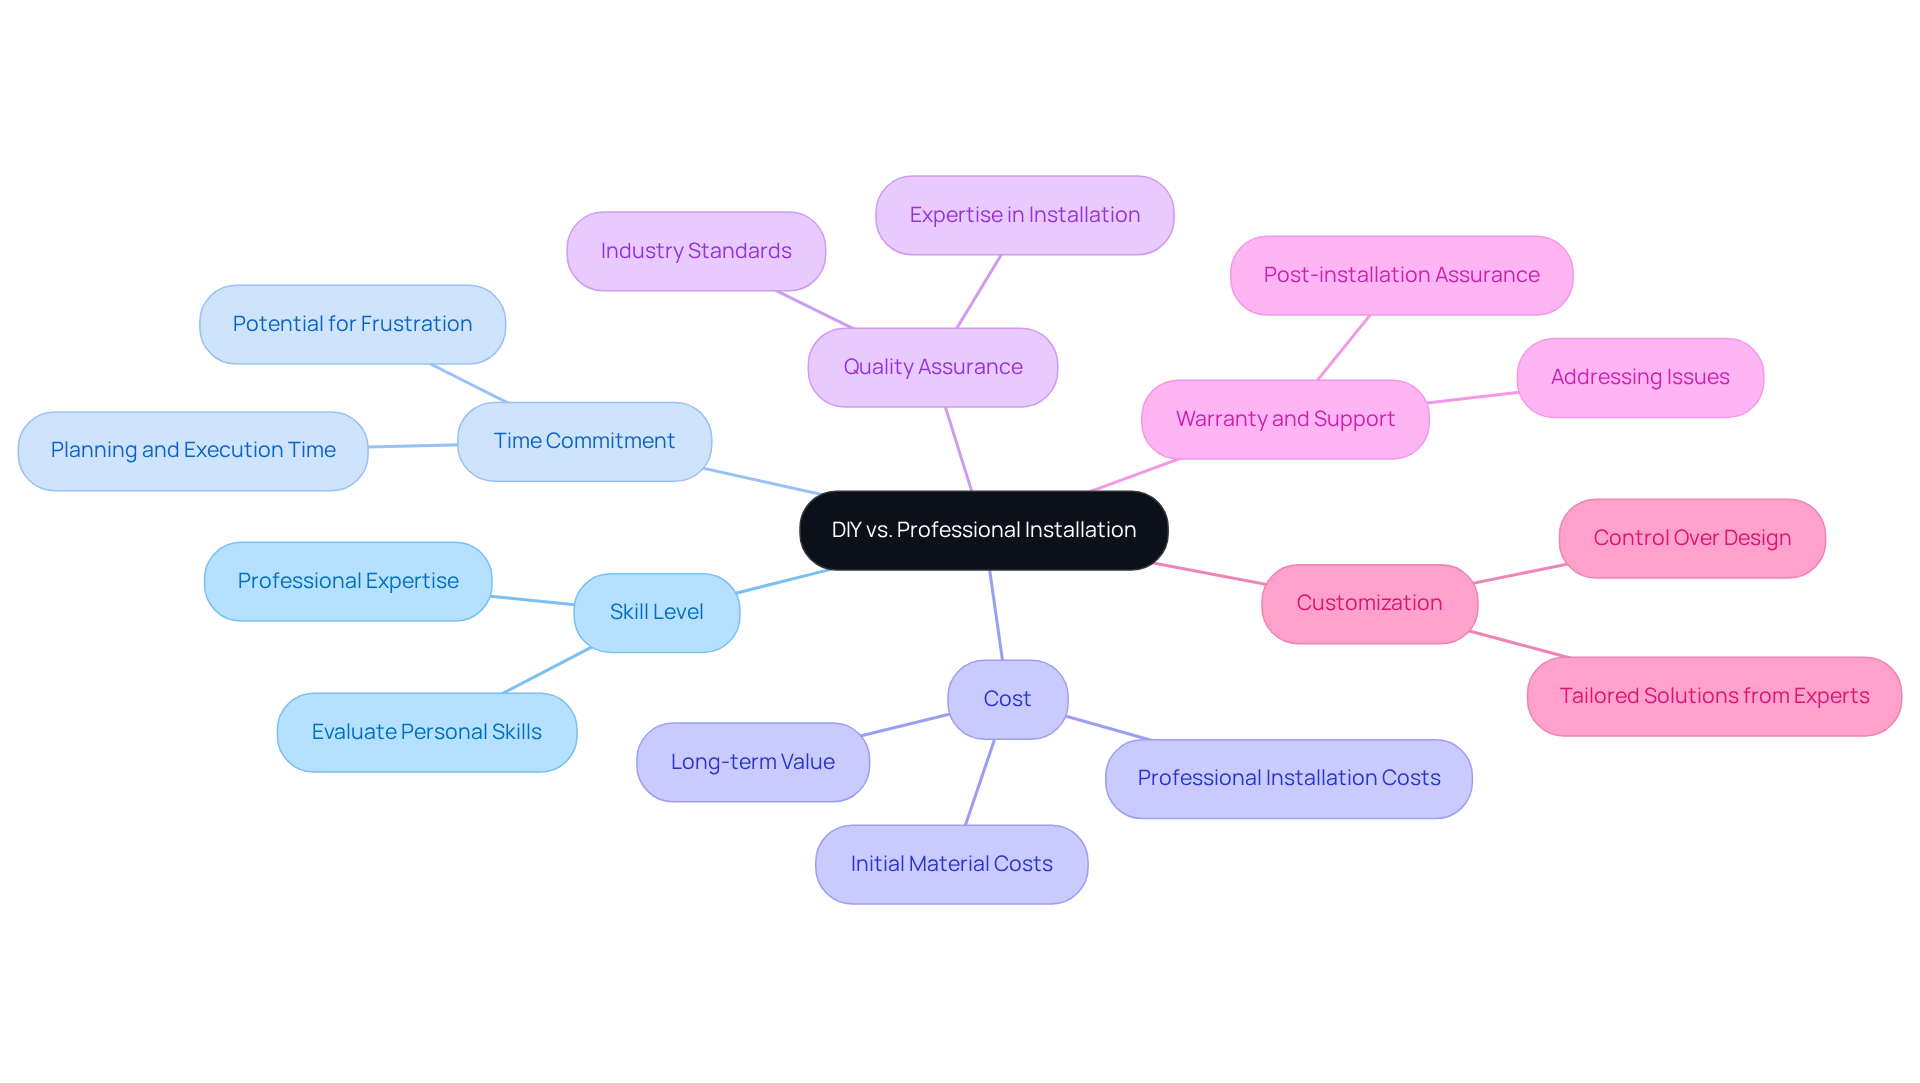
When weighing the options between DIY installation and hiring a professional, several critical factors come into play:
- Skill Level: Evaluate your own skills and experience with similar projects. If you have a background in landscaping or construction, a DIY approach may be feasible. Yet, many homeowners find that hiring professionals often leads to better results because of the technical skills required. For instance, Dick Bryant shared his experience, stating that when he needed a solution for his turf issue, Brock from Hall Turf evaluated his needs and provided the best recommendation.
- Time Commitment: DIY projects can be time-consuming, often requiring significant hours for planning, execution, and potential troubleshooting. Many homeowners underestimate the time commitment required for DIY projects, leading to frustration and incomplete tasks. Homeowners should be prepared to invest considerable time to ensure a quality outcome without compromising other responsibilities. Research indicates that DIY setups can take several days to weeks, depending on the project’s complexity. Scott Sachse observed that Hall Turf’s team was punctual and effective, making the setup process seamless.
- Cost: While DIY may initially appear cheaper, it’s essential to factor in the costs of materials, tools, and the potential for mistakes that could lead to additional expenses. Expert setup usually varies from $15 to $40+ per square foot, but it can save money over time by ensuring a high-quality finish and decreasing the chances of expensive rework. Les Boatright emphasized that Hall Turf completed his project on time and on budget, showcasing the value of professional services.
- Quality Assurance: Experts bring valuable experience that often leads to a higher-quality setup, ensuring it meets industry standards. Their expertise in grading, drainage, and turf placement reduces typical mistakes that DIYers may face, guaranteeing that the setup functions effectively over time. David Watson praised Brock for his attention to detail and thoroughness throughout the installation process.
- Warranty and Support: Many professional installers offer warranties on their work, providing peace of mind that any issues will be addressed post-installation. This assurance can be invaluable, especially for complex projects where mistakes can be costly.
- Customization: DIY allows for complete control over design and materials, enabling you to tailor the project to your specific preferences. However, experts can also provide tailored solutions based on their vast experience, ensuring that your golf area not only appears excellent but functions effectively.
Ultimately, the decision should align with your budget, skills, and the level of quality you desire for your putting green. By carefully evaluating these factors, you can make an informed decision that aligns with your goals and expectations for your putting green.
Conclusion
Creating a putting green at home is a rewarding endeavor that requires careful planning and execution. This process requires careful site selection, meticulous installation, and ongoing maintenance to ensure a high-quality and long-lasting surface. By understanding the essential steps and considerations, homeowners can create a putting green that not only enhances their golfing skills but also elevates their property’s appeal.
Key arguments presented include:
- The importance of choosing the right location, such as ensuring adequate sunlight and proper drainage.
- Following a detailed installation process that includes excavation, base layer preparation, and turf laying.
- Emphasizing quality materials and professional techniques can significantly impact the final result.
- Implementing effective maintenance strategies, such as regular cleaning and infill management, is crucial for preserving the putting green’s performance over time.
In the end, whether you choose to tackle this project yourself or hire professionals, focusing on quality and detail is essential. Investing in a well-constructed putting green can provide years of enjoyment and improve your golf game. By prioritizing quality and detail, you can ensure your putting green remains a valuable asset for years to come.
Frequently Asked Questions
Why is sunlight exposure important for a putting green?
Sunlight exposure is crucial for maintaining the turf’s health and playability, as it helps reduce fungal growth and promotes a vibrant appearance.
What drainage considerations should be taken into account when selecting a site for a putting green?
The site should have effective drainage to prevent water pooling, which can lead to moss growth. The ground should ideally slope slightly away from the putting surface, with a recommended incline of no more than 2%, to facilitate water runoff and maintain a dry playing surface.
How important is accessibility for a putting green site?
Accessibility is important as the site should be easily reachable for maintenance and play. Its proximity to your home and other outdoor features enhances usability.
What is the recommended area size for a putting green?
The recommended area size for a putting green typically ranges from 200 to 500 square feet, with additional space for landscaping or seating areas.
What steps should be taken for surface preparation before installing a putting green?
Surface preparation involves clearing the area of any existing grass, debris, or obstacles, and leveling the ground to create a smooth foundation. Proper surface preparation is vital for preventing settling and ensuring consistent ball roll.
How does proper site preparation enhance the putting green experience?
Thoughtful site preparation establishes a solid foundation for a successful putting green installation, enhancing the practice experience and adding lasting value to your outdoor space.
List of Sources
- Select and Prepare the Ideal Site for Your Putting Green
- Avoid Costly Mistakes: Backyard Putting Green Installatio (https://heavenlygreens.com/blog/avoid-backyard-putting-green-mistakes)
- Case Studies: Landscape & Recreation – Synthetic Turf Council (https://syntheticturfcouncil.org/page/Case_Studies_2)
- 4 Best Practices for Residential Putting Green Design (https://californiaturfco.com/4-best-practices-for-residential-putting-green-design)
- The Science of Golf Greens: Understanding Drainage and Performance (https://southwestgreens.com/blog/the-science-of-golf-greens-understanding-drainage-and-performance)
- Follow Step-by-Step Installation Techniques for Optimal Results
- The Dos and Don’ts of Installing an Artificial Turf Putting Green – OC Turf & Putting Greens (https://octurfandputtinggreens.com/the-dos-and-donts-of-installing-an-artificial-turf-putting-green)
- How To Build a Backyard Putting Green (https://xgrass.com/how-to-build-putting-green.html)
- DIY Putting Green Installation: A Step-by-Step Guide (https://artificialturfexpress.com/blog/installing-the-best-putting-greens-in-your-yard-the-ultimate-diy-guide)
- Implement Maintenance Strategies to Extend the Life of Your Putting Green
- Artificial Putting Green Maintenance: Year-Round Care Guide (https://aglgrass.com/blogs/artificial-putting-green-maintenance)
- How Long Does Artificial Grass Last? (https://progreen.com/blog/how-long-does-artificial-grass-last)
- 5 Tips to Extend Your Artificial Turf’s Life | TurFresh (https://turfresh.com/blog/5-maintenance-tips-to-extend-the-life-of-your-artificial-turf)
- Dallas Backyard Putting Greens: How Long They Last (https://syntheticgrassdfw.com/tips/the-lifespan-of-backyard-putting-greens-a-dallas-homeowners-guide)
- Evaluate DIY vs. Professional Installation: Making the Right Choice
- Backyard Putting Green: DIY or Professional Installation? (https://heavenlygreens.com/blog/backyard-putting-green-diy-vs-professional)
- Are Backyard Putting Greens Worth It | Value & Cost Analysis (https://bulgerbrotherslandscape.com/blog/are-backyard-putting-greens-worth-it-a-complete-value-analysis)
- Comparing Home Putting Green Costs: DIY vs. Professional Installation (https://californiaturfco.com/comparing-home-putting-green-costs-diy-vs-professional-installation)