
Introduction
Creating a side yard putting green can elevate an ordinary outdoor space into a golfer’s paradise, combining aesthetic appeal with a personal practice area. This guide outlines the steps necessary to enhance your landscaping while adding a fun and functional feature to your home. However, the installation process may appear daunting.
How can one ensure a perfect setup while addressing:
- Site assessments
- Selecting materials
- Understanding maintenance requirements?
Assess Your Space and Define Your Goals
-
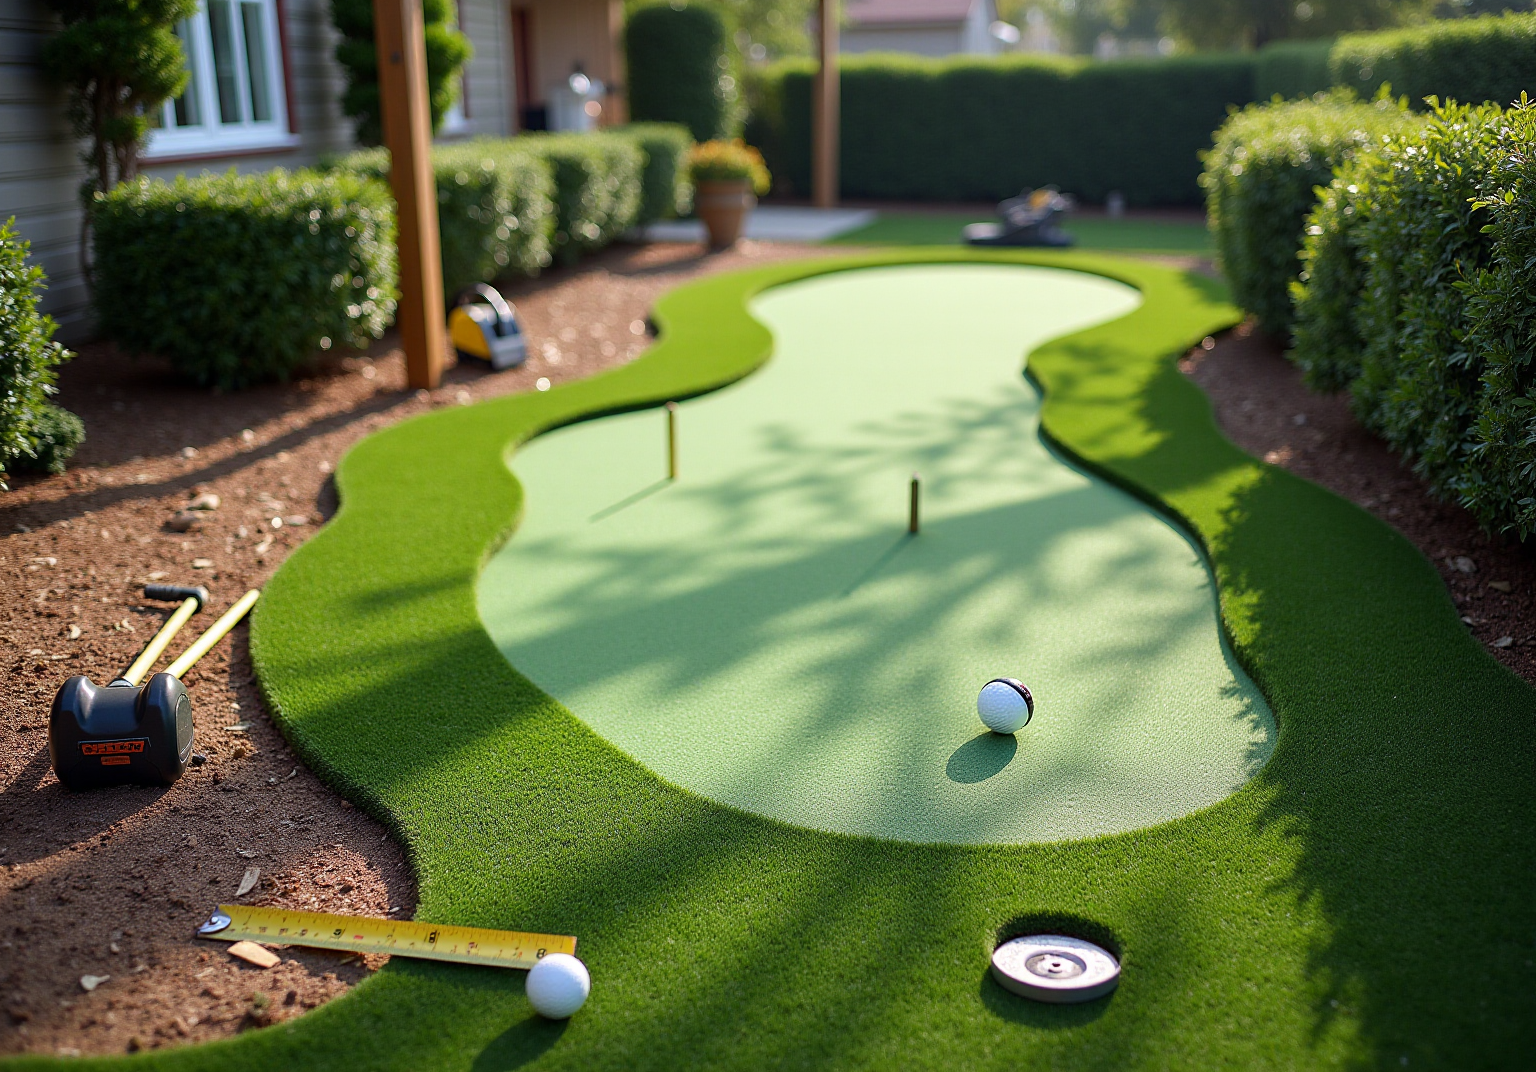
Choose the right location by selecting a flat area in your side yard putting green that receives ample sunlight and is free from trees or structures that could cast shadows on your golf surface. The space should ideally measure at least 10 feet by 15 feet to accommodate your desired plant size, ensuring a functional and enjoyable experience.
-
Define Your Goals: It is crucial to clarify your objectives for the practice area. Whether your aim is to enhance your landscape, provide entertainment for family and friends, or create a dedicated practice area, understanding your goals will guide your design choices and material selection. Landscape architects emphasize that a well-defined purpose can significantly enhance the overall experience and satisfaction with your installation.
-
Measure the Area: Use a tape measure to accurately assess the designated space. Outline the dimensions of your golf area and mark the corners with stakes or spray paint. This visualization will assist you in evaluating the layout and ensuring it meets your expectations.
-
Consider Drainage: Proper drainage is vital to prevent water accumulation, which can damage your golf surface. If the area is too flat, consider incorporating a slight slope to direct water away from the turf, thereby ensuring longevity and optimal playability.
-
Check Local Regulations: Before proceeding, verify any local zoning laws or HOA regulations that may impact landscaping and installations in your yard. Understanding these guidelines will help you avoid potential issues and facilitate a smooth installation process.

Gather Materials and Tools for Installation
Collecting the appropriate materials and tools is essential for successfully setting up your side yard putting green. Here’s what you’ll need:
-
Materials Needed:
- Artificial Turf: Opt for high-quality turf designed specifically for putting greens, ensuring it has a realistic look and feel. Hall Turf specializes in providing expert synthetic grass solutions tailored to your needs, guaranteeing an ideal fit for your project.
- Base Material: Use crushed stone or gravel to ensure proper drainage and stability.
- Weed Barrier Fabric: This will prevent weeds from growing through the grass.
- Infill Material: Sand or rubber infill helps the grass stand upright and provides a realistic playing surface.
- Putting Cups: Purchase cups and flags for your putting holes.
-
Tools Required:
- Shovel: Necessary for digging and leveling the ground.
- Plate Compactor: This tool compacts the base material, creating a solid foundation.
- Utility Knife: Essential for cutting the turf to the required size.
- Measuring Tape: Ensures accurate measurements throughout the process.
- Level: Used to check the evenness of the surface.
- Rake: For leveling the base material effectively.
- Garden Hose: Helpful for outlining the shape of the vegetation.
-
Safety Gear: Remember to wear gloves, safety glasses, and knee pads to protect yourself during installation. With Hall Turf’s commitment to quality and customer satisfaction, as highlighted by clients like Dick Bryant and Scott Sachse, you can trust that your project will be managed with expertise and professionalism.

Install the Putting Green: Step-by-Step Process
-
Prepare the Site: Start by clearing the designated area of any existing grass, plants, or debris. Use a shovel or sod cutter to effectively remove these elements.
-
Excavate the Area: Dig down about 4-6 inches to create a level base. It is crucial to ensure the ground is compacted and level, as this will support the structure of the putting surface.
-
Install Drainage: If needed, add drainage pipes or gravel to promote proper water flow away from the green, which helps prevent water accumulation.
-
Lay the Base Material: Evenly spread a layer of crushed stone or gravel across the excavated area. Level it with a rake, then compact it using a plate compactor to establish a solid foundation.
-
Add Weed Barrier: Place a weed barrier fabric over the compacted base to prevent weed growth through the grass, ensuring a clean and low-maintenance surface.
-
Cut and Lay the Grass: Roll out the synthetic grass over the prepared area, trimming it to fit with a utility knife. Ensure that the seams overlap slightly for a seamless look.
-
Secure the Grass: Firmly secure the grass in place using landscape staples or adhesive, particularly around the edges and seams, to prevent any shifting.
-
Install Putting Cups: Cut holes for the putting cups and insert them into the ground, ensuring they are flush with the surface for optimal playability.
-
Add Infill: Evenly distribute infill material over the surface to help the fibers stand upright and provide a realistic feel. Brush the surface to ensure the infill is evenly spread, enhancing both appearance and functionality.
-
Maintenance Tips: To maintain the performance of the turf area, brush the grass fibers upright monthly with a stiff-bristle broom to prevent matting and ensure optimal ball roll quality. Additionally, consider consulting with local golf course superintendents for valuable insights during the installation process. While a side yard putting green can be set up in just one day, ongoing maintenance may require expert assistance to keep it in optimal condition.
When you choose Hall Grass for your project, you can expect exceptional service and expertise. Clients have praised Brock and his team for their professionalism, promptness, and attention to detail, ensuring that your side yard putting green is both functional and visually appealing. With Hall Grass, you can trust that your installation will be completed on time and within budget, as reflected in the experiences shared by our clients.

Finalize Installation and Maintain Your Putting Green
-
Inspect the Installation: Begin by walking around the green to identify any uneven areas or loose grass. Make necessary adjustments to ensure a smooth surface. Customers like Dick Bryant have noted how Hall’s team assesses requirements and delivers tailored solutions, ensuring an ideal installation.
-
Irrigate the Grass: Lightly water the grass to help settle the infill and ensure proper adherence, which promotes optimal performance.
-
Regular Maintenance:
- Cleaning: Regularly remove debris such as leaves and dirt to maintain a clean surface and prevent moisture buildup. Scott Sachse has highlighted the professionalism of Hall Turf’s crew, who ensure that the installation remains in excellent condition.
- Brushing: Periodically brush the surface against the grain to keep the fibers upright and evenly distribute the infill, enhancing playability. This practice also helps level small low spots on the putting green.
- Weed Control: Monitor the edges for any weeds and remove them promptly to prevent regrowth and maintain aesthetics.
- Infill Maintenance: Top up the infill material as needed to sustain the desired surface texture and performance, ensuring a consistent playing experience. Avoid using harsh chemicals to preserve the quality of the grass.
-
Seasonal Care: Tailor your maintenance routine to the seasons. During heavy rain, check drainage to prevent pooling, and in dry periods, inspect for signs of wear or damage to the turf. Les Boatright has emphasized the importance of regular inspections, which can protect your investment and ensure warranty coverage.
-
Regular Thorough Cleaning: Conduct regular thorough cleaning to uphold the surface’s appearance and performance. This may involve rinsing the surface and promptly addressing any stains.
-
Enjoy your lawn by incorporating a side yard putting green: With everything in place, you can hone your skills on the turf in the comfort of your own backyard, knowing that regular maintenance will keep your lawn in top condition. As noted by satisfied customers, Hall Turf’s expertise ensures that your putting green will be a source of enjoyment for years to come.

Conclusion
Creating a side yard putting green is more than just an installation; it transforms your outdoor space into a personal oasis for relaxation and practice. By assessing your area, defining your goals, and adhering to a structured installation process, you can enhance both your landscape and your golfing skills with a beautiful and functional putting green.
Key steps involve:
- Selecting the right location
- Gathering essential materials and tools
- Ensuring proper drainage and maintenance
Each phase, from site preparation to the final touches, is vital for achieving a high-quality surface that provides an enjoyable experience. Regular upkeep, including cleaning and monitoring for weeds, will keep your putting green in peak condition for years.
Ultimately, investing time and effort into creating and maintaining a side yard putting green yields significant rewards. It offers a unique recreational space while fostering skill development and family bonding. Seize this opportunity to elevate your backyard and enjoy the numerous benefits that a well-installed putting green can provide.
Frequently Asked Questions
How should I choose the location for my putting green?
Select a flat area in your side yard that receives ample sunlight and is free from trees or structures that could cast shadows. The space should ideally measure at least 10 feet by 15 feet.
Why is it important to define my goals for the practice area?
Clarifying your objectives, whether for enhancing your landscape, providing entertainment, or creating a dedicated practice area, will guide your design choices and material selection, leading to a more satisfying installation.
How can I accurately measure the area for my putting green?
Use a tape measure to assess the designated space, outline the dimensions, and mark the corners with stakes or spray paint to visualize the layout.
Why is drainage important for my putting green?
Proper drainage is vital to prevent water accumulation, which can damage the golf surface. Incorporating a slight slope can help direct water away from the turf, ensuring longevity and optimal playability.
What should I check regarding local regulations before installing a putting green?
Verify any local zoning laws or HOA regulations that may impact landscaping and installations in your yard to avoid potential issues and ensure a smooth installation process.