
Introduction
Transforming a backyard into a personal putting green presents a unique recreational opportunity that can significantly enhance both property value and lifestyle. This project not only requires low maintenance but also promises enjoyable family activities, making it an appealing choice for homeowners and golf enthusiasts. However, the installation process may appear daunting. What are the essential steps to ensure a successful outcome? This guide outlines the journey from initial planning to ongoing maintenance, providing readers with the necessary knowledge to create their own backyard oasis while effectively addressing common challenges.
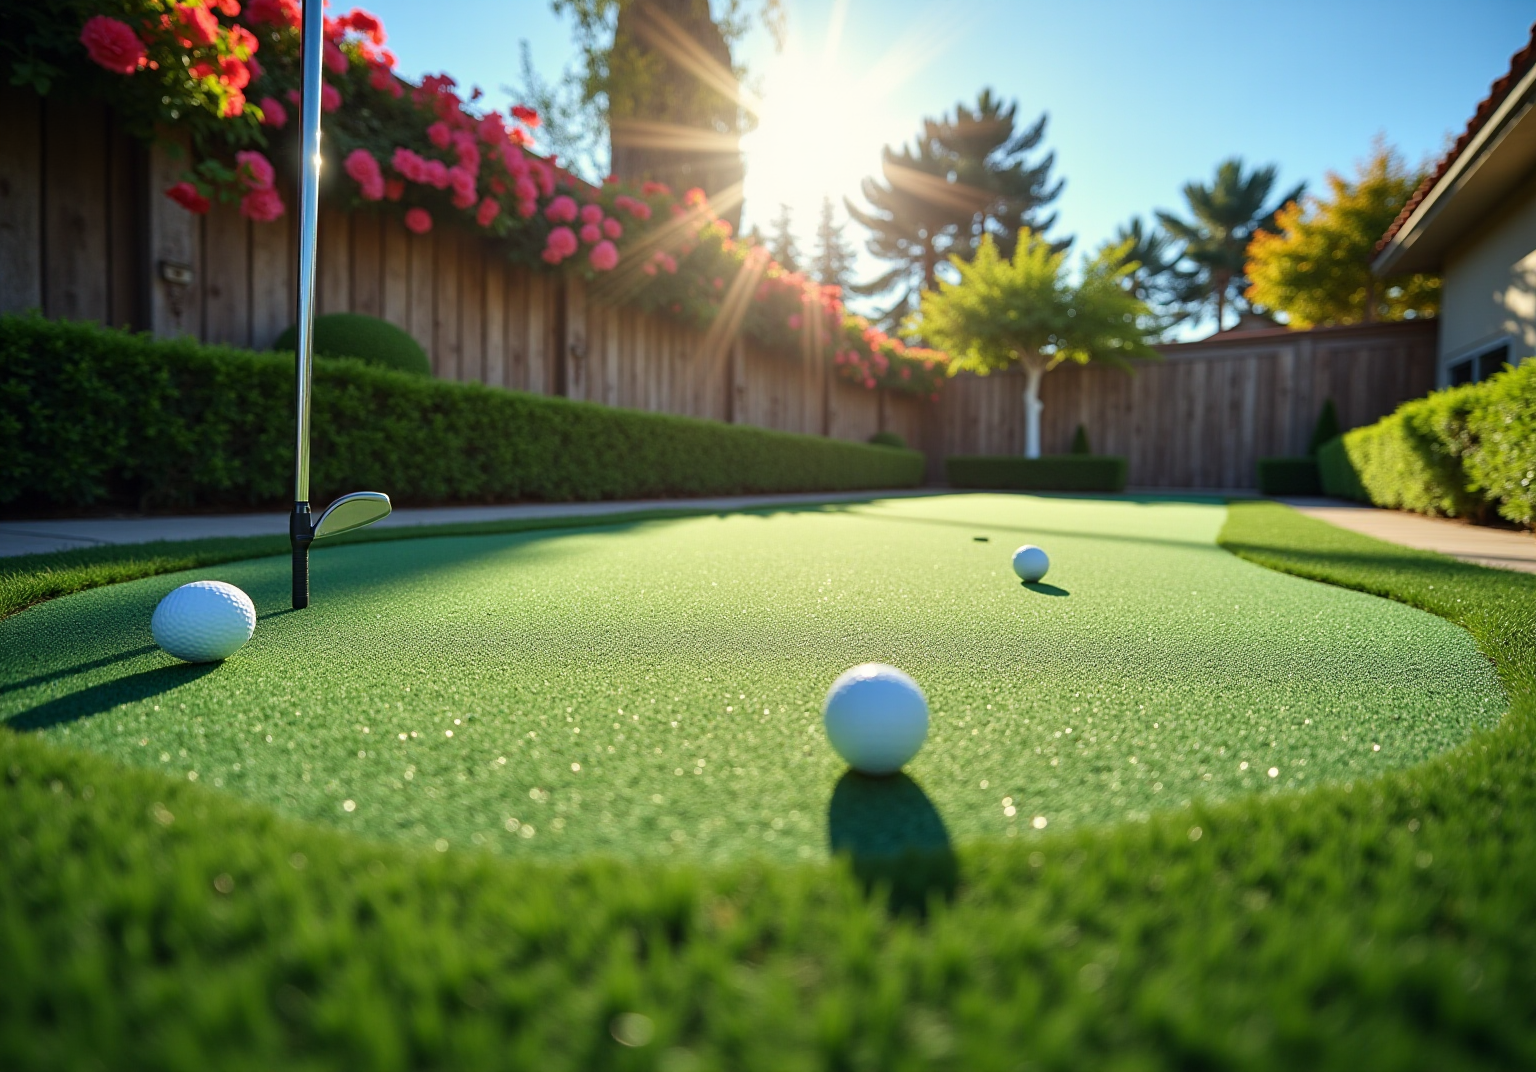
Understand the Benefits of Installing an Artificial Putting Green
Installing an artificial putting green golf in your backyard presents numerous advantages that can enhance your living space and lifestyle.
-
Low Maintenance: Artificial turf significantly reduces upkeep compared to natural grass. Homeowners can save over $1,500 annually on landscaping services, as there’s no need for mowing, watering, or fertilizing. This allows you to enjoy your outdoor space without the burden of regular maintenance.
-
Durability: High-quality synthetic grass is engineered to withstand various weather conditions, ensuring that your golf area remains in excellent condition year-round. Properties featuring premium grass can command higher asking prices than those with traditional landscaping, making it a smart choice for homeowners.
-
Enhanced property value can be achieved as a well-installed putting green golf can increase the appeal and value of your property by 7-15%. Real estate professionals indicate that homes with artificial turf tend to sell faster and often at a premium, highlighting its potential as a valuable investment.
-
Ease of Use: Having a putting green golf area at home allows you to refine your golf skills at your convenience, enhancing your game without the need to travel to a golf course. This accessibility transforms your backyard into a personal training facility.
-
Family Fun: An artificial putting green creates a recreational space for family and friends, making it an excellent addition for gatherings and outdoor activities. This area serves as a social hub, fostering family connections and friendly competitions.
By understanding these benefits, you can make an informed decision about installing your own practice area, ensuring a valuable enhancement to your home.

Gather Necessary Tools and Materials for Installation
Tools Needed:
- Shovel
- Rake
- Tape measure
- Utility knife (preferably a solid box cutter or razor blade for precise cutting)
- Landscape staples or turf pegs
- Plate compactor (optional, recommended for larger areas to ensure a firm base)
- Level
- Broom (for maintaining the turf’s appearance)
Materials Required:
- Artificial turf specifically designed for putting greens (costing between $3-5 per square foot)
- Crushed stone or decomposed granite for the base (estimated at $2-3 per square foot)
- Weed barrier fabric to prevent weed growth
- Putting green cups and flags (typically priced at $75-150 each)
- Turf infill to maintain the appearance and functionality of the grass
Having these tools and materials on hand streamlines the installation process and minimizes the need for multiple trips to the store, resulting in a more efficient and enjoyable DIY experience. Additionally, installing a putting green golf practice area can increase your home value by 5-10%, making it a valuable investment. Satisfied customers, such as Scott Sachse, have praised Hall Turf for their exceptional installation services. Brock’s expertise ensures that the right tools and materials are used effectively, enhancing your home’s value and enjoyment.

Prepare the Site for Your Backyard Putting Green
To ensure a successful installation of your backyard putting green, it is crucial to follow these essential steps for site preparation:
-
Choose the Location: Select a flat area that receives ample sunlight and has good drainage. Avoid locations with dense shade or steep inclines, as these can obstruct water movement and sunlight access, negatively impacting the grass’s performance.
-
Clear the Area: Remove any existing grass, weeds, and debris from the selected site. Tools such as a shovel or a sod cutter may be necessary to achieve a clean surface for installation.
-
Excavate the Ground: Dig down approximately 3-5 inches to create a level base. An even surface is essential to prevent water pooling, which can lead to issues like algae growth and surface instability.
-
Install a Drainage Grid: Lay down a drainage grid, such as AirDrain, to facilitate water drainage through the grass’s backing. This step is vital for preventing water accumulation and ensuring the durability of your golf course.
-
Install a Weed Barrier: Place a weed barrier fabric over the excavated area. This is important to prevent unwanted growth beneath the grass, ensuring a clean and low-maintenance surface.
-
Compact the Soil: Use a plate compactor or a hand tamper to compact the soil thoroughly. A solid foundation is crucial for the longevity and performance of your green, as it helps maintain a level surface and prevents settling over time.
-
Secure the Grass Borders: When laying the grass, fasten the edges every 6-8 inches using landscape staples. This is essential for maintaining the integrity of the installation and preventing shifting or wrinkling.
By carefully preparing the site and incorporating these steps, you create optimal conditions for a smooth and enjoyable putting green golf experience, enhancing both playability and visual appeal. Successful installations of artificial grass for golf, such as those completed by Hall Turf, demonstrate that proper site preparation significantly enhances the overall quality and durability of the surface, which typically lasts 15-20 years with minimal upkeep costs. Clients have praised the professionalism and expertise of Hall’s team, ensuring that your project is managed with care and precision.

Install the Artificial Turf for Your Putting Green
To successfully install artificial turf for your putting green, follow these essential steps:
-
Prepare the Ground: Start by removing any existing grass, rocks, and debris from the area. It’s crucial to ensure proper drainage is in place to prevent water buildup. Add a compacted base layer of crushed stone or gravel to create a stable foundation.
-
Lay the Grass: Roll out the synthetic grass over the prepared area, ensuring a snug fit without wrinkles. Allow the grass to acclimate for a few hours to ensure it settles properly before making any cuts.
-
Trim the Sod: Using a utility knife, shape the edges of the sod to match the desired form of your golf surface. Leave a slight excess around the edges for adjustments during installation.
-
Secure the Grass: Fasten the grass to the ground using landscape staples or grass pegs, placing them every 6-12 inches along the perimeter and in the center. This prevents any movement and ensures a stable surface.
-
Install Putting Green Cups: Cut holes for the putting green cups according to your design layout. Ensure that the cups are flush with the grass surface for a seamless appearance.
-
Add Infill (if necessary): Depending on the type of grass used, you may need to apply infill materials such as silica sand. This helps weigh down the turf and provides a realistic feel, enhancing the overall playing experience.
-
Final Touches: After installation, brush the surface to ensure the infill is evenly distributed and the area is clean and ready for use.
By following these steps, you will effectively set up your synthetic turf, creating a durable and enjoyable putting green golf area for practice. With Hall’s expert solutions, you can trust that your installation will be managed with professionalism and attention to detail, reflecting the positive experiences shared by satisfied customers who appreciated the quality and service provided.

Finish and Maintain Your Backyard Putting Green
To maintain your putting green in optimal condition after installation, adhere to these essential finishing and maintenance steps:
- Trim Excess Grass: Once the grass is secured, trim any excess around the edges for a neat finish.
- Add Borders (optional): Consider enhancing the visual appeal by incorporating decorative borders or landscaping around the green.
- Regular Maintenance: Keep the surface clean by removing debris such as leaves and twigs. Weekly cleaning is recommended to prevent moisture retention and maintain a tidy appearance, as this practice helps avoid debris accumulation that can affect the surface’s longevity.
- Brush the Turf: Periodically brush the turf fibers to keep them upright and maintain a natural look. This should be done at least once a month to prevent matting and ensure optimal performance.
- Inspect for Damage: Regularly check for signs of wear or damage, particularly around seams and edges. Timely repairs are crucial for extending the lifespan of your golf surface.
- Hose Down the Surface: Every 4-5 months, hose down the turf to eliminate dust and pollen, ensuring cleanliness and preventing allergens from building up.
- Check Infill Levels: Regularly inspect and replenish infill materials to sustain surface performance and ensure proper ball roll.
By implementing these final adjustments and maintenance suggestions, you can extend the lifespan of your artificial turf putting surface, which can last anywhere from 15 to 25 years with proper care. Regular maintenance not only enhances appearance but also improves ball roll and overall performance, ensuring your backyard green remains a source of enjoyment for years to come.

Conclusion
Installing an artificial putting green in your backyard is more than just a project; it’s a strategic investment in your property and leisure time. By transforming your outdoor space into a personal golfing haven, homeowners can enhance their property’s value while creating a convenient area for practice and recreation. The combination of low maintenance, durability, and aesthetic appeal makes this a worthwhile endeavor for golf enthusiasts and families alike.
This guide outlines essential steps, starting with an understanding of the advantages of artificial turf and progressing through the meticulous process of installation and maintenance. Key insights include:
- The importance of proper site preparation
- The necessary tools and materials for a successful setup
- Ongoing care to ensure the longevity of your putting green
Each phase contributes to a seamless installation experience, resulting in a backyard that is both functional and inviting.
Ultimately, the decision to install a putting green can significantly enrich your lifestyle, offering a unique space for relaxation, entertainment, and skill enhancement. Embracing this project not only elevates your home’s appeal but also fosters memorable moments with family and friends. Consider this rewarding DIY venture and enjoy the benefits of having a personal putting green right at your doorstep.