
Introduction
Securing artificial turf to concrete can transform an outdoor space into a lush, green oasis. This process, however, requires careful preparation and execution. Homeowners embarking on this project will find essential steps that not only enhance the aesthetic appeal of their property but also ensure a long-lasting installation. The challenge lies in navigating the intricacies of:
- Surface preparation
- Adhesive application
- Troubleshooting potential issues
Understanding the key steps to successfully secure turf to concrete is crucial, as is knowing how to avoid common pitfalls along the way.
Prepare the Concrete Surface for Turf Installation
-
Clean the Surface: Begin by thoroughly removing dirt, debris, and grease from the concrete. A moderate-pressure wash, approximately 1,500 PSI, is recommended to ensure a spotless area, as contaminants can significantly hinder adhesive bonding. Experts advise, “Start by thoroughly cleaning the concrete. A moderate-pressure wash (around 1,500 PSI) will remove dirt and reveal hidden hairline cracks, bumps, or low spots.” A tidy area is essential for understanding how to secure turf to concrete.
-
Inspect for Damage: Carefully examine the concrete for any cracks or uneven areas. Fill any identified cracks with a vinyl-based concrete patching compound, allowing it to cure completely. Ensuring a level area is crucial to avoid irregularities in the grass, which can lead to early deterioration and inconsistency. Remember, “Concrete flaws don’t magically vanish beneath grass.” Cracks, bumps, and low spots will eventually show through and can lead to unevenness or premature wear.
-
Level the Surface: Address any high spots by grinding them down to create a flat surface. This step is vital for understanding how to secure turf to concrete, as it ensures that the grass lays evenly and prevents water accumulation, which can lead to moisture problems beneath the grass. Additionally, consider the necessity of drainage solutions to preserve the integrity of the setup.
-
Dry Fit the Grass: Before applying glue, lay the grass out on the concrete to check for proper fit. This dry fit allows for modifications to the layout, ensuring that the setup proceeds smoothly and meets both aesthetic and functional requirements.

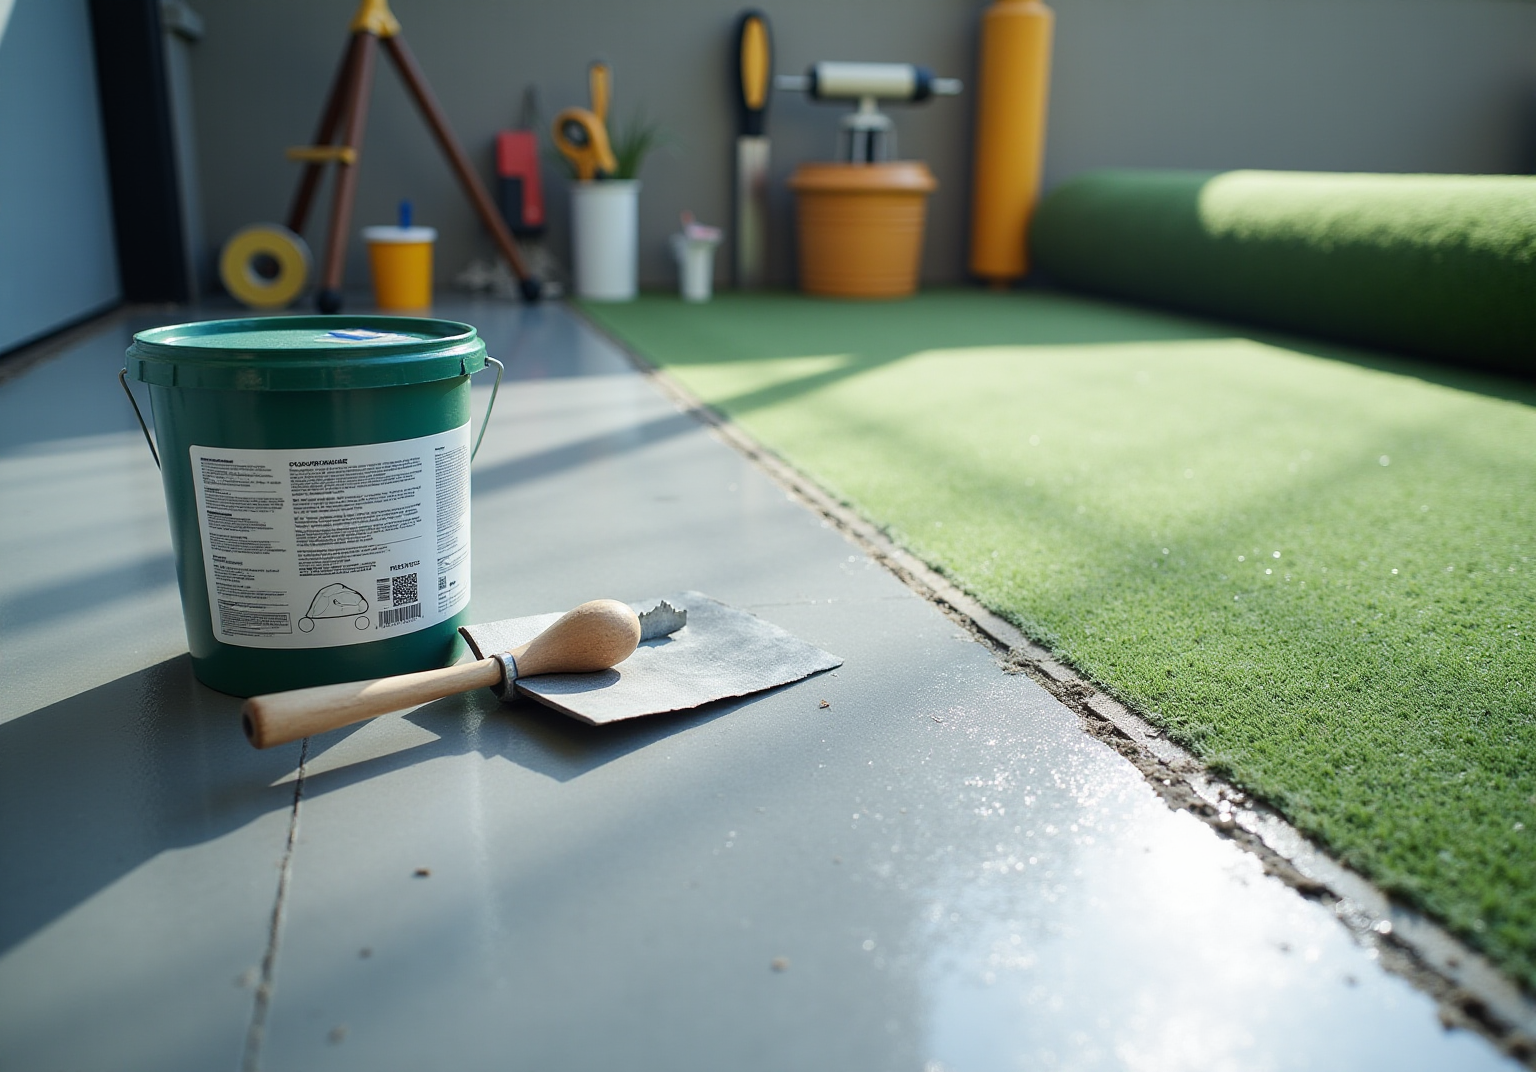
Gather Essential Tools and Materials
- Tools Needed:
- A notched trowel is essential for spreading adhesive effectively.
- A utility knife will be necessary for cutting the turf to the desired size.
- A measuring tape ensures precise measurements for accurate installation.
- A broom or vacuum is required for cleaning the surface before installation.
- A pressure washer is optional but recommended for thorough cleaning of the area.
- Seam tape and adhesive are crucial for securing seams between turf pieces.
- A roller or a weighted object will help press down the turf after installation to ensure proper adhesion.
- Materials Needed:
- High-quality turf adhesive, preferably polyurethane-based, is recommended for strong bonding.
- Rolls of artificial turf should be selected based on desired aesthetics and durability.
- Seam tape is necessary for joining multiple pieces of turf seamlessly.
- A concrete patching compound may be needed for any necessary repairs to the surface.
- Optional: foam padding can enhance comfort and improve drainage beneath the turf.
- Preparation: It is important to ensure that all tools are clean and in optimal working condition. Organizing your workspace will facilitate easy access to materials during the installation process, streamlining efforts and enhancing overall efficiency.

Apply Adhesive and Lay Down the Turf
-
Apply Bonding Agent: Start by applying a layer of bonding agent to the concrete surface with a notched trowel. Hold the trowel at a 45-degree angle to ensure an even spread, adhering to the manufacturer’s guidelines regarding the appropriate thickness of the bonding material.
-
Lay the Grass: Carefully roll out the artificial grass over the adhesive, beginning from the far end and working towards yourself. Ensure proper alignment to prevent wrinkles or bubbles, which could compromise the installation.
-
Secure the Seams: When using multiple pieces of grass, overlap the edges slightly. Place seam tape beneath the seams, applying glue on the tape before pressing the grass down firmly to create a strong bond.
-
Press Down the Grass: To achieve optimal adhesion, utilize a roller or a weighted object to press down the grass. This step is essential for eliminating air pockets and demonstrating how to secure turf to concrete, ensuring the turf is securely attached to the bonding agent and resulting in a durable installation.

Troubleshoot Common Installation Issues
-
Wrinkles and Bubbles: Should you notice wrinkles or bubbles after installation, gently lift the affected area and reapply the glue. Utilize a roller to press it down firmly, ensuring a smooth finish.
-
Seam Separation: In the event that seams begin to separate, assess the bonding application. Reapply seam tape and adhesive as necessary to ensure a tight bond, reinforcing the integrity of the installation.
-
Water Drainage Issues: If water accumulates on the grass, verify that the concrete surface is level and that adequate drainage holes are present if required. It may be beneficial to add a drainage mat beneath the turf to enhance water flow and prevent pooling.
-
Bonding Problems: If the glue fails to adhere properly, it is important to understand how to secure turf to concrete by examining the temperature and humidity conditions during installation. Confirm that the adhesive is appropriate for the specific conditions and reapply as needed to achieve optimal bonding.

Conclusion
Securing turf to concrete offers significant benefits, transforming outdoor spaces into vibrant, green areas. When executed correctly, this process not only enhances aesthetics but also improves functionality. Homeowners can achieve a professional-looking result by meticulously following essential steps:
- Preparing the concrete surface
- Gathering necessary tools and materials
- Applying adhesive
- Troubleshooting common installation issues
A clean and level surface is paramount, as is the selection of appropriate tools and materials. Each stage of the installation process, from cleaning and inspecting the concrete to applying the turf and addressing potential issues, is critical for success. Understanding these steps facilitates a smoother installation and contributes to the turf’s longevity and durability.
Investing time and effort in the preparation and installation of turf on concrete yields substantial long-term rewards. Homeowners should approach this project with careful planning and attention to detail, ensuring a beautiful and functional outdoor space that can be enjoyed for years. By embracing these best practices, they can achieve a successful turf installation that elevates the overall appeal and usability of any concrete area.
Frequently Asked Questions
What is the first step in preparing the concrete surface for turf installation?
The first step is to clean the surface by thoroughly removing dirt, debris, and grease from the concrete using a moderate-pressure wash of approximately 1,500 PSI.
Why is it important to clean the concrete surface before installing turf?
Cleaning the concrete surface is essential because contaminants can significantly hinder adhesive bonding. A clean area also helps reveal hidden hairline cracks, bumps, or low spots.
What should I inspect for after cleaning the concrete?
After cleaning, you should inspect the concrete for any cracks or uneven areas.
How should I address any cracks found in the concrete?
Any identified cracks should be filled with a vinyl-based concrete patching compound and allowed to cure completely.
Why is it important to level the concrete surface?
Leveling the concrete surface is crucial to avoid irregularities in the grass, which can lead to early deterioration and inconsistency. High spots should be ground down to create a flat surface.
What is the purpose of dry fitting the grass before applying glue?
Dry fitting the grass allows you to check for proper fit and make any necessary modifications to the layout, ensuring a smooth installation that meets both aesthetic and functional requirements.