
Introduction
Installing artificial turf can transform any outdoor space into a lush, green oasis. However, for many homeowners, the installation process may seem daunting. This guide aims to demystify the installation, providing practical insights into:
- Preparing the area
- Gathering essential tools
- Executing the installation effectively
Yet, what occurs when the excitement of a new lawn encounters the challenges of proper drainage and maintenance? Understanding these key elements is crucial for achieving a professional-looking result that stands the test of time.
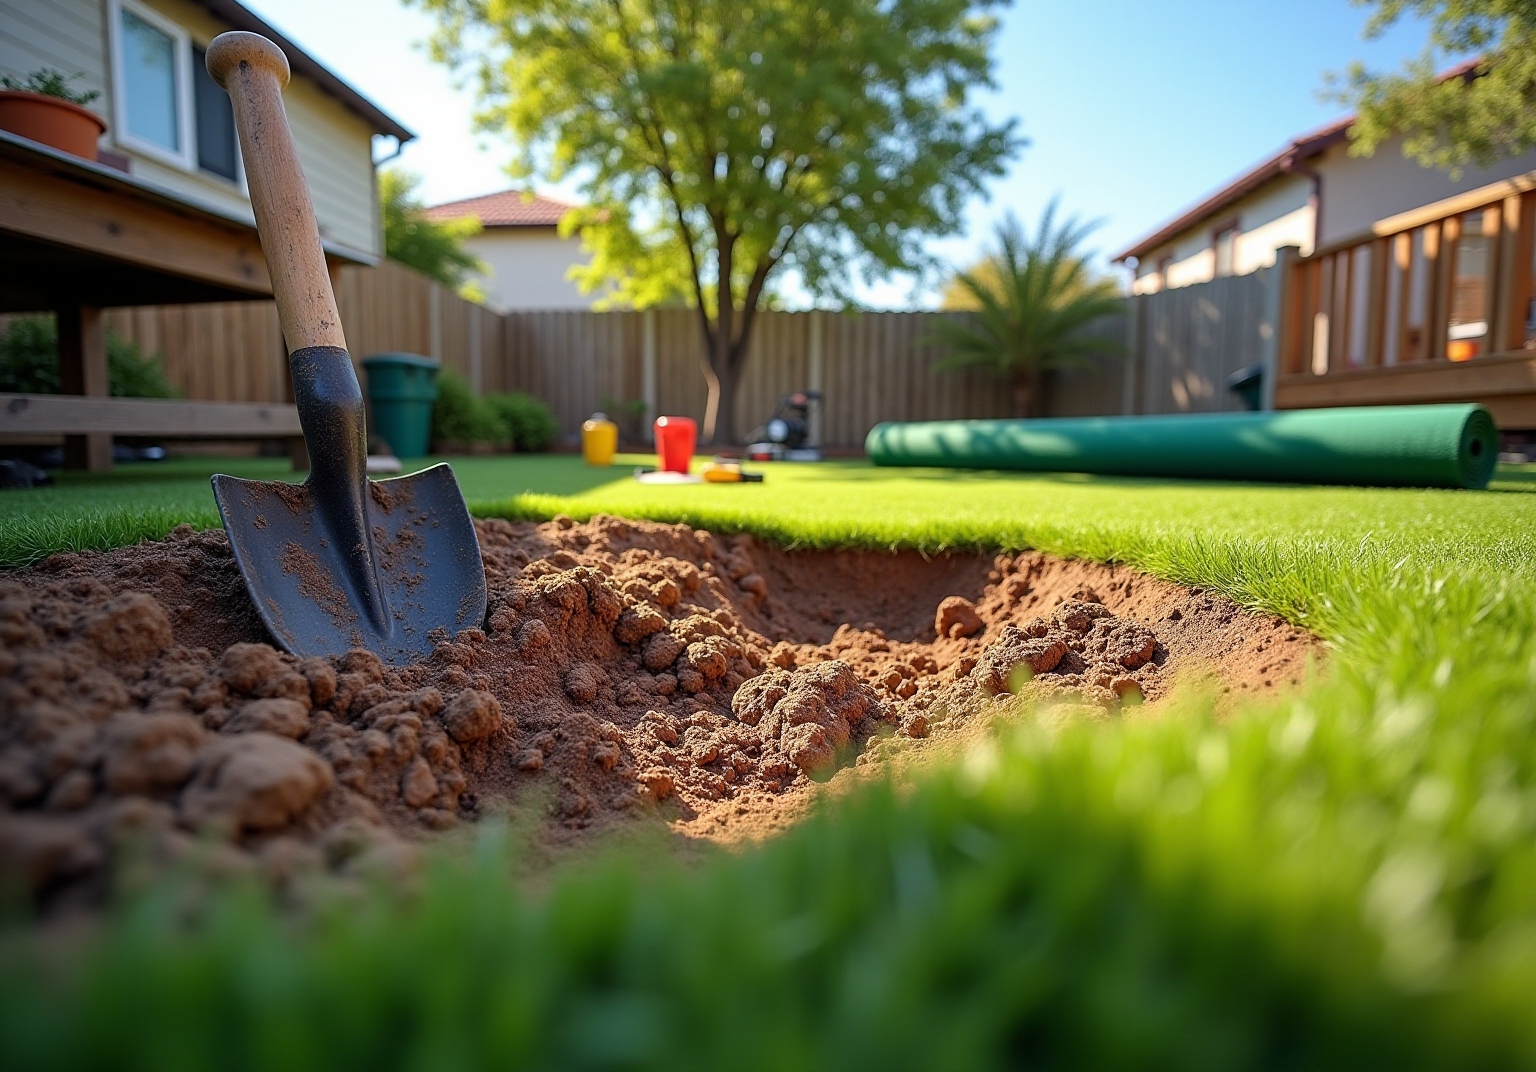
Prepare the Installation Area for Artificial Turf
-
Clear the Area: Start by removing any existing grass, weeds, and debris from the installation site. When learning how to install turf yourself, utilize a shovel or sod cutter to excavate 2-4 inches of soil, ensuring the removal of roots and organic matter that could decompose and lead to uneven surfaces.
-
Level the Ground: Once cleared, level the ground with a rake. Aim for a slight slope away from any structures to facilitate drainage, which is crucial to prevent water accumulation on the grass.
-
Compact the Soil: Employ a plate compactor or hand tamper to compact the soil. This step is vital for establishing a stable foundation that can support the weight of the grass and prevent sinking over time, which is important to understand when learning how to install turf yourself.
-
When considering how to install turf yourself, remember to install a weed barrier by placing a weed barrier fabric to inhibit weed growth through the turf. This measure will help maintain the appearance and integrity of your installation over time.
-
Check for Drainage: Verify that the area has adequate drainage by inspecting for any low spots. Adjust the soil as needed to create a smooth, even surface that promotes water runoff.

Gather Essential Tools and Materials for Installation
- Tools Needed:
- Shovel: This tool is essential for removing existing grass and soil, ensuring a clean slate for your new turf installation.
- Rake: A rake is used to level the ground after excavation, creating a smooth surface for the setup.
- Plate Compactor or Hand Tamper: These tools are vital for compacting the soil, which is crucial for a stable base that prevents shifting over time. Proper compaction is one of the most physically demanding aspects of the setup process, so be prepared for some effort.
- Utility Knife: This tool is essential for trimming the grass to fit your specific space, ensuring precise and neat edges.
- Measuring Tape: A measuring tape is necessary for accurately gauging the setup space, helping to prevent waste and ensuring an ideal fit.
- Wheelbarrow: A wheelbarrow is useful for transporting materials, making the process more efficient.
- Grass Nails or Staples: These are necessary for fastening the grass in position, preventing displacement and preserving the quality of your installation.
- Materials Needed:
- Artificial Turf: Choose a type that meets your needs, whether it’s pet-friendly, designed for landscaping, or suitable for play areas. Homeowners increasingly prefer high-quality, durable options that mimic natural grass while requiring less maintenance. This preference is supported by statistics indicating that quality grass can significantly enhance property value by improving curb appeal.
- Weed Barrier Fabric: This material helps prevent weed growth, keeping your grass pristine and low-maintenance. Applying a weed barrier membrane is crucial as it effectively reduces maintenance by preventing unwanted growth, thus ensuring the longevity and appearance of the artificial grass.
- Base Material: Crushed stone or decomposed granite is recommended for the base layer, providing excellent drainage and stability. A well-prepared base is essential for the longevity of your grass installation.
- Infill Material: Options like silica sand or rubber granules are important for maintaining the upright position of grass blades and enhancing drainage. Notably, Hydrochill 12/20 is a coated silica that cools grass areas by 25 degrees, enhancing comfort in hot weather. Infill also contributes to the overall feel and appearance of the surface, making it more realistic.
- Seaming Tape and Adhesive: These are essential for connecting sections of grass, providing a continuous appearance and preventing openings that might lead to deterioration over time.
- Safety Gear: Always prioritize safety by wearing gloves, safety goggles, and knee pads during installation. Protecting yourself from potential injuries will make the process smoother and more enjoyable.

Install and Secure the Artificial Turf
-
Lay Out the Grass: Start by rolling out the artificial grass over the prepared area, ensuring that all blades face the same direction for a uniform appearance. Carefully trim any excess grass with a utility knife.
-
Join Turf Pieces: If your project involves multiple pieces of turf, use seaming tape and adhesive to join them securely. It’s crucial to ensure that the seams are tight to prevent gaps, which can detract from the overall appearance and effectiveness of the installation. Whenever possible, avoid head seams, as side seams are easier to manage and less noticeable. Researching seam application techniques, as suggested by Reyes, can provide valuable insights for achieving a seamless finish.
-
Secure the Edges: To keep the grass in place, use nails or staples, spacing them about 6 inches apart along the perimeter. This will help maintain the integrity of the installation over time. Additionally, fastening the weed barrier with 6-inch galvanized nails is essential to prevent weed growth beneath the grass.
-
Add Infill Material: Once the grass is placed and secured, evenly distribute infill material across the surface. This step is vital as it compresses the grass and supports the blades, enhancing the lawn’s natural appearance. Using the correct amount of sand infill is important to avoid a flat or uneven lawn.
-
Brush the Grass: Finally, use a power broom or a stiff-bristled broom to brush the grass fibers upright. This not only improves visual appeal but also ensures that the infill is evenly spread, preventing matting and preserving the grass’s durability.
According to industry information, homeowners typically need about 3-4 days to figure out how to install turf yourself, depending on the project’s size and complexity. It is also important to maintain a minimum slope of 2% away from structures to ensure proper water drainage. By following these steps and best practices on how to install turf yourself, you can create a professional-looking setup that enhances your outdoor space.

Complete the Installation and Maintain Your Turf
-
Final Inspection: After installation, it is essential to examine the surface for any loose areas or seams. Make necessary adjustments to ensure everything is secure.
-
Water the Grass: Lightly irrigate the area to help settle the infill material and ensure even distribution.
-
Regular Maintenance:
- Debris Removal: Regularly remove leaves, twigs, and other debris to maintain a clean turf.
- Brushing: Brush the grass monthly to keep the fibers upright and preserve its appearance.
- Washing: Occasionally clean the grass to eliminate dust and grime, particularly in heavily used areas.
- Pet Care: If pets are present, promptly clean up waste and rinse the area to prevent odors.
-
Seasonal Checks: At the beginning of each season, inspect the turf for any signs of wear or damage. Address any issues promptly to prolong its lifespan.

Conclusion
In conclusion, successfully installing artificial turf can significantly enhance your outdoor space, transforming it into a lush, green oasis that requires minimal maintenance. This guide has outlined the essential steps involved, from preparing the installation area to securing the turf for long-lasting durability. By adhering to these procedures, homeowners can achieve a professional-looking installation that not only improves aesthetics but also increases property value.
Key points discussed include:
- The necessity of clearing and leveling the ground
- Gathering the appropriate tools and materials
- Following best practices throughout the installation process
Furthermore, regular maintenance routines – such as debris removal and seasonal inspections – are vital for maintaining the turf’s appearance and functionality over time. Each step plays a crucial role in creating a stable and attractive lawn capable of withstanding various elements and daily use.
Ultimately, investing time in the proper installation and maintenance of artificial turf elevates the beauty of your property while providing a practical solution for outdoor enjoyment. Embracing this DIY approach empowers homeowners to cultivate a vibrant landscape that demands less upkeep, making it a valuable investment for years to come.
Frequently Asked Questions
What is the first step in preparing the installation area for artificial turf?
The first step is to clear the area by removing any existing grass, weeds, and debris. This can be done using a shovel or sod cutter to excavate 2-4 inches of soil, ensuring that roots and organic matter are removed.
How should the ground be leveled after clearing?
After clearing the ground, it should be leveled with a rake, aiming for a slight slope away from any structures to facilitate drainage and prevent water accumulation on the turf.
Why is it important to compact the soil?
Compacting the soil is vital for establishing a stable foundation that can support the weight of the grass and prevent sinking over time.
What additional measure should be taken to prevent weed growth?
A weed barrier fabric should be installed to inhibit weed growth through the turf, helping to maintain the appearance and integrity of the installation over time.
How can you check for adequate drainage in the installation area?
You can verify adequate drainage by inspecting for any low spots in the area. Adjust the soil as needed to create a smooth, even surface that promotes water runoff.