
Introduction
Transforming a patch of earth into a lush, green paradise may appear daunting. However, the rising trend of DIY turf installation empowers homeowners to take control of their outdoor spaces. This guide outlines essential steps and insider tips to ensure a successful transformation, covering everything from selecting the right tools to meticulously preparing the ground.
With an abundance of information available, navigating common pitfalls becomes crucial. How can one achieve a professional-looking result without hiring experts?
Prepare the Ground: Essential Steps for Turf Installation
-
Evaluate the Space: Begin by measuring the area designated for grass installation. Ensure that this space is devoid of obstacles such as rocks, roots, or debris. Hall Turf’s specialists recommend assessing your specific needs to determine the most appropriate type of grass for your project, whether it be for a putting green, playground, or pet area.
-
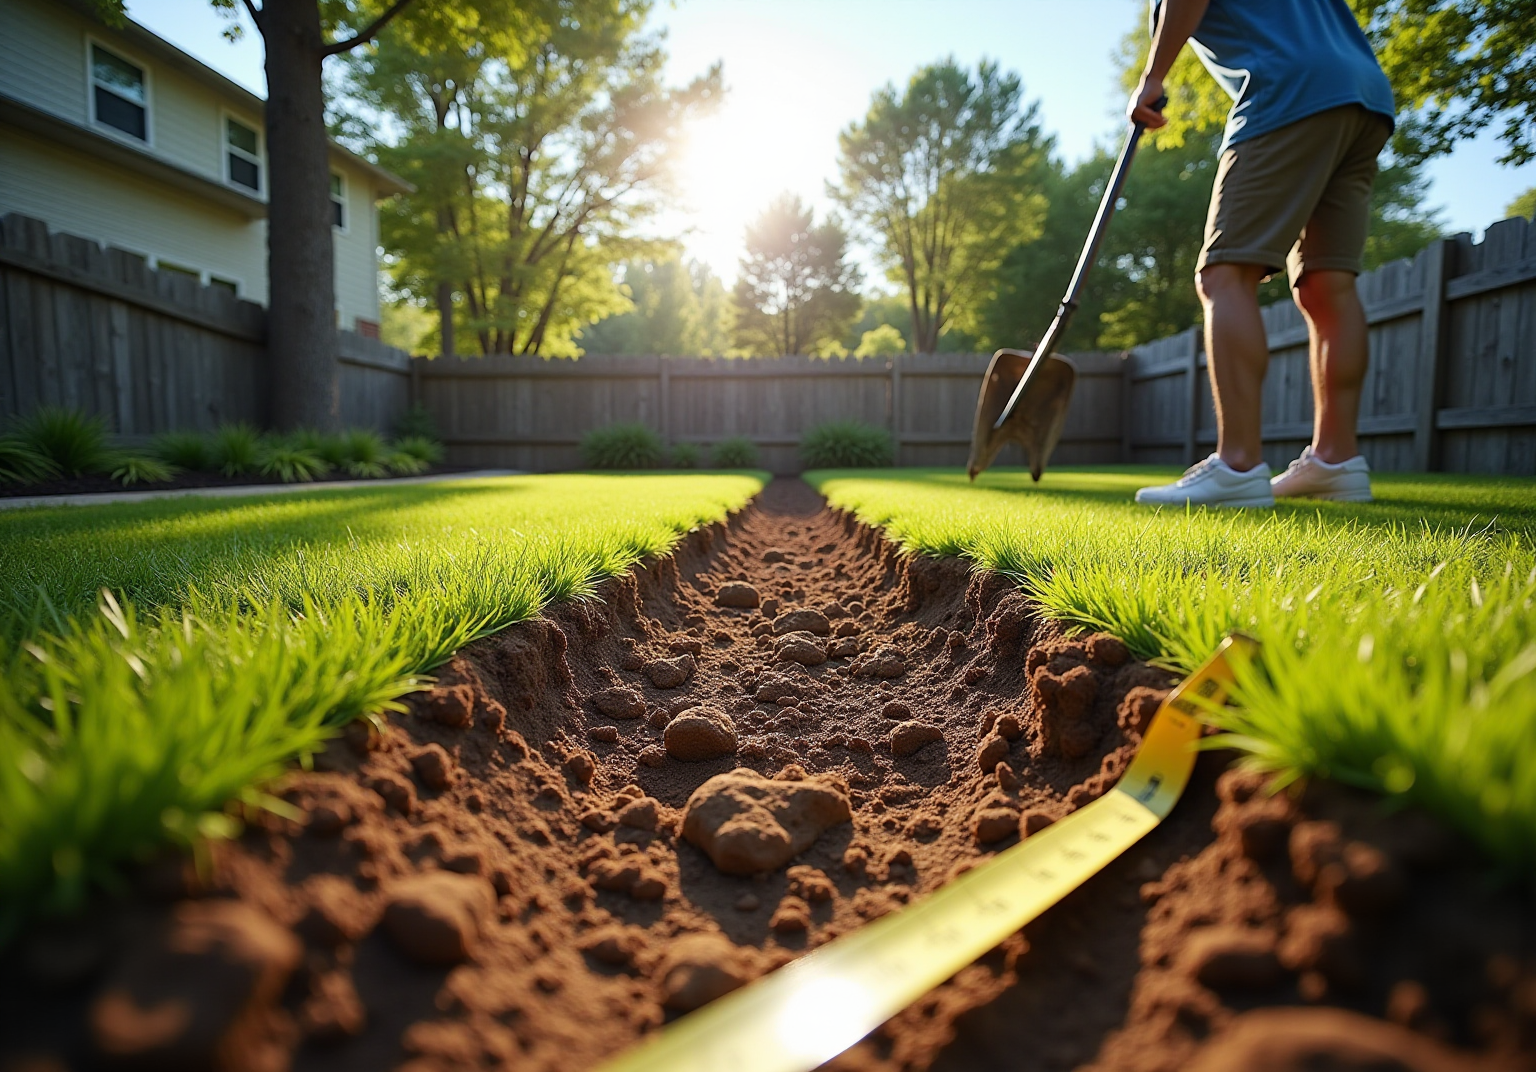
Remove Existing Grass: Utilize a shovel or sod cutter to remove any existing grass and topsoil to a depth of approximately 2-4 inches. This step is crucial to prevent the natural grass from growing through the surface. As noted by satisfied clients, this preparation is vital for achieving a professional outcome, similar to the exceptional installations completed by Hall.
-
Level the Ground: Once the grass has been removed, level the ground with a rake. This will help create a smooth surface for the turf installation DIY process. Attention to detail during this step in turf installation DIY can result in a more refined finish, reflecting the meticulous work for which Hall Landscaping is renowned.
-
Compact the Soil: Employ a plate compactor or hand tamper to compact the soil. This step is essential to avoid settling after the sod is laid, which can result in uneven surfaces. Clients have praised Hall Turf for their thorough approach, ensuring that each installation is completed efficiently and within budget, leading to a durable and attractive grass area.

Gather Necessary Tools for Ground Preparation
To effectively prepare the ground for artificial turf installation, it is essential to gather the following tools:
- Shovel: This tool is crucial for removing existing grass and soil, which allows for proper ground preparation.
- Rake: A rake is utilized to even the soil after digging, ensuring a smooth surface for the turf.
- Plate Compactor or Hand Tamper: These tools compact the soil, creating a solid base that prevents settling over time.
- Utility Knife: Ideal for trimming the grass to match the exact measurements of your setup space, ensuring a precise fit.
- Wheelbarrow: This tool facilitates the transport of soil and debris away from the site, making cleanup easier and more efficient.
- Turf Cutter (optional): A turf cutter can significantly speed up the removal of existing grass, making the initial preparation quicker and less labor-intensive.
- Measuring Tape: Essential for taking accurate measurements of the installation area, ensuring you purchase the correct amount of grass and avoid waste.
- 40-D 5 inch non-galvanized grass nails: These are suggested for fastening grass to the base, ensuring stability and longevity.
- Synthetic grass staples (4 to 6 inches in length): Important for securing the surface properly around the perimeter.
Experts in the landscaping sector emphasize that turf installation DIY not only simplifies the installation process but also contributes to achieving a professional appearance. “Our team, with over 20 years of experience in the landscaping industry, recommends this approach for both residential and commercial projects.” Additionally, it is advisable to ensure a slight slope of about 1 inch per 10 feet for drainage, and to consider a stable base of 2-4 inches of crushed stone or decomposed granite for optimal drainage and stability. Investing in quality tools can significantly enhance the overall outcome of your turf installation DIY project.

Follow the Step-by-Step Ground Preparation Process
-
Measure and mark the space by using stakes and string to outline the area designated for turf installation DIY. This visual aid ensures accurate measurements and a clear understanding of the space.
-
For turf installation DIY, start by removing existing grass and debris from the area using a shovel or sod cutter. Aim to excavate at least 2-4 inches of soil to create a suitable foundation for the grass.
-
For your turf installation DIY, install a weed barrier by laying down a weed barrier fabric to inhibit weed growth beneath the grass. While this step is optional, it is highly recommended for long-term maintenance. Research indicates that effective weed barriers can reduce the need for ongoing weed management by up to 90%, making them a valuable addition to your installation process. Landscaping experts emphasize that using a weed barrier is crucial for maintaining the quality of your lawn over time.
-
To ensure a solid foundation for turf installation DIY, add and compact the sub-base by spreading a layer of crushed stone or gravel. Thoroughly compact this layer to ensure stability, which is vital for the durability of your grass installation.
-
Final Leveling: After compacting, use a rake to ensure proper turf installation DIY by evening out the surface and eliminating any high or low areas that could impact the grass’s performance. Proper leveling is essential for achieving a smooth, professional finish.
Note: Most synthetic grass installation projects take 1-3 days for a small area, and the average cost to install artificial grass ranges from $8 to $15 per square foot, which is an important consideration when planning your DIY project.

Implement Success Tips for a Flawless Turf Installation
-
Choose the Right Grass: Select a grass type that meets your specific needs, whether for aesthetic appeal, durability, or particular applications such as pet areas or playgrounds. Consider factors like fiber type and color to ensure the grass enhances your landscape effectively.
-
Permit the Grass to Adjust: Before installation, unroll the grass and allow it to rest in the sunlight for approximately 2 to 4 hours. This acclimation period helps the grass relax, making it easier to lay flat and reducing the risk of wrinkles during installation.
-
Secure the Edges: Use landscape spikes or nails to fasten the edges of the grass every 6 to 8 inches. This step is crucial to prevent shifting and ensure a tidy, professional finish that enhances the overall appearance of your setup.
-
Brush the Grass: After installation, use a power broom or a stiff-bristled broom to brush the grass fibers upright. This not only improves the visual appeal but also helps the surface mimic the natural appearance of grass, increasing its authenticity.
-
Regular Maintenance: Establish a maintenance routine that includes brushing, rinsing, and inspecting for debris or damage. Regular upkeep is vital to keep your turf looking pristine and prolong its lifespan, ensuring it remains a beautiful addition to your outdoor space.

Conclusion
Successfully installing DIY turf requires careful planning and execution, highlighting the significance of thorough preparation. By adhering to the essential steps outlined, homeowners can cultivate a beautiful, functional outdoor space that enhances their property. This process involves not only selecting the appropriate type of grass but also ensuring that the ground is adequately prepared to support a long-lasting installation.
Key steps include:
- Evaluating the space
- Removing existing grass
- Leveling the ground
- Compacting the soil
These steps are crucial for achieving a professional finish. Furthermore, gathering the necessary tools and implementing best practices during installation will enhance the quality and durability of the turf. With the right approach, homeowners can enjoy a stunning, low-maintenance lawn that meets their specific needs.
Ultimately, investing time and effort into proper turf installation yields a vibrant and resilient landscape. Embracing the DIY approach fosters a sense of accomplishment while allowing for customization tailored to individual preferences. By following the provided guidelines, homeowners can confidently embark on their turf installation journey, transforming their outdoor space into an inviting and enjoyable environment.
Frequently Asked Questions
What is the first step in preparing for turf installation?
The first step is to evaluate the space by measuring the area designated for grass installation and ensuring it is free of obstacles such as rocks, roots, or debris.
How do I determine the appropriate type of grass for my project?
It is recommended to assess your specific needs, such as whether the area will be used for a putting green, playground, or pet area, to determine the most suitable type of grass.
What should I do to remove existing grass before installing new turf?
You should use a shovel or sod cutter to remove any existing grass and topsoil to a depth of approximately 2-4 inches to prevent the natural grass from growing through the surface.
Why is leveling the ground important in the turf installation process?
Leveling the ground with a rake is important as it creates a smooth surface for the turf installation, resulting in a more refined finish.
How can I compact the soil effectively?
You can compact the soil using a plate compactor or hand tamper, which is essential to avoid settling after the sod is laid and to ensure an even surface.
What feedback have clients given regarding the preparation steps for turf installation?
Clients have praised the thorough approach taken by Hall Turf, noting that these preparation steps lead to efficient installations that are completed within budget and result in durable, attractive grass areas.