
Introduction
Transforming your backyard into a golfer’s paradise requires careful planning and execution. This guide will walk you through the steps to assess your space, choose the right turf, and install a putting green that fits your needs. Many homeowners struggle to find the right materials and techniques to achieve a professional-quality putting green. This guide aims to eliminate uncertainty and provide a clear path to success.
Assess Your Space and Requirements
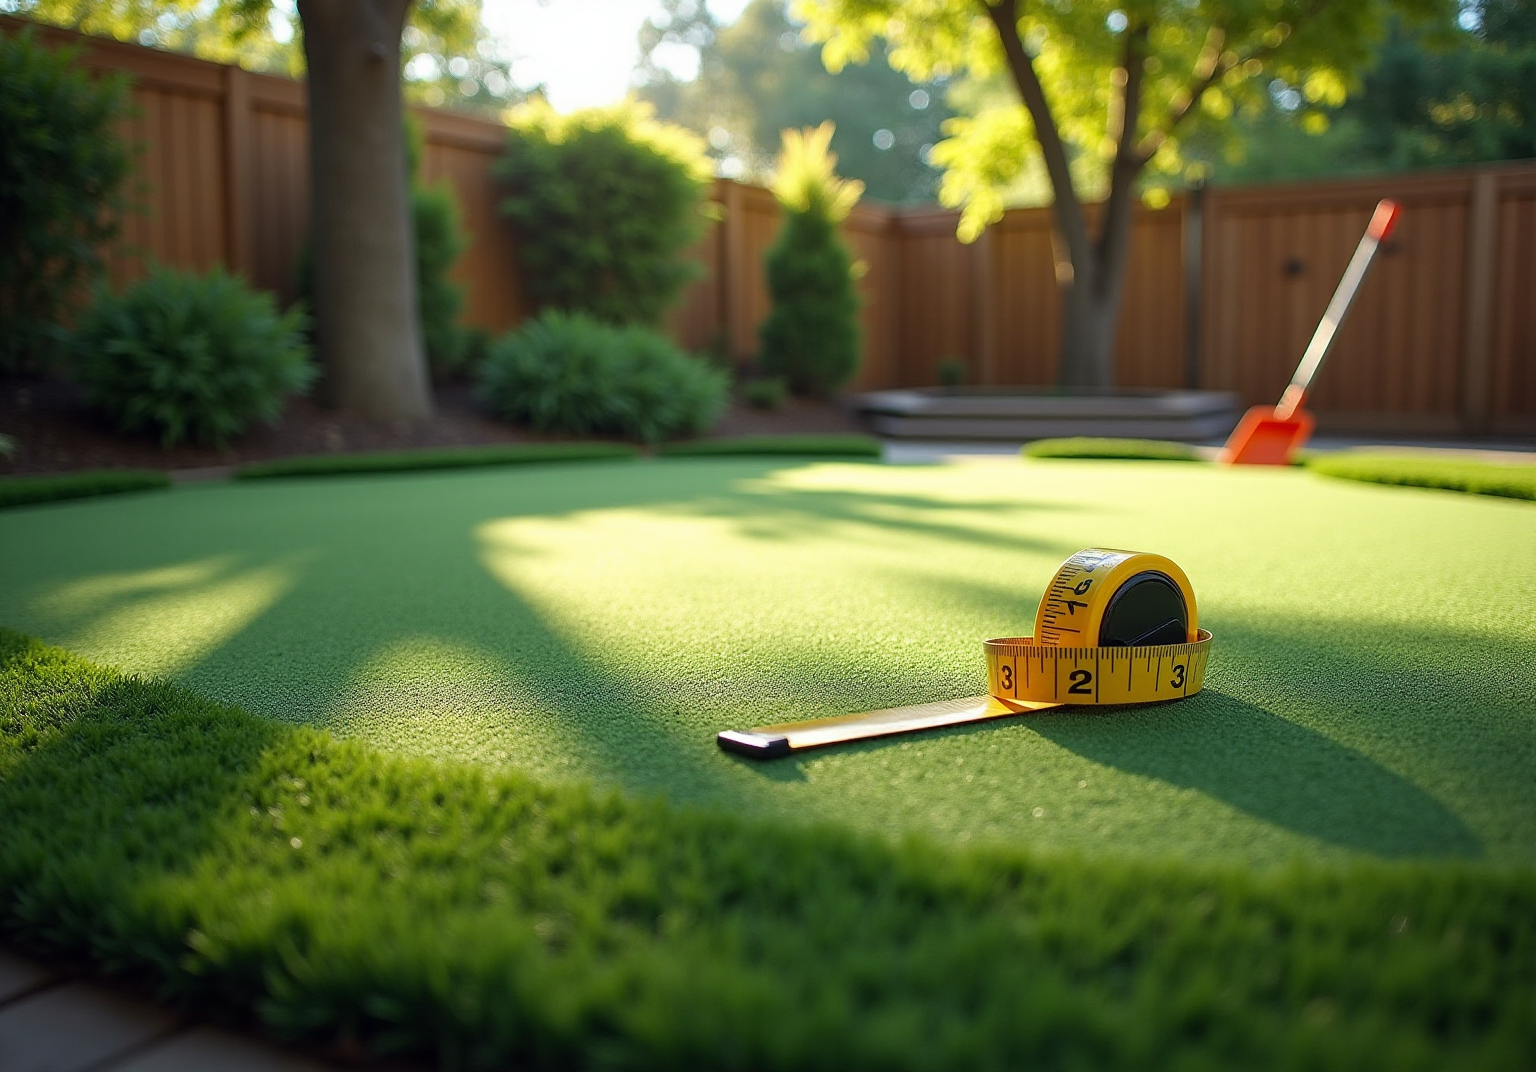
- Measure Your Area: Start by using a tape measure to ascertain the dimensions of the area designated for your practice surface. Backyard golf areas typically range from 100 to 500 square feet, depending on your space and budget. For optimal practice, a size of 300 to 500 square feet is recommended, allowing for multiple holes and varied ball placement scenarios.
- Evaluate Sunlight Exposure: Assess the sunlight your chosen area receives throughout the day. Ideally, your practice area should receive at least 6 hours of sunlight daily, which is crucial for maintaining healthy artificial grass and ensuring consistent performance.
- Check for Drainage: Proper drainage is vital to prevent water pooling on your putting surface. Flat ground can lead to water accumulation, diminishing the quality of your practice area. Consider incorporating a slight slope to facilitate effective drainage, enhancing the longevity and playability of the turf.
- Consider Accessibility: Accessibility is essential for both maintenance and enjoyment. Make sure there’s enough space around the area so you can move easily and access your equipment without hassle, ideally maintaining a 4-foot wide route for transporting equipment from storage areas.
- Identify Obstacles: Inspect the area for any trees, shrubs, or structures that could obstruct sunlight or interfere with installation. These obstacles may need to be trimmed or removed to create an ideal setting for your practice area, ensuring it integrates well with the surrounding landscape.

Choose the Right Turf for Your Green
Choosing the right synthetic grass for golf courses involves understanding various options and their unique benefits. Acquaint yourself with the different synthetic grass choices available for golf courses. The three primary types are:
- Nylon
- Polyethylene
- Polypropylene
Each type has distinct advantages. Nylon offers durability and a realistic ball roll, making it a top choice for serious golfers. Polyethylene provides a softer feel and is often more affordable, making it suitable for residential use. Polypropylene, while less common in golf greens, offers a softer feel at a reduced price, perfect for informal uses.
The pile height of the grass significantly influences ball roll and overall playability. For a genuine putting experience, choose grass with a pile height between 0.4 to 0.6 inches. This range reduces friction while providing sufficient fiber to create a natural sensation, allowing the ball to roll smoothly without sinking into the ground.
When evaluating options, consider durability. Choose grass that is UV-stabilized and engineered to endure high foot traffic. High-quality polyethylene and nylon surfaces are designed to withstand fading and maintain their appearance over time, ensuring your lawn remains vibrant and functional for years. Investing in high-quality synthetic grass ensures longevity and reduces the need for frequent replacements.
Some golf course surfaces may require infill materials to enhance performance. Options like silica sand or rubber can improve ball roll and provide cushioning, contributing to a better playing experience. Infill-free systems are also available, designed for minimal maintenance while still delivering a true roll.
Before making your choice, ask for samples of various grass types to assess their texture and look. By requesting samples, you can easily check the quality and find the best grass for your putting green in house. Ultimately, the right choice in synthetic grass can enhance both the aesthetics and functionality of your golf course.

Install Your Putting Green Step-by-Step
Preparing the site correctly is crucial for a successful installation of artificial grass. Begin by clearing the area of any debris, grass, or obstacles. Excavate the ground to a depth of 3 to 5 inches, ensuring a level surface for optimal drainage and stability. Site-specific challenges, including tight access and underground utilities, can complicate the installation process.
Next, lay down a base of crushed stone or decomposed granite, approximately 2 to 4 inches deep. This material provides excellent drainage and stability. Compact this base thoroughly using a plate compactor to establish a solid foundation that will support the grass.
If necessary, install drainage pipes spaced no more than 15 feet apart to prevent water accumulation. Proper drainage is essential to prevent water accumulation and maintain the lawn’s integrity. The recommended infiltration rate for root-zone mixtures is a minimum of 6 inches per hour, which is crucial for effective drainage.
Roll out the artificial grass over the prepared base, ensuring it lies flat without wrinkles or folds. Trim the sod to match the intended outline of your putting green in house, ensuring to keep a neat edge. We create PGA Tour-caliber greens that perform like those at your local course, using advanced installation techniques.
Use landscape staples or adhesive to fasten the grass in place. Ensure that the seams are tight and well-connected to prevent lifting and ensure a seamless appearance. Our experienced team ensures a high-quality installation through meticulous attention to detail.
If your grass requires infill, spread it evenly across the surface using a broom. This helps the fibers stand upright and enhances playability, mimicking the feel of natural grass.
Finally, trim any excess turf around the edges of the putting green in house and install cups for the holes. Ensure everything is neat and tidy for a professional finish, ready for use. A well-executed installation not only enhances playability but also elevates the overall aesthetic of your outdoor space.

Maintain Your Putting Green for Longevity
To maintain an impeccable golf surface, consistent debris removal is essential. Regularly remove leaves, twigs, and dirt using a leaf blower or a stiff-bristled broom to keep the surface clean and free from obstructions.
Regular brushing not only improves the visual appeal of the turf but also ensures optimal playability. According to TurFresh technicians, regular brushing is essential, as it helps maintain consistent ball speed and enhances the turf’s appearance.
Make it a habit to check your golf turf for signs of wear, like rips or loose seams. Additionally, inspect the edges of the synthetic grass regularly for weeds, as this is vital for preserving the quality of your golf surface. Promptly addressing any issues can prevent further deterioration and extend the life of your turf.
If your golf surface includes infill, check its levels and restore as needed. Maintaining optimal infill levels is crucial for performance and appearance, ensuring a consistent playing experience.
Depending on your local climate, seasonal maintenance tasks may include deep cleaning or adjusting the drainage system to prepare for heavy rains or snow. These proactive measures help preserve the quality of your golf surface throughout the year.
For significant issues or extensive maintenance needs, consider hiring a professional service like Hall Turf. Expert assistance is recommended when turf fibers appear flat, odors persist, stains remain after cleaning, or infill becomes compacted. As satisfied customers have noted, Hall Turf’s team, led by Brock, is extremely professional, timely, and responsive, ensuring your putting green in house remains in excellent condition and addressing deep-seated problems that routine home care may not resolve. Neglecting these maintenance tasks can result in costly repairs and a diminished playing experience.

Conclusion
While creating a perfect putting green at home may seem daunting, the rewards are substantial. This endeavor combines careful planning, the right materials, and consistent maintenance. By following the outlined steps – from assessing your space and choosing the appropriate turf to executing a meticulous installation and upkeep – you can significantly improve your practice routine and overall golfing skills.
Key insights include:
- The importance of selecting the right size and type of turf
- Understanding drainage needs
- Ensuring accessibility for maintenance
Regular upkeep, including debris removal and monitoring turf conditions, plays a crucial role in preserving the quality and longevity of your putting green. Each step, from installation to maintenance, contributes to a high-quality golfing surface that mimics the experience of a professional course.
Putting in the time and effort to create and maintain your putting green not only boosts your enjoyment but also helps you become a better golfer. Embrace the challenge, and enjoy the benefits of having a dedicated space for practice right at home. Whether for leisure or serious training, a well-crafted putting green can provide endless opportunities for improvement and enjoyment.
Frequently Asked Questions
How do I measure the area for my practice surface?
Use a tape measure to ascertain the dimensions of the designated area. Backyard golf areas typically range from 100 to 500 square feet, with a recommended size of 300 to 500 square feet for optimal practice.
How much sunlight should my practice area receive?
Ideally, your practice area should receive at least 6 hours of sunlight daily to maintain healthy artificial grass and ensure consistent performance.
Why is drainage important for my practice area?
Proper drainage is vital to prevent water pooling on your putting surface. A flat ground can lead to water accumulation, which diminishes the quality of your practice area. Incorporating a slight slope can facilitate effective drainage.
What should I consider regarding accessibility for my practice area?
Ensure there is enough space around the area for easy movement and access to your equipment. Maintaining a 4-foot wide route for transporting equipment from storage areas is ideal.
How do I identify obstacles in my practice area?
Inspect the area for any trees, shrubs, or structures that could obstruct sunlight or interfere with installation. These obstacles may need to be trimmed or removed to create an ideal setting for your practice area.
List of Sources
- Assess Your Space and Requirements
- allamericanturfsolutions.com (https://allamericanturfsolutions.com/putting-green-in-my-backyard-how-much-space-do-i-need)
- backninegreens.com (https://backninegreens.com/blog/designing-a-backyard-putting-green-with-chipping-the-complete-guide)
- turffactorydirect.com (https://turffactorydirect.com/blog/golf-putting-green-for-backyard?srsltid=AfmBOoqbzqJfrOuKQWX2Q9m3Lw7AqhkbOPwI2VAhE7dB8D23SyAwVAK4)
- syntheticgrassdfw.com (https://syntheticgrassdfw.com/putting-greens/how-to-decide-on-the-right-backyard-putting-green-size)
- fieldturflandscape.com (https://fieldturflandscape.com/golf-putting-green/how-to-position-your-backyard-putting-green)
- Choose the Right Turf for Your Green
- paradisegreens.com (https://paradisegreens.com/blog/types-of-artificial-grass)
- syntheticgrassdfw.com (https://syntheticgrassdfw.com/putting-greens/type-of-artificial-turf-for-putting-greens)
- heraldtribune.com (https://heraldtribune.com/press-release/story/163660/synthetic-putting-greens-gain-ground-in-backyard-installations)
- Best Artificial Putting Green Turf: What to Look For (https://aglgrass.com/blogs/best-artificial-putting-green-turf)
- The Best Artificial Grass for Putting Green (https://themotzgroup.com/infill_blog/the-best-artificial-grass-for-putting-greens)
- Install Your Putting Green Step-by-Step
- nytimes.com (https://nytimes.com/2025/07/26/business/artificial-turf-grass-sports.html)
- siteone.com (https://siteone.com/en/articles/hardscapes-outdoor-living/quoting-synthetic-turf-installation-projects)
- gcmonline.com (https://gcmonline.com/course/environment/news/usga-putting-green-construction)
- turfgrass.golf (https://turfgrass.golf/2026/03/19/building-a-usga-variable-depth-putting-green-part-1)
- Top 5 Turf Installation Quote Mistakes Contractors Keep Making (https://aglgrass.com/blogs/turf-installation-quote-mistakes)
- Maintain Your Putting Green for Longevity
- How to Clean and Maintain Putting Green Turf: A Seasonal Guide (https://backninegreens.com/blog/how-to-clean-and-maintain-putting-green-turf-seasonal-checklist)
- Artificial Putting Green Maintenance: Year-Round Care Guide (https://aglgrass.com/blogs/artificial-putting-green-maintenance)
- wintergreengrass.com (https://wintergreengrass.com/10-tips-for-maintaining-an-artificial-grass-putting-green)
- Backyard Putting Green Maintenance: Keep Your Roll True (https://turfresh.com/blog/helpful-artificial-grass-maintenance-tips-for-your-backyard-putting-green)
- Artificial Golf Greens Maintenance Tips (https://southwestgreens.com/blog/artificial-golf-greens-maintenance-tips)