

Introduction
Installing a personal putting green can elevate your backyard into a golfer’s paradise, providing both leisure and practice opportunities. This article presents five essential steps for installing putting green turf rolls, ensuring a smooth and enjoyable experience for golfers of all skill levels. Homeowners must carefully consider various factors to ensure their DIY putting green project is both visually appealing and functional.
Select the Ideal Location for Your Putting Green
Selecting the right location for your putting green is essential for optimal performance and maintenance.
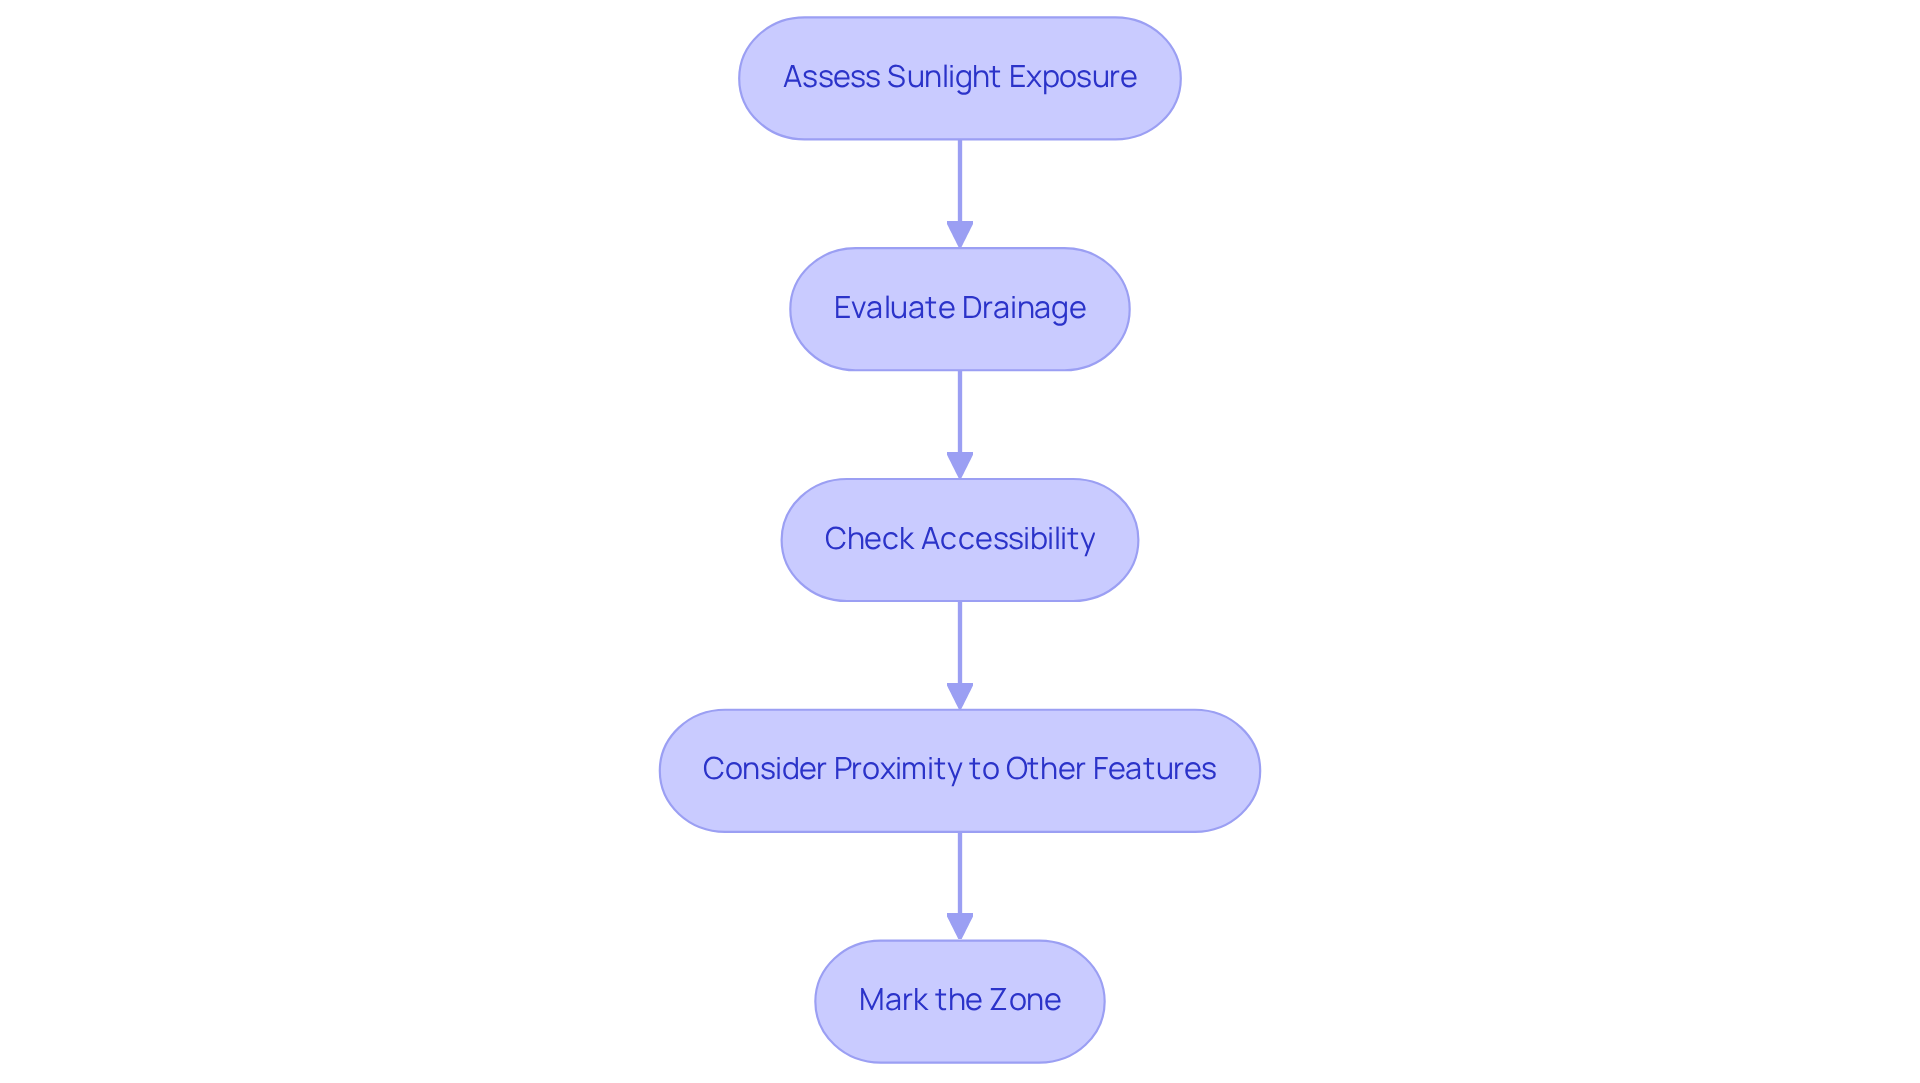
- Assess Sunlight Exposure: Choose a location that receives at least 6-8 hours of direct sunlight daily. Adequate sunlight is vital for keeping the turf vibrant and preventing mold that can damage the putting green.
- Evaluate Drainage: Make sure the location has good drainage to avoid water buildup. Steer clear of low-lying areas that collect water, and consider the natural slope of the land to facilitate proper runoff.
- Check Accessibility: Choose a location that is easy to access for maintenance and play. Avoid spots that are too far from your home or obstructed by trees or other structures that could hinder access.
- Consider Proximity to Other Features: Position the practice surface away from busy areas and other landscaping elements that could disrupt play. This helps create a clear and enjoyable practice area.
- Mark the Zone: Use stakes and string to outline the proposed section for your putting green. This visual representation allows you to better understand the space and make any necessary adjustments before installation.
A well-chosen location not only enhances the playing experience but also ensures the longevity of your putting green turf roll.
Prepare a Strong Base for Installation
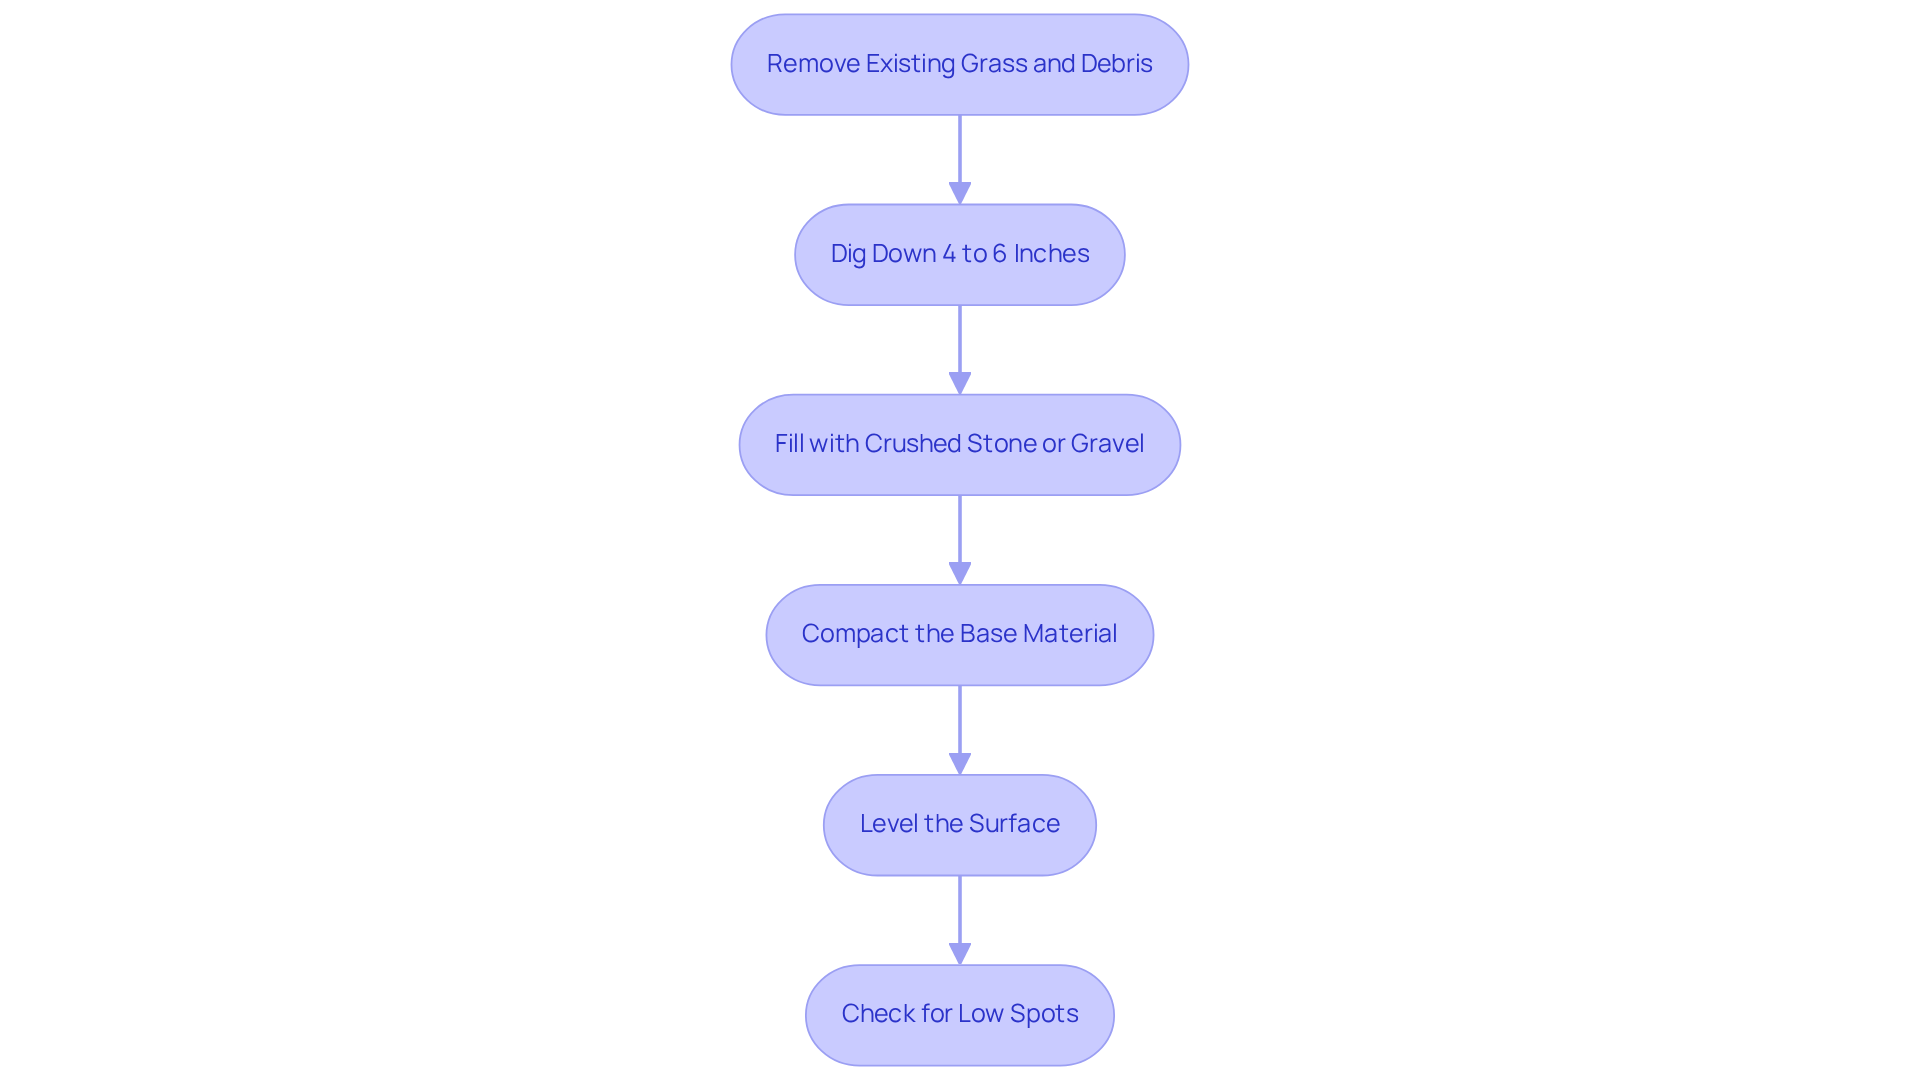
Proper preparation is crucial for a successful installation of a putting green turf roll. Begin by removing any existing grass, plants, and debris from the designated location. Utilize a shovel or sod cutter for efficient removal, ensuring a clean slate for your installation.
Next, dig down 4 to 6 inches to create a level surface. This depth is essential for adequate drainage and allows for the proper installation of base materials.
Fill the excavated area with crushed stone or gravel, maintaining a depth of 3 to 4 inches. This base material offers stability and encourages efficient drainage, which is vital for the durability of your golf surface.
Employ a plate compactor to thoroughly compact the base material. This step is essential to prevent settling and shifting of the grass over time, ensuring a solid foundation.
After compacting, use a rake to level the surface, ensuring it is smooth and even. Check for any low spots that may require additional material to maintain a uniform surface.
Clients like Scott Sachse praise Hall Turf for their exceptional golf surface installations, highlighting the importance of attention to detail and professionalism. Brock, known for his expertise, consistently delivers high-quality results, earning Hall Turf the trust of homeowners across Kansas and Missouri. Neglecting these steps can compromise the longevity and performance of your putting green turf roll.
Install the Putting Green Turf Roll
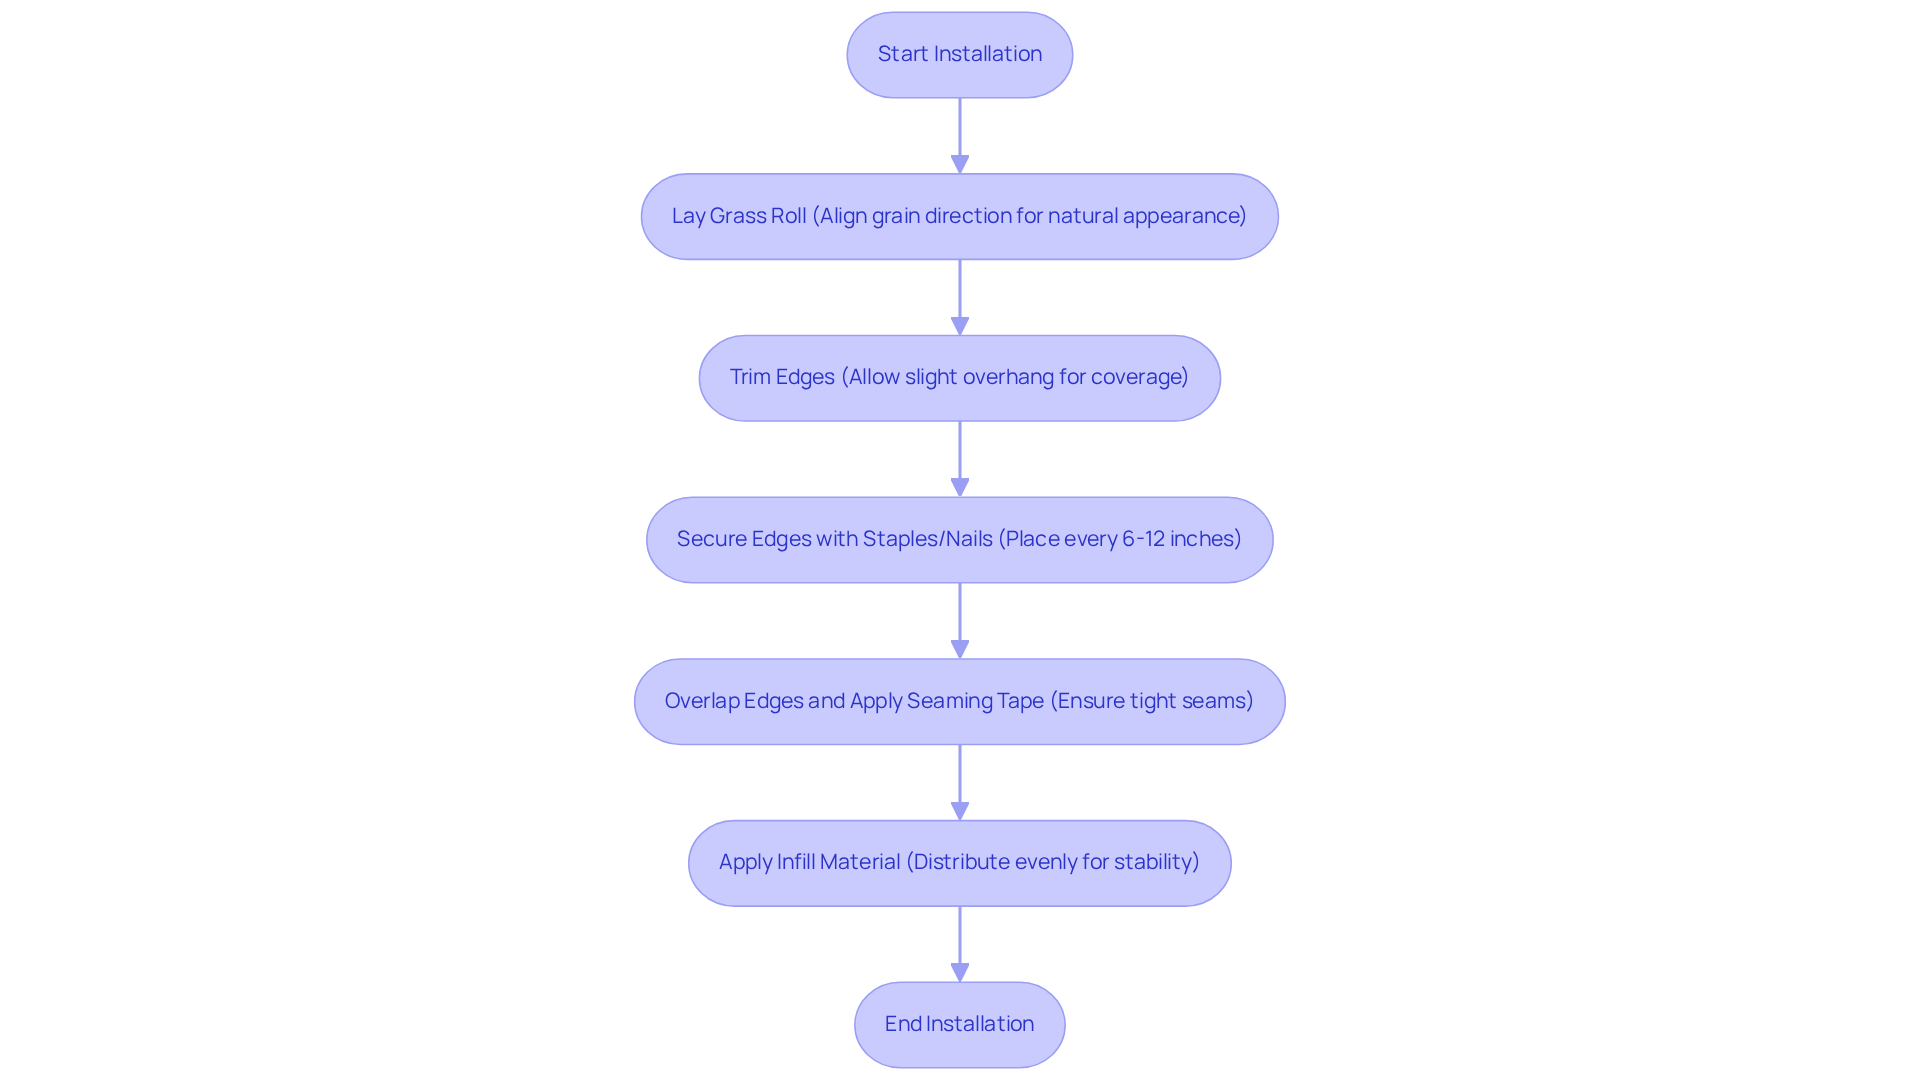
Proper installation of the putting green turf roll is crucial for achieving a seamless and durable putting green. Start by laying the grass roll over the prepared base, ensuring that the grain of the grass is aligned in the same direction for a seamless, natural appearance.
Next, use a utility knife to trim the edges of the grass, allowing for a slight overhang to guarantee complete coverage of your putting green’s shape.
To secure the grass, fasten the edges to the ground using staples or nails, placing them every 6 to 12 inches along the perimeter to prevent any movement during use.
If your installation involves multiple pieces, it is important to overlap the edges and apply seaming tape and adhesive to bond them securely. Ensure that the seams are tight to maintain a smooth surface.
Finally, depending on the specific type of grass used, you may need to apply infill material to enhance stability and performance. Distribute the infill evenly across the surface and brush it into the turf fibers to achieve optimal results. Neglecting these steps can lead to an uneven surface, compromising the quality of your putting green turf roll.
Customize Your Putting Green for Personal Touch
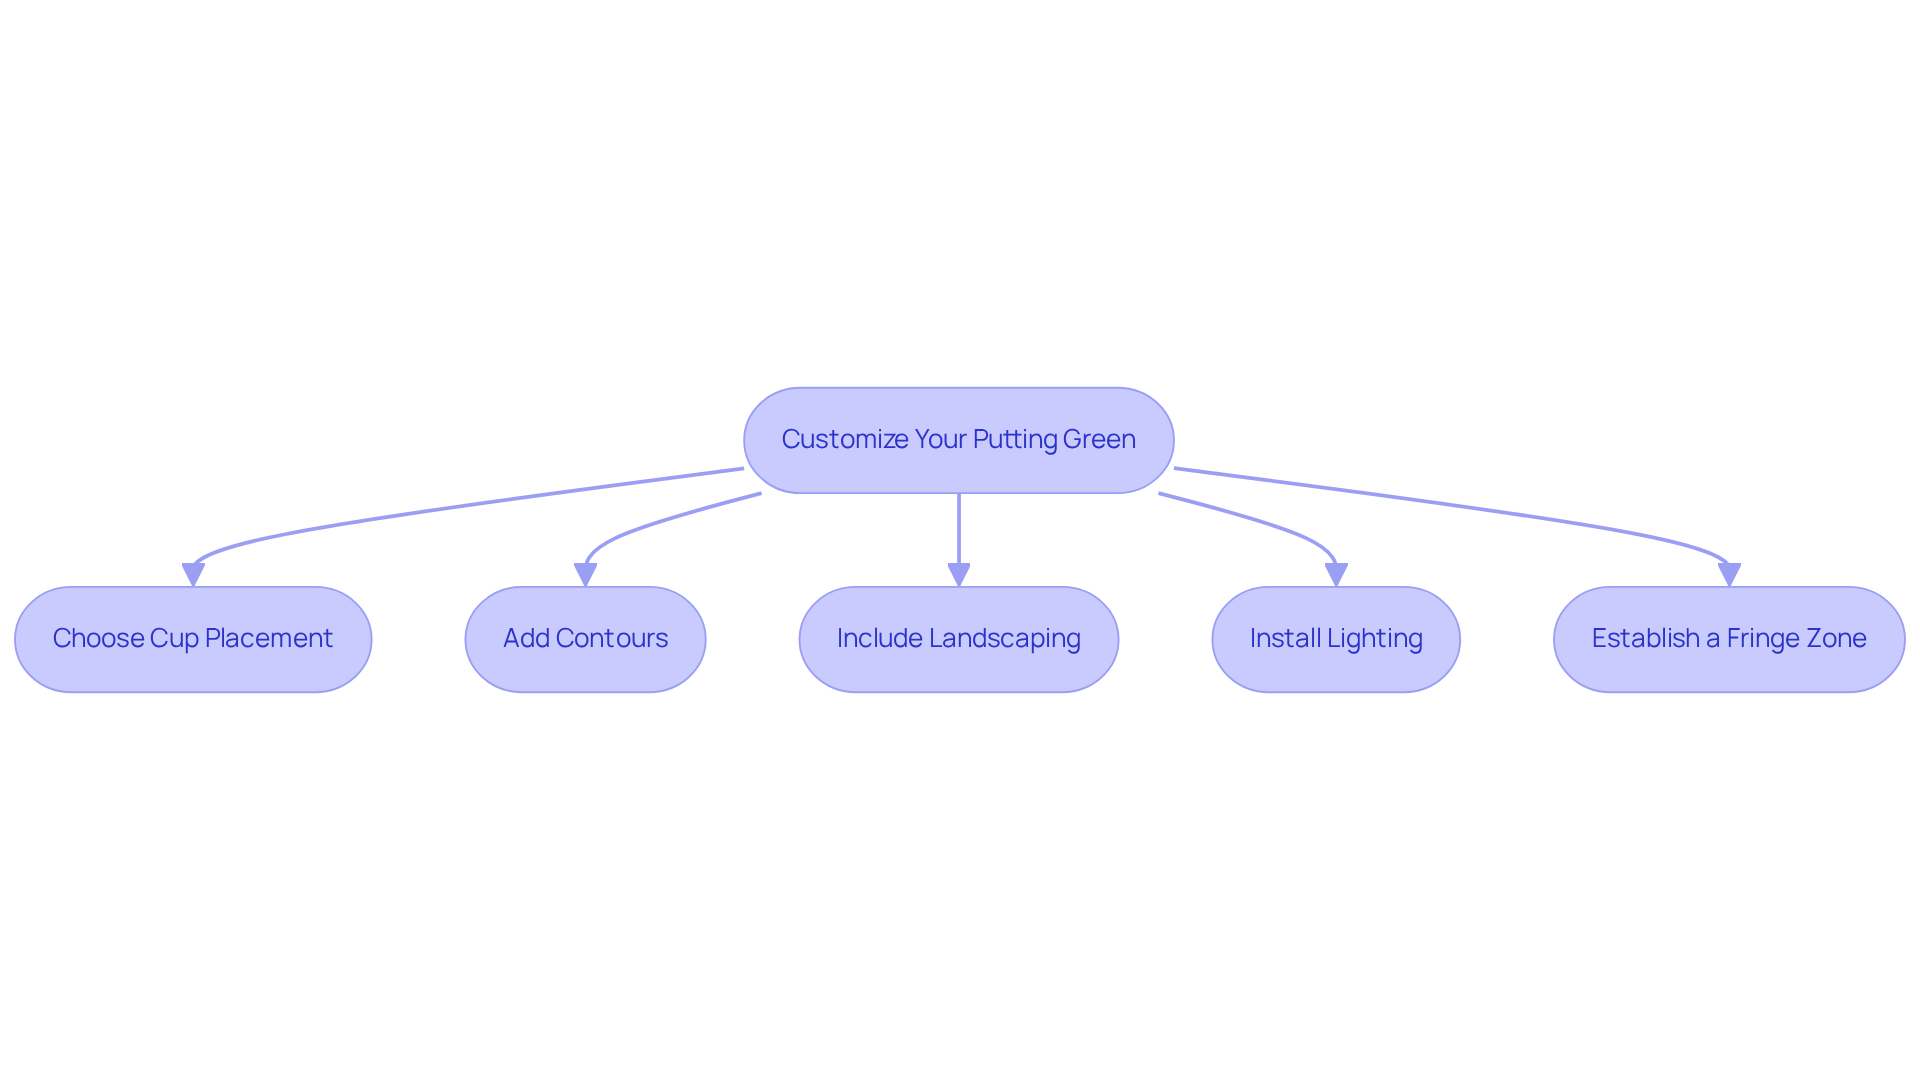
To create an engaging and enjoyable golf practice area, consider several key elements that enhance both functionality and aesthetics.
- Choose Cup Placement: Strategically determine the location of holes to create a variety of distances and angles, enhancing the challenge and enjoyment of your golfing experience. Popular placements often include a mix of short and long putts to cater to different skill levels.
- Add Contours: Creating slopes and contours enhances playability and makes practice sessions feel more like those on professional courses. Utilizing sand or soil for this purpose can significantly improve the realism of your practice area.
- Include Landscaping: Enclose your golf area with ornamental stones, lively plants, or bright flowers. This addition beautifies your yard and helps the plants blend into the landscape, improving visual appeal.
- Install Lighting: Improve your golf area’s usability by incorporating landscape lighting. This allows for evening practice sessions, enhancing safety and creating an inviting atmosphere for family and friends to enjoy.
- Establish a Fringe Zone: Outline your golf area with a fringe of shorter grass or ornamental stones. This transition area not only improves the visual appeal but also establishes a clear boundary, making the vegetation stand out while preserving a unified appearance with the surrounding landscape.
By thoughtfully integrating these features, you can transform your practice area into a space that not only challenges your skills but also enhances your overall enjoyment of the game.
Maintain Your Putting Green for Longevity
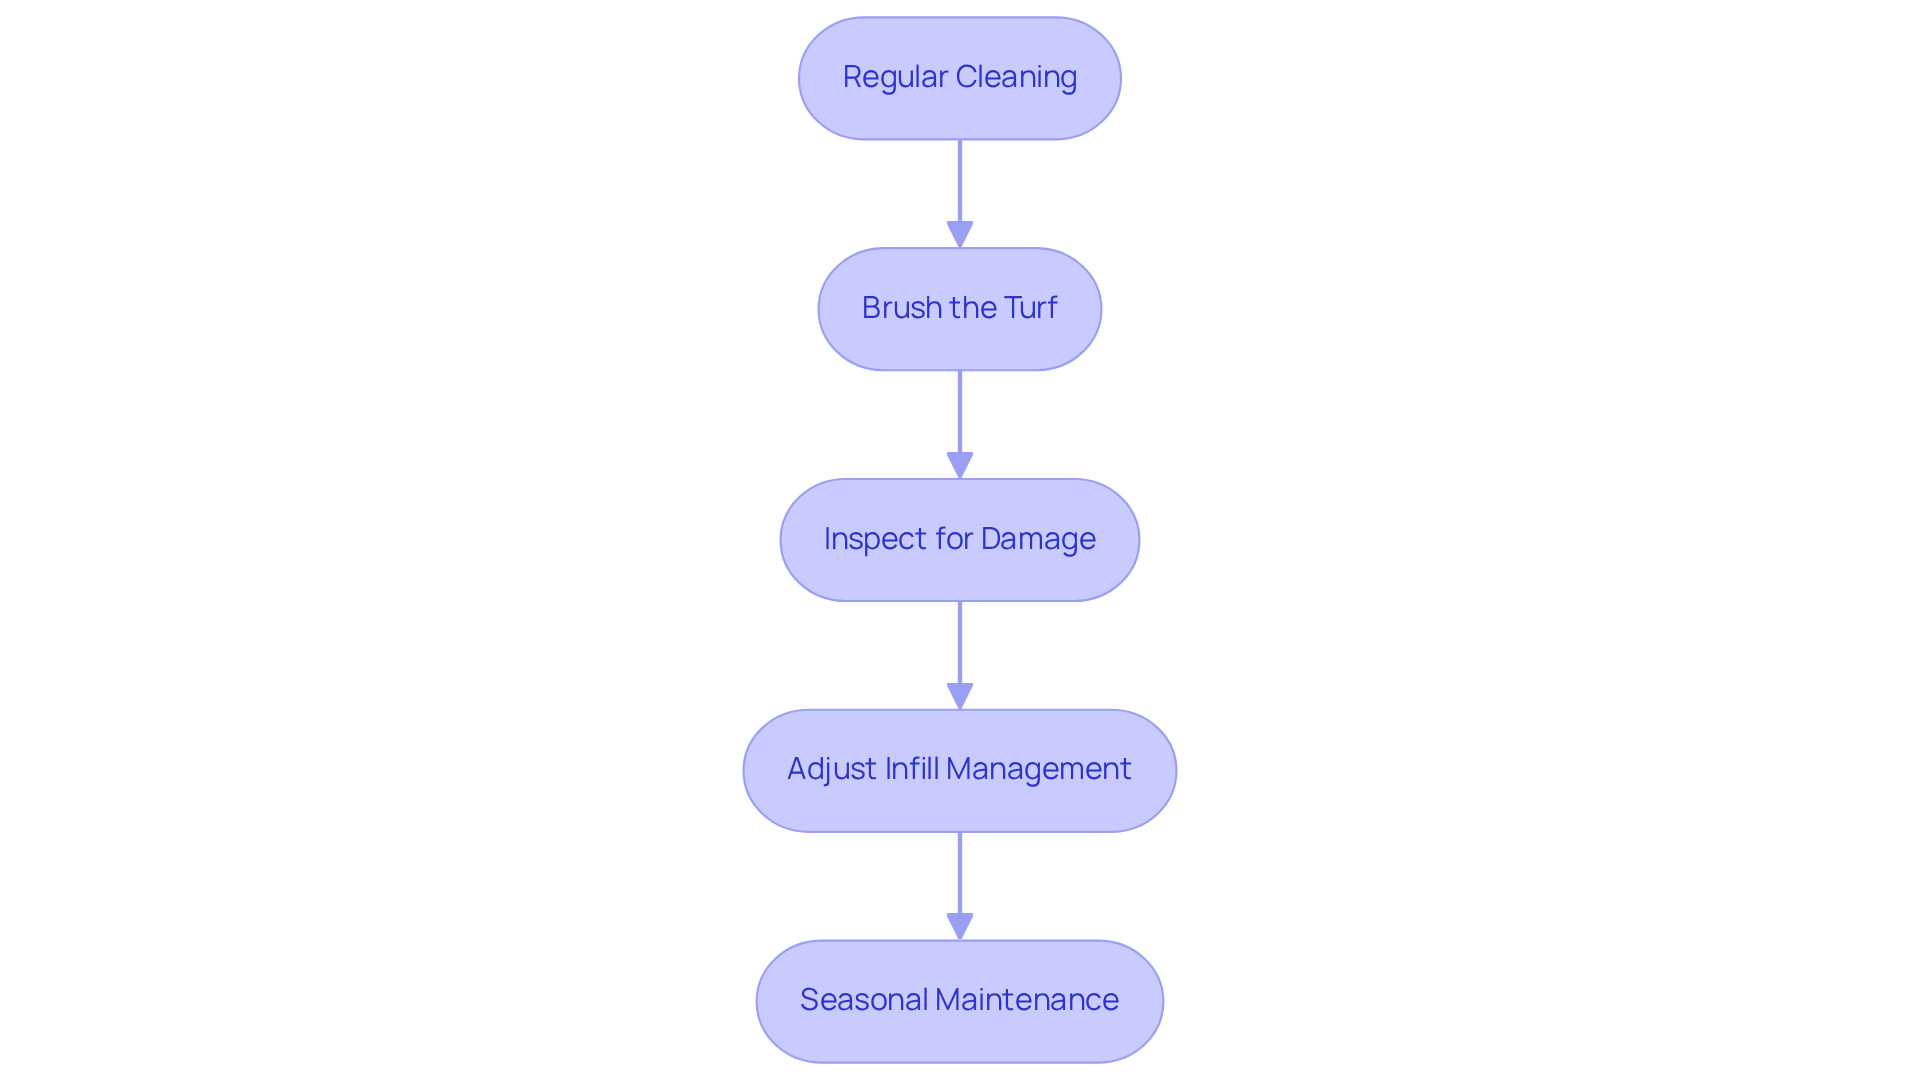
Maintaining a putting green turf roll requires consistent attention to detail to ensure optimal performance and longevity.
- Regular Cleaning: To keep your putting green pristine, regularly remove debris like leaves, twigs, and dirt. Using a leaf blower or broom effectively keeps the surface clean and functional.
- Brush the Turf: Grooming the turf fibers with a stiff-bristled brush is essential for keeping them upright and preventing matting. You should groom the turf every two to four weeks to keep it looking great and performing well.
- Inspect for Damage: Conduct regular inspections for signs of wear or damage, such as seams separating or areas lifting. Promptly addressing these issues is crucial; failing to address minor damage can result in costly repairs and a compromised playing surface.
- Adjust Infill Management: If your grass requires infill, ensure it is adequately maintained. Regularly check and top up infill levels to preserve cushioning and ensure a consistent ball roll, adjusting your maintenance schedule based on weather conditions.
- Seasonal Maintenance: At the beginning and end of each season, perform a thorough inspection and maintenance routine. This should include deep cleaning, addressing any repairs, and ensuring the turf is ready for the upcoming weather challenges. Regular professional maintenance is also recommended to extend the lifespan of your putting green turf roll. Without proper maintenance, the quality of your putting green could diminish, impacting both playability and aesthetics.
Conclusion
Transforming your outdoor space into a personal golfing paradise requires careful planning and execution. By following the outlined steps – from selecting the ideal location to maintaining your turf – homeowners can ensure a successful installation that enhances both enjoyment and functionality. The process emphasizes the importance of preparation, attention to detail, and customization, all of which contribute to a high-quality putting green experience.
Key insights include:
- The necessity of proper site selection
- The significance of a strong base
- The value of ongoing maintenance
Each step, whether it’s preparing the ground or personalizing the green with landscaping and lighting, plays a crucial role in achieving a durable and aesthetically pleasing practice area. Client testimonials, supported by a 95% satisfaction rate, reinforce Hall Turf’s commitment to excellence, highlighting the brand’s reputation built over 15 years of experience in the Kansas and Missouri regions.
This investment not only improves your golfing skills but also elevates your outdoor living experience. For those looking to embark on this rewarding project, Hall Turf stands ready to assist with expert guidance and quality materials. Reach out at (816) 555-7890 or via email at info@hallturf.com for inquiries and quotes, and take the first step toward enjoying your very own putting green.
Frequently Asked Questions
Why is selecting the right location important for a putting green?
Selecting the right location is essential for optimal performance and maintenance of the putting green, enhancing the playing experience and ensuring the longevity of the turf.
How much sunlight should the location for a putting green receive?
The location should receive at least 6-8 hours of direct sunlight daily to keep the turf vibrant and prevent mold damage.
What should be considered regarding drainage when choosing a location?
It’s important to ensure the location has good drainage to avoid water buildup, avoiding low-lying areas that collect water and considering the natural slope of the land for proper runoff.
Why is accessibility important for the putting green location?
Accessibility is crucial for maintenance and play; the location should be easy to access and not obstructed by trees or structures.
How should the putting green be positioned in relation to other features?
The practice surface should be positioned away from busy areas and other landscaping elements to create a clear and enjoyable practice area.
What is the purpose of marking the zone for the putting green?
Marking the zone with stakes and string helps visualize the proposed section for the putting green, allowing for adjustments before installation.
What is the first step in preparing a strong base for installation?
The first step is to remove any existing grass, plants, and debris from the designated location using a shovel or sod cutter.
How deep should the area be dug for the putting green installation?
The area should be dug down 4 to 6 inches to create a level surface for adequate drainage and proper installation of base materials.
What type of material should be used to fill the excavated area?
The excavated area should be filled with crushed stone or gravel, maintaining a depth of 3 to 4 inches for stability and efficient drainage.
Why is it important to compact the base material?
Compacting the base material is essential to prevent settling and shifting of the grass over time, ensuring a solid foundation for the putting green.
How can the surface be leveled after compacting the base material?
After compacting, a rake should be used to level the surface, ensuring it is smooth and even, and checking for any low spots that may need additional material.
What do clients say about Hall Turf’s installation services?
Clients like Scott Sachse praise Hall Turf for their exceptional golf surface installations, highlighting their attention to detail and professionalism.
List of Sources
- Select the Ideal Location for Your Putting Green
- How To Choose The Right Location For Your Putting Green | Northeast Synthetic Turf (https://northeastsyntheticturf.com/how-to-choose-the-right-location-for-your-putting-green)
- Putting Greens: 4 Key Factors to Consider Before Installing – Southwest Greens Florida (https://swgreens.com/blog/putting-greens-4-key-factors-to-consider-before-installing)
- Artificial Turf Lifespan & Maintenance Tips for Dallas – Fort Worth (https://wintergreengrass.com/artificial-turf-lifespan)
- 4 Best Practices for Your Backyard Putting Green Turf Installation – Hall Turf | Artificial Turf Installation Kansas City KS & MO (https://hallturf.com/4-best-practices-for-your-backyard-putting-green-turf-installation)
- Prepare a Strong Base for Installation
- Installing Turf Putting Greens in Leawood, Kansas: Your Complete Guide – Pfeifer Landscaping (https://landscapekc.com/installing-turf-putting-greens-in-leawood-kansas-your-complete-guide)
- Artificial Turf | KC Turf Company | KC Metro (https://kansascityturf.com)
- DIY Putting Green Installation: A Step-by-Step Guide (https://artificialturfexpress.com/blog/installing-the-best-putting-greens-in-your-yard-the-ultimate-diy-guide)
- How To Make Your Backyard Putting Green Dream a Reality (https://usga.org/content/usga/home-page/course-care/green-section-record/62/issue-17/how-to-make-your-backyard-putting-green-dream-a-reality.html)
- 4 Steps for Putting Green Installation Near Me in Kansas City – Hall Turf | Artificial Turf Installation Kansas City KS & MO (https://hallturf.com/4-steps-for-putting-green-installation-near-me-in-kansas-city)
- Install the Putting Green Turf Roll
- How To Install the Ultimate Artificial Turf Putting Green | Synthetic Grass Warehouse (https://syntheticgrasswarehouse.com/blog/how-to-install-the-ultimate-artificial-turf-putting-green)
- Expert Tips to Prevent Common Synthetic Grass Putting Green Installation Mistakes | Synthetic Grass Warehouse (https://syntheticgrasswarehouse.com/blog/expert-tips-to-prevent-common-synthetic-grass-putting-green-installation-mistakes)
- Installing Turf Putting Greens in Leawood, Kansas: Your Complete Guide – Pfeifer Landscaping (https://landscapekc.com/installing-turf-putting-greens-in-leawood-kansas-your-complete-guide)
- 4 Steps to Perfect Your Artificial Turf Edge Installation – Hall Turf | Artificial Turf Installation Kansas City KS & MO (https://hallturf.com/4-steps-to-perfect-your-artificial-turf-edge-installation)
- Install Your Roll of Putting Green Turf in 4 Simple Steps – Hall Turf | Artificial Turf Installation Kansas City KS & MO (https://hallturf.com/install-your-roll-of-putting-green-turf-in-4-simple-steps)
- Customize Your Putting Green for Personal Touch
- From Worn-Out to Worth It: A Kansas City Patio Turf Transformation – Xtreme Green Synthetic Turf (https://xgreensynthetic.com/projects/from-worn-out-to-worth-it-a-kansas-city-patio-turf-transformation)
- 10 Backyard Artificial Turf Ideas for Your Kansas Home – Hall Turf | Artificial Turf Installation Kansas City KS & MO (https://hallturf.com/10-backyard-artificial-turf-ideas-for-your-kansas-home)
- SYNLawn Kansas City Completes Innovative Residential Backyard (https://synlawn.com/articles/synlawn-kansas-city-completes-innovative-residential-backyard)
- Where to Install Artificial Golf Greens in Kansas City, MO | SYNLawn (https://kansascityartificiallawns.com/blog/where-to-install-artificial-golf-greens-from-synlawn-kansas-city-in-kansas-city-mo)
- Backyard Putting Green Turf | Synthetic Turf International (https://synthetic-turf.com/5-ways-to-improve-your-backyard-with-a-putting-green)
- Maintain Your Putting Green for Longevity
- Artificial Golf Greens Maintenance Tips (https://southwestgreens.com/blog/artificial-golf-greens-maintenance-tips)
- How To Properly Maintain An Artificial Grass Putting Green (https://wintergreengrass.com/how-to-properly-maintain-an-artificial-grass-putting-green)
- Backyard Putting Green Maintenance: Keep Your Roll True (https://turfresh.com/blog/helpful-artificial-grass-maintenance-tips-for-your-backyard-putting-green)
- Artificial Putting Green Maintenance: Year-Round Care Guide (https://aglgrass.com/blogs/artificial-putting-green-maintenance)
- Tour Greens | Putting Green Maintenance (https://tourgreens.com/putting-green-maintenance.html)