
Introduction
Installing artificial grass can significantly enhance an outdoor space, offering a vibrant, green lawn throughout the year without the burdens of traditional upkeep. This guide presents a structured, step-by-step approach to ensure a successful installation of artificial grass, detailing the essential tools and materials needed, site preparation, and effective installation techniques.
However, executing each step with precision is crucial; even a minor oversight could result in an uneven surface or premature wear. Learn how to navigate these potential challenges and achieve a professional finish that elevates any home.
Gather Essential Tools and Materials
Before starting your césped artificial instalación, it is crucial to gather essential tools and materials to ensure a smooth and successful project.
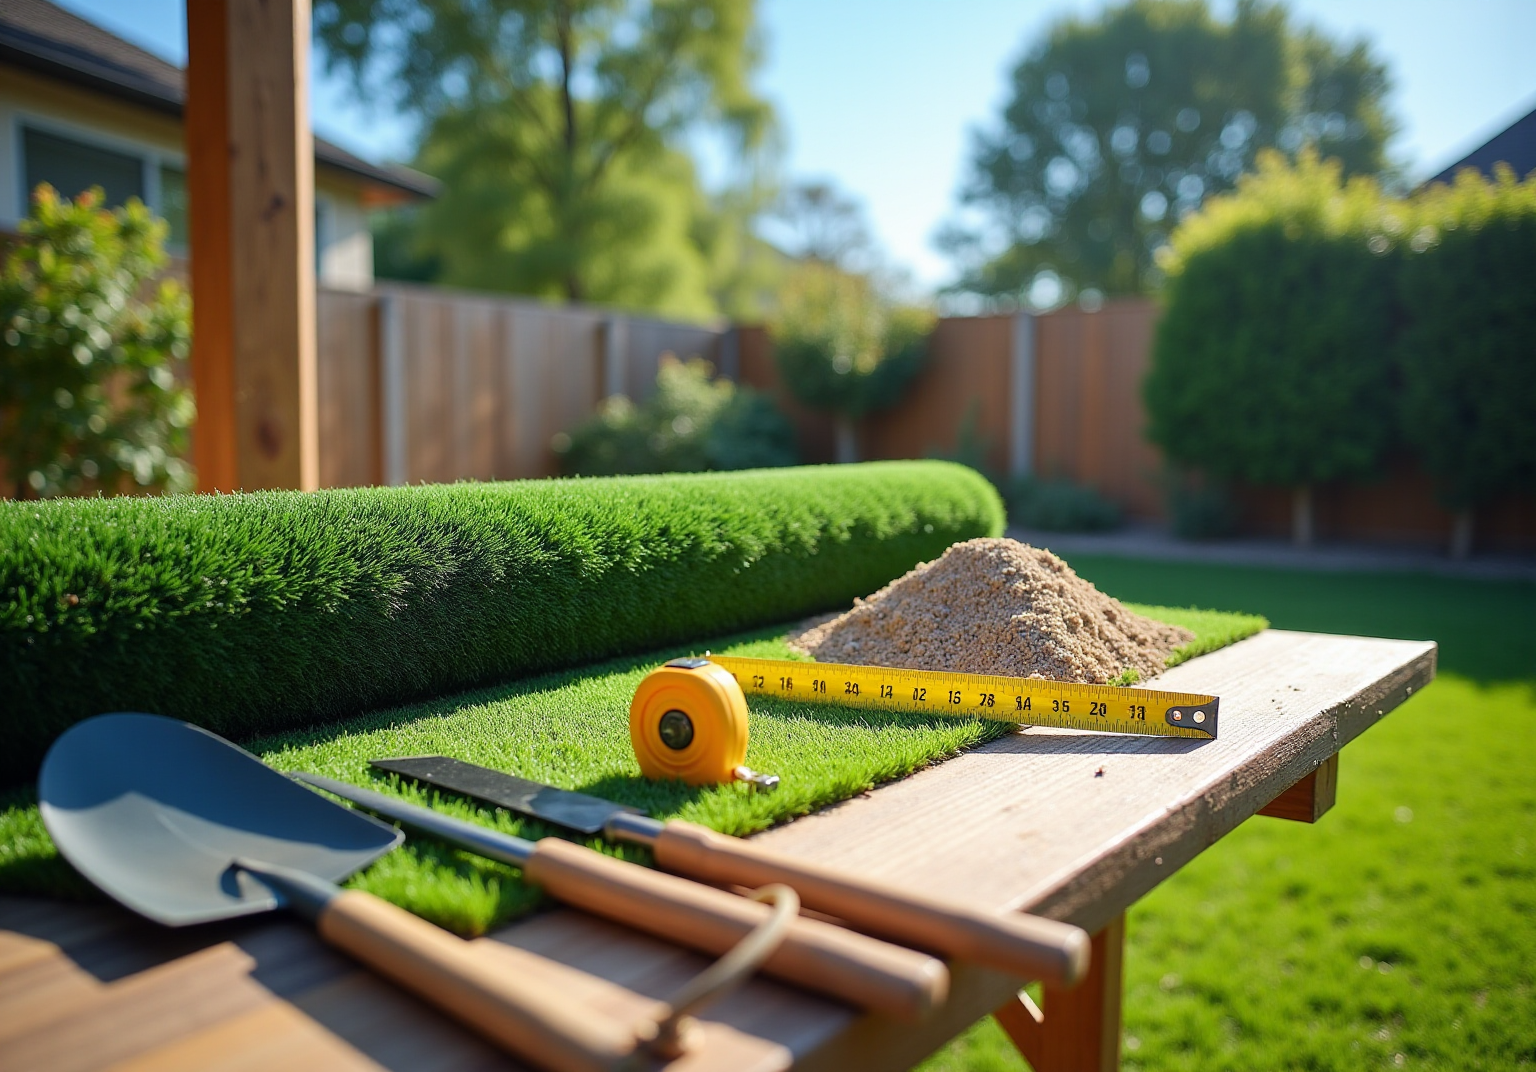
Tools:
- Shovel: Used for removing existing grass and preparing the ground.
- Rake: Helps level the base substance and create a smooth surface.
- Plate compactor or lawn roller: Compacts the base material, ensuring stability.
- Utility knife: Trims the grass to fit the designated area.
- Measuring tape: Accurately measures the installation area and grass dimensions.
- Landscape fabric (weed barrier): Prevents weed growth beneath the grass.
- Grass nails or staples: Secures the grass in place, preventing movement.
- Seam tape and adhesive (if required): Joins multiple rolls of grass securely.
Materials:
- Artificial turf: The primary material for your lawn.
- Base substance (such as crushed stone or decomposed granite): Establishes a stable foundation for the grass.
- Infill substance (such as silica sand): Improves the durability and appearance of the grass.
- Optional: Edging materials to define the perimeter and provide a polished look.
Ensuring that all sections of sod are aligned in the same grain direction is important to avoid an uneven appearance. Additionally, securing the edges of the grass with edging nails or stakes will provide stability over time. Having all these tools and materials prepared for the césped artificial instalación will help avoid interruptions during the setup process, ensuring a professional finish that enhances your outdoor area.

Prepare the Installation Site
To ensure a successful artificial turf installation with Hall Turf, it is essential to prepare your site by following these steps:
-
Clear the Area: Begin by removing any existing grass, weeds, rocks, and debris from the designated ground area. Use a shovel to excavate the top layer of soil, providing a clean slate for your new lawn.
-
Excavate the Soil: Dig down approximately 3-4 inches to establish a level foundation for the grass. This depth is crucial for proper drainage and supports the longevity of the césped artificial instalación. Consider adding a layer of sand aggregate to enhance drainage and stability.
-
Install a Weed Barrier: Lay down landscape fabric or a weed barrier to prevent unwanted weeds from growing through the grass. This step is vital for maintaining the aesthetic appeal and structural integrity of your artificial lawn over time.
-
Compact the Base: Utilize a plate compactor or lawn roller to compact the soil, creating a firm and level surface. Proper compaction is essential to avoid settling and ensure a smooth surface, which enhances the overall appearance and durability of the grass. Additionally, reinforce the perimeter with galvanized steel stakes placed every 4-6 inches to ensure a stable setup.
Regular maintenance, including periodic brushing and cleaning, will help preserve the appearance and longevity of your artificial grass. With Hall’s expert guidance, as noted by satisfied clients like Dick Bryant and Scott Sachse, you can trust that your césped artificial instalación will be handled with professionalism and attention, ensuring a beautiful and functional outdoor area.

Install the Artificial Turf
To successfully install artificial turf, follow these essential steps:
-
Lay Out the Grass: Unroll the synthetic grass in the desired area, allowing it to acclimate in the sun for about 30 minutes. This step makes the surface more pliable and easier to work with.
-
Trim the Edges: Use a sharp utility knife to trim the edges of the grass for a precise fit. Ensure that seams between pieces are tight and aligned to avoid gaps that could affect the appearance and durability of the césped artificial instalación.
-
Properly securing the ground is crucial for its longevity, especially during the césped artificial instalación. Use grass nails or staples, placing them every 6-8 inches around the perimeter and along seams. This spacing helps prevent shifting and guarantees a stable setup. Experts recommend using spiral nails for high-traffic areas to enhance durability. Additionally, when installing on hard surfaces, apply pressure using a heavy roller or weighted object to help secure the grass. Customers have noted that Hall Turf’s crew is not only skilled but also professional and courteous, ensuring a smooth césped artificial instalación.
-
Add Infill (if applicable): If your grass requires infill, evenly spread it across the surface using a broom or a drop spreader. This assists the blades in standing upright and offers cushioning, enhancing the overall sensation and look of the grass. Infill materials like silica sand or rubber are commonly used to enhance performance and drainage.
-
Final Adjustments: Brush the surface to ensure an even distribution of infill and fluff up the grass blades for a natural look. Regular maintenance, including brushing and debris removal, will keep your artificial lawn looking pristine over time. Homeowners have expressed satisfaction with Hall’s attention to detail and commitment to delivering a high-quality end product.

Finalize Installation and Maintenance Tips
To ensure the longevity and performance of your artificial turf, it’s essential to follow these key maintenance steps:
-
Inspect the Installation: Begin with a thorough inspection to confirm that all seams are secure and that there are no loose areas. Address any necessary adjustments immediately to prevent future issues.
-
Water the Grass: Lightly water the turf to help settle the infill, ensuring it adheres properly and maintains its structure.
-
Regular Maintenance: To keep your turf looking its best and to extend its lifespan, implement the following practices:
- Rinse the turf every one to two weeks to eliminate dust, pollen, and debris, which helps maintain its vibrant appearance.
- Brush the grass occasionally with a stiff broom against the grain to restore the upright position of the blades, especially after heavy foot traffic.
- Promptly remove organic waste, such as leaves or branches, to prevent mold and mildew development, which can undermine the grass’s integrity.
- For pet owners, clean up waste immediately and rinse the area with water to maintain hygiene and prevent odors.
-
Seasonal Care: During extreme weather conditions, such as heavy rain or snow, ensure proper drainage by checking for blockages and removing excess snow to prevent damage. Regular inspections during these seasons can help identify any wear or issues early, allowing for timely repairs.
By adhering to these maintenance practices, you can significantly prolong the lifespan of your césped artificial instalación, which can endure between 15 to 25 years or longer with appropriate care. Hiring experts like Brock from Hall Turf for yearly or semiannual upkeep, particularly in heavily used areas or for pet owners, can further enhance the durability and appearance of your lawn. Customers have praised Brock for his professionalism and attention to detail, ensuring that your turf installation remains both beautiful and well-maintained.

Conclusion
Successfully installing artificial turf at home requires a series of well-defined steps that lead to a beautiful and functional outdoor space. By adhering to these procedures – ranging from gathering essential tools and materials to implementing effective maintenance practices – homeowners can achieve a professional-grade artificial turf installation that enhances their property.
Thorough preparation is crucial, including:
- Clearing the site
- Compacting the base
- Securing the turf properly
Each step, from laying out the grass to adding infill and conducting regular maintenance, plays a vital role in the longevity and appearance of the artificial lawn. Furthermore, leveraging expert guidance, such as that provided by Hall Turf, can significantly enhance the quality of both installation and upkeep.
Investing time and effort into the installation and maintenance of artificial grass can yield substantial rewards, with a lifespan of 15 to 25 years or more. Homeowners are encouraged to adopt these practices, ensuring their outdoor spaces remain vibrant and inviting for years to come. By taking the right steps, the dream of a lush, green lawn can become a reality without the hassle of traditional grass care.
Frequently Asked Questions
What are the essential tools needed for installing artificial grass?
The essential tools include a shovel, rake, plate compactor or lawn roller, utility knife, measuring tape, landscape fabric (weed barrier), grass nails or staples, and seam tape and adhesive (if required).
What is the purpose of each tool in the installation process?
A shovel removes existing grass and prepares the ground; a rake levels the base substance; a plate compactor or lawn roller compacts the base material; a utility knife trims the grass; a measuring tape accurately measures the area; landscape fabric prevents weed growth; grass nails or staples secure the grass; and seam tape and adhesive join multiple rolls of grass.
What materials are required for installing artificial turf?
Required materials include artificial turf, a base substance (such as crushed stone or decomposed granite), and an infill substance (such as silica sand). Optional materials include edging materials to define the perimeter.
Why is it important to align the sod sections in the same grain direction?
Aligning the sod sections in the same grain direction is important to avoid an uneven appearance in the finished installation.
How can the edges of the grass be secured for stability?
The edges of the grass can be secured using edging nails or stakes to provide stability over time.
What is the benefit of gathering all tools and materials before starting the installation?
Gathering all tools and materials beforehand helps avoid interruptions during the setup process, ensuring a smooth installation and a professional finish that enhances the outdoor area.