
Introduction
Selecting the ideal location for an artificial golf green can elevate an ordinary backyard into a golfer’s paradise. However, the path to a successful installation presents several challenges. This article outlines four essential steps that guide homeowners through the process, from identifying the perfect spot to completing the installation. As the potential for creating an impressive outdoor feature increases, it is crucial to consider the key factors that can determine the success of an artificial golf green installation.
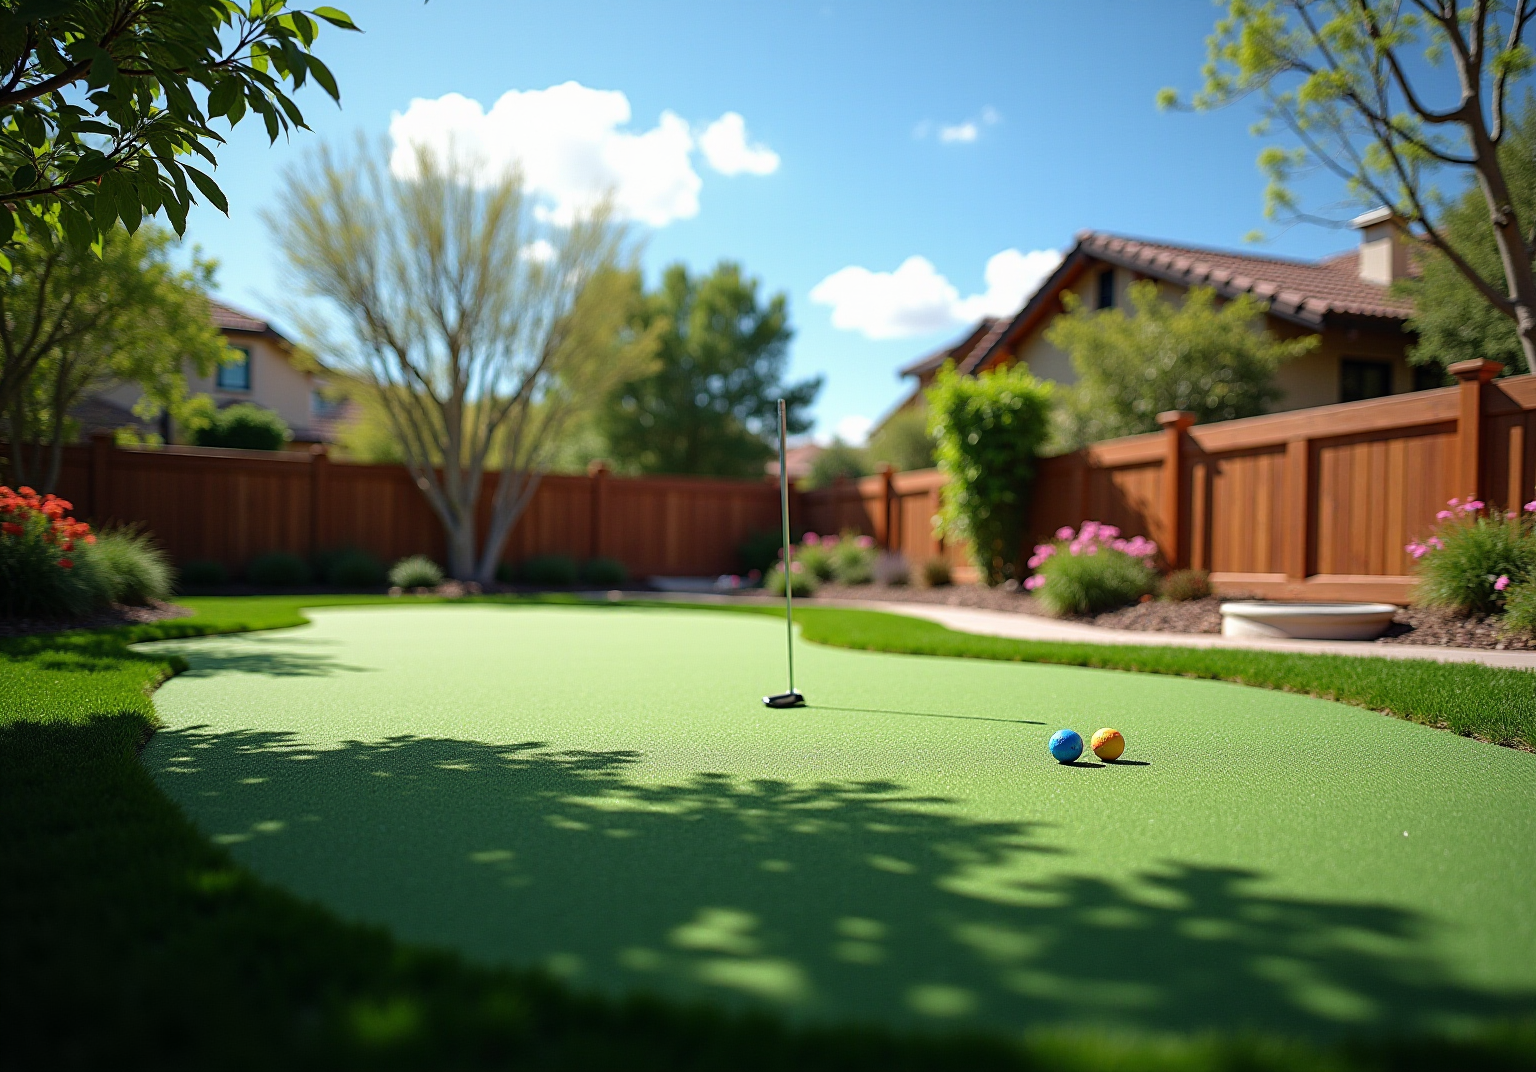
Select the Ideal Location for Your Golf Green
Selecting the ideal location for your golf green is crucial for its success and longevity. Here are essential considerations to keep in mind:
- Sunlight: Choose a location that receives ample sunlight throughout the day. Morning sunlight is particularly beneficial as it helps dry dew quickly, reducing the risk of fungal growth that can threaten the grass’s health. Proper installation is vital, as synthetic grass can last between 10 to 20 years depending on installation and maintenance practices.
- Drainage: Ensure the area is well-drained to prevent water pooling, which can damage the grass. Avoid low-lying spots where water tends to accumulate, as these can create maintenance challenges and shorten the lifespan of your green. A proper drainage system is necessary to prevent water accumulation that can lead to mold and degradation of the turf material.
- Accessibility: The selected site should be easily accessible for both maintenance and play. Consider its proximity to your home or other structures to facilitate regular upkeep and enjoyment. Research emphasizes that accessibility enhances the overall experience for homeowners.
- Area: Ensure there is adequate space such as fringe zones or landscaping elements that enhance the overall aesthetic. Clients like Scott Sachse have praised Hall Turf for their exceptional setup work, which involves careful consideration of space and design.
By thoughtfully evaluating these factors, you can create a golf green that meets your playing needs while enhancing the beauty and functionality of your outdoor space with quality materials, ensuring a successful and enjoyable experience. With expert guidance, as highlighted by satisfied customers, you can trust that your project will be managed with professionalism and care.

Prepare the Site: Measurement and Groundwork
Once you’ve selected the ideal location, the next step is to prepare the site. This preparation is crucial for a successful installation.
Measurement: Begin by accurately measuring the area designated for the green. Utilize stakes and string to outline its shape. As Dick Bryant noted, “the recommendation was perfect!” Precise measurements are essential for achieving a professional finish.
Clear the Area: Next, remove any existing grass, plants, and debris. This step creates a clean workspace and prevents contamination of the new turf. Clients have praised Hall’s team for their thoroughness in this phase, which ensures a solid foundation for the setup.
Level the Ground: It is important to ensure that the ground is level and compacted. Use a compactor to create a solid base, which is vital for preventing future settling. Les Boatright highlighted that Brock’s attention to detail in leveling has significantly contributed to the overall quality.
Create Drainage: If necessary, install a drainage system to effectively manage water runoff. This may involve digging trenches or installing perforated pipes. Adequate drainage is crucial for the durability of your golf green, and Hall’s expertise in this area has been commended by homeowners.
By carefully preparing the site, you establish a foundation for a golf green that will function effectively for years to come, as many satisfied customers have experienced with Hall.

Choose Quality Materials for Longevity and Performance
Selecting the right materials for your golf green is essential to achieve optimal performance and durability. Here are the key considerations:
- Turf Type: Choose high-quality turf. Options featuring polyethylene fibers are ideal, as they provide a realistic playing surface. A pile height of 6-10 mm is recommended to achieve the desired stimp speed.
- Infill Material: Select infill that supports the grass fibers and enhances playability. Silica sand is a popular choice due to its durability and consistency, ensuring consistent performance.
- Backing Material: Ensure the turf has a robust backing capable of withstanding wear while providing stability and longevity.
- Accessories: Quality accessories such as cups, flags, and markers are crucial for enhancing the overall experience of your putting area. Investing in quality accessories will not only improve functionality but also elevate the environment.
Investing in quality materials for your golf green ensures it remains functional and enjoyable for years to come.

Finalize Installation: Secure Turf and Apply Infill
With the groundwork laid and materials chosen, it’s time to finalize the installation. Follow these essential steps:
- Roll out the turf over the prepared base, allowing it to acclimatize to the environment for 1 to 2 hours. This minimizes creases and ensures a smooth application.
- Use landscape staples or 6 to 7-inch spiral nails spaced every 4 to 6 inches along the perimeter to secure the grass. This prevents movement and ensures a clean finish, maintaining the integrity of the installation.
- Spread infill evenly across the surface using a drop spreader, applying 1.5 to 2 pounds per square foot depending on the grass thickness. This supports the grass fibers, enhances playability, and contributes to the durability of the system, which is crucial for stability.
- Use a stiff-bristled broom to work the infill into the turf, ensuring it is evenly distributed and that the fibers stand upright. Regular brushing helps prevent matting and maintains the visual attractiveness of the golf course.
By carefully following these steps, you ensure that your golf green is ready for use and will provide enjoyment for years to come.

Conclusion
In conclusion, selecting the right approach to master artificial golf green installation is essential for creating a functional and enjoyable space. By understanding the key steps – from choosing the ideal location to finalizing the installation – you can ensure your golf green not only meets your playing needs but also enhances the beauty of your outdoor area.
Key considerations such as sunlight exposure, drainage, and accessibility are fundamental during the initial planning stages. Proper site preparation, including accurate measurements and ground leveling, lays the groundwork for a successful installation. Additionally, choosing high-quality materials is crucial for longevity and performance, ensuring that your investment pays off in both aesthetics and functionality.
Ultimately, the success of an artificial golf green installation relies on meticulous attention to detail and thorough execution of each step. By adhering to these guidelines, anyone can create a beautiful and durable golf green that provides enjoyment for years to come. Whether for personal use or as a feature to enhance property value, investing time and effort into this project will yield rewarding results.
Frequently Asked Questions
Why is selecting the ideal location for a golf green important?
Choosing the right location is crucial for the success and longevity of the golf green, as it impacts factors like sunlight exposure, drainage, accessibility, and space.
What role does sunlight exposure play in the location of a golf green?
Ample sunlight is essential as it helps dry dew quickly in the morning, reducing the risk of fungal growth that can threaten grass health. Proper sunlight exposure can extend the lifespan of synthetic grass to between 10 to 20 years.
How does drainage affect the installation of a golf green?
Effective drainage is vital to prevent water pooling, which can damage the grass. It’s important to avoid low-lying areas where water accumulates, as this can create maintenance challenges and shorten the turf’s lifespan.
What should be considered regarding accessibility when selecting a site for a golf green?
The site should be easily accessible for maintenance and play, ideally located near your home or other structures to facilitate regular upkeep and enjoyment.
How much space is needed for a golf green?
There should be sufficient space for the putting surface as well as additional features like fringe zones or landscaping elements to enhance the overall aesthetic of the area.
What are some common pitfalls to avoid in artificial golf green installation?
Common pitfalls include poor sunlight exposure, inadequate drainage, limited accessibility, and insufficient space for the green and its features. Thoughtful evaluation of these factors can help ensure a successful installation.
How can Hall Turf assist in the installation of a golf green?
Hall Turf provides expertise in managing golf green projects with professionalism and care, as highlighted by satisfied customers who praise their exceptional setup work and consideration of space and design.
List of Sources
- Select the Ideal Location for Your Golf Green
- 2026’s Biggest Artificial Turf Putting Green Design Trends – OC Turf & Putting Greens (https://octurfandputtinggreens.com/2026s-biggest-artificial-turf-putting-green-design-trends)
- Artificial Grass Drainage: Longevity and Sustainability (https://artificialturfsupply.com/artificial-grass-drainage)
- Top Backyard Putting Green Trends for 2026 Revealed (https://artificialturfexpress.com/blog/backyard-putting-green-design-trends)
- southwestgreens.com (https://southwestgreens.com/blog/top-trends-for-backyard-golf-putting-greens)
- 5 Popular Artificial Turf Putting Green Design Trends to Try in 2026 – SGW Sacramento (https://sgwsacramento.com/blog/5-popular-artificial-turf-putting-green-design-trends-to-try-in-2026)
- Choose Quality Materials for Longevity and Performance
- Top Backyard Putting Green Trends for 2026 Revealed (https://artificialturfexpress.com/blog/backyard-putting-green-design-trends)
- usga.org (https://usga.org/content/usga/home-page/course-care/green-section-record/63/issue-13/rethinking-turf–synthetic-options-for-practice-areas.html)
- 2026’s Biggest Artificial Turf Putting Green Design Trends – OC Turf & Putting Greens (https://octurfandputtinggreens.com/2026s-biggest-artificial-turf-putting-green-design-trends)
- Synthetic Turf News | News & Blog | Synthetic Turf International (https://synthetic-turf.com/news-blog)
- Finalize Installation: Secure Turf and Apply Infill
- themotzgroup.com (https://themotzgroup.com/infill_blog/how-to-install-artificial-turf-infill)
- How to Install Artificial Grass (https://watersaversturf.com/how-to-install-artificial-grass-guide)
- Ultimate Guide to Securing Artificial Turf (https://premiumgrassblades.com/the-ultimate-guide-to-securing-artificial-turf-spiral-nails-staples-and-proper-installation)
- lowes.com (https://lowes.com/n/how-to/install-artificial-grass)
- sgwflorida.com (https://sgwflorida.com/miami/resources/installing-artificial-grass/step-by-step-guide-to-installing-artificial-grass)