
Introduction
Transforming a traditional lawn into a lush, green oasis can be a challenging endeavor, particularly when factoring in the maintenance of natural grass. Increasingly, homeowners are opting for synthetic turf as a low-maintenance alternative that provides year-round beauty without the burdens of mowing, watering, or weeding. However, the installation of artificial grass over real grass introduces its own unique challenges.
What essential steps must be taken to ensure a successful installation that not only looks appealing but also endures over time?
Prepare the Installation Area
- Clear the Area: Begin by removing any existing vegetation, weeds, and debris from the installation site. Use a shovel or sod cutter to excavate the top layer of soil and grass, targeting a depth of approximately 2-3 inches. This initial step is vital for creating a clean slate for your project.
- Level the Ground: After clearing the area, utilize a rake to thoroughly level the ground. This step is essential to prevent uneven surfaces that could lead to issues or an unsightly finish once the grass is installed. A properly leveled foundation enhances both the aesthetic appeal and durability of the grass.
- Check for Drainage: Evaluate the area for adequate drainage. If you identify any locations where water tends to pool, consider implementing a slight slope to direct water away from structures. Effective drainage is crucial for maintaining the integrity of your synthetic turf and preventing problems such as mold or mildew.
- Compact the Soil: Employ a plate compactor or hand tamper to firmly compact the soil. This process establishes a solid base that minimizes settling and shifting of the grass over time, ensuring a stable foundation for your installation.
- Install a Weed Barrier: To prevent weeds from growing through the grass, lay down a weed barrier fabric over the compacted soil. This barrier not only helps maintain the visual appeal of your lawn but also reduces future maintenance tasks, allowing you to enjoy your outdoor space without the hassle of weeds.
When you choose artificial grass for your home, you can expect support throughout the process. Customers such as Dick Bryant and Scott Sachse have commended the professionalism and service provided by Brock and his team, ensuring that your project is completed on time and to your satisfaction.

Build a Stable Base for Turf
To establish a stable base, it is essential to use a combination of crushed stone and leveling sand. This blend is recommended for its permeability and stability, ensuring proper drainage while providing the necessary support for the turf. Aim for a depth of three to four inches, followed by compaction to create a solid base. Additionally, maintain a slight slope away from buildings to prevent water pooling.
Begin by evenly distributing the crushed stone across the prepared area. A rake can be used to ensure a uniform layer, which is crucial for effective drainage and stability.
After spreading the crushed stone, it is important to compact the material thoroughly using a plate compactor. This step is vital for creating a base that will support the artificial grass and prevent issues such as sinking or uneven surfaces.
Once compacted, check the surface for levelness. A long board or level can be utilized to confirm that the base is even. Make any necessary adjustments by adding or removing material to achieve a flat surface.
After leveling, apply a thin layer of leveling sand on top of the compacted stone. This final layer will help create a smooth surface for the turf, enhancing both its appearance and functionality. Client satisfaction is evident, as evidenced by satisfied clients like Dick Bryant and Scott Sachse, who praised the professionalism and attention to detail provided by Brock and his team.

Lay and Secure the Artificial Grass
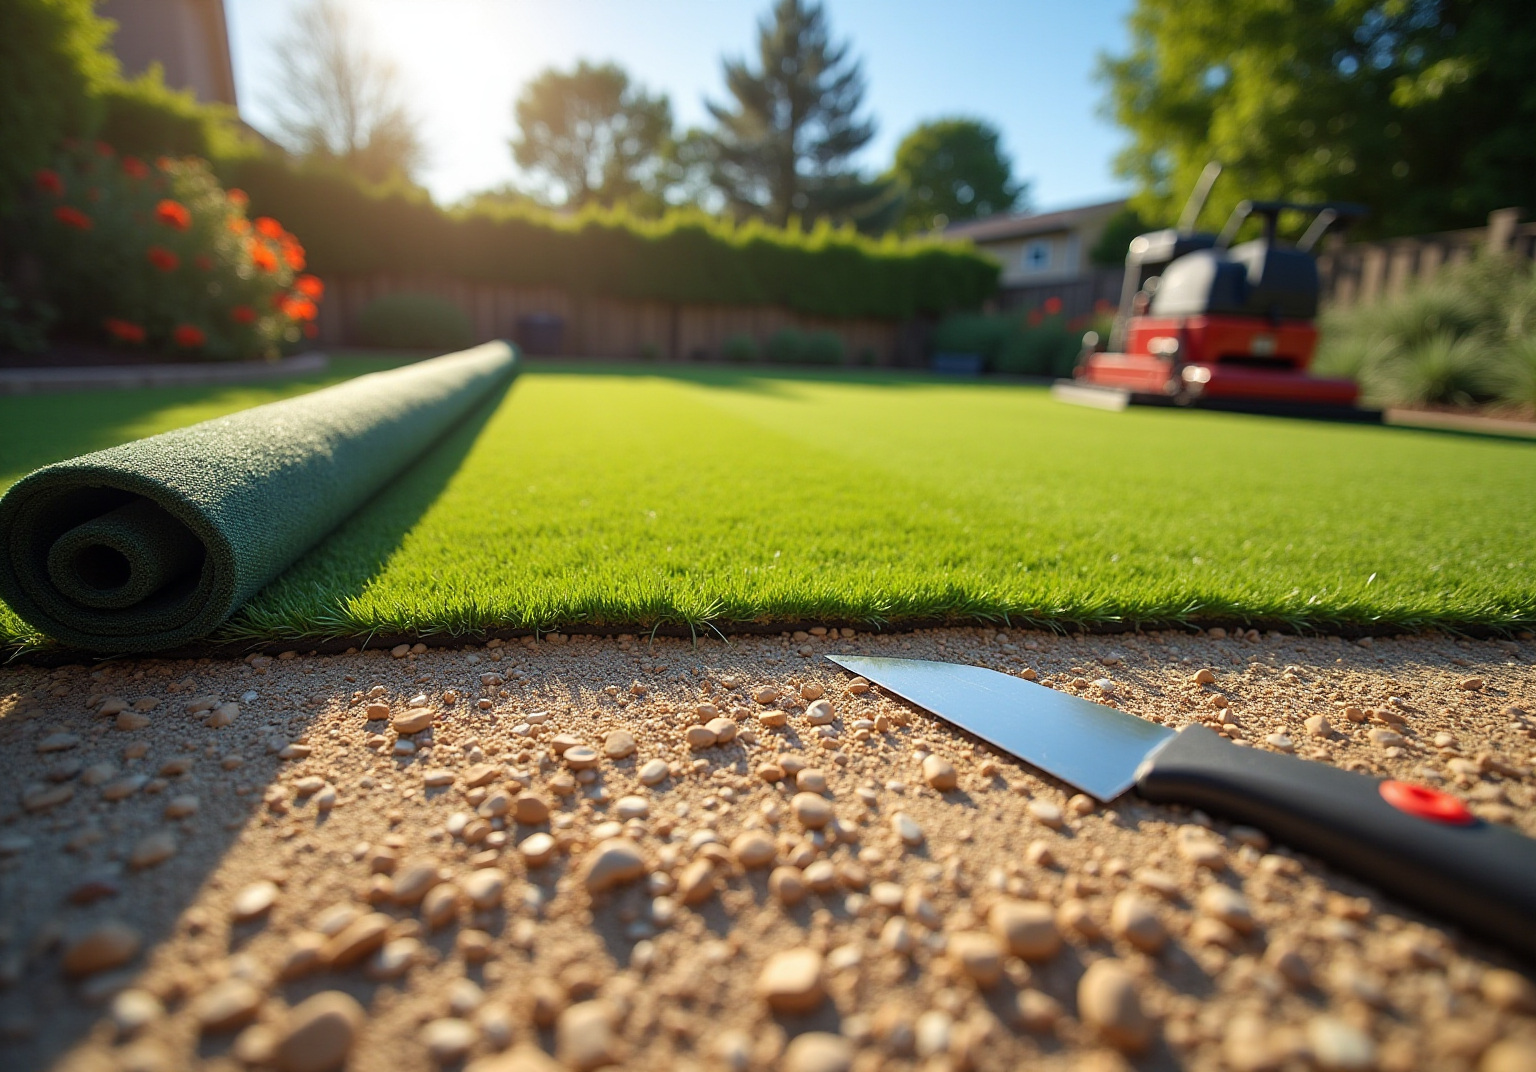
- Unroll the Turf: Start by unrolling the artificial grass over the prepared base. Allow the grass to rest for a few hours to eliminate any creases or folds, ensuring a smooth surface. As noted by Dick Bryant, his team evaluated his needs and provided an ideal solution for his grass issue, underscoring the importance of proper installation.
- Cut to Fit: Employ a sharp utility knife to trim the edges of the grass for a precise fit. Always cut from the back of the sod to safeguard the grass blades and maintain a clean edge.
- Secure the Grass: Use landscape staples to anchor the grass. Position the pins around the perimeter and along seams every 6-8 inches to ensure the grass remains securely in place, preventing shifting or wrinkling over time. Scott Sachse praised Brock for their exceptional setup of a beautiful lawn, highlighting the professionalism of Brock and his team, which is crucial during this phase.
- Seam the Edges: For installations involving multiple sections of grass, utilize seam tape to join them seamlessly. Apply the adhesive to the tape, press the edges of the grass into it, and hold until set to create a durable bond.
- Brush the Grass: After securing the grass, use a stiff-bristled broom to brush the grass fibers upright. This step enhances the natural appearance of the grass, making it look more lifelike and inviting.
- Apply Infill: Once the grass is laid and secured, add infill material. This step is essential for stability, improving blade resilience, and enhancing the overall appearance of the lawn. Les Boatright expressed satisfaction with the final product and Brock’s ability to deliver on time and within budget, emphasizing the importance of quality in this final step.
- Maintenance: Regularly clean the surface to remove dust, debris, and pet waste. This maintenance is vital for keeping the lawn fresh and extending its lifespan.

Complete the Installation with Finishing Touches
- Add Infill: If your installation is complete, add infill. Infill is crucial as it supports the grass blades, adds weight to keep the surface stable, and enhances comfort for walking and playing. It constitutes about 90% of the weight of an artificial grass system, making its presence essential.
- Brush the Infill: After applying the infill, use a broom with synthetic bristles to sweep the grass. This step is important as it helps the infill settle into the ground, ensuring that the grass blades stand upright and maintain a natural appearance. Regular brushing helps by preventing matting and wear, especially in high-traffic areas where weekly brushing is recommended.
- Check for Wrinkles: Inspect the surface for any wrinkles or uneven areas. If you find any, gently pull the grass to smooth it out and re-secure it if necessary. Properly maintained turf should have an even surface to prevent water pooling and ensure optimal drainage.
- Final Clean-Up: Remove any debris or excess materials from the installation area. This will give your new synthetic turf a tidy and polished appearance, enhancing its visual appeal.
- Routine Care Suggestions: To keep your synthetic turf looking its best, consistently clear away debris, wash it with water to prevent dust accumulation, and brush the fibers to maintain their shape. These maintenance practices are essential, as studies indicate that the costs of maintaining synthetic turf are significantly lower than the $5,500 to $48,960 required for natural grass systems. By investing in proper care, you can enjoy a beautiful, low-maintenance lawn year-round.
At Hall Turf, we take pride in providing expert services tailored to your needs, whether it’s a residential lawn, commercial space, or pet area. Our team, led by professionals like Brock, ensures that every installation is executed with precision and care, resulting in a product that not only looks great but also stands the test of time.

Conclusion
In conclusion, transforming a natural lawn into a vibrant synthetic landscape offers numerous benefits for homeowners. By meticulously preparing and executing the installation of artificial grass over real grass, one can create a durable and visually appealing outdoor space. This investment not only enhances the aesthetic value of your property but also significantly reduces maintenance efforts, allowing for more leisure time in your beautiful new lawn.
Key steps in this process include:
- Preparing the installation area by clearing vegetation
- Leveling the ground
- Ensuring proper drainage
- Compacting the soil
Building a stable base with crushed stone and sand is crucial for supporting the turf, while securely laying and finishing the grass ensures a seamless and lifelike appearance. Regular maintenance, such as brushing and cleaning, will help maintain the turf’s integrity and beauty over time.
Ultimately, investing in synthetic grass can provide long-term benefits, from cost savings on maintenance to the joy of a lush, green lawn year-round. Whether for a family play area, a putting green, or simply enhancing curb appeal, the advantages of artificial turf make it a worthwhile consideration for any homeowner looking to elevate their outdoor experience.
Frequently Asked Questions
What is the first step in preparing the installation area for synthetic grass?
The first step is to clear the area by removing any existing vegetation, weeds, and debris. This involves excavating the top layer of soil and grass to a depth of approximately 2-3 inches.
Why is it important to level the ground before installing synthetic grass?
Leveling the ground is essential to prevent uneven surfaces that could lead to drainage issues or an unsightly finish. A properly leveled foundation enhances both the aesthetic appeal and durability of the grass.
How can I ensure proper drainage in the installation area?
Evaluate the area for adequate drainage and implement a slight slope to direct water away from structures if necessary. Effective drainage is crucial for maintaining the integrity of the synthetic turf and preventing problems such as mold or mildew.
What tool can I use to compact the soil for the installation?
You can use a plate compactor or a hand tamper to firmly compact the soil. This process establishes a solid base that minimizes settling and shifting of the grass over time.
What is the purpose of installing a weed barrier?
Installing a weed barrier fabric over the compacted soil prevents weed growth through the synthetic grass, helping to maintain the visual appeal of your lawn and reducing future maintenance tasks.
What can customers expect when choosing Hall Turf for synthetic turf installation?
Customers can expect expert guidance throughout the installation process, with commendations for professionalism and attention to detail from clients such as Dick Bryant and Scott Sachse, ensuring the project is completed on time and to satisfaction.
List of Sources
- Prepare the Installation Area
- magnoliaturf.com (https://magnoliaturf.com/landscapes/artificial-grass-key-surface-requirements)
- Artificial Turf Market Size And Share | Industry Report, 2033 (https://grandviewresearch.com/industry-analysis/artificial-turf-market)
- heavenlygreens.com (https://heavenlygreens.com/blog/how-to-prepare-for-artificial-grass-installation)
- How Much Does Artificial Turf Installation Cost in 2025? – Xtreme Green Synthetic Turf (https://xgreensynthetic.com/artificial-turf-installation-cost)
- shawgrass.com (https://shawgrass.com/about/news-blog/how-to-prep-for-artificial-grass-installation)
- Build a Stable Base for Turf
- What’s the Best Base for Artificial Grass Installation? – US Turf (https://us-turf.com/uncategorized/best-base-artificial-grass-installation)
- How to Choose the Right Base for Artificial Grass (https://realturf.com/us/what-sub-base-is-best-for-your-artificial-grass)
- cincomosqueteros.co (https://cincomosqueteros.co/choosing-the-best-artificial-grass-base-material)
- eliteturfsupply.com (https://eliteturfsupply.com/blogs/preparing-ground-for-artificial-grass)
- returf.com (https://returf.com/how-deep-should-the-sand-layer-beneath-artificial-turf-be?srsltid=AfmBOoqylyGHTAq1lr3C4x1Pa3QuAQB6lu7Zg8ENu4VnJ1Ej4oE9FrIz)
- Lay and Secure the Artificial Grass
- blog.artificialgrassrecyclers.com (https://blog.artificialgrassrecyclers.com/how-to-anchor-artificial-grass)
- sgwsacramento.com (https://sgwsacramento.com/blog/the-essential-guide-to-securing-artificial-grass-during-your-installations)
- Ultimate Guide to Securing Artificial Turf (https://premiumgrassblades.com/the-ultimate-guide-to-securing-artificial-turf-spiral-nails-staples-and-proper-installation)
- How to Install Artificial Turf on Dirt | US Turf (https://usturfsandiego.com/news/how-to-install-artificial-turf-on-dirt)
- Complete the Installation with Finishing Touches
- Artificial Turf Infill Market: Trends & Growth Analysis 2035 (https://wiseguyreports.com/reports/artificial-turf-infill-market)
- riverregionsportsfields.com (https://riverregionsportsfields.com/why-brushing-artificial-grass-matters-and-how-often-you-should-do-it)
- themotzgroup.com (https://themotzgroup.com/infill_blog/how-to-install-artificial-turf-infill)
- onlinelibrary.wiley.com (https://onlinelibrary.wiley.com/doi/full/10.2134/itsrj2016.10.0848)