
Introduction
Creating a personal putting green at home can transform any outdoor space into a golfer’s paradise. This addition not only offers recreational enjoyment but also serves as a unique landscaping feature. This guide simplifies the installation of artificial turf into four manageable steps, allowing homeowners to navigate the process with ease.
However, establishing a flawless putting green raises important questions:
- How can one select the ideal location that balances aesthetics with functionality?
- What critical factors can influence the overall experience?
Exploring these aspects enhances not only the enjoyment of the game but also the longevity of the turf.
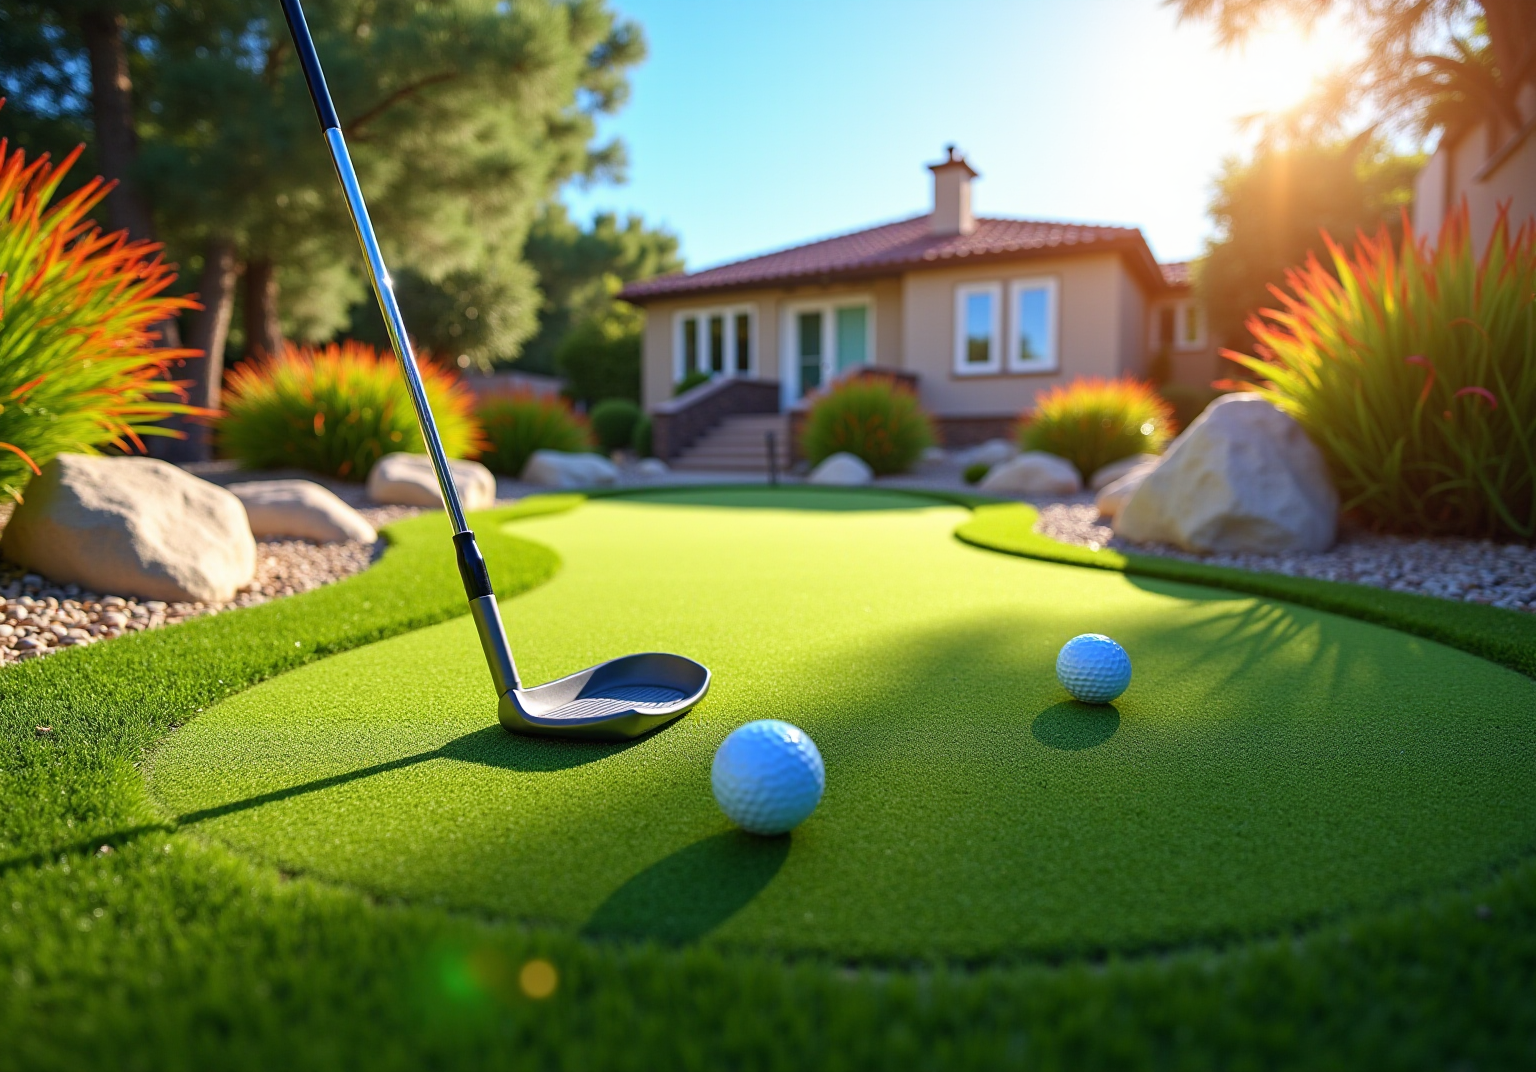
Choose the Ideal Location and Design for Your Putting Green
- Assess Sunlight and Shade: Select a location that receives ample sunlight throughout the day. It is crucial to avoid areas with excessive shade from trees or structures, as this can impede grass growth and playability. Additionally, consider the potential impact of sunlight reflection from nearby glass windows, which can damage the turf. Homeowners may want to explore options as a preventive measure.
- Evaluate Drainage: Ensure the site has proper drainage to prevent water pooling. Look for natural slopes or consider installing drainage systems if necessary. Utilizing materials such as gravel can also enhance the speed and performance of your putting green.
- Consider Space and Layout: Measure the area to determine the size of your putting green. A flat, level space is ideal, but slight slopes can be incorporated for added challenge. Design the layout to include various hole placements for versatility. As noted by satisfied clients, Brock from the company is recognized for his attention to detail and creativity, ensuring that your putting green is not only functional but also visually appealing.
- Accessibility: Ensure the area is easily reachable for maintenance and play. Avoid high-traffic zones that could damage the turf over time.
- Integration: Consider how the putting green will integrate into your overall landscape. Incorporate landscaping elements like borders or decorative stones to enhance its appearance. Clients have praised the team for their exceptional installation efforts, which can assist you in visualizing suitable locations for installation in your yard, ensuring your putting green beautifully enhances your outdoor area.

Prepare the Site for Installation
- Clear the Area: Start by removing any existing grass, weeds, and debris from the site. Using a shovel or sod cutter will help you achieve a clean surface, which is essential for a successful installation.
- Excavation: Dig down approximately 4 inches to create adequate space for the base materials. This depth is optimal for ensuring drainage and establishing a stable base for the grass.
- Raking: After excavation, use a rake to level the ground. A smooth and even surface is crucial to prevent any bumps or irregularities in the grass once installed.
- Landscape Fabric: Lay down a high-quality fabric to prevent unwanted vegetation from growing through the grass. This step is vital for maintaining the integrity and appearance of your putting green over time.
- Base Material: Fill the excavated area with 2-3 inches of gravel, compacting it to create a solid base. Proper compaction is essential for stability and should be followed by another leveling to ensure an even surface.

Install the Artificial Turf
- Roll Out the Grass: Begin by unrolling the turf over the prepared base, allowing it to acclimatize for several hours. This step is crucial to the installation process and ensure the grass conforms to the surface. Ensure that the grass is laid out in the same direction to maintain a uniform appearance.
- Cut to Fit: Use a sharp utility knife to trim the edges of the grass, ensuring a precise fit within the designated area. Careful cutting is essential to avoid gaps or overlaps that could compromise the installation’s integrity.
- Secure the Grass: Fasten the grass to the base using landscape staples or adhesive. Place staples every 6 to 12 inches along the edges and seams to prevent any shifting, ensuring a stable and secure installation.
- Install Cups: Identify the desired locations for the cups and cut holes in the grass accordingly. It is important to set the cups at the correct height, typically about ¼ inch below the surface of the grass, to ensure a seamless playing experience.
- Infill Application: If needed, apply infill materials such as sand or rubber granules to enhance the stability and performance of the surface. Distribute the infill uniformly over the surface and utilize a broom to sweep the grass, ensuring the fibers stand upright and retain their form.
At our company, we pride ourselves on delivering exceptional service and quality products. As one satisfied customer, Dick Bryant, noted, “When I needed a solution to my turf issue, Brock came out, evaluated my needs and came up with the best solution.” This level of attention to detail ensures that your putting green will not only look great but also perform excellently for years to come.

Maintain Your Putting Green for Longevity
- Regular Cleaning: It is essential to consistently remove debris such as leaves and twigs to maintain aesthetics. Utilizing a vacuum or a soft-bristled broom allows for gentle yet effective cleaning, ensuring the surface remains clear and inviting.
- Brushing: Brushing every few weeks helps keep the blades upright and maintains a natural appearance. This practice not only enhances visual appeal but also aids in evenly distributing the infill, promoting optimal performance during play.
- Rinsing: Periodically washing the grass with water is crucial for eliminating dust and dirt buildup, particularly after heavy use or during dry spells. This simple step is vital for maintaining a clean and functional surface, ensuring a smooth experience.
- Weed Control: It is important to remain vigilant for any weeds that may emerge around the borders of the grass. Prompt removal is necessary to prevent spreading, and this can effectively manage persistent growth without harming the turf.
- Inspection: Conduct thorough inspections of the turf for signs of wear or damage, addressing any issues immediately. Regularly inspecting seams and edges is essential to ensure they remain secure, which is critical for the durability and functionality of your turf. Additionally, a top-up of infill is typically needed every 2 to 3 years to maintain optimal conditions. Avoiding heavy vehicles on the turf is also crucial to prevent base damage. If moss or algae is observed, a vinegar-water solution can effectively eliminate it without harming the turf.

Conclusion
Transforming your backyard into a golfer’s paradise with an outdoor artificial putting green offers both aesthetic appeal and a dedicated space for practice. By selecting the right location, thoroughly preparing the site, correctly installing the turf, and diligently maintaining it, homeowners can ensure their putting green remains both functional and visually pleasing for years.
The essential steps for a successful installation include:
- Assessing sunlight and drainage
- Preparing the ground
- Laying the turf
A solid base, proper installation techniques, and ongoing maintenance practices – such as regular cleaning and seasonal inspections – are crucial for prolonging the life of the artificial grass. Each of these elements significantly contributes to the overall performance and enjoyment of your putting green.
Investing time and effort into these steps not only enhances the quality of your putting green but also elevates your outdoor space. Whether for personal enjoyment or entertaining guests, a well-installed and maintained putting green can become a cherished feature of your home. Seize the opportunity to create your ideal golfing retreat and enjoy the benefits of a beautiful, functional outdoor area.
Frequently Asked Questions
What factors should I consider when choosing a location for my putting green?
You should assess sunlight and shade, ensuring the area receives ample sunlight and avoiding excessive shade from trees or structures. Additionally, consider the potential impact of sunlight reflection from nearby glass windows.
Why is drainage important for a putting green?
Adequate drainage is crucial to prevent water pooling, which can affect playability. Look for natural slopes or consider installing drainage systems, and using materials like green silica sand can enhance the golf area’s performance.
How should I evaluate the space and layout for my putting green?
Measure the area to determine the size of your golf practice space. A flat, level area is ideal, but slight slopes can add challenge. Design the layout to include various hole placements for versatility.
What should I consider regarding accessibility for my putting green?
Ensure the area is easily reachable for maintenance and play, and avoid placing it in high-traffic zones that could damage the turf over time.
How can I enhance the visual appeal of my putting green?
Consider how the golf area integrates into your overall landscape design. Incorporate landscaping elements like borders or decorative stones to improve its appearance.
List of Sources
- Choose the Ideal Location and Design for Your Putting Green
- goodreads.com (https://goodreads.com/quotes/tag/landscape-architecture)
- fieldturflandscape.com (https://fieldturflandscape.com/golf-putting-green/how-to-position-your-backyard-putting-green)
- waypointconstruction.com (https://waypointconstruction.com/our-work/backyard-putting-green-case-study)
- arteverde.com (https://arteverde.com/quotes-for-landscaping)
- Prepare the Site for Installation
- eliteturfsupply.com (https://eliteturfsupply.com/blogs/preparing-ground-for-artificial-grass)
- A Step-by-Step Guide to Installing Artificial Turf Grass (https://lowes.com/n/how-to/install-artificial-grass)
- How to Accurately Quote a Synthetic Turf Installation (https://siteone.com/en/articles/hardscapes-outdoor-living/quoting-synthetic-turf-installation-projects)
- shawgrass.com (https://shawgrass.com/about/news-blog/how-to-prep-for-artificial-grass-installation)
- Install the Artificial Turf
- How To Make Your Backyard Putting Green Dream a Reality (https://usga.org/content/usga/home-page/course-care/green-section-record/62/issue-17/how-to-make-your-backyard-putting-green-dream-a-reality.html)
- theturfyard.com (https://theturfyard.com/top-trends-in-artificial-turf-for-2025-what-to-expect)
- FAQs Answered: Everything To Know About Installing a Synthetic Turf Putting Green | Synthetic Grass Warehouse (https://syntheticgrasswarehouse.com/blog/faqs-answered-everything-to-know-about-installing-a-synthetic-turf-putting-green)
- A Step-by-Step Guide to Installing Artificial Turf Grass (https://lowes.com/n/how-to/install-artificial-grass)
- DIY Putting Green Installation: A Step-by-Step Guide (https://artificialturfexpress.com/blog/installing-the-best-putting-greens-in-your-yard-the-ultimate-diy-guide)
- Maintain Your Putting Green for Longevity
- How to Clean and Maintain Putting Green Turf: A Seasonal Guide (https://backninegreens.com/blog/how-to-clean-and-maintain-putting-green-turf-seasonal-checklist)
- How To Properly Maintain An Artificial Grass Putting Green (https://wintergreengrass.com/how-to-properly-maintain-an-artificial-grass-putting-green)
- cgsmc.com (https://cgsmc.com/markets/stocks.php?article=abnewswire-2026-3-6-artificial-turf-cleaning-solutions-gain-popularity-as-property-owners-prioritize-hygiene-and-longevity)
- Artificial Putting Green Maintenance: Year-Round Care Guide (https://aglgrass.com/blogs/artificial-putting-green-maintenance)
- coastallifeturf.com (https://coastallifeturf.com/blog/how-often-does-artificial-turf-need-to-be-replaced)