
Introduction
Transforming a yard into a lush, green oasis is now more accessible than ever, thanks to the increasing popularity of artificial grass. Homeowners are increasingly seeking low-maintenance landscaping solutions, making it essential to understand the step-by-step installation process. This guide outlines the necessary tools and materials while addressing common pitfalls that may arise during installation.
What challenges might one encounter when creating a flawless synthetic lawn, and how can these be effectively overcome to achieve a beautiful, enduring result?
Gather Essential Tools and Materials for Installation
Gather Essential Tools and Materials for Installation:
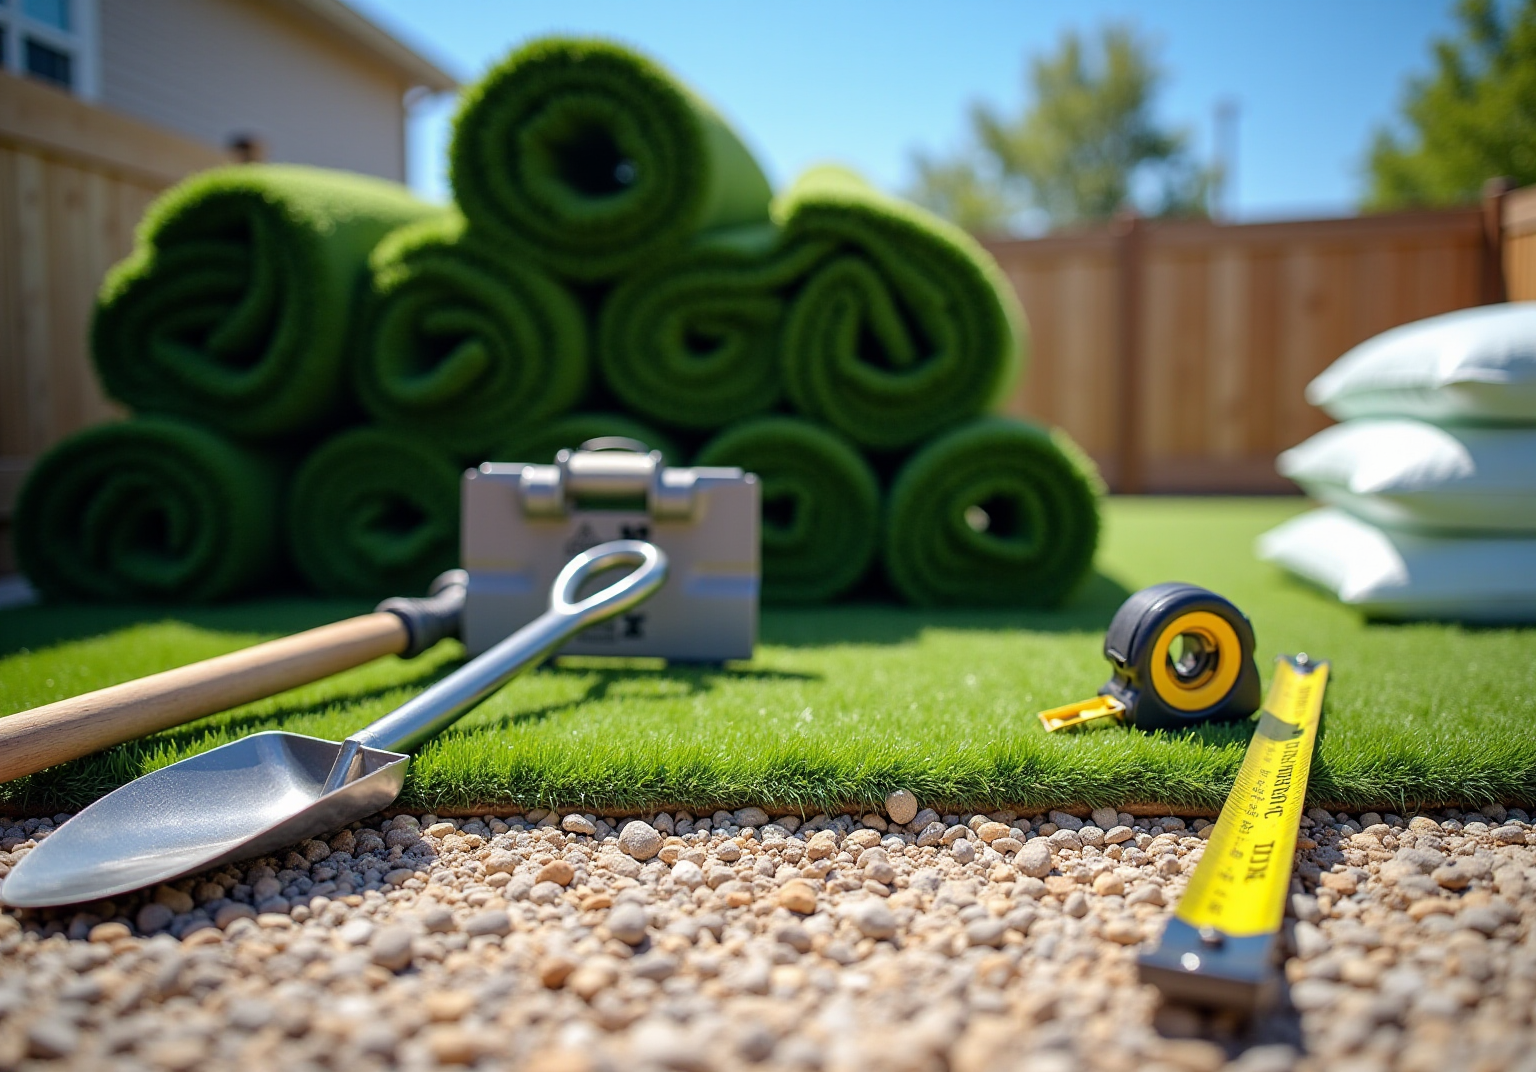
Before you begin your project, it’s crucial to gather the necessary tools and materials to ensure a smooth process and a successful outcome.
Tools:
- Shovel or Spade: This tool is essential for digging, preparing the area for installation.
- Rake: A rake is utilized for leveling the ground, ensuring a smooth surface for the grass.
- Plate Compactor or Tamper: This tool is vital for compacting the base material, providing stability for the grass.
- Utility Knife: A utility knife is necessary for accurately cutting the turf to fit the designated area.
- Turf Adhesive or Nails: These are used to secure the grass in place, preventing any movement.
- Weed Barrier Fabric: This material assists in stopping weed growth, preserving the quality of your installation.
- Measuring Tape: Accurate measurements are crucial for a precise fit, making this tool indispensable.
- Stiff Broom or Power Brush: After setup, a stiff broom or power brush is perfect for sweeping the grass, enhancing its appearance.
- Industrial Power Broom: Known for its efficiency, this tool can clean lawns quickly, making it a valuable addition to your installation toolkit.
Materials:
- Artificial Grass: Ensure you have enough coverage for the entire area.
- Base Material: This serves as the base layer, providing necessary drainage and support.
- Infill Material: Options such as silica sand or rubber granules help weigh down the grass and keep the blades upright.
- Weed Barrier Fabric: This prevents weeds from growing through the grass, ensuring longevity.
Having these tools and materials readily available will simplify your setup process for artificial grass, resulting in a successful and visually appealing outcome. In 2022, nearly 92% of installations came from residential property owners, highlighting the growing interest in synthetic solutions among homeowners seeking low-maintenance alternatives.

Prepare the Ground for Artificial Grass Installation
To prepare the ground for your installation, follow these essential steps:
- Clear the Area: Start by removing any existing vegetation, weeds, and debris from the installation site. Excavate the top 2 to 4 inches of soil with a shovel, ensuring a clean slate for your new grass.
- Level the Ground: Achieving a level surface is crucial to prevent water pooling. Fill in any low spots with soil or gravel to create a smooth and even area.
- Compact the Soil: Use a plate compactor or tamper to firmly compact the soil. This step is vital for creating a stable base that will support the artificial grass and enhance its longevity.
- Install Landscape Fabric: Lay down landscape fabric over the compacted soil to prevent weeds from growing through the grass. This barrier is essential for preserving the aesthetic appeal of your setup.
- Add Drainage Layer: Spread a layer of crushed stone or gravel, approximately 2 to 3 inches thick, over the weed barrier. This layer assists in drainage and provides a solid foundation for the grass.
- Compact Again: Finally, compact the base material to ensure it is firm and level, preparing it for the turf installation.
By following these steps, you can create a lasting and beautiful landscape by putting artificial grass, which requires minimal maintenance and allows you to enjoy your outdoor space without the inconvenience of conventional turf care.

Install and Secure the Artificial Grass
To install and secure your artificial grass effectively, follow these steps:
- Prepare the Area: Begin by removing debris, roots, mulch, and any obstacles from the surface. This step is crucial for establishing a stable foundation for the turf.
- Dig Out Soil: Excavate the existing soil to a depth of 3-4 inches. This will accommodate the base layer, weed barrier, and turf without raising the top of the turf above nearby hardscaping.
- Roll Out the Turf: Unroll the turf and lay it over the prepared area, allowing it to acclimate to the temperature for a few hours. This practice helps prevent wrinkles during installation.
- Cut to Fit: Use a utility knife to trim the edges of the grass for a precise fit. Ensure that the grass blades are oriented in the same direction to achieve a natural look.
- Secure the Turf: Use 6-inch galvanized nails to secure the turf. Place nails every 6-8 inches around the perimeter and along seams to prevent shifting, ensuring a secure setup.
- Seam the Turf: For installations involving multiple pieces, utilize seam tape and adhesive to join them. Ensure the seams are tight and properly aligned to maintain a seamless look.
- Brush the Turf: After securing, use a stiff broom or power brush to lift the grass blades against the grain and evenly distribute the infill. This step enhances both the appearance and feel of the surface, contributing to its overall aesthetic.
- Add Infill: Spread infill material, such as silica sand or crumb rubber, over the turf to weigh it down and keep the blades upright. A drop spreader can be used for even distribution, with a recommended depth of approximately 1/2 to 3/4 inch to ensure optimal performance.
By following these steps, you can achieve a lawn that enhances your outdoor space while providing a durable, low-maintenance solution. Additionally, regular upkeep, such as rinsing off dog urine and debris, is essential to keep your grass looking fresh and clean. With Hall Turf’s expertise, as experienced by satisfied customers like Dick Bryant and Scott Sachse, you can trust that your project will be handled with professionalism and care.

Finalize Installation and Maintain Your Artificial Grass
After installing your artificial grass, it is crucial to follow these essential steps and maintenance tips to ensure its longevity and performance:
- Inspect the Installation: Begin by walking around the area to check for any loose edges or seams. Make necessary adjustments to ensure everything is secured correctly to uphold the integrity of the setup. Consulting a knowledgeable expert, such as Brock from Hall Grass, can lead to optimal solutions for your installation.
- Water the Lawn: Lightly spray the surface with water to enhance the appearance and assist the blades of grass in standing upright. This enhances the overall appearance and functionality of your yard.
- Maintain the Lawn by regularly removing debris like leaves and twigs to prevent moisture trapping and mold growth. Occasionally rinse the surface to wash away dust and dirt that can accumulate over time. Brush the grass blades to keep them upright and prevent matting, ensuring a natural look. For pet areas, promptly clean up waste and rinse the area with water to manage odors and maintain cleanliness.
- Annual Check-Up: Schedule an annual check-up. Addressing issues quickly can significantly prolong the lifespan of your setup, as neglected grass may decline more rapidly. Professional maintenance, costing between $400 and $800, can help preserve the grass’s appearance and longevity.
- Enjoy Your Lawn: By following these maintenance tips, you will have a beautiful lawn for years to come. Homeowners can expect their turf to last between 15 to 20 years with basic professional maintenance, making it a worthwhile investment for any property. Following a smart maintenance plan can save homeowners over $1,500 annually while requiring less than 2 hours of upkeep per year. Collaborating with a maintenance service ensures a seamless experience from installation to ongoing maintenance.

Conclusion
In conclusion, successfully installing artificial grass requires a thorough understanding of the entire process, from preparation to maintenance. This guide has highlighted the essential steps homeowners should follow to create a beautiful and durable lawn. By gathering the appropriate tools and materials, meticulously preparing the ground, and adhering to a structured installation process, homeowners can transform their outdoor spaces into low-maintenance havens.
A key point discussed is the significance of proper ground preparation, which ensures the stability and longevity of the artificial turf. Each step, from leveling the ground to securing the grass and incorporating infill, is crucial for achieving a professional finish. Furthermore, ongoing maintenance practices are emphasized, underscoring the necessity for regular inspections, cleaning, and care to extend the life of the installation.
Ultimately, investing in artificial grass not only enhances the aesthetic appeal of a property but also offers a practical solution for homeowners seeking a hassle-free lawn. By adhering to these guidelines and maintaining the turf appropriately, homeowners can enjoy a vibrant, green space for years to come, making it a valuable addition to their landscaping. Embrace the advantages of artificial grass and take the first step toward a stunning, low-maintenance lawn today.
Frequently Asked Questions
What tools are needed for artificial grass installation?
The essential tools for artificial grass installation include a shovel or spade, rake, plate compactor or tamper, utility knife, turf adhesive or nails, landscape fabric, measuring tape, stiff broom or power brush, and an industrial power broom.
What is the purpose of a shovel or spade in the installation process?
A shovel or spade is used for removing existing grass and soil, preparing the area for the installation of artificial grass.
Why is a rake important for installing artificial grass?
A rake is utilized for leveling the ground, ensuring a smooth surface for the grass installation.
What role does a plate compactor or tamper play in the installation?
A plate compactor or tamper is vital for compacting the base material, providing stability for the artificial grass.
How does a utility knife assist in the installation?
A utility knife is necessary for accurately cutting the turf to fit the designated area.
What materials are required for installing artificial grass?
The required materials include artificial grass rolls, crushed stone or gravel, infill material (such as silica sand or rubber granules), and weed barrier fabric.
What is the function of infill material in artificial grass installation?
Infill material helps weigh down the grass and keeps the blades upright, contributing to the overall appearance and durability of the installation.
Why is landscape fabric used in artificial grass installation?
Landscape fabric is used to stop weed growth, preserving the quality and longevity of the artificial grass installation.
What is the significance of having the right tools and materials before starting the installation?
Having the right tools and materials readily available simplifies the setup process, resulting in a successful and visually appealing outcome for the artificial grass installation.
List of Sources
- Gather Essential Tools and Materials for Installation
- 5 Tools That Contractors Installing Artificial Grass Should Use | Purchase Green Artificial Grass (https://purchasegreen.com/blog/crucial-tools-contractors-installing-artificial-grass-should-use)
- Don’t Start Your Artificial Turf Installation Without These Important Install Tools – SGW Las Vegas (https://sgwnevada.com/las-vegas/blog/2023/07/31/dont-start-your-artificial-turf-installation-without-these-important-install-tools)
- How To Install Artificial Grass | SGW (https://sgwflorida.com/miami/resources/installing-artificial-grass/step-by-step-guide-to-installing-artificial-grass)
- Artificial Turf Material Supply List For Any Installation (https://turfkingz.com/resources/artificial-turf-material-supply-list)
- Artificial Grass, Market Trends, Business Insights, and Analysis (https://installartificial.com/how/artificial-grass-business-insights-market-trends)
- Prepare the Ground for Artificial Grass Installation
- A Step-by-Step Guide to Installing Artificial Turf Grass (https://lowes.com/n/how-to/install-artificial-grass)
- Step-by-Step Guide to Installing Artificial Grass in California’s Diverse Climate (https://agsturf.com/artificial-turf-news/Step-by-Step-Guide-to-Installing-Artificial-Grass-in-California-s-Diverse-Climate-0108.html)
- flagles.com (https://flagles.com/case/transforming-landscapes-a-case-study-on-artificial-turf.html)
- Install and Secure the Artificial Grass
- Artificial Turf Market Size to Surpass USD 16.51 Billion by 2035 Driven by Sports Infrastructure and Sustainable Landscaping Growth (https://finance.yahoo.com/news/artificial-turf-market-size-surpass-072300759.html)
- progreen.com (https://progreen.com/how-to-install-artificial-grass)
- A Step-by-Step Guide to Installing Artificial Turf Grass (https://lowes.com/n/how-to/install-artificial-grass)
- How to Install Artificial Turf on Dirt | US Turf (https://usturfsandiego.com/news/how-to-install-artificial-turf-on-dirt)
- 4 Ways to Anchor Artificial Grass to the Ground (https://blog.artificialgrassrecyclers.com/how-to-anchor-artificial-grass)
- Finalize Installation and Maintain Your Artificial Grass
- Complete Artificial Turf Cleaning & Maintenance Guide 2026 • Turf Monsters AZ (https://turfmonstersaz.com/complete-artificial-turf-cleaning-maintenance-guide-2026)
- How Long Does Artificial Turf Last | Synthetic Turf International Blog (https://synthetic-turf.com/artificial-grass-durability-how-long-does-turf-last)
- How to Maintain Your Artificial Grass All Year Round (https://synlawn.com/articles/how-to-maintain-artificial-grass)
- Artificial Turf Lifespan & Maintenance Tips for Dallas – Fort Worth (https://wintergreengrass.com/artificial-turf-lifespan)
- gardenista.com (https://gardenista.com/posts/case-study-7-gardens-with-artificial-grass)