
Introduction
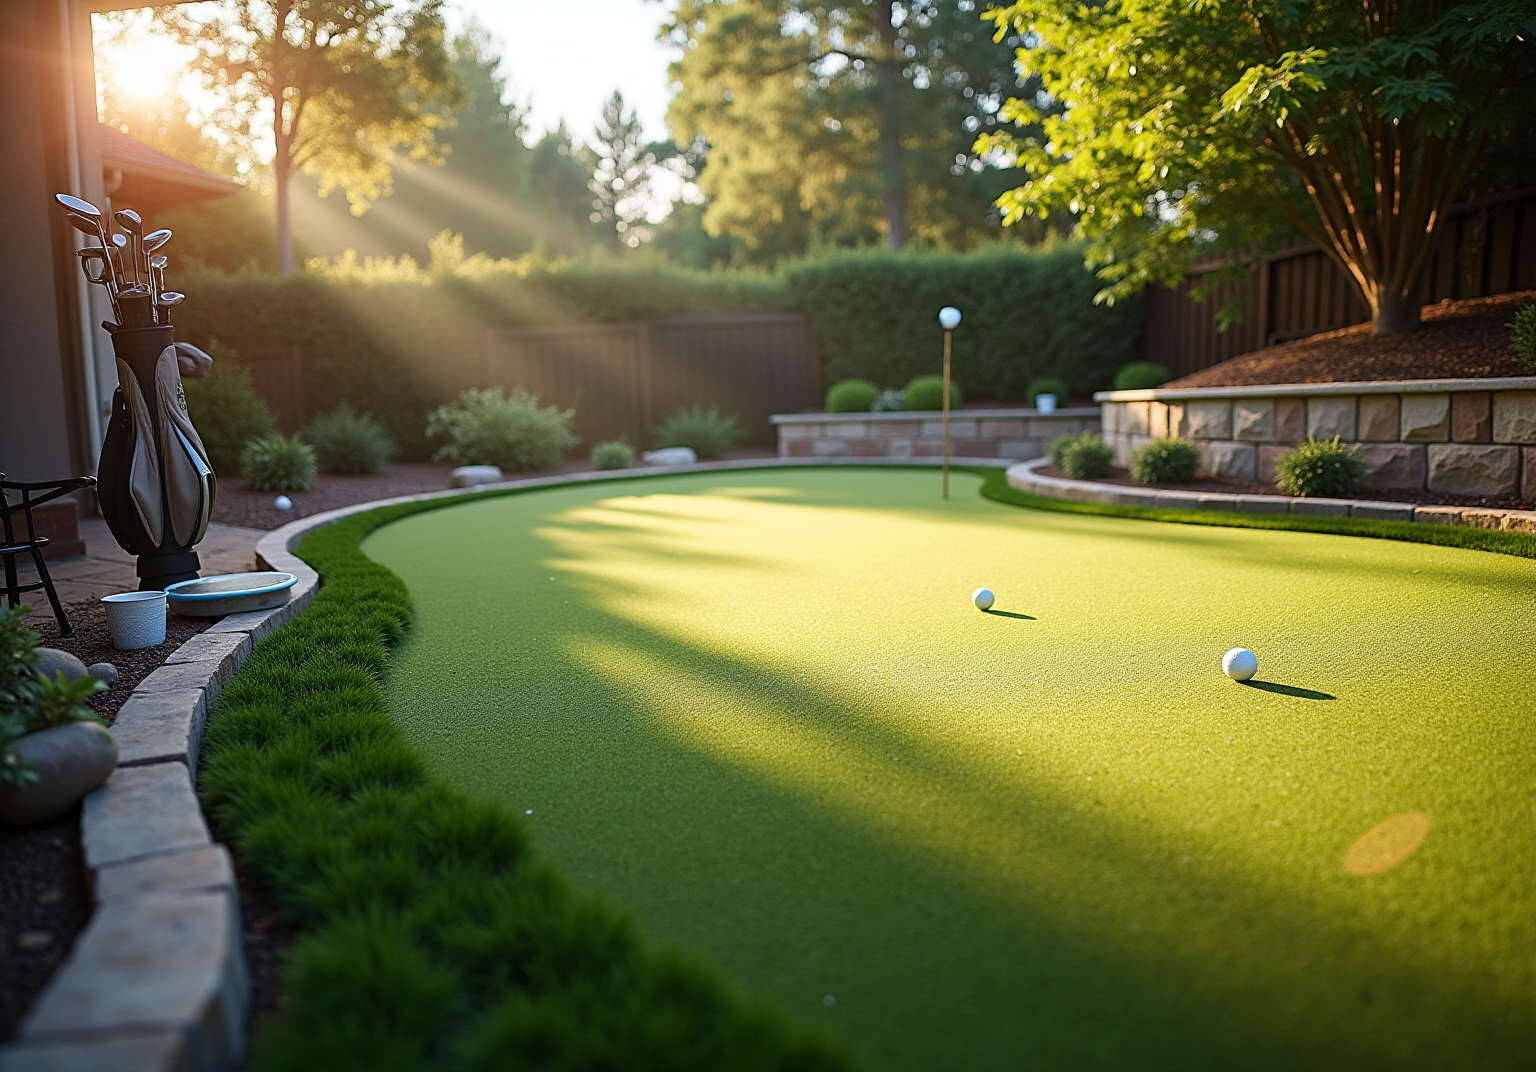
Transforming a backyard into a golfer’s paradise hinges on selecting the perfect spot for an outdoor turf putting green. However, the installation process demands careful consideration and planning. This guide outlines essential steps to ensure a successful setup, from choosing the ideal location to securing the final touches on the green. Homeowners must navigate various factors, such as:
- Sunlight
- Drainage
- Materials
to create a flawless putting surface.
Select the Ideal Location for Your Putting Green
- Assess Sunlight Exposure: Select a location that receives ample sunlight throughout the day. Morning sun is particularly beneficial as it helps dry dew and keeps the grass healthy. Clients like Dick Bryant have found that this improves the durability and appearance of their putting greens, stating, “the recommendation was perfect!”
- Evaluate Drainage: It is crucial to ensure the area has proper drainage to prevent water pooling, which can harm the turf. Avoid low spots where water tends to gather. Scott Sachse noted that the installation included a drainage system, ensuring a lasting and functional lawn. He emphasized that the team was ‘beyond professional, polite, and courteous.’
- Consider Proximity to Trees and Structures: Position the green away from trees to reduce leaf litter and shade. Additionally, ensure it is not too close to structures that could obstruct play. Les Boatright valued the expert advice in placement, stating, “I am extremely happy with the end product and Brock’s ability to get the job done, on time and on budget.”
- Check for Level Ground: Ideally, choose a flat area to facilitate drainage and ease of setup. Avoid steep slopes that could complicate the construction. Hall Turf’s team is recognized for their expertise in assessing ground conditions to ensure stability.
- Plan for Space: Ensure there is sufficient room for vegetation and any additional features, such as chipping areas or landscaping. A minimum width of 10 feet is recommended for a comfortable playing experience. Brock’s innovative solutions have assisted many homeowners in effectively maximizing their space.

Gather Essential Tools and Materials for Installation
Collecting the appropriate tools and materials is essential for successfully setting up your outdoor putting green. Here’s what you’ll need:
- Shovel: This tool is important, allowing for proper ground preparation.
- Rake: Employed to flatten the ground and uniformly distribute materials, it ensures a smooth surface for setup.
- Plate Compactor: Vital for compacting the base material, this tool provides stability and prevents future settling.
- Utility Knife: Essential for slicing grass and other materials to fit the designated area precisely.
- Tape Measure: Important for ensuring precise measurements of the installation area; it is recommended to add 12 to 24 inches for trimming.
- Landscape Fabric: This material assists in inhibiting weed development beneath the grass, preserving a tidy and appealing surface.
Materials Required:
- Crushed Stone or Gravel: Serves as the base layer for the turf.
- Artificial Turf: Choose to guarantee optimal performance and durability. Hall offers exceptional products that enhance your golfing experience at home, as noted by satisfied customers.
- Infill Material: Options like silica sand or rubber granules enhance the surface’s performance, providing stability and cushioning.
- Seaming Tape: Crucial for fastening seams between grass sections, this material ensures a seamless appearance.
- Putting Cups: These enhance the putting experience, incorporating functionality and enjoyment into your setup.
- Dump Trailer: Recommended for disposing of existing lawn and soil according to local regulations.
- Grass Nails (40-D 5 inch non-galvanized): Essential for fastening the grass to the base, ensuring it remains stable.
With Hall Turf’s products, as noted by clients such as Dick Bryant and Scott Sachse, you can ensure that your setup process for an outdoor turf putting green is seamless and effective, leading to a beautiful and functional surface for your home.

Prepare the Site: Measurement and Ground Leveling
- Measure the Area: Start by using a tape measure to outline the dimensions of your putting green. Mark the corners with stakes and string to visualize the layout accurately, ensuring the area is appropriately sized for your intended design.
- Clear the Area: Remove any existing grass, plants, or debris from the marked area. This may require tools such as a shovel or sod cutter, particularly for larger patches. Prepare the ground for the installation.
- Excavate the Site: Dig down approximately 3-5 inches to establish a base layer. This depth is crucial for ensuring proper drainage and creating a stable base that will support the grass over time. It’s important to maintain a slight slope of 1-2% to facilitate water runoff from the putting surface.
- Level the Ground: After excavation, use a rake to level the ground, ensuring it is as flat as possible. Employing a level can help identify any high or low spots, which is vital for achieving a smooth putting surface.
- Compact the Base: Utilize a plate compactor to thoroughly compact the base layer. This step is essential for establishing a solid foundation that will support the surface and prevent settling, ensuring the longevity of your putting area. A well-compacted base layer, typically around 3-4 inches thick, is crucial for durability and stability. Additionally, secure the edges of the turf with landscape staples or nails every 6-8 inches to maintain stability and appearance.
When you choose Hall Turf, you can expect outstanding service. Customers like Dick Bryant and Scott Sachse have praised Brock for his professionalism and attention to detail, ensuring that your project is completed on time and to your satisfaction. With Hall Turf, you can trust that your putting green will not only look great but will also be built to last.

Install the Artificial Turf: Step-by-Step Instructions
- Lay the Base Material: Start by evenly spreading a layer of crushed stone or gravel across the prepared area, targeting a thickness of 2 to 4 inches. This foundational layer is crucial for drainage, preventing water accumulation that could damage the grass over time. Additionally, place a barrier across the area to inhibit weed growth beneath the grass. Hall Grass, known for its expertise in Kansas City, emphasizes this step to ensure a successful installation.
- Compact the Base: Use a plate compactor to compact the base material. Achieving at least 80% compaction is essential to avoid future settling, which can result in uneven surfaces and costly repairs. Prior to compacting, allow any soaked areas to dry thoroughly to ensure proper compaction. Adequate compaction provides a solid base that supports the grass’s durability, a principle highlighted by experts in the field.
- Roll Out the Grass: Carefully unroll the synthetic grass over the compacted base, ensuring it fits the designated area without excessive overlap. Allow the grass to acclimate to the surrounding temperature for several hours, which helps minimize wrinkles and ensures a more seamless installation. Customers have praised Hall for their meticulous installation process, contributing to a flawless finish.
- Trim the Grass: Using a sharp utility knife, trim the edges of the grass to fit the area precisely. Ensure your cuts are straight and clean to create a professional edge, enhancing the overall aesthetic of your putting green. When cutting around obstacles, make precise relief cuts to achieve a professional finish. Brock’s attention to detail during this step has been noted by many satisfied customers.
- Secure the Grass: Finally, fasten the edges and seams of the grass using adhesive or seaming tape. For added stability, drive non-galvanized nails into the perimeter every 3 to 6 inches. Ensure perfect alignment of grass edges during the seaming process to achieve a seamless look. This step is vital for maintaining the grass’s position and durability over time, a practice that has earned significant acclaim from homeowners for their reliable setups.

Secure and Finish Your Putting Green for Optimal Performance
- Install: Begin by excavating holes for the lights at your chosen locations, ensuring they are set ¼ inch below the grass surface for optimal playability. Brock’s expertise is evident in the meticulous handling of every detail, resulting in a superior installation experience as noted by satisfied customers.
- Fill with Infill Material: Distribute the infill material evenly across the grass surface. This essential step not only weighs down the turf but also significantly enhances its performance by providing stability and cushioning. Infill is crucial for cushioning and shock absorption, protecting players from serious injuries. Customers have commended Hall for their attention to detail, ensuring the infill is applied correctly for maximum effectiveness.
- Brush the Grass: Use a stiff broom to brush the grass fibers upright. This action improves both the appearance and playability of the area, ensuring a smooth surface for putting. The maintenance of artificial grass fibers, preventing issues such as breaking, fraying, or matting down, which are vital for a high-quality playing surface. As one customer remarked, Brock’s team excels at ensuring the turf looks and performs at its best.
- Inspect the Area: Conduct a thorough walk-around of the space to identify any loose edges or areas needing additional securing. Make necessary adjustments to ensure everything is firmly in place. Without proper infill, increased friction and wear can lead to damage, compromising the quality of play. Customers have highlighted Brock’s commitment to quality, ensuring that every installation meets high standards.
- Enjoy Your New Putting Green: With all components secure, your putting green is ready for use. Gather friends and family to enjoy this exciting addition to your backyard! Remember, maintenance can significantly impact the performance and satisfaction of your putting green. Many homeowners have expressed their delight in the transformation of their spaces, thanks to Brock.

Conclusion
Selecting the right location and adhering to a structured installation process are crucial for creating a successful outdoor turf putting green. By thoroughly assessing factors such as sunlight exposure, drainage, and ground leveling, homeowners can ensure that their putting greens not only look appealing but also provide an enjoyable and functional playing experience. Each step, from gathering essential tools to securing the turf, is vital in achieving a high-quality result.
Key insights emphasize the significance of preparation and attention to detail. A proper site assessment, which includes measuring the area and evaluating drainage, lays the groundwork for a durable installation. Utilizing the appropriate tools and materials, such as premium synthetic grass and infill, further enhances the performance of the putting green. The culmination of these efforts results in a space that can be enjoyed for years to come.
Ultimately, investing time and care into the installation of an outdoor putting green yields significant rewards. With the right approach, homeowners can transform their outdoor spaces into personal golfing paradises, fostering both leisure and skill development. Seize the opportunity to create a stunning putting green that not only elevates your backyard but also enhances your golfing experience.
Frequently Asked Questions
What factors should I consider when selecting a location for my putting green?
You should assess sunlight exposure, evaluate drainage, consider proximity to trees and structures, check for level ground, and plan for adequate space.
Why is sunlight exposure important for a putting green?
Ample sunlight helps dry dew and keeps the grass healthy, improving the durability and appearance of the putting surface.
How does drainage affect the installation of a putting green?
Effective drainage is crucial to prevent water pooling, which can harm the turf. It’s best to avoid low spots where water tends to gather.
What should I keep in mind regarding trees and structures when placing my putting green?
Position the green away from trees to minimize leaf litter and shade, and ensure it is not too close to structures that could obstruct your swing.
What type of ground is ideal for a putting green?
A flat area or one with a gentle slope is ideal for facilitating drainage and ease of setup. Avoid steep slopes that could complicate construction.
How much space should I plan for my putting green?
Ensure there is a minimum width of 10 feet for a comfortable playing experience, along with room for any additional features like chipping areas or landscaping.
What tools do I need for installing a putting green?
Essential tools include a shovel, rake, plate compactor, utility knife, tape measure, and landscape fabric.
What materials are required for setting up a putting green?
Required materials include crushed stone or gravel for the base, synthetic grass, infill material, grass adhesive or seaming tape, cups and flags for putting, a dump trailer for disposal, and grass nails.
How can I ensure a successful setup for my outdoor putting green?
Consider seeking expert assistance, like that from Hall Turf, to ensure a seamless and effective setup process, leading to a beautiful and functional surface.
List of Sources
- Select the Ideal Location for Your Putting Green
- synlawn.com (https://synlawn.com/articles/does-artificial-turf-drain-well)
- artificialturfsupply.com (https://artificialturfsupply.com/artificial-grass-drainage)
- waypointconstruction.com (https://waypointconstruction.com/our-work/backyard-putting-green-case-study)
- The Importance of Drainage Systems for a Lush and Vibrant Artificial Grass | Smart Turf® Artificial Grass (https://smartturf.com/drainage-artificial-grass)
- Gather Essential Tools and Materials for Installation
- artificialgrassliquidators.com (https://artificialgrassliquidators.com/artificial-turf-installation-tools)
- DIY Guide: Essential Tools for Installing (https://blog.artificialgrassrecyclers.com/diy-guide-tools-you-need-to-install-your-own-artificial-turf)
- marketsandmarkets.com (https://marketsandmarkets.com/Market-Reports/artificial-turf-market-121486580.html)
- turftekusa.com (https://turftekusa.com/blog/the-essential-residential-artificial-turf-installation-guide)
- arizton.com (https://arizton.com/market-reports/artificial-turf-market)
- Prepare the Site: Measurement and Ground Leveling
- 5 Backyard Putting Green Installation Mistakes & How to Fix Them (https://aglgrass.com/blogs/backyard-putting-green-mistakes)
- ccgrass.com (https://ccgrass.com/best-sub-base-for-artificial-grass)
- The Importance of Professional Installation for Artificial Turf – H2I Group (https://h2igroup.com/blogs/the-importance-of-professional-installation-for-artificial-turf)
- calgary.thesyntheticturfco.ca (https://calgary.thesyntheticturfco.ca/blog/expert-tips-for-a-smooth-artificial-turf-installation)
- Guide to Building Your First Artificial Turf Field (https://fieldturf.com/en/articles/detail/buying-guide-first-artificial-turf-field)
- Install the Artificial Turf: Step-by-Step Instructions
- pbhbuilders.com (https://pbhbuilders.com/blog/artificial-turf-installation-guide-2025)
- hannahoutdoordesigns.com (https://hannahoutdoordesigns.com/post/why-compaction-is-critical-when-installing-artificial-turf)
- lowes.com (https://lowes.com/n/how-to/install-artificial-grass)
- syntheticgrasswarehouse.com (https://syntheticgrasswarehouse.com/company/ask-an-expert/ask-jw/the-importance-of-compaction)
- theturfyard.com (https://theturfyard.com/top-trends-in-artificial-turf-for-2025-what-to-expect)
- Secure and Finish Your Putting Green for Optimal Performance
- What is Artificial Grass Infill and Why Do You Need It? (https://themotzgroup.com/sport_blog/what-is-artificial-grass-infill-and-why-do-you-need-it)
- alloutdoors-sc.com (https://alloutdoors-sc.com/the-essential-role-of-infill-in-artificial-grass-systems)
- artificialgrassliquidators.com (https://artificialgrassliquidators.com/sand-infill-for-artificial-grass)
- 10 Benefits of Synthetic Turf Infill for Your Home – Hall Turf | Artificial Turf Installation Kansas City KS & MO (https://hallturf.com/10-benefits-of-synthetic-turf-infill-for-your-home)
- petgrows.com (https://petgrows.com/blogs/news/artificial-turf-infill-101-what-you-need-to-know-before-you-buy)