
Introduction
Creating a backyard putting green is an exciting venture that merges a passion for golf with the allure of outdoor living. This guide provides homeowners with a detailed overview of the installation process, covering essential aspects such as:
- Selecting the ideal location
- Choosing the right materials
- Achieving a polished finish
Given the myriad of options and potential challenges, how can one ensure a successful installation that fulfills both aesthetic appeal and functional requirements?
Plan and Prepare for Installation
- Identify a flat area in your yard that receives ample sunlight and is free from overhanging trees. Ensure the area is adequately large to fit the putting green you envision, typically around 25 square meters for a functional setup. Hall’s skilled team can help assess your area to guarantee ideal positioning for your new golf practice area.
- Prepare essential tools such as a shovel, rake, level, compactor, and sod cutter. Having these tools on hand will streamline the installation process and help avoid delays. If you’re unsure about the tools needed, Hall’s team can provide guidance based on your specific project requirements.
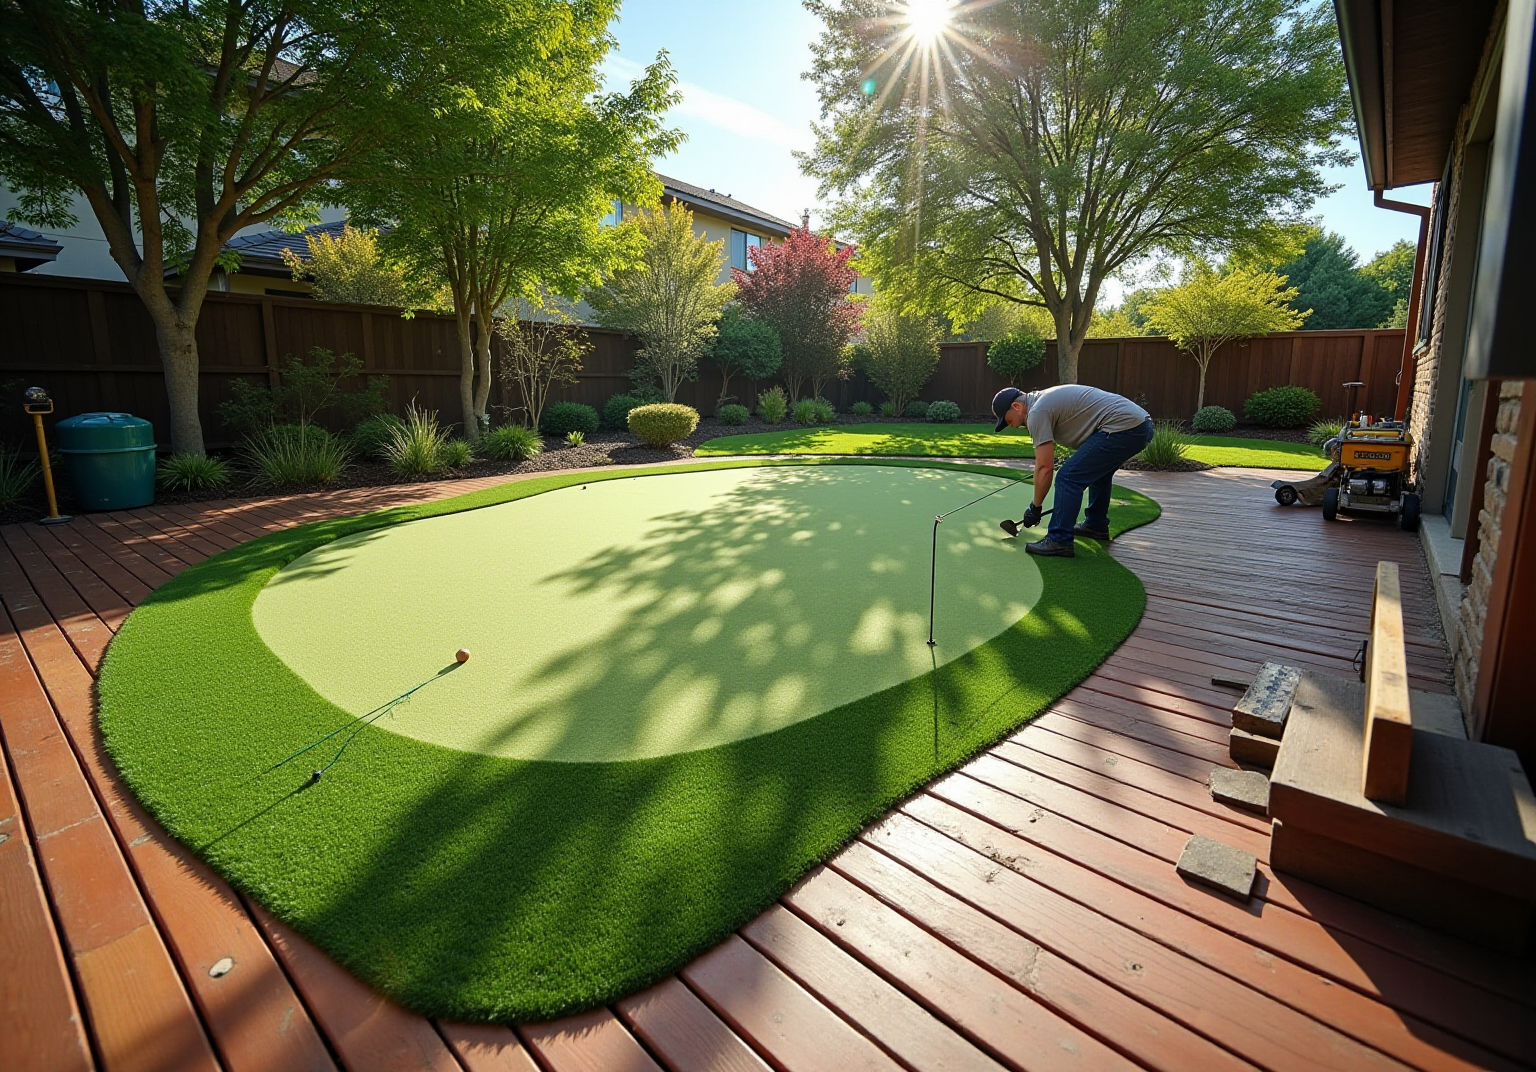
- Use stakes and string to outline the shape of your putting green. This visual aid will help in precisely cutting the grass and ensuring the layout meets your expectations. Hall’s experts can assist you with accurate measurements to attain the best outcomes.
- Remove any existing grass, plants, or debris from the marked area. This step is crucial for a clean installation and prevents future growth that could disrupt the turf. The Hall Grounds team is recognized for their thoroughness in preparing the site, ensuring a smooth installation process.
- Assess the area for proper drainage to avoid water pooling on the surface. If needed, apply drainage measures like sloping the terrain or fitting drainage pipes to guarantee durability and functionality of your putting green. Brock and the team are skilled in evaluating drainage requirements to ensure your golf surface stays in optimal condition.
- In 2026, the typical cost for materials to set up a backyard putting green is approximately $3,500 for a 70 square meter space. This investment not only enhances your property but also provides a convenient space for practice and family fun.
- Consulting with professionals: Consulting with professionals, such as landscape architects or certified installers, can provide valuable insights into preparing your yard for artificial grass installation. Their expertise can help you navigate the specifics of your project, ensuring a successful outcome.

Select the Best Turf and Materials
Selecting the appropriate grass type is crucial for achieving a high-quality putting green, making it ideal for frequent use. Research shows that nylon can withstand extreme conditions better than polyethylene, ensuring a longer lifespan and consistent performance. For instance, nylon grass can last up to 15 years, while polyethylene typically endures about 7 to 10 years, making nylon the superior choice for serious golfers. Clients like Dick Bryant have found that Hall’s recommendations, guided by Brock’s expertise, lead to optimal solutions for their grass needs, underscoring the importance of professional guidance in selecting the right materials.
Evaluating infill options is another vital step. The choice of infill material significantly influences the performance of your putting green. Silica sand is a popular choice due to its weight and stability, providing a solid foundation that enhances ball roll. Alternatively, rubber infill can offer a softer landing for golf balls, reducing bounce and improving playability. Grass experts recommend using high-quality infill. Scott Sachse’s experience with Hall Turf, particularly Brock’s professionalism and expertise, highlights the value of proper infill selection.
To complete your installation, invest in accessories such as placement cups, flags, and seam tape. These components are critical for achieving a functional putting green but also contribute to the overall performance of the green. According to surface specialists, using high-quality seam tape can prevent seams from separating, which is vital for maintaining the integrity of your putting surface. Les Boatright’s satisfaction with Hall Turf’s attention to detail and Brock’s commitment to quality further emphasizes the importance of investing in the right accessories.
Lastly, it is essential to select grass that is durable. This consideration will help maintain the landscape’s appearance and functionality over time. Nylon turf, for example, is engineered to resist fading and wear, ensuring that your putting green remains vibrant and playable, regardless of weather challenges. Additionally, advanced cooling technologies in some nylon turfs can help lower surface temperatures, enhancing comfort during hot weather. With quality materials, homeowners can feel assured in their choice of materials and installation methods.

Install the Putting Green Turf
- Prepare the Base: Start by clearing the area of any existing grass, plants, or debris. Use a compactor to create a solid base and ensure proper drainage. This step lays the groundwork for a successful installation under various weather conditions. As Dick Bryant noted, when he faced a challenge, Brock evaluated his needs and provided the ideal solution, leading to an excellent recommendation.
- Lay Down a Weed Barrier: Next, install a weed barrier fabric over the compacted base. This vital layer prevents unwanted growth beneath the surface, which can compromise both the integrity and appearance of your putting green. Landscape experts emphasize that a weed barrier is essential for maintaining the durability of installations like artificial grass.
- Deploy the Grass: Carefully unroll the grass over the prepared area, ensuring it fits the marked dimensions. Allow the grass to acclimate to the temperature for a few hours before cutting, as this helps prevent shrinkage and ensures a better fit. Scott Sachse expressed his satisfaction with the installation process, commending Brock’s professionalism and the crew’s courteousness.
- Trim the Grass: Using a utility knife, cut the grass to fit around any obstacles or edges. Ensure you leave enough material to secure the edges properly, as this will help prevent lifting and ensure a seamless appearance.
- Secure the Turf: If necessary, use seam tape and adhesive to join pieces of turf. Make sure that the seams are tight and secure to prevent lifting or separation over time, which can detract from the overall appearance and functionality of your green.
- Install Holes for Cups: Cut holes for cups and place them in the designated spots. Ensure they are level with the surface of the grass for a seamless appearance, allowing for a smooth golfing experience. This attention to detail enhances both the aesthetic appeal and playability of your putting green. Les Boatright praised Brock for his expertise and commitment to completing the job on time and within budget.
At Hall Grass, we take pride in offering expert services tailored to your needs. Our team, led by professionals like Brock, is dedicated to ensuring that your installation process is smooth and meets your expectations. With a focus on quality and client satisfaction, we guarantee a putting green that is both attractive in appearance and exceptional in function.

Apply Finishing Touches and Maintenance Tips
- Brush the Grass: Use a stiff-bristled broom to brush the grass fibers upright. This practice enhances the visual appeal and optimizes the performance of the surface, ensuring a beautiful finish. Satisfied customers, like Dick Bryant, have noted that proper maintenance can lead to exceptional results.
- Regular Cleaning: Schedule regular cleaning to keep the surface clean. A leaf blower can significantly speed up this process, ensuring your turf remains free from obstructions that could affect play. Scott Sachse emphasized the professionalism of the Hall Turf crew, highlighting the importance of maintaining a clean environment.
- Check for Infill Levels: Regularly assess the infill levels within the grass. Proper infill is essential, as it supports the grass fibers and contributes to a consistent playing surface. Les Boatright pointed out the significance of thoroughness in project execution, which is equally important for the upkeep of your golf area.
- Inspect for Damage: Conduct routine inspections of the turf for any signs of wear or damage. Addressing issues promptly can prevent further deterioration and costly repairs, ensuring your putting surface remains in top condition. Brock’s commitment to quality service ensures that any concerns are addressed swiftly.
- Seasonal Maintenance: Tailor your maintenance tasks to the seasons. In spring, perform a thorough cleaning and rinse the foliage to eliminate winter dust and pollen. In summer, increase the rinsing frequency to remove dust and pollen, while in fall, promptly clear leaves to prevent moisture retention and mold growth. Winter maintenance should focus on snow removal, preventing heavy snow accumulation, and using a plastic shovel or push broom for snow clearance, ensuring it remains playable year-round. The seasonal approach, as demonstrated by Brock and his team, guarantees that your turf will be well-maintained throughout the year.

Conclusion
Installing an artificial putting green can significantly enhance your outdoor space, transforming it into a golfer’s paradise where you can practice and enjoy the game right in your backyard. By adopting a structured approach-from selecting the ideal location to ensuring proper maintenance-homeowners can achieve a professional-quality green that not only elevates their property but also offers endless recreational opportunities.
Key steps in this process include careful planning and preparation. This involves:
- Choosing an optimal site
- Gathering the necessary tools
- Consulting with professionals for expert guidance
Selecting high-quality materials, particularly durable nylon turf and appropriate infill, is essential for ensuring longevity and performance. The installation process itself demands attention to detail, from laying down a solid base to securing the turf and ensuring proper drainage. Finally, maintaining your putting green through regular cleaning and seasonal care will keep it in top condition for years to come.
Ultimately, investing time and effort into the installation and maintenance of an artificial putting green not only enhances your home’s aesthetic appeal but also enriches your golfing experience. Embrace the opportunity to create a personal oasis for practice and leisure, and consider reaching out to professionals like Hall Turf for tailored advice and support. The journey to a perfect putting green begins with informed choices and meticulous execution, ensuring a rewarding outcome for any golf enthusiast.
Frequently Asked Questions
What should I consider when choosing a location for my golf practice area?
Choose a flat area in your yard that receives ample sunlight and is free from overhanging trees. The area should be large enough, typically around 25 square meters, to fit the golf area you envision.
What tools do I need for the installation of a backyard golf area?
Essential tools include a shovel, rake, level, compactor, and sod cutter. Having these tools ready will streamline the installation process.
How can I measure and mark the area for my putting green?
Use stakes and string to outline the dimensions of your putting green. This will help in accurately cutting the grass and ensuring the layout meets your expectations.
What steps should I take to clear the area before installation?
Remove any existing grass, plants, or debris from the marked area to ensure a clean installation and prevent future growth that could disrupt the turf.
Why is it important to check for drainage before installation?
Proper drainage is crucial to avoid water pooling on the surface. If needed, you can apply measures like sloping the terrain or fitting drainage pipes to maintain the durability and functionality of your golf area.
What are the average expenses for setting up a backyard golf area?
In 2026, the typical cost for materials to set up a backyard golf area is approximately $3,500 for a 70 square meter space.
Should I consult with professionals before starting my installation?
Yes, consulting with professionals such as landscape architects or certified installers can provide valuable insights and help ensure a successful outcome for your project.
List of Sources
- Plan and Prepare for Installation
- shawgrass.com (https://shawgrass.com/about/news-blog/how-to-prep-for-artificial-grass-installation)
- usturfsandiego.com (https://usturfsandiego.com/news/golfers-choose-putting-green-turf)
- kaizengolf.com.au (https://kaizengolf.com.au/blogs/news/how-i-built-my-own-diy-backyard-putting-green)
- How to Build a Putting Green in Your Backyard: 5 Tips – Motz (https://themotzgroup.com/infill_blog/tips-for-installing-a-putting-green-in-a-backyard)
- northeastsyntheticturf.com (https://northeastsyntheticturf.com/how-to-choose-the-right-location-for-your-putting-green)
- Select the Best Turf and Materials
- The Best Putting Green Turf: Buyer’s Guide (https://synlawn.com/articles/best-putting-green-turf-buyers-guide)
- octurfandputtinggreens.com (https://octurfandputtinggreens.com/choosing-the-right-synthetic-grass-for-your-turf-putting-green-tips-from-the-experts)
- installartificial.com (https://installartificial.com/how/best-artificial-putting-green-grass-poly-vs-nylon-and-slit)
- Best Artificial Putting Green Turf: What to Look For (https://aglgrass.com/blogs/best-artificial-putting-green-turf)
- Install the Putting Green Turf
- turftekusa.com (https://turftekusa.com/blog/a-guide-to-installing-an-artificial-putting-green)
- hallturf.com (https://hallturf.com/install-your-raised-putting-green-a-step-by-step-guide-for-homeowners)
- fieldturflandscape.com (https://fieldturflandscape.com/golf-putting-green/how-to-install-the-best-artificial-putting-green)
- How To Install the Ultimate Artificial Turf Putting Green | Synthetic Grass Warehouse (https://syntheticgrasswarehouse.com/blog/how-to-install-the-ultimate-artificial-turf-putting-green)
- Apply Finishing Touches and Maintenance Tips
- How to Keep Artificial Turf Clean Year-Round | US Turf (https://usturfsandiego.com/news/how-to-keep-artificial-turf-clean)
- Artificial Putting Green Maintenance: Year-Round Care Guide (https://aglgrass.com/blogs/artificial-putting-green-maintenance)
- wintergreengrass.com (https://wintergreengrass.com/10-tips-for-maintaining-an-artificial-grass-putting-green)
- generalsportssurfaces.com (https://generalsportssurfaces.com/news/artificial-turf-maintenance-101-a-routine-maintenance-guide-for-your-turf)
- Essential Best Practices for Maintaining Residential Putting Greens – Hall Turf | Artificial Turf Installation Kansas City KS & MO (https://hallturf.com/essential-best-practices-for-maintaining-residential-putting-greens)