
Introduction
The appeal of a well-maintained lawn has prompted many homeowners to consider the advantages of astro turf installation. This innovative option not only improves the visual charm of outdoor areas but also provides a low-maintenance substitute for traditional grass. However, achieving that lush, green appearance can be challenging, involving several steps to guarantee a successful installation.
What are the key steps to convert a bare patch of land into a vibrant, artificial oasis, and how can one sidestep common mistakes throughout the process?
Prepare the Installation Area
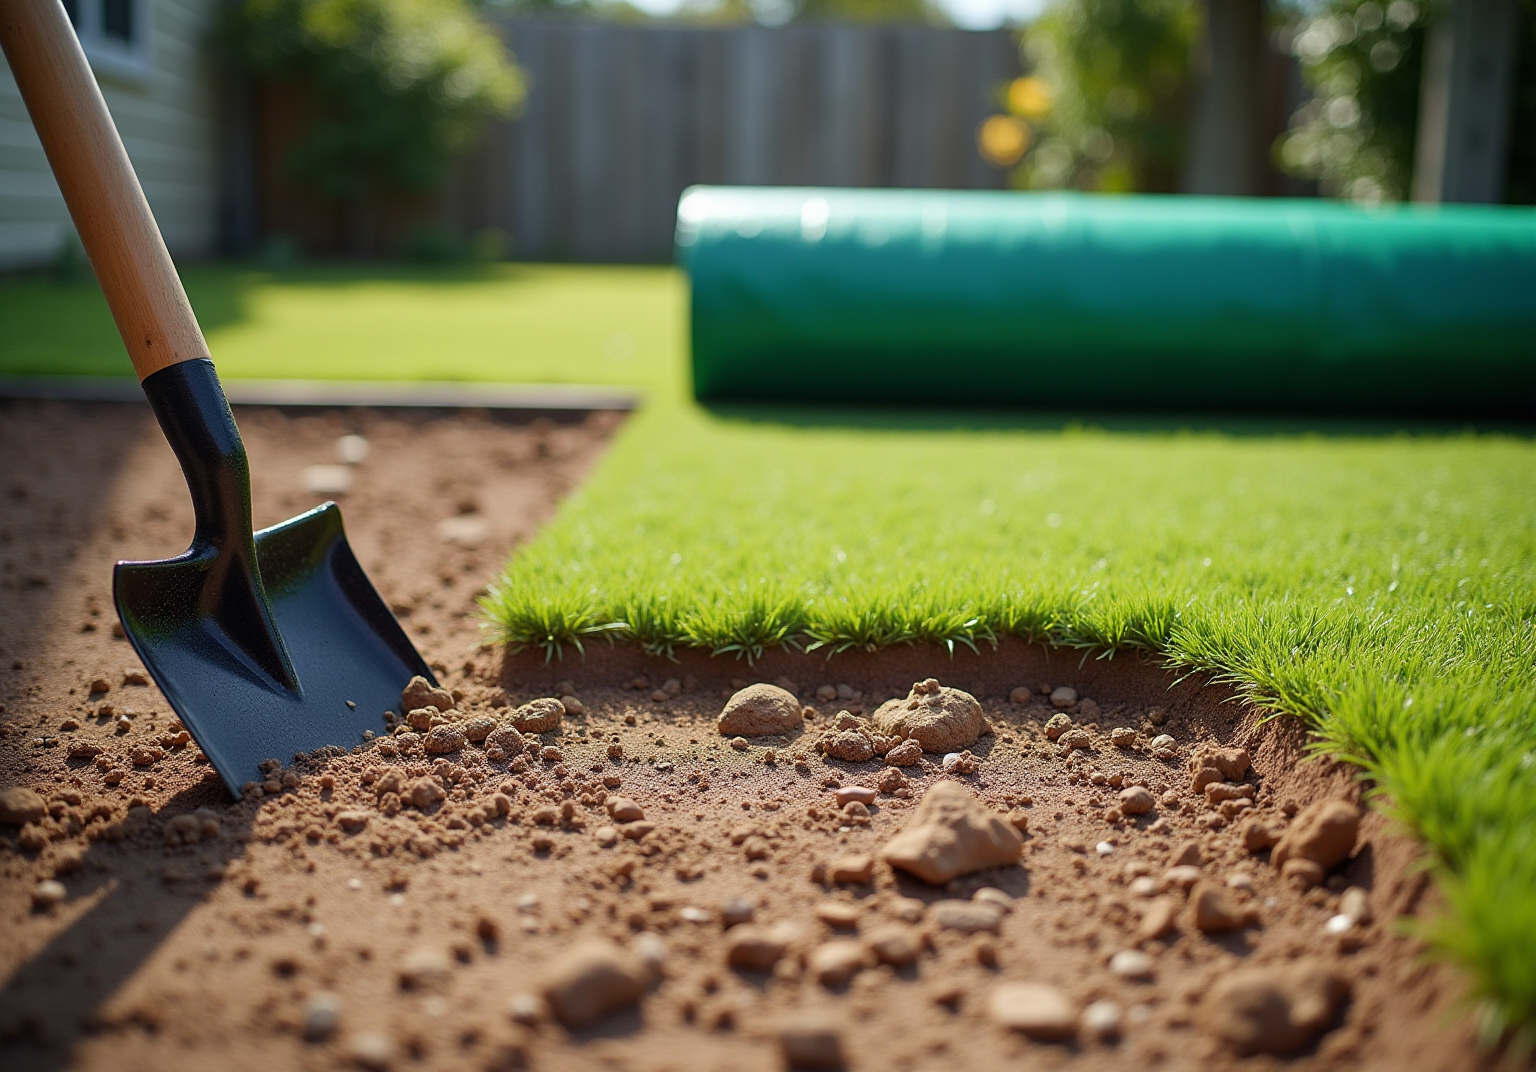
- Clear the Area: Start by removing any existing grass, weeds, and debris from the installation site. Utilize a shovel or a sod cutter to eliminate the top layer of soil, reaching a depth of approximately 3-4 inches. As noted by Dick Bryant, when he faced a land issue, Brock evaluated his needs and provided an ideal solution.
- Level the Ground: Once cleared, level the ground with a rake. This step is crucial to prevent water accumulation and ensure a smooth surface. Scott Sachse commended Brock’s team for their outstanding work in installing a lawn, emphasizing their professionalism and meticulous attention to detail.
- Compact the Soil: Employ a plate compactor or a hand tamper to compact the soil. This process is vital for establishing a stable foundation that will support the grass and prevent settling over time. Les Boatright recognized Brock’s dedication to completing the job on schedule and within budget, highlighting the reliability of Hall Turf’s services.
- Install a Weed Barrier: Place a barrier to inhibit weeds from growing through the grass. This barrier should cover the entire area and be secured with landscape staples to ensure it remains in position. Hall Turf specializes in various grass installations, including playground surfaces and sports fields, making them the go-to choice for astro turf installation nearest to my area, offering a comprehensive solution for your needs.

Select the Appropriate Turf Style
- Identify Your Needs: Begin by determining the primary purpose of the grass. Is it intended for a lawn, a playground, or a sports field? Each application necessitates different features.
- Consider Durability: Seek grass designed to endure wear if it will be placed in high-traffic zones. For instance, nylon grass offers greater durability compared to polyethylene, although it may sacrifice some softness.
- Evaluate Aesthetics: Choose a grass type that complements your landscape. Take into account aspects such as color and texture. For example, a shorter pile height is often more appropriate for putting greens, while a taller pile can create a lush appearance for lawns.
- Check Safety: If the grass will be used in playgrounds or sports fields, verify that it meets safety standards and is free from harmful chemicals.

Execute the Turf Installation Process
- Lay the Base Material: Start by preparing the area and adding a layer of gravel, approximately 3 to 6 inches thick. This foundational layer is crucial for proper drainage and stability, allowing the grass to withstand varying weather conditions and significant foot traffic. Using recycled concrete or asphalt as an alternative can enhance sustainability in your installation.
- Spread Leveling Sand: After establishing the base, apply a layer of leveling sand, about 1 inch thick, and use a rake to create a smooth, even surface. This step is vital for achieving a flat foundation, which is essential for the grass’s overall appearance and performance. Proper compaction of this layer is necessary to prevent settling over time, ensuring a durable installation.
- Install the Weed Barrier: Before rolling out the grass, lay down a geotextile weed membrane over the base material. This barrier helps inhibit weed growth while allowing adequate drainage, thereby enhancing the durability of your installation.
- Roll Out the Surface: Unroll the turf over the prepared area, allowing it to acclimate for a few hours. This acclimatization helps prevent issues such as shrinking or expanding post-installation, ensuring a better fit. Customers like Dick Bryant have praised Hall for their thorough assessments and personalized suggestions, providing optimal solutions for specific needs.
- Cut and Fit the Grass: Trim the edges of the grass using a utility knife to fit the designated area precisely. Pay close attention to the seams, ensuring they are tight and aligned to avoid visible gaps that could detract from the installation’s aesthetic. Scott Sachse acknowledged the exceptional work performed by Hall’s team, highlighting their professionalism and attention to detail during the installation process.
- Secure the Surface: Fasten the surface around the perimeter and at seams using landscape staples or nails, spaced 6 to 12 inches apart. This step is essential for keeping the surface securely in place, preventing shifting over time.
- Add Infill: If necessary, spread infill material, such as silica sand or rubber granules, over the grass. This helps weigh down the grass and keeps the blades upright, enhancing both the appearance and functionality of the installation. Les Boatright expressed satisfaction with the final product and the timely execution of the project, underscoring Hall’s commitment to delivering on time and within budget.

Maintain Your Artificial Turf
- To maintain the appearance and hygiene of the surface, rinse it with a hose every few weeks to remove dust, debris, and pet waste.
- Employ a stiff broom or a grass brush to brush the fibers in different directions. This technique helps keep the blades upright and prevents matting.
- Regular inspections for signs of wear or damage, such as loose seams or tears, are essential. Promptly addressing these issues can prevent further damage.
- Remove Debris: Regularly clear leaves, branches, and other waste from the grass to prevent mold and mildew growth. A leaf blower can be particularly effective for this task.
- Use Cleaners: For spills or stains, utilize mild soap and water or a turf-friendly cleaner. It is important to avoid harsh chemicals that could damage the turf fibers.

Conclusion
Successfully installing astro turf requires a systematic approach that guarantees a beautiful and durable lawn. By adhering to the outlined steps-from preparing the installation area to selecting the right turf style and executing the installation process-individuals can achieve a professional-quality result that enhances any outdoor space.
Meticulous preparation is crucial, encompassing the following:
- Clearing the area
- Leveling the ground
- Compacting the soil to create a solid foundation
Furthermore, selecting the appropriate turf style based on specific needs and preferences is essential. The installation process itself involves:
- Laying base materials
- Securing the turf
- Applying infill
All these steps are designed to ensure long-lasting performance and aesthetics. Regular maintenance, including cleaning and inspections, is vital for preserving the turf’s integrity and appearance over time.
In summary, understanding the steps for astro turf installation simplifies the process and empowers individuals to effectively transform their outdoor environments. Whether for residential landscaping, pet areas, or playgrounds, a well-executed installation can provide lasting enjoyment. By embracing these guidelines, one can ensure a successful project that meets both aesthetic and functional needs, paving the way for a vibrant and low-maintenance lawn.
Frequently Asked Questions
What is the first step in preparing the installation area for grass?
The first step is to clear the area by removing any existing grass, weeds, and debris. This involves using a shovel or a sod cutter to eliminate the top layer of soil to a depth of approximately 3-4 inches.
Why is it important to level the ground after clearing the area?
Leveling the ground is crucial to prevent water accumulation and ensure a smooth surface for the grass.
How can I compact the soil during the preparation process?
You can compact the soil using a plate compactor or a hand tamper. This process is essential for establishing a stable foundation that will support the grass and prevent settling over time.
What is the purpose of installing a weed barrier?
The purpose of installing a weed barrier is to inhibit weeds from growing through the grass. It should cover the entire area and be secured with landscape staples to keep it in position.
Who is recognized for their services in grass installation?
Hall Turf is recognized for their services in grass installation, including playground surfaces and pet areas, and is noted for their reliability and professionalism.
List of Sources
- Execute the Turf Installation Process
- mightygrass.com (https://mightygrass.com/what-goes-under-artificial-turf)
- hallturf.com (https://hallturf.com/essential-base-material-for-artificial-turf-best-practices-for-homeowners)