
Introduction
Transforming a backyard into a pet-friendly oasis is a significant undertaking, particularly when addressing the specific needs of our furry companions. Installing pet turf presents a durable, low-maintenance solution that not only elevates the aesthetic appeal of outdoor spaces but also ensures a safe environment for pets to play. This process, however, requires meticulous planning and execution. Therefore, it is crucial to identify the essential steps that will guarantee a successful installation, meeting both functional and aesthetic standards.
Assess Your Installation Area
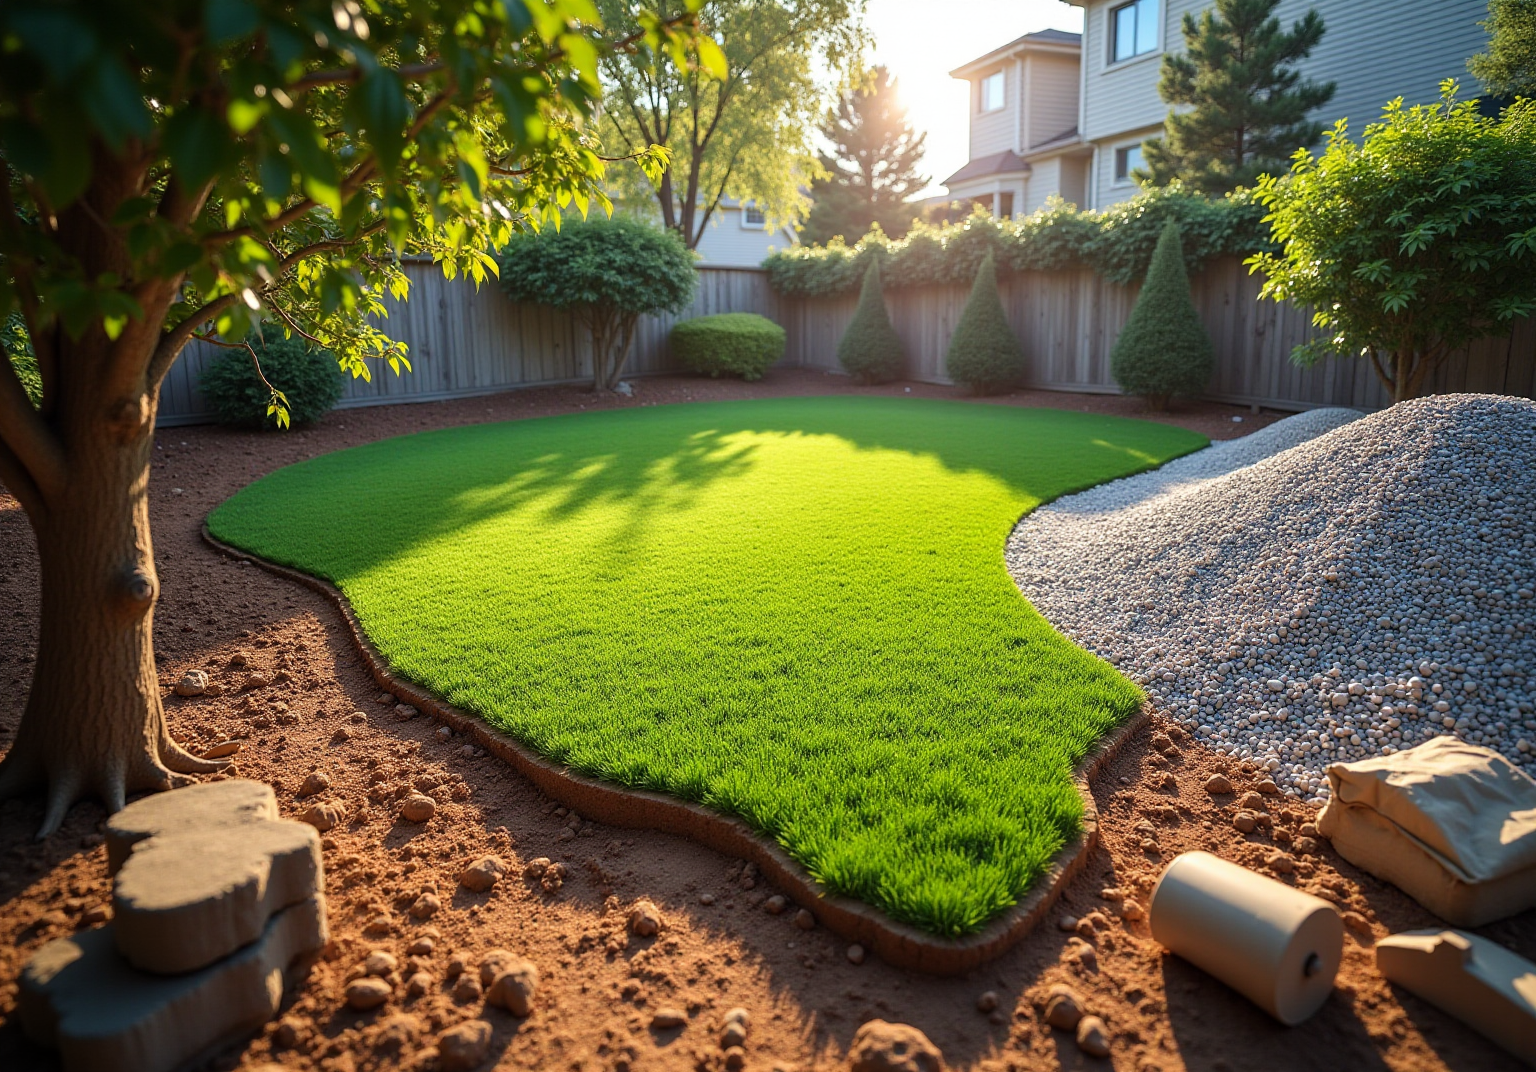
Begin by measuring the dimensions of the area designated for installation. Identify any obstacles, such as trees, rocks, or existing landscaping, that may require removal. Assess the ground for irregularities or potential drainage issues. If the area is prone to flooding, it is essential to consider how to address this in subsequent steps. Ensure that the location receives adequate sunlight and is easily accessible for maintenance. Additionally, observe any slopes or inclines, as these factors will influence water flow and drainage.
Consulting with a professional, such as Brock from a landscaping company, can provide valuable insights on installation according to your specific needs. His expertise ensures that all factors, including soil type and water flow, are properly addressed, which is essential for knowing how to install turf successfully. For instance, sandy soils may require less drainage, while clay soils may require additional solutions for effective water management.

Plan Your Drainage Strategy
Evaluate the natural incline of your yard to strategically lay the turf, promoting drainage and high-traffic zones. Begin by assessing the slope to ensure proper water flow.
To prepare the drainage base, using materials such as crushed stone or gravel. These materials facilitate efficient fluid movement, preventing pooling.
If necessary, consider installing drains or channels to redirect excess liquid away from the area. This step is crucial for managing the volume of water from heavy rainfall or pet usage, ensuring the turf remains healthy and usable.
Regular maintenance is essential. Routinely inspect for blockages to guarantee optimal performance and to prevent issues like flooding, which can compromise the turf’s integrity.

Prepare the Base for Installation
To learn how to successfully install pet turf, begin by clearing the area of any existing grass, weeds, and debris. Excavate the soil to a depth of 3-4 inches, creating a level base. Following excavation, place a layer of gravel or crushed stone approximately 2-3 inches thick. This layer promotes adequate water flow, which is essential for the longevity of the turf.
It is crucial to compact this base material thoroughly using a plate compactor. This step ensures stability and a level foundation. For optimal results, double compaction of the base layer is recommended, creating a dense and strong foundation. In areas prone to flooding, consider adding a layer of drainage material, such as AirDrain or DrainCore, to enhance water flow and ventilation beneath the turf.
Additionally, spreading infill over the entire surface is important. This helps weigh down the turf and achieve a natural appearance. Finally, verify the level of the base using a straight edge or level tool, making any necessary adjustments to ensure a smooth and even surface.
This meticulous preparation is vital for understanding how to install pet turf, ensuring the longevity and performance of the turf while creating a safe and enjoyable environment for pets. As noted by satisfied customers like Dick Bryant and Scott Sachse, working with Hall Turf guarantees expert guidance throughout the installation process, resulting in a solution that meets your specific needs.

Install and Secure the Turf
Begin by unrolling the pet grass over the prepared base, which is an important step in learning how to install pet turf, ensuring it is oriented in the desired direction. When learning to cut the turf, use a utility knife, leaving a slight overlap at the edges for a seamless finish. To learn how to secure the turf, fasten the edges using staples, placing them every 6 to 12 inches along the seams and edges to prevent shifting.
When learning to join sections, ensure that for installations involving multiple sections of grass, the seams are tightly joined, utilizing adhesive for added stability. To understand how to apply infill, first secure the grass surface and then apply a layer of infill material to maintain the structure and appearance of the grass. Additionally, consider adding a drainage layer to prevent water pooling on the surface.
Employ a power broom or stiff brush to lift the fibers, creating a natural appearance. Finally, as part of regular maintenance, inspect the installation for any wrinkles or uneven areas, making adjustments as needed to achieve a smooth, even surface. Routine maintenance, including timely cleanup of spills and routine brushing, will help preserve the grass’s appearance and longevity. Homeowners can trust professional installers, as emphasized by satisfied clients like Dick Bryant and Scott Sachse, who commend the professionalism and attention to detail provided during their grass installations.

Apply Finishing Touches and Maintenance Tips
After installing the grass, it is crucial to apply finishing touches. This step stabilizes the surface and provides support, enhancing comfort during play and ensuring the grass fibers remain upright. Regular maintenance involves rinsing the grass with water to remove debris, as well as using a deodorizing spray to mitigate odors. Periodic inspections for signs of wear or damage are advisable, allowing for prompt attention to any issues, which helps prolong the life of your installation. Additionally, brushing the grass every few months can maintain its appearance and prevent matting.
The average maintenance costs for pet turf are relatively low, typically requiring only a few minutes of attention each week. This makes it a practical choice for busy pet owners. As lawn maintenance specialist Brad Timsit emphasizes, “common issues, such as matted fibers and compacted infill.” Adhering to these guidelines will help ensure a clean, safe, and aesthetically pleasing environment for your pets.

Conclusion
Creating a backyard oasis with pet turf is a worthwhile investment that requires careful planning and execution. By following the outlined steps-from assessing the installation area to applying the finishing touches-homeowners can transform their outdoor spaces into durable, low-maintenance areas that pets will love.
Key arguments emphasize the importance of:
- Proper drainage
- Solid base preparation
- Meticulous installation techniques
Each phase, whether assessing the area, planning drainage strategies, or securing the turf, plays a critical role in the project’s overall success. Regular maintenance, including cleaning and infill replenishment, further enhances the longevity and appearance of the turf, making it a practical choice for busy pet owners.
Ultimately, investing time and effort into installing pet turf not only creates a visually appealing space but also prioritizes the comfort and safety of pets. Embracing this sustainable solution leads to a harmonious outdoor experience, encouraging pet owners to enhance their backyards with pet-friendly turf, ensuring a clean, safe, and enjoyable environment for their furry companions.
Frequently Asked Questions
What should I do before installing pet turf?
Begin by measuring the dimensions of the designated area and identifying any obstacles like trees or rocks that may need removal. Assess the ground for irregularities or potential water flow issues, especially if the area is prone to pooling water. Ensure the location receives adequate sunlight and is accessible for maintenance.
Why is it important to consult a professional when installing pet turf?
Consulting a professional, such as Brock from Hall Turf, can provide valuable insights tailored to your specific needs. Their expertise ensures that factors like soil type and water flow are properly addressed, which is essential for a successful installation.
How does soil type affect pet turf installation?
Different soil types impact water flow. Sandy soils facilitate good drainage, while clay soils may require additional solutions for effective water management to prevent pooling.
What should I consider regarding drainage when installing pet turf?
Evaluate the natural incline of your yard to promote drainage away from buildings and high-traffic zones. Adding a layer of crushed stone or gravel beneath the grass can enhance drainage and prevent water accumulation.
Are there any additional measures I can take to manage water flow?
Consider installing conduit pipes or channels to redirect excess liquid away from the grass area. This is crucial for managing water from heavy rainfall or pet usage.
How can I maintain the drainage system for pet turf?
Regularly inspect the water removal system for blockages to ensure optimal performance and prevent issues like water accumulation, which can compromise the grass’s integrity.
List of Sources
- Assess Your Installation Area
- Artificial Grass News | American Syn-Turf Industry Updates (https://americansynturf.com/news)
- Artificial Turf Market, Industry Size Forecast [Latest] (https://marketsandmarkets.com/Market-Reports/artificial-turf-market-121486580.html)
- Artificial Turf Market Size And Share | Industry Report, 2033 (https://grandviewresearch.com/industry-analysis/artificial-turf-market)
- alwaysgreensyntheticgrass.com (https://alwaysgreensyntheticgrass.com/news)
- Plan Your Drainage Strategy
- greenbaylandscapes.com (https://greenbaylandscapes.com/blog/pet-friendly-artificial-turf-solutions)
- texascustomturf.com (https://texascustomturf.com/tips-for-preventing-drainage-issues-with-artificial-grass-2)
- Artificial Grass Drainage: Longevity and Sustainability (https://artificialturfsupply.com/artificial-grass-drainage)
- dfwturf.com (https://dfwturf.com/everything-you-should-know-about-artificial-grass-drainage)
- Prepare the Base for Installation
- lowes.com (https://lowes.com/n/how-to/install-artificial-grass)
- How to Prep the Base for Artificial Grass (https://installartificial.com/how/to-prep-the-base-for-artificial-grass)
- shawgrass.com (https://shawgrass.com/about/news-blog/how-to-prep-for-artificial-grass-installation)
- syntheticturfnorthwest.com (https://syntheticturfnorthwest.com/a-helpful-guide-to-installing-synthetic-turf-diy)
- usturfsandiego.com (https://usturfsandiego.com/news/how-to-install-artificial-grass-on-soil)
- Install and Secure the Turf
- thisoldhouse.com (https://thisoldhouse.com/lawns/install-artificial-grass)
- turftekusa.com (https://turftekusa.com/blog/tips-for-installing-pet-turf)
- Artificial Turf Market, Industry Size Forecast [Latest] (https://marketsandmarkets.com/Market-Reports/artificial-turf-market-121486580.html)
- lowes.com (https://lowes.com/n/how-to/install-artificial-grass)
- Apply Finishing Touches and Maintenance Tips
- ideal-turf.com (https://ideal-turf.com/pet-turf-maintenance-tips)
- installartificial.com (https://installartificial.com/how/pros-and-cons-of-artificial-grass-for-dogs)
- Artificial Turf Maintenance Guide | Cleaning & Care Tips (https://fieldturflandscape.com/maintenance/artificial-turf-maintenance-guide)
- bigbullyturf.com (https://bigbullyturf.com/pet-turf-maintenance-guide)
- Artificial Turf Infill Market: Trends & Growth Analysis 2035 (https://wiseguyreports.com/reports/artificial-turf-infill-market)