
Introduction
Installing artificial grass can transform any outdoor space into a lush, green oasis. With the right tools and techniques, anyone can achieve a seamless and professional-looking installation. However, challenges may arise, such as glue not adhering properly or the surface not being adequately prepared. This guide outlines four essential steps to ensure a flawless installation, equipping readers with the knowledge to address potential pitfalls and achieve stunning results.
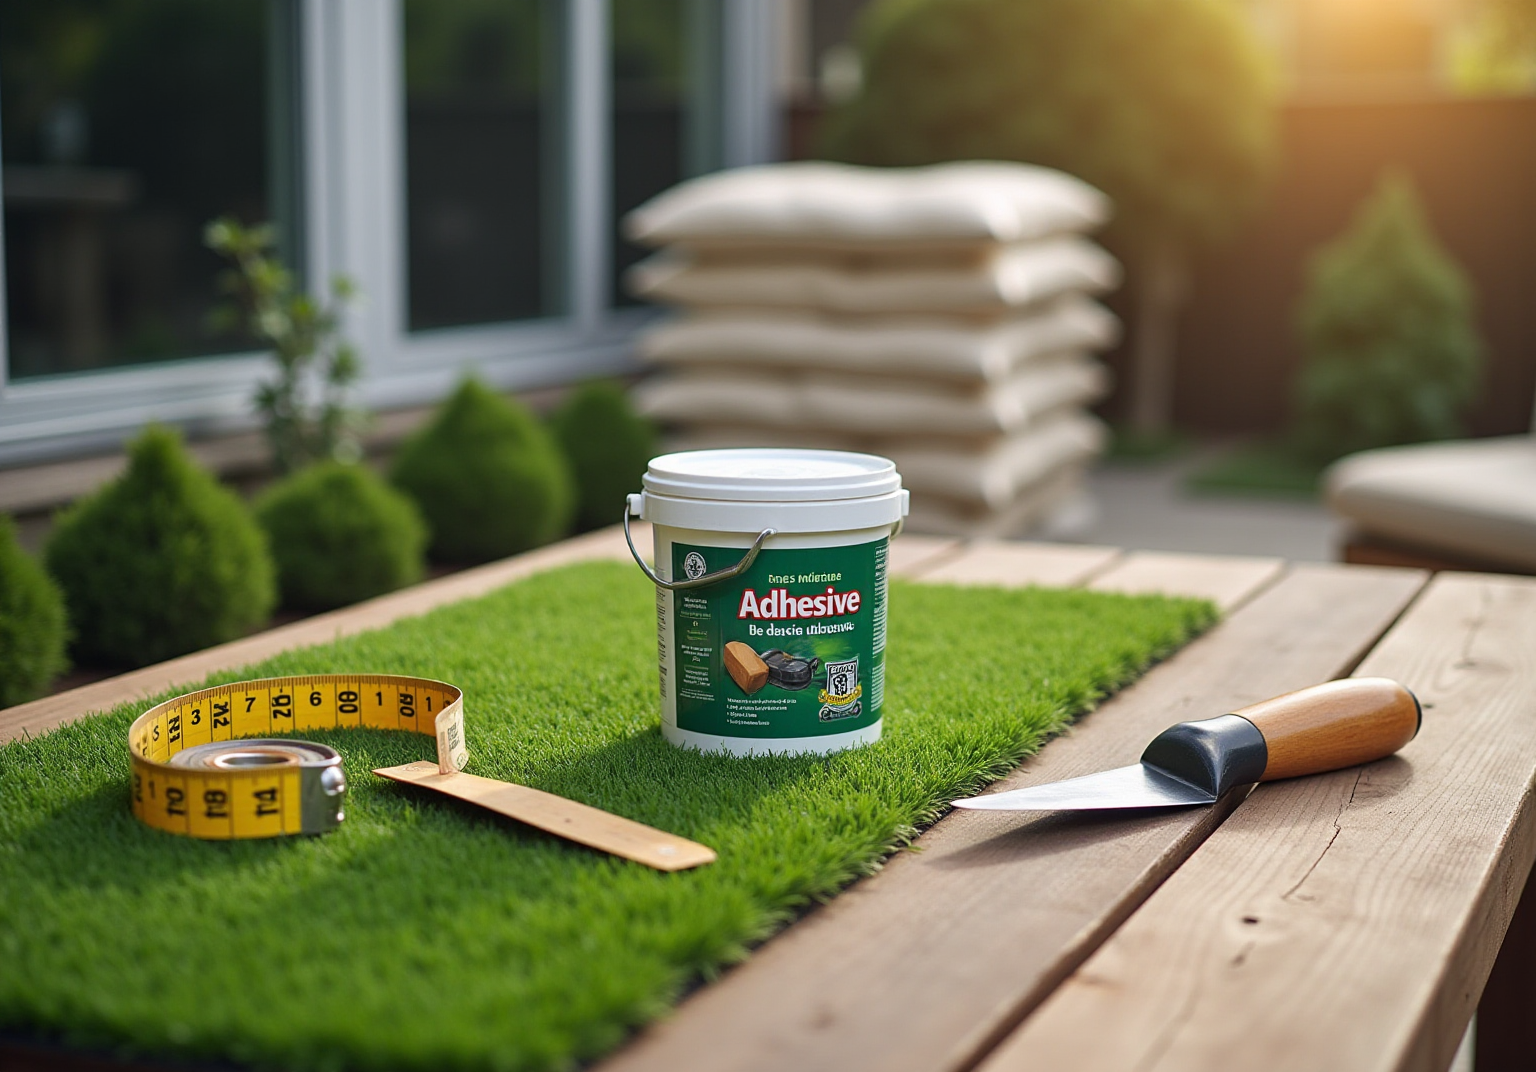
Gather Necessary Tools and Materials
Select a high-quality adhesive specifically designed for artificial grass. Opt for adhesives that suit your surface. Ureka Global stands out for its robust performance and reliability, especially when paired with artificial grass across various weather conditions. As Ureka Global notes, “the adhesive is engineered for simplicity, ensuring outstanding results with ease,” making it a favored choice for both residential and commercial applications.
- Pot Life: Understand the pot life of the adhesive, which indicates the usable time after mixing. Factors like temperature and mix volume can influence this duration, so plan your installation accordingly to ensure a successful application.
- Notched Trowel: This tool is essential for evenly distributing artificial grass glue across the surface or seam tape, which is crucial for achieving a strong bond.
- Utility Knife: Utilize this tool for cutting the grass to the desired size and shape, allowing for precise fitting.
- Measuring Tape: Accurate measurements are vital for ensuring a proper fit and alignment.
- Rake and Shovel: These tools assist in preparing the surface for laying by leveling and removing debris, creating an optimal base for the grass.
- Sandbags or Weights: Employ these to secure the turf in place while the glue sets, preventing movement and ensuring a solid bond.
- Safety Gear: It is advisable to wear gloves and a mask to protect against adhesive fumes and skin contact during the installation process.
Before starting your project, verify that all tools are clean and in good working condition to facilitate a smooth setup.

Prepare the Installation Surface
To ensure a successful installation, it is crucial to prepare your surface properly. Here are the essential steps to follow:
- Clear the Area: Start by removing any existing grass, weeds, rocks, and debris from the installation site. This step is vital for establishing a clean and stable base for the grass.
- Level the Surface: Use a rake to smooth the ground, filling in any low spots and removing high spots. Achieving a level surface is necessary to avoid irregularities and guarantee a proper installation.
- Compact the Soil: If installing on soil, compact the ground using a plate compactor or hand tamper. This process creates a solid base, helping to prevent settling over time and ensuring durability.
- Install a Barrier: Lay down a permeable fabric to prevent weeds from growing through the grass. This is especially important for long-term maintenance and the durability of your setup.
- Check Drainage: Ensure that the area has proper drainage to avoid water pooling. A slight slope away from structures is ideal, as it facilitates water runoff and maintains the integrity of the turf.
By following these steps, you will create a well-prepared surface that enhances both the performance and appearance of your installation with artificial grass.

Apply the Artificial Grass Glue
To apply glue effectively, follow these steps:
- Prepare the Glue: Begin by mixing according to the manufacturer’s instructions. If using a one-component bond, ensure it is ready for immediate use.
- Spread the glue: Apply it to the surface where the grass will be laid, aiming for a thickness of approximately 1/8 inch. Selecting the appropriate trowel notch size is crucial to prevent insufficient application of artificial grass glue or excessive moisture beneath the grass, which can lead to adhesion failure.
- Pre-roll the Grass: Prior to laying the artificial grass, pre-roll it under sunlight to allow for expansion and minimize stretching time during installation. Carefully position the grass onto the glued surface, ensuring proper alignment. Avoid stretching the grass during this process, as aligning the grass grain with the primary viewing angle enhances its authentic appearance.
- Press the Grass: Firmly press the surface into the artificial grass glue to ensure proper adhesion. Use sandbags or weights to hold the grass in place while the glue cures. One-part polyurethane adhesives typically have an open time of about 30 minutes at 68°F, while two-part adhesives can take 40 to 60 minutes, so plan accordingly.
- Clean Excess Glue: Promptly wipe away any surplus glue that seeps out from beneath the grass to prevent it from hardening on the surface. If glue contacts skin, a petroleum-based cleaner is necessary for removal.

Ensure Proper Adhesion and Finishing Touches
To ensure proper adhesion and finishing touches, follow these steps:
- Allow for Curing: This process takes time, which is typically around 24 hours. During this period, refrain from walking on the grass to allow the glue to cure properly.
- Check Adhesion: After the curing time has elapsed, gently tug on the edges of the grass to test the bond. If any sections feel loose, apply additional adhesive and press them down firmly to reinforce the connection.
- Trim Edges: Use a utility knife to carefully cut along the edges, ensuring that the cuts are straight and even for a polished appearance.
- Brush Grass Blades: Utilize a stiff broom or power brush to lift the grass blades, encouraging them to stand upright. This step enhances the natural look of the turf, making it more visually appealing.
- Final Inspection: Conduct a thorough walk-around of the installation to identify any visible seams or imperfections. Address any issues before considering the project complete, ensuring a flawless finish.

Conclusion
Mastering the installation of artificial grass glue is crucial for achieving a flawless and durable result. By following the outlined steps – from gathering the necessary tools to ensuring proper adhesion and applying finishing touches – a seamless and professional-looking installation can be accomplished. Each phase of the process is critical, highlighting the importance of preparation, application, and final inspection to guarantee the best outcome.
Key insights include:
- The necessity of selecting high-quality adhesives
- Meticulously preparing the installation surface
- Applying the glue with precision
- Understanding the pot life of the adhesive
- Leveling the ground
- Utilizing the right tools, such as notched trowels and utility knives
Additionally, allowing adequate curing time and performing a thorough final inspection can significantly enhance the durability and appearance of the artificial grass.
Ultimately, investing time and effort into each step of the installation process will yield a beautiful and functional outdoor space. Embracing these best practices not only ensures a stunning finish but also contributes to the longevity of the artificial grass installation. Whether for residential or commercial use, mastering these techniques will lead to satisfying results that stand the test of time.
Frequently Asked Questions
What type of adhesive is recommended for installing artificial grass?
A high-quality adhesive specifically designed for artificial grass is recommended, with weather-resistant options being ideal. Turfstikk PU500 is noted for its robust performance and reliability across various weather conditions.
What is pot life in relation to adhesive?
Pot life refers to the usable time of the adhesive after mixing, which can be influenced by factors such as temperature and mix volume. It is important to plan the installation accordingly to ensure a strong bond.
What tools are necessary for installing artificial grass?
Necessary tools include a notched trowel for evenly distributing glue, a utility knife for cutting grass, a measuring tape for accurate measurements, a rake and shovel for surface preparation, and sandbags or weights to secure the turf while the glue sets.
Why is a notched trowel important in the installation process?
A notched trowel is essential for evenly distributing artificial grass glue across the surface or seam tape, which is crucial for achieving a strong bond.
How can I ensure accurate fitting of the artificial grass?
Using a measuring tape is vital for ensuring accurate measurements, which helps achieve a proper fit and smooth installation.
What precautions should I take during the installation?
It is advisable to wear gloves and a mask to protect against adhesive fumes and skin contact during the installation process.
What should I check before starting the installation project?
Before starting your project, verify that all tools are clean and in good working condition to facilitate a smooth setup.
List of Sources
- Gather Necessary Tools and Materials
- chemiqueadhesives.com (https://chemiqueadhesives.com/us/chemique-adhesives-launches-new-range-of-artificial-turf-adhesives)
- thenamethatsticks.com (https://thenamethatsticks.com/how-to-advice/the-best-artificial-grass-adhesive-for-bonding-in-all-weather-conditions-turfstikk-pu500)
- cognitivemarketresearch.com (https://cognitivemarketresearch.com/artificial-turf-glue-market-report)
- Artificial Grass Market Size, Share and Forecast, 2026-2033 (https://coherentmarketinsights.com/industry-reports/artificial-grass-market)
- grandviewresearch.com (https://grandviewresearch.com/horizon/outlook/artificial-turf-market/united-states)
- Prepare the Installation Surface
- ccgrass.com (https://ccgrass.com/how-to-lay-artificial-grass-on-soil)
- UF/IFAS expert evaluates impact of installing synthetic turf (https://mainstreetdailynews.com/local-living/uf-ifas-impact-installing-synthetic-turf)
- How to Install Artificial Turf on Dirt | US Turf (https://usturfsandiego.com/news/how-to-install-artificial-turf-on-dirt)
- lowes.com (https://lowes.com/n/how-to/install-artificial-grass)
- Apply the Artificial Grass Glue
- cognitivemarketresearch.com (https://cognitivemarketresearch.com/artificial-turf-glue-market-report)
- The Complete Guide To Artificial Turf Glue | Chemique US (https://chemiqueadhesives.com/us/the-complete-guide-to-turf-glue)
- Artificial Turf Glue Guide: Top 5 FAQs Answered (https://artificialturfexpress.com/blog/artificial-turf-glue)
- fcnews.net (https://fcnews.net/2025/02/pro-adhesive-tips-help-installers-get-a-grip)
- Using Adhesive in Installation of Synthetic Turf | Sporturf Blog (https://sporturf.com/sporturf-tech-tip-8-adhesive-uses-and-guidance)
- Ensure Proper Adhesion and Finishing Touches
- Artificial Turf Glue Guide: Top 5 FAQs Answered (https://artificialturfexpress.com/blog/artificial-turf-glue)
- The Complete Guide To Artificial Turf Glue | Chemique US (https://chemiqueadhesives.com/us/the-complete-guide-to-turf-glue)
- Adhesive Compression Vs. Longevity | Ask JW | Synthetic Grass Warehoue (https://syntheticgrasswarehouse.com/company/ask-an-expert/ask-jw/adhesive-compression-vs-longevity)
- syntheticgrasswarehouse.com (https://syntheticgrasswarehouse.com/blog/critical-steps-for-installing-artificial-turf-between-pavers)