
Introduction
Transforming a concrete yard into a lush, green oasis with artificial turf serves as both an aesthetic enhancement and a practical solution for low-maintenance landscaping. This guide outlines a comprehensive, step-by-step approach to successfully laying artificial turf on concrete. Homeowners can thus enjoy a vibrant outdoor space without the burdens of traditional grass upkeep.
However, the process presents challenges. How can one ensure proper drainage and achieve a seamless installation while steering clear of common pitfalls? This article delves into the essential steps, tools, and tips that will facilitate a stunning and durable artificial turf installation.
Prepare the Concrete Surface for Installation
-
Clean the Surface: Start by using a broom or pressure washer to thoroughly eliminate all dirt, debris, and grease from the concrete. A clean area is crucial for ensuring proper bonding of the synthetic grass. Allow the surface to dry completely before moving on to the next step.
-
Inspect for Cracks: Carefully check the concrete for any cracks or uneven areas. These imperfections can undermine the stability of the grass surface. Fill any cracks with a concrete patching compound, adhering to the manufacturer’s instructions for curing time to guarantee a solid repair.
-
Level the Surface: Address any low spots by applying a self-leveling compound. This step is vital for creating a smooth, level area that promotes adequate water flow and enhances the stability of the grass installation. Proper drainage is essential to prevent moisture issues that could lead to mold or premature turf failure.
-
Use Foam Underlay: Consider installing a foam underlay beneath the artificial grass. This addition not only improves comfort but also provides extra cushioning, making the surface softer underfoot, particularly in recreational areas.
-
Remove Obstacles: Clear the installation area of any furniture, planters, or other items that might obstruct the process. A clutter-free workspace facilitates a more efficient installation and helps prevent potential damage to the turf.

Ensure Proper Drainage for Longevity
-
Evaluate Water Flow Requirements: Begin by assessing whether your concrete surface allows for adequate runoff. If you notice pooling or insufficient drainage, it may be necessary to install channels or holes to facilitate water escape. A well-planned base layer is crucial for directing water movement toward designated collection areas and preventing stagnation.
-
Install Drainage Openings: If water flow is inadequate, drill small holes in the concrete at regular intervals. These openings should channel water to a specific collection area, ensuring effective management. Consider utilizing perforated pipes or French drains as viable solutions for enhancing water flow.
-
Utilize a Water Flow Mat: To enhance water movement and prevent pooling, consider placing a mat or geo-cell system beneath the turf. This layer will effectively manage excess water, maintaining the integrity of the setup and minimizing the risk of mold, mildew, and pests.
-
Check the Water Flow: After completing the installation, conduct a water test by pouring liquid onto the surface. Observe how well the water flows away; this step is essential to confirm that your drainage solutions are functioning properly. Effective drainage not only preserves the appearance of your lawn but also contributes to environmental sustainability by reducing water usage.

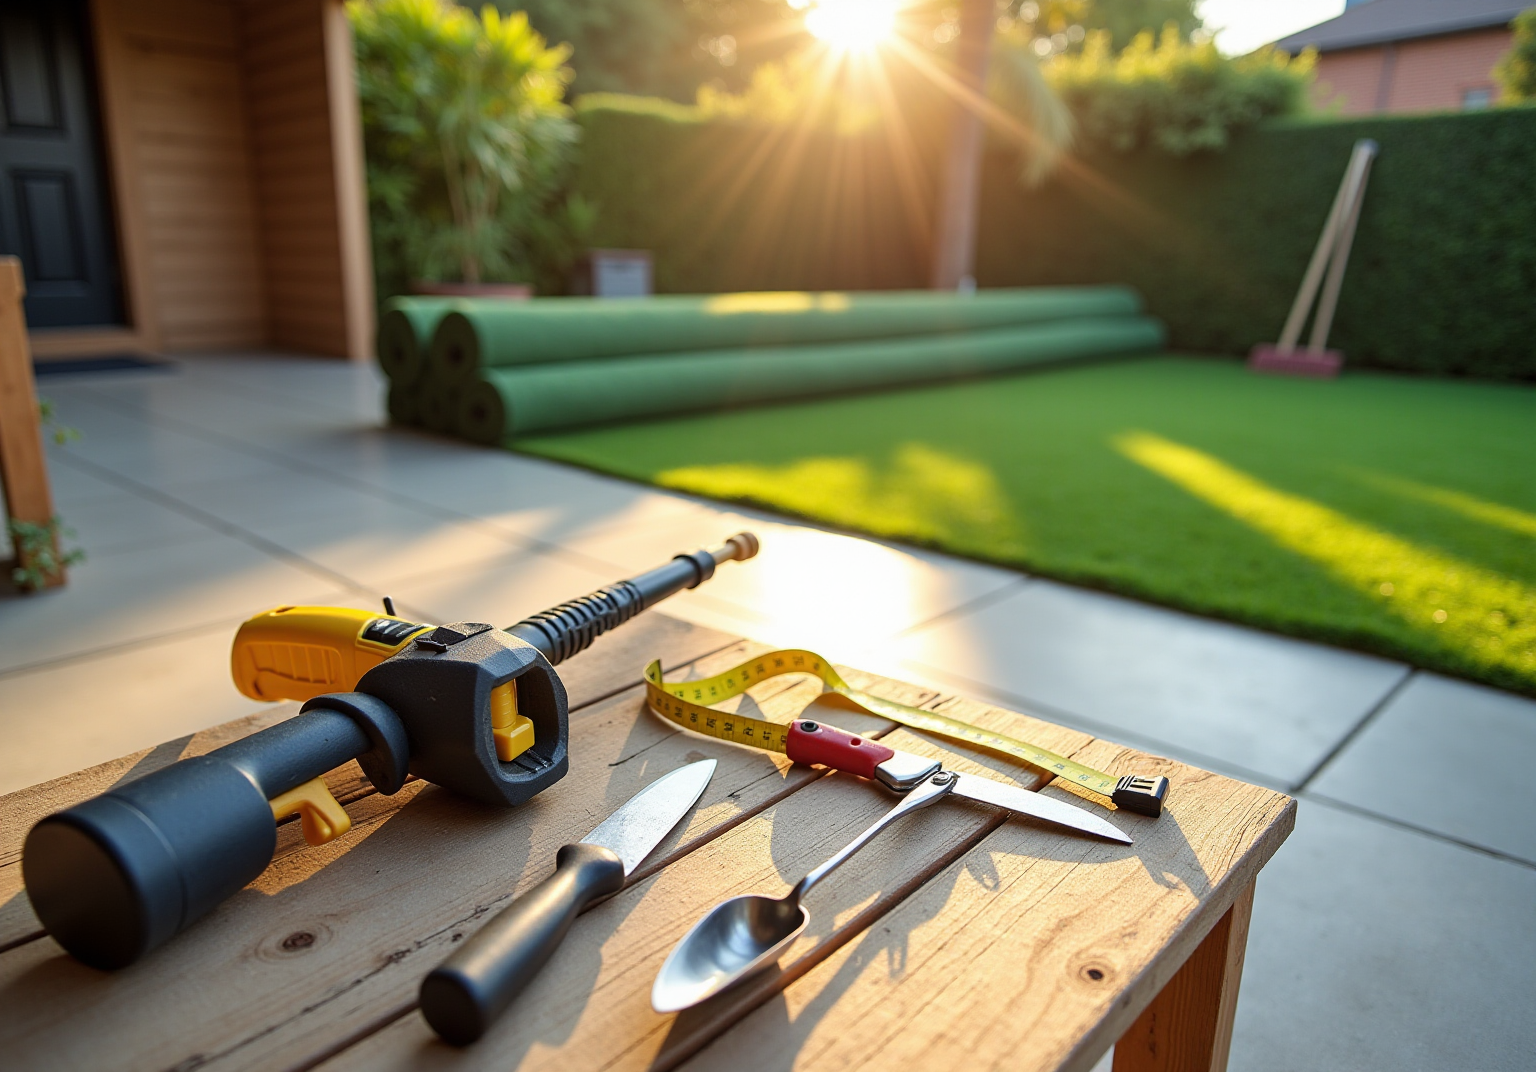
Gather Essential Tools and Materials
To successfully install synthetic grass on concrete, it is crucial to understand how to lay artificial turf on concrete by gathering the right tools and materials. Here’s what you’ll need:
Tools Needed:
- Utility Knife: Essential for cutting turf to fit specific dimensions.
- Broom or Power Broom: Used for thoroughly cleaning the area before installation.
- Pressure Washer: Ideal for deep cleaning the concrete area to ensure proper adhesion.
- Drill: Necessary for making drainage holes to prevent moisture accumulation beneath the grass.
- Trowel: For applying adhesive evenly across the surface.
- Hammer or Mallet: Used to secure the grass in place with nails or staples.
- Measuring Tape: Ensures accurate sizing of grass pieces for a seamless fit.
- Carpet Kicker: Important for stretching and securing the surface during installation.
Materials Required:
- Artificial Turf Rolls: Choose high-quality turf that meets your aesthetic and functional needs.
- Surface Adhesive or Glue: A strong adhesive is essential for attaching the grass to the concrete. Products like Mapei PU1K are recommended for their durability.
- Landscape Nails or Staples: Used to secure the edges of the grass, typically spaced every 2-3 square feet.
- Drainage Mat: If necessary, this helps manage water flow and prevents moisture accumulation.
- Concrete Patching Compound: Essential for repairing any cracks or imperfections in the concrete surface before installation.
- Seaming Tape: Used to join multiple sections of grass together, ensuring a seamless appearance.
As highlighted by industry experts, "Employing the appropriate tools can determine the distinction between grass that frequently requires maintenance and grass that endures for ten years." By preparing these tools and materials in advance, you can streamline the installation process when learning how to lay artificial turf on concrete and achieve a professional-looking result that enhances your outdoor space.

Lay the Artificial Turf: Step-by-Step Instructions
-
Measure and Cut the Grass: Begin by measuring the area designated for the grass installation. Cut the grass to fit, allowing for a slight overlap at the edges. Hall Turf’s experts, including Brock, can assist in assessing your specific requirements to ensure an optimal fit for your project, whether it involves a putting green, playground, or pet area.
-
Apply Adhesive: Utilize a trowel to evenly spread adhesive on the concrete surface where the grass will be installed. It is crucial to follow the manufacturer’s instructions for application. Brock and the Hall Turf team are recognized for their meticulous attention to detail, ensuring the adhesive is applied correctly for the best possible results.
-
When learning how to lay artificial turf on concrete, carefully roll out the grass onto the adhesive, ensuring it lies flat and is free of wrinkles. Press down firmly to secure it in place. Customers have praised Hall Turf for their exceptional setup services, noting the professionalism and courtesy of the crew.
-
Secure the Edges: Fasten the edges of the grass using landscape nails or staples, placing them every 6-8 inches around the perimeter. This step is vital for maintaining the integrity of your installation, and Hall Turf’s experienced team is available to assist you on how to lay artificial turf on concrete during the entire process.
-
Trim Excess Grass: After laying the grass, trim any excess material along the edges to achieve a clean finish. With Hall Turf’s expertise, you can anticipate a polished appearance that enhances your outdoor space.

Finish and Maintain Your New Turf Installation
-
Final Inspection: After installation, it is essential to conduct a thorough inspection of the grass to identify any loose areas or imperfections. Make necessary adjustments to ensure a flawless finish.
-
Infill Application: If your grass requires infill, apply it evenly across the surface, following the manufacturer’s guidelines. Proper infill application is crucial for maintaining the grass’s structure and cushioning.
-
Regular Cleaning: To keep your grass in optimal condition, routinely remove debris, rinse with water to prevent dust accumulation, and brush the fibers to maintain their upright position. It is advisable to brush your grass at least once a week, or more frequently in high-traffic areas, to preserve its appearance and prevent matting. This routine care is essential for extending the lifespan of your artificial grass, which can last between 8 to 15 years with proper maintenance.
-
Check for Damage: Periodically inspect the grass for signs of wear or damage, such as flattened fibers or drainage issues. Promptly addressing these problems can significantly prolong your lawn’s lifespan, ensuring it remains safe and visually appealing for years to come. Regular maintenance, including cleaning and infill replenishment, maximizes the longevity of your artificial turf.

Conclusion
Laying artificial turf on concrete can significantly enhance an outdoor space, transforming it into a lush, green oasis that requires minimal maintenance. By adhering to the outlined steps – preparing the concrete surface, ensuring proper drainage, and gathering essential tools – the installation process becomes straightforward and achievable. Each phase is vital, ensuring that the turf not only looks appealing but also endures for years, creating a safe and enjoyable environment.
Key considerations include:
- The necessity of cleaning and inspecting the concrete
- Addressing any drainage issues
- Using the appropriate tools and materials for the task
Employing proper installation techniques, such as secure edging and regular maintenance, will further improve the longevity and appearance of the artificial turf. Attention to detail in every step, from preparation to final inspection, guarantees a professional outcome that will impress.
Ultimately, investing time and effort into the correct installation of artificial turf can yield a beautiful, functional yard that demands less upkeep while providing a reliable solution for outdoor enjoyment. Seize the opportunity to elevate your outdoor space with artificial turf, and enjoy the benefits of a vibrant landscape that withstands the test of time.