
Introduction
Transforming any backyard into a golfer’s paradise is achievable by creating a personal putting green, which provides a convenient space for both practice and leisure. This guide presents five essential steps for successfully installing artificial turf, covering everything from selecting the ideal location to applying the final touches. However, with numerous factors to consider – such as sunlight, drainage, and maintenance – how can one ensure that the installation meets both aesthetic and functional standards?
Choose the Ideal Location for Your Putting Green
-
Assess Sunlight Exposure: Select a location that receives ample sunlight throughout the day. It is crucial to avoid shaded areas created by trees or structures, as these can significantly hinder grass growth and maintenance. Adequate sunlight exposure is vital for photosynthesis, which keeps the grass healthy and vibrant.
-
Evaluate Drainage: Ensure that the area has sufficient drainage to prevent water accumulation. An ideal location features a slight slope away from structures, facilitating proper water runoff and preserving the integrity of the turf.
-
Consider Accessibility: Choose a spot that is easily accessible for regular maintenance and play. It should be conveniently located near your home to encourage frequent use, while also being positioned to minimize interference with other outdoor activities.
-
Check for Obstacles: Identify any potential obstacles, such as tree roots, rocks, or existing landscaping, that may complicate the installation process. Clearing these elements in advance will streamline your project and ensure a smoother installation.
-
Assess Available Space: Confirm that the designated area is adequately sized for the dimensions of the golf surface you plan to establish. Allow for extra space around the edges to facilitate cutting and finishing touches, resulting in a polished final appearance.

Prepare the Site: Measure and Clear the Area
-
Measure the Area: Begin by using a tape measure to accurately determine the dimensions of your golf area. Clearly mark the corners with stakes and string to outline the desired shape, ensuring precision in your layout.
-
Clear the Area: Remove any existing grass, weeds, or debris from the marked area. A sod cutter or shovel can be employed for effective removal, ensuring a clean slate for your installation.
-
Level the Ground: Achieving a level surface is crucial for proper drainage and playability. Fill in low spots and eliminate any high areas to create a smooth, even foundation.
-
Compact the Soil: Use a plate compactor to thoroughly compact the soil, establishing a solid base. This step is vital as it prevents settling after the grass is installed, ensuring longevity and stability.
-
Install a Weed Barrier: To protect your installation from unwanted growth, lay down a weed barrier fabric. This will help prevent weeds from damaging the grass over time, preserving the quality of your surface for putting.

Build a Durable Base for Your Putting Green
-
Excavate the Area: Begin by digging down to a depth of 4 to 6 inches across the entire designated space for your golf area. This depth is crucial for accommodating the base material and ensuring effective drainage.
-
Add Base Material: Next, fill the excavated area with crushed stone or gravel, layering it to a thickness of 2 to 4 inches. This base material is essential for providing both drainage and stability, helping to prevent issues such as sinking or pooling.
-
Compact the Base: Use a plate compactor to thoroughly compact the base material. This step is critical to ensure a solid foundation that can withstand the test of time and prevent future settling.
-
Create a Smooth Surface: After compacting, add a layer of finer material, such as decomposed granite, to achieve a smooth surface for the grass. Compact this layer as well to enhance stability and create an ideal base for the artificial grass.
-
Check for Level: Finally, utilize a level to verify that the surface is even. Make any necessary adjustments to eliminate bumps or dips, as these could negatively impact the playability of your surface.

Install the Artificial Turf for Your Putting Green
-
Roll Out the Surface: Start by unrolling the artificial surface over the prepared base, allowing it to acclimate for several hours. This step is essential as it minimizes wrinkles and creases, ensuring a smoother installation. A well-designed and installed outdoor golf surface provides a genuine ball roll throughout the year, underscoring the importance of this initial phase. Customers like Dick Bryant have noted that Brock’s expertise at Hall Turf delivers tailored solutions that perfectly align with their projects.
-
Cut to Fit: Utilize a utility knife to shape the turf according to the design of your golf area. For a seamless appearance, ensure that the edges are straight and clean, which is crucial for a professional finish. Your outdoor putting green can accommodate as many holes as your space permits, allowing for customization based on your design preferences. Scott Sachse praised Hall for their exceptional installation, highlighting Brock’s professionalism and the crew’s courteous service.
-
Secure the Ground: To keep the ground in place, use landscape staples or adhesive. Position staples every 6 to 12 inches along the edges and seams to ensure stability and prevent shifting. Regular maintenance, such as light cross-brushing and infill top-ups, is necessary to maintain a smooth roll on turf golf course surfaces. Les Boatright remarked on Brock’s detail-oriented approach at Hall Turf, ensuring that every aspect of the installation is managed with care.
-
Join Seams: If your golf green consists of multiple pieces, align the seams with precision. Use seam tape and adhesive to bond the edges securely, which is vital for maintaining a uniform surface.
-
Install Cups and Flags: Cut holes for the golf cups and install them according to the manufacturer’s guidelines. Ensure that the cups are level with the ground surface to provide an authentic putting experience. With the increasing interest in synthetic grass installations, now is an excellent time to design your own backyard golf green, similar to what many satisfied clients of Hall have achieved.

Apply Finishing Touches and Maintenance Tips
-
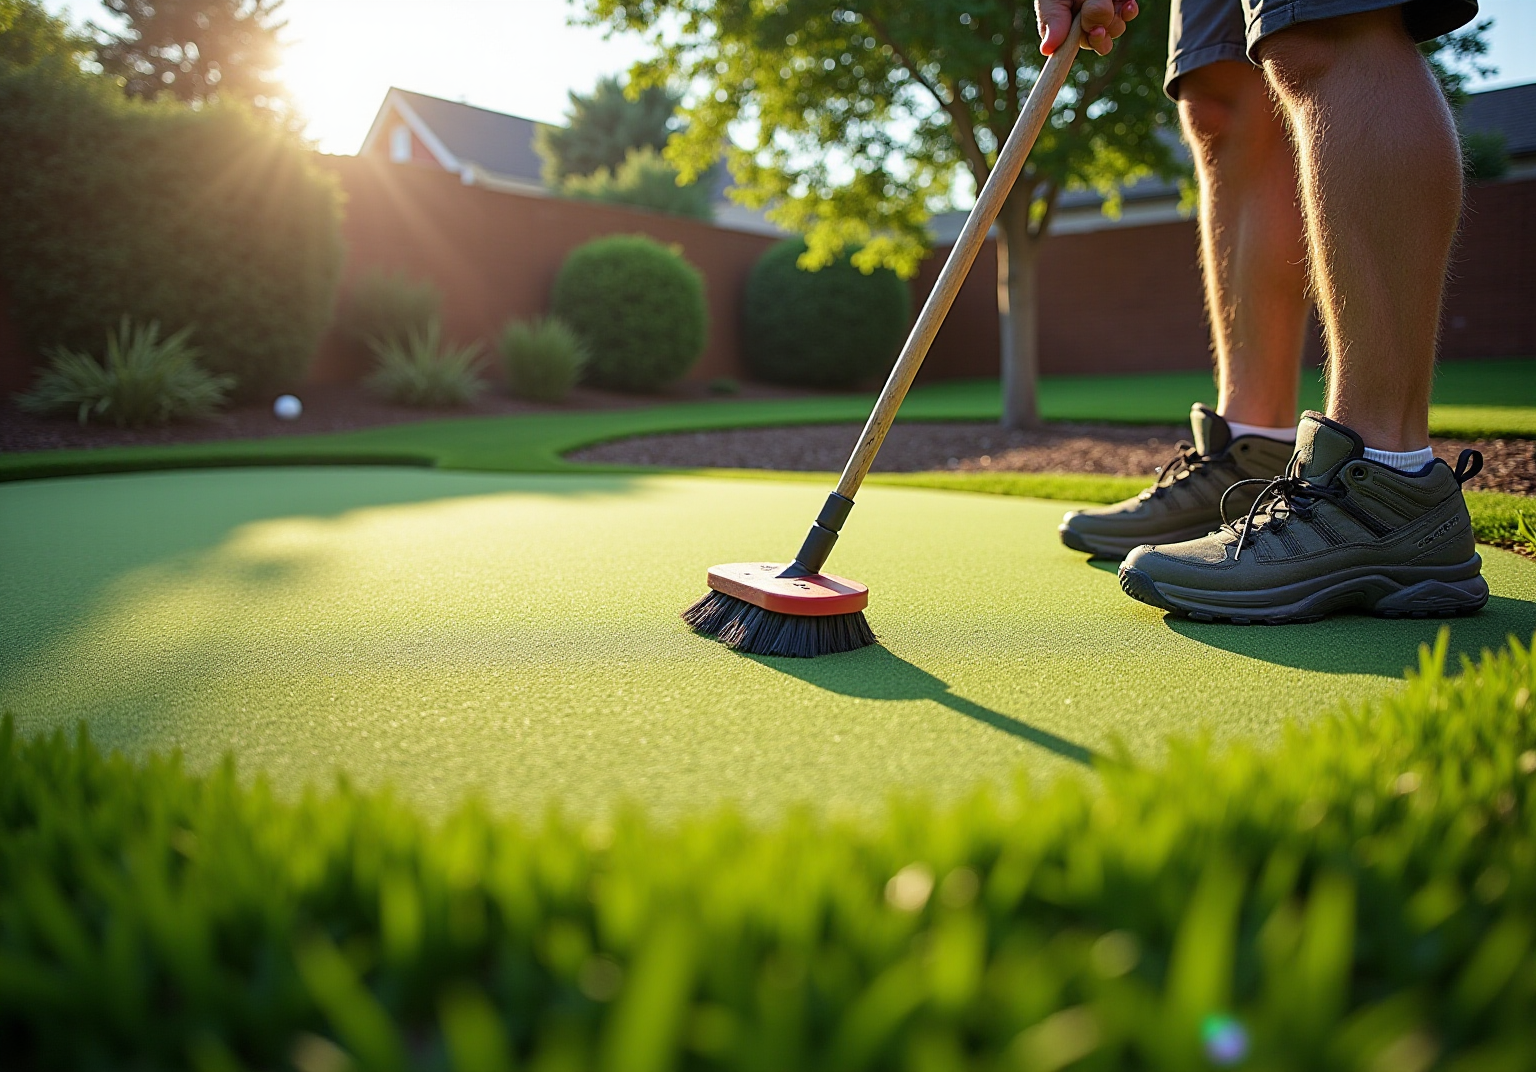
Brush the Grass: Begin by using a stiff-bristle broom to brush the grass fibers upright. This practice not only preserves a natural appearance but also prevents matting, ensuring the grass remains vibrant and functional. Regular brushing is essential, as it helps maintain the grass’s drainage capabilities and overall performance. As Dick Bryant discovered, following expert guidance from Hall Grass, such as consistent brushing, leads to optimal lawn upkeep solutions.
-
Add Infill: It is important to apply silica sand or rubber infill as needed to enhance the stability and performance of the grass. The amount of infill required can vary based on the specific application, but adhering to the manufacturer’s guidelines is crucial for ensuring optimal cushioning and support for the grass blades. Scott Sachse’s positive experience with Hall Turf highlights the significance of proper infill in achieving a successful installation of putting green artificial turf.
-
Regular Cleaning: Consistently removing debris such as leaves and twigs is vital for maintaining a clean surface. A leaf blower serves as an effective tool for this task, allowing for quick and efficient clearing without damaging the grass. Additionally, rinsing the grass every one to two weeks can help eliminate pollen and allergens, contributing to a fresh environment. Les Boatright emphasizes that meticulous attention to cleaning reflects Hall Turf’s commitment to quality service.
-
Inspect for Damage: Conducting periodic inspections for signs of wear or damage, particularly around seams and edges, is essential. Addressing any issues promptly can prevent further deterioration and extend the lifespan of the grass. Regular maintenance routines, including brushing and infill management, are crucial for preserving the surface’s integrity. Brock’s thorough assessments ensure that potential problems are addressed proactively, enhancing the durability of your grass.
-
Seasonal Maintenance: During colder months, it is important to clear snow and ice from the surface to prevent damage. In warmer months, consider rinsing the turf with water to keep it cool and clean. Adjusting maintenance practices seasonally, such as increasing rinsing in summer and performing thorough cleaning in spring, significantly enhances the longevity and appearance of artificial grass.

Conclusion
In conclusion, installing an artificial turf putting green is a rewarding endeavor that significantly enhances outdoor spaces and provides a year-round golfing experience. By understanding and following the essential steps in this process, you can ensure a successful installation that meets your expectations. From selecting the ideal location to maintaining the turf over time, each phase is crucial in achieving a high-quality putting surface.
This guide has outlined the vital steps, starting with the selection of a suitable location that takes into account:
- Sunlight
- Drainage
- Accessibility
Proper site preparation, including measuring, clearing, and leveling the ground, lays a solid foundation for the turf. Constructing a durable base with appropriate materials guarantees stability, while the meticulous installation of the artificial grass ensures a smooth and professional finish. Finally, applying finishing touches and adhering to maintenance tips will keep your putting green in excellent condition for years to come.
Ultimately, dedicating time and effort to each step of the installation process will result in a beautiful and functional putting green that can be enjoyed by family and friends. This project not only enhances outdoor leisure activities but also adds a unique touch to any backyard. With the right approach and attention to detail, the dream of having a personal putting green can become a reality, offering endless enjoyment and practice opportunities.
Frequently Asked Questions
What should I consider when choosing the location for my putting green?
When selecting a location for your putting green, consider sunlight exposure, drainage, accessibility, potential obstacles, and available space.
Why is sunlight exposure important for a putting green?
Sunlight exposure is crucial for photosynthesis, which keeps the grass healthy and vibrant. It is important to avoid shaded areas that can hinder grass growth.
How can I evaluate the drainage of the area for my putting green?
Ensure the area has sufficient drainage by checking for a slight slope away from structures, which facilitates proper water runoff and preserves the integrity of the turf.
What does accessibility mean in the context of a putting green?
Accessibility refers to choosing a spot that is easily reachable for regular maintenance and play, ideally located near your home to encourage frequent use without interfering with other outdoor activities.
What obstacles should I check for before installing a putting green?
Look for potential obstacles such as tree roots, rocks, or existing landscaping that may complicate the installation process.
How do I assess the available space for my putting green?
Confirm that the designated area is adequately sized for the dimensions of your golf surface and allow for extra space around the edges for cutting and finishing touches.
What is the first step in preparing the site for my putting green?
Begin by measuring the area using a tape measure and marking the corners with stakes and string to outline the desired shape.
How do I clear the area for my putting green installation?
Remove any existing grass, weeds, or debris from the marked area using a sod cutter or shovel to ensure a clean slate for installation.
Why is leveling the ground important for a putting green?
Leveling the ground is crucial for proper drainage and playability, ensuring a smooth, even foundation for the putting green.
What is the purpose of compacting the soil before installing a putting green?
Compacting the soil establishes a solid base, preventing settling after the grass is installed, which ensures longevity and stability.
How can I protect my putting green from unwanted growth?
Lay down a weed barrier fabric to prevent weeds from damaging the grass over time, preserving the quality of your putting surface.