
Introduction
Artificial green turf is revolutionizing outdoor spaces by providing homeowners with a combination of beauty and practicality. Its low maintenance requirements and impressive durability not only enhance the aesthetic appeal of a yard but also create a safe environment for children and pets. Despite its advantages, the installation process can appear intimidating, leading many to question: what are the essential steps for achieving a flawless finish? This guide will outline the critical phases of installing artificial turf, ensuring a lush, green landscape that endures over time.
Understand the Benefits of Artificial Turf
Artificial green turf presents a range of compelling benefits that make it an attractive option for homeowners. Here are some key advantages:
- Low Maintenance: In contrast to natural grass, artificial turf requires minimal upkeep. Homeowners can forgo the time-consuming tasks of mowing, watering, and fertilizing, allowing them to reclaim weekends for leisure activities.
- Durability: Constructed from high-quality materials, synthetic grass is engineered to withstand heavy foot traffic and endure harsh weather conditions. The durability of artificial green turf ensures it remains vibrant and functional for 15 to 20 years or more, representing a long-term investment.
- Aesthetic Appeal: The aesthetic appeal of your yard is enhanced by artificial green turf, which consistently retains a lush, green appearance throughout the year, improving its visual appeal in every season. This year-round beauty contributes positively to the overall value of your property.
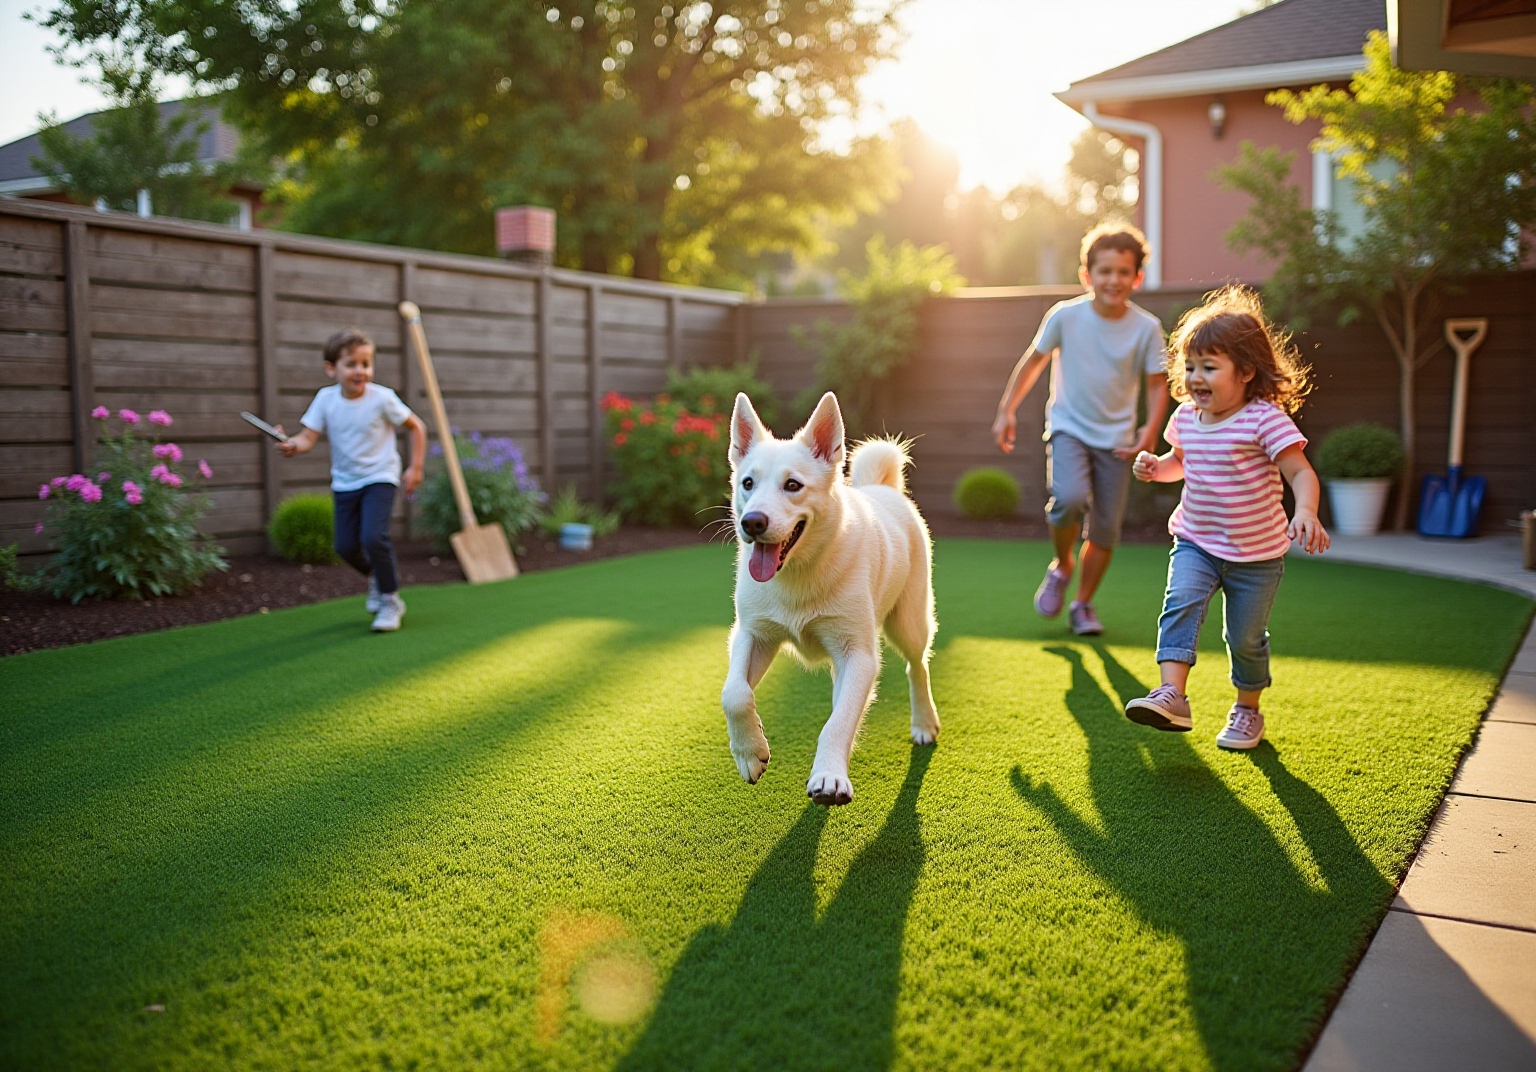
- Safety: Many synthetic grass products are specifically designed with safety features, making them ideal for playgrounds and pet areas. They provide a soft surface that minimizes the risk of injuries, ensuring a secure environment for both children and pets.
- Environmental Benefits: The environmental benefits of switching to artificial green turf include a reduction in outdoor water consumption by up to 70%, significantly lowering water costs and conserving natural resources. Furthermore, it eliminates the need for harmful chemicals, fostering a more sustainable landscape by preventing detrimental runoff from pesticides and fertilizers.
When you choose Hall Grass for your synthetic surface installation, including options like putting greens and playground grass, you can expect a professional and detail-oriented approach. As highlighted by satisfied customers, Brock and his team are dedicated to delivering outstanding results, ensuring that your investment not only meets but surpasses your expectations. Recognizing these advantages not only underscores the value of your investment but also encourages you to move forward with the installation process.

Gather Necessary Tools and Materials
Before starting your artificial turf installation, it is essential to have the following tools and materials ready:
Tools:
- Shovel: This tool is crucial for removing existing grass and soil, providing a clean slate for installation.
- Rake: A rake is necessary for leveling the ground, ensuring a smooth surface for the grass.
- Wheelbarrow: Ideal for efficiently transporting materials across the installation site.
- Hammer or Mallet: This tool is needed for securing the grass in place, especially when using landscape spikes.
- Utility Knife: Essential for trimming the grass to the desired size, allowing for accurate fitting around edges and obstacles.
- Tamper: Important for compacting the base material, which is vital for stability and drainage.
- Tape Measure: Ensures accurate measurements of the area, preventing waste and ensuring a proper fit.
- Carpet Kicker: This tool is essential for pulling the surface taut during installation, reducing bunching and ensuring a smooth finish.
- Turf Gripper: Helps pull and stretch synthetic grass into place with minimal force, reducing stress on contractors.
Materials:
- Artificial Turf: Select a high-quality product tailored to your specific needs, whether for aesthetics or durability.
- Base Material: Crushed rock or decomposed granite is recommended for optimal drainage and stability, providing a solid foundation for the grass.
- Weed Barrier Fabric: This material prevents weed growth beneath the grass, maintaining its appearance and reducing maintenance.
- Infill Material: Options such as washed and dried silica sand or rubber granules support the grass blades, enhancing their durability and lifespan.
- Premium Turf Adhesive: A single-part polyurethane formula that requires no mixing for quick application, making it a valuable addition to your materials list.
Having these tools and materials ready not only simplifies the setup process but also contributes to achieving a professional finish that enhances the beauty and functionality of your outdoor area.

Prepare the Installation Site
To ensure a successful artificial turf installation, it is essential to prepare your site by following these steps:
-
Clear the Area: Start by removing any existing grass, weeds, and debris from the installation site. Use a shovel or sod cutter to effectively eliminate the top layer of soil.
-
Excavate the Ground: Dig down approximately 3-4 inches to create a stable base for the grass. It is crucial to maintain a level surface with a slight slope to facilitate proper drainage.
-
Install a Weed Barrier: Lay down a weed barrier fabric to inhibit weed growth beneath the turf. While this step is optional, it is highly recommended for long-term maintenance and to enhance the longevity of your installation.
-
Add Base Material: Fill the excavated area with crushed rock or decomposed granite, spreading it evenly to create a solid foundation. Compact the material thoroughly using a tamper to ensure stability and prevent shifting over time.
-
Check for Drainage: Verify that the ground is graded correctly to direct water drainage away from structures. Proper drainage is essential to prevent pooling and prolong the lifespan of your grass.
By carefully preparing your installation area, you establish the foundation for a long-lasting and visually appealing synthetic grass project.

Install the Artificial Turf
To install your artificial turf, follow these steps:
- Roll Out the Grass: Unroll the synthetic grass and position it in your preferred location. Allow it to acclimate in the sun for a few hours to help it flatten out.
- Cut to Size: Use a utility knife to trim the edges of the grass to fit your area. Cut from the back side along the stitch lines for a clean edge, ensuring a precise fit.
- Secure the Area: Begin fastening the area by placing landscape staples or nails around the perimeter, spacing them approximately every 6 inches. This will effectively keep the grass in place and prevent shifting.
- Seam the Grass: If using multiple pieces of grass, join them with seam tape and adhesive. Ensure the seams are tight and secure to prevent gaps, which can lead to unsightly seams and potential wear.
- Add Infill: Once the grass is laid and secured, spread infill material evenly across the surface. This supports the grass blades and enhances stability. Use a broom to sweep the infill into the grass, ensuring even distribution.
- Final Touches: Brush the grass fibers against the grain to lift them and create a natural appearance. Inspect for any areas needing additional infill or adjustments to ensure a uniform look.
By following these steps, you can achieve a professional setup of your artificial green turf, which will enhance your outdoor area with a durable and low-maintenance solution.

Finish and Maintain Your Artificial Turf
To maintain your artificial turf in optimal condition, it is essential to follow these key maintenance practices:
-
Regular Cleaning: Rinse the surface with a hose to remove dust, debris, and pet waste. This step is crucial for preserving both the appearance and hygiene of the turf. Regular cleaning significantly enhances the longevity of the grass, as dirt and organic matter can degrade the infill and fibers over time.
-
Brush the Grass: Use a firm broom or power brush to lift the grass fibers, particularly in high-traffic areas. This practice not only keeps the blades upright but also helps maintain a natural appearance, preventing matting that can occur with heavy use.
-
Weed Management: Conduct periodic inspections for any signs of weed growth. Promptly eliminating any weeds is vital to prevent their spread and protect the integrity of the grass.
-
Spot Cleaning: For spills or stains, apply a mild soap and water solution to the affected area, followed by a thorough rinse. Addressing spills quickly can prevent long-term damage and maintain the aesthetic appeal of the surface.
-
Damage Inspection: Regularly check for signs of wear or damage, such as loose seams or areas needing additional infill. Identifying and addressing these issues promptly can prevent larger problems in the future, ensuring the ground remains safe and functional.
-
Seasonal Maintenance: Depending on your local climate, implement seasonal tasks such as removing leaves or snow to prevent buildup that can lead to drainage issues or mold growth.
By consistently adhering to these maintenance tips, you can ensure your artificial green turf remains both beautiful and functional for many years, with a lifespan typically ranging from 8 to 15 years when properly cared for.

Conclusion
In conclusion, artificial green turf installation presents a practical solution for homeowners aiming to create a low-maintenance, durable, and visually appealing outdoor space. By recognizing the benefits and adhering to a structured installation process, homeowners can cultivate a lush environment that not only enhances property value but also provides a safe area for family activities.
The article outlined the essential steps for a successful installation, starting with:
- An understanding of the advantages of artificial turf
- Gathering necessary tools and materials
- Preparing the installation site
Key insights included:
- The significance of proper drainage
- The selection of high-quality materials
- The importance of maintenance practices that ensure longevity and aesthetic appeal
Each phase, from site preparation to final touches, plays a crucial role in achieving a professional finish.
Adopting artificial turf simplifies yard care while promoting sustainability by reducing water consumption and eliminating harmful chemicals. For those contemplating this upgrade, now is the time to act-transform your outdoor space into a vibrant, eco-friendly oasis that requires minimal upkeep while maximizing enjoyment for years to come.