
Introduction
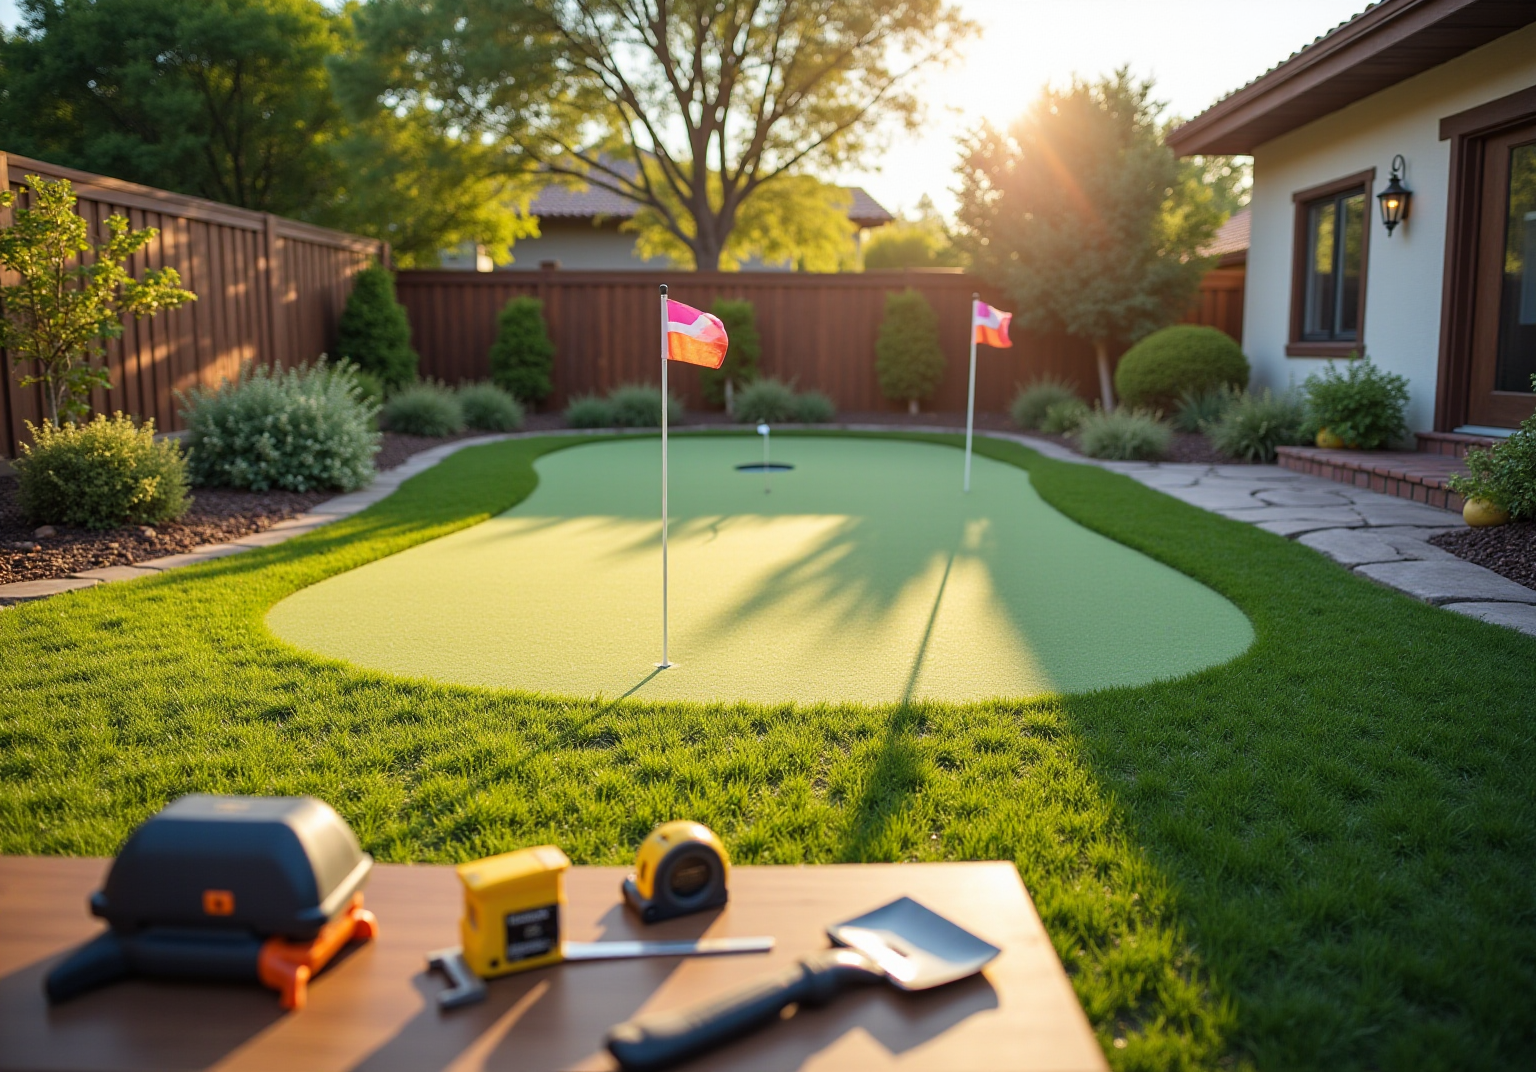
Creating a personal putting green at home can transform any backyard into a golfer’s paradise, providing both leisure and practice opportunities. This guide outlines the essential steps for crafting the perfect putting green. It covers:
- Assessing space
- Defining goals
- Selecting materials
- Maintenance tips
However, with numerous factors to consider, homeowners must ensure their installation meets both aesthetic and functional needs while avoiding common pitfalls.
Understand Your Space and Goals
- Assess your yard by measuring the available area for your . For residential setups, areas typically range from 150 to 300 square feet, accommodating 1-2 holes. This size allows for a functional practice area while fitting comfortably within most backyards. Brock from emphasizes the importance of to ensure that each area is ideally matched to the homeowner’s space.
- Evaluate : Choosing a location that receives ample sunlight throughout the day is essential for the turf’s performance and longevity. Landscape architects highlight that consistent sunlight helps maintain the vibrant appearance of and prevents overheating. Proper exposure also enhances the overall playability of the turf. Customers have noted that [Hall Turf](https://hallturf.com)’s installations retain their beauty and functionality, even under varying sunlight conditions.
- Define Your Goals: Clearly outline how you plan to utilize the putting area. Whether for casual practice, entertaining guests, or serious training, your objectives will . Consider incorporating features such as slopes or multiple holes to create a more engaging practice environment. Homeowners have expressed satisfaction with Hall Turf’s ability to , including [putting green](https://octurfandputtinggreens.com/2026s-biggest-artificial-turf-putting-green-design-trends) options that align with their specific goals, ensuring a perfect fit for their lifestyle.
- Consider Surroundings: , including trees, fences, or structures, that may impact the setup or maintenance of your green. Ensure there is adequate space for equipment and movement around the area, facilitating easy maintenance and accessibility. Customers have commended Hall Turf for their attention to detail and creativity in addressing challenges posed by surrounding elements.

Prepare the Site and Install the Base
- Clear the Area: Start by removing any existing grass, plants, or debris from the selected site. Use a shovel or sod cutter to , ensuring that no remnants interfere with the installation.
- Excavate the Ground: Dig down approximately 3 to 5 inches to establish a . This depth is crucial for proper drainage and provides a stable foundation for the grass, preventing issues such as water pooling and uneven surfaces.
- Install a Base Layer: Fill the excavated area with , compacting it in layers of about 2 inches at a time. Aim for a solid and flat foundation, as this will support the grass and enhance its durability. A well-prepared base can by up to 30%.
- Ensure Proper Drainage: Create away from any structures to facilitate . This slope is essential to prevent pooling and maintain the integrity of the turf, ensuring a consistent playing surface.
- Add a Weed Barrier: Consider placing a over the base to inhibit weed growth, which can disrupt the surface of your golf course and compromise its appearance and functionality.

Add Finishing Touches and Maintenance Tips
- Install Cups and Flags: Position strategically around the course, varying distances and angles to create diverse challenges. Adding flags enhances visual appeal and provides clear targets for practice.
- Implement to clearly define the perimeter of your . This technique contributes to a and helps secure the grass in place, preventing shifting over time.
- : Maintain the surface by brushing it frequently to lift the grass blades and remove debris. A gentle rinse with water prevents dust accumulation, ensuring a clean and playable surface. Regular are crucial to uphold the quality of the golf course.
- : For grass that requires infill, routinely check and replenish it to sustain the grass’s performance and appearance. Proper infill management keeps the blades upright and enhances ball roll, contributing to a . Ensure even distribution of infill materials for optimal ball roll and consistency.
- : Tailor your maintenance routine to the seasons. In winter, ensure the surface is clear of snow and ice to avoid damage. During summer, monitor for signs of wear or fading, adjusting your care accordingly to maintain optimal conditions. Avoid using strong chemicals on the putting green to preserve the grass’s integrity.

Explore Tools and Resources for Successful Installation
-
Essential Tools: To ensure a successful installation, gather the following tools:
- A shovel and rake for clearing and leveling the ground
- A plate compactor or roller to create a solid, compacted base
- A tape measure for accurate measurements
- A utility knife for cutting the grass to fit your design
- Landscape fabric to prevent weed growth beneath the grass
-
Materials Needed: Prepare the following materials:
- Crushed stone or decomposed granite to establish a stable base, typically requiring a depth of 3-5 inches
- , providing a smooth playing area
- to complete your putting green and enhance the golfing experience
- Infill material, such as silica sand, if recommended for your specific grass type to maintain its structure and appearance
-
Helpful Resources: For visual assistance during setup, consider consulting . Websites like Home Depot and Artificial Turf Express offer valuable insights and tips that can simplify the installation process.
-
Regional Vendors: Identify local vendors for grass and setup materials. For instance, and expert guidance tailored to your specific needs, ensuring you acquire the appropriate products for your project. and attention to detail, which facilitates a smooth and efficient setup process. As one satisfied customer remarked, “Brock evaluated my needs and proposed the best solution.” Additionally, for keeping your synthetic grass in optimal condition. Regular brushing and cleaning will help and functionality over time. As Jessica Reyes, a turf setup specialist, notes, “The prep work is very important, as it determines how long you will have your turf for.” Furthermore, understanding the can aid in effective budgeting. Homeowners can typically expect to spend between $10 to $20 per square foot, depending on the quality of materials selected.

Conclusion
Creating a perfect putting green at home offers numerous benefits, combining careful planning, preparation, and ongoing maintenance. By understanding the unique characteristics of their space and clearly defining their goals, homeowners can design a practice area that not only sharpens their golfing skills but also enhances their outdoor environment. Key steps in this process include:
- Assessing sunlight exposure
- Preparing the site
- Ensuring proper drainage
All of which contribute to a functional and visually appealing installation.
Essential steps outlined in this article include:
- Site assessment
- Base preparation
- Addition of finishing touches such as cups and flags
Regular maintenance practices, including brushing and seasonal care, are crucial for keeping the putting green in optimal condition. Furthermore, gathering the right tools and materials is vital for a successful installation, and utilizing local vendors can significantly enhance the overall experience.
Ultimately, investing time and effort into creating a backyard putting green yields substantial rewards. It not only provides a convenient practice space but also adds value and enjoyment to the home. By diligently following the outlined steps and maintaining the green, homeowners can enjoy a beautiful and functional putting surface for years to come. Embrace this opportunity and take the first step toward transforming your backyard into a golfer’s paradise.
Frequently Asked Questions
How should I assess my yard for a putting green?
Measure the available area for your putting green, which typically ranges from 150 to 300 square feet for residential setups, accommodating 1-2 holes. This size allows for a functional practice area while fitting comfortably within most backyards.
Why is sunlight exposure important for a putting green?
Sunlight exposure is essential for the turf’s performance and longevity. Consistent sunlight helps maintain the vibrant appearance of artificial grass, prevents overheating, and enhances the overall playability of the turf.
How can I define my goals for the putting green?
Clearly outline how you plan to utilize the putting area, whether for casual practice, entertaining guests, or serious training. Your objectives will influence the design, and you may consider incorporating features like slopes or multiple holes for a more engaging practice environment.
What should I consider regarding the surroundings of my putting green?
Assess any nearby obstacles, such as trees, fences, or structures, that may impact the setup or maintenance of your green. Ensure there is adequate space for equipment and movement around the area to facilitate easy maintenance and accessibility.
How does Hall Turf customize putting greens for homeowners?
Hall Turf customizes surfaces, including putting green options, to align with homeowners’ specific goals and lifestyles, ensuring a perfect fit for their needs.