
Introduction
Transforming a yard with artificial grass can create a stunning and low-maintenance outdoor space. However, the installation process may seem daunting. This guide outlines the essential steps to achieve a professional-looking lawn, from preparing the ground to securing the grass and maintaining its beauty over time. It is important to recognize the common pitfalls that can turn a straightforward project into a frustrating experience, and to understand how to avoid them.
Prepare the Installation Area
-
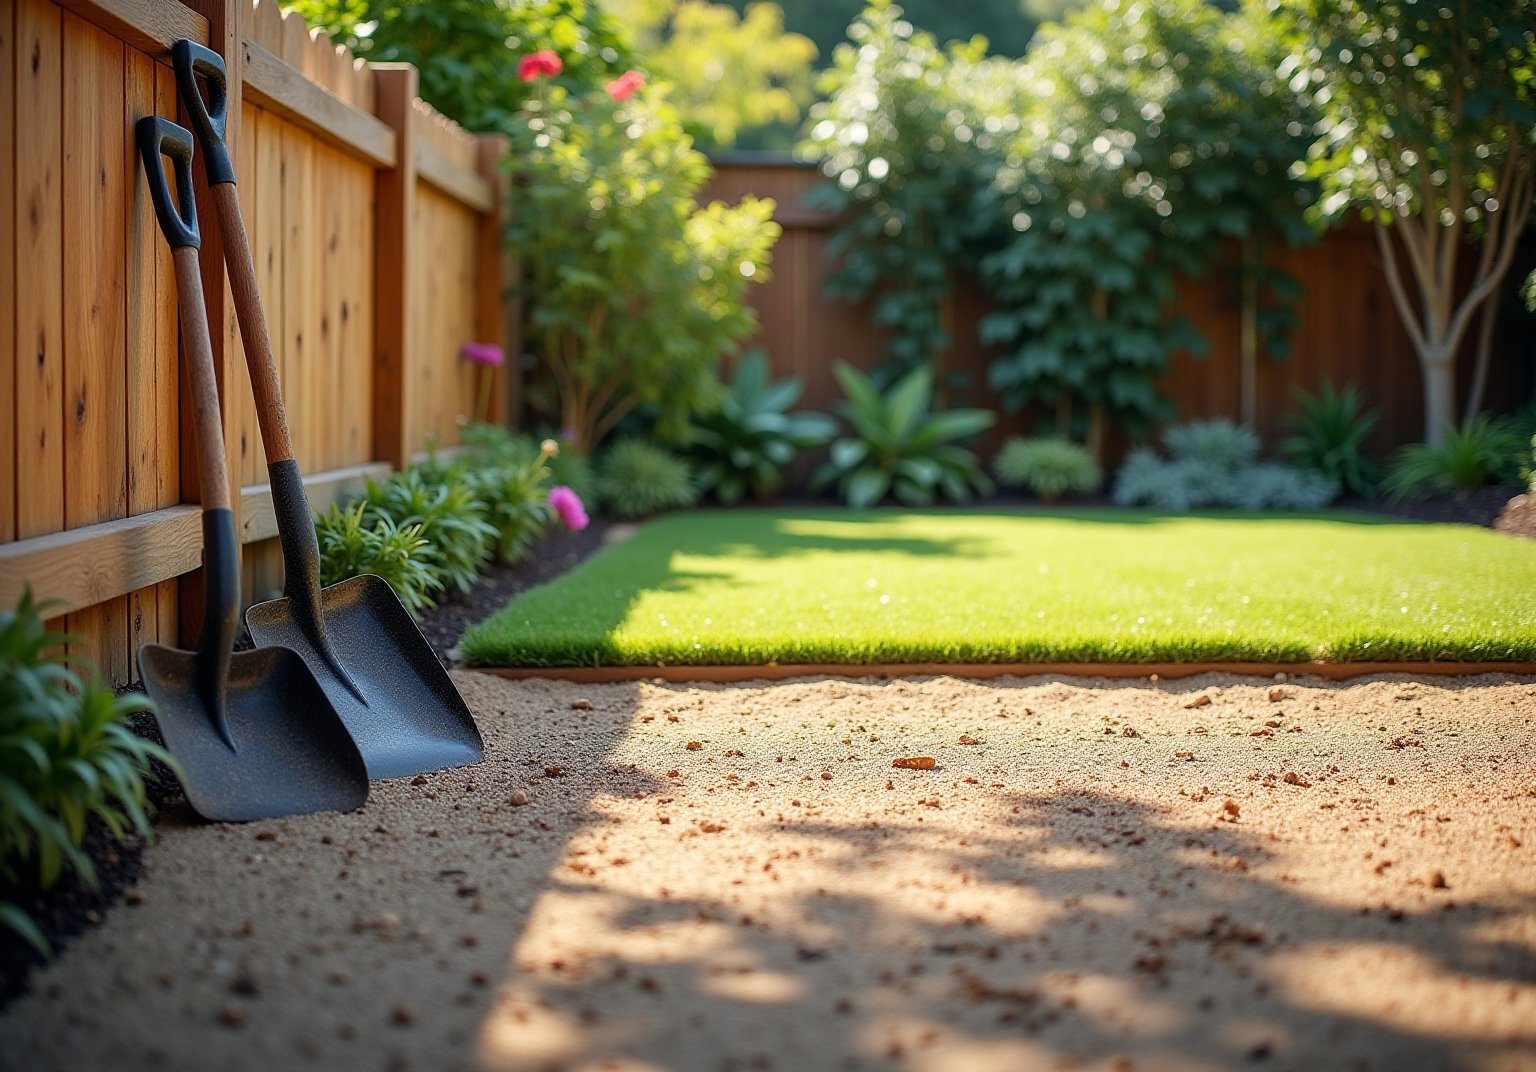
Clear the Area: Begin by removing any existing grass, weeds, and debris from the installation site. Utilize a shovel or sod cutter to excavate the top layer of soil, approximately 3-4 inches deep. This step is essential to eliminate organic material that could decompose and lead to uneven settling over time.
-
Level the Ground: After clearing, ensure the ground is level. Use a rake to smooth out any bumps or depressions. A flat surface is crucial for effective water flow and enhances the overall appearance of your artificial lawn.
-
Compact the Base Material: Once leveled, compact the base material using a plate compactor. This step is vital to prevent water flow issues and to guarantee a solid foundation for the grass.
-
Check for Water Flow: Evaluate the water flow characteristics of the location. If water tends to pool, consider creating a slight slope (around 2%) away from structures to facilitate runoff. This proactive measure will help prevent water accumulation and extend the lifespan of your lawn.
-
Install Sturdy Edging: Position durable edging along the perimeter of the installation zone to prevent turf movement and ensure proper drainage. Secure the edging with stakes or screws, ensuring it sits flush with the ground.
-
Apply Weed Killer: To prevent future weed growth, apply a non-toxic weed killer to the area. This precaution is essential for maintaining the integrity and appearance of your artificial lawn over time.
-
Install a Weed Barrier: Lay down a weed barrier fabric over the prepared area. This additional layer will protect against weeds while allowing sufficient water flow, ensuring your artificial lawn remains pristine and functional.
-
Consider Professional Help: While installing synthetic grass can be a DIY project, it often presents unexpected challenges, including the need for specialized tools and equipment rental costs. Consulting with professionals, such as Brock from Hall Turf, can alleviate potential issues and ensure a smoother installation process. Customers have praised Brock for his professionalism, attention to detail, and ability to deliver exceptional results on time and within budget.

Install the Base Layer for Stability
-
Choose the Right Materials: For the base layer, select crushed stone or gravel that measures 3/4 inch or smaller. This material provides excellent water flow and compaction, which are essential for creating a stable base for your artificial lawn. The Association of Synthetic Grass Installers emphasizes that a well-constructed base is vital for effective drainage and long-term durability.
-
Spread the Base Material: Evenly distribute the base material over the prepared area, targeting a depth of 2 to 3 inches. Utilize a rake to ensure uniform distribution, which is critical for the subsequent compaction process.
-
Compact the Base: Employ a plate compactor to thoroughly compact the base material. This step is essential to prevent settling and to establish a solid foundation. If necessary, compact in layers, ensuring each layer is adequately pressed before adding more material. It is advisable to compact at 4-inch intervals to maintain stability and avert future issues. As Andy Caraway, Regional Sales Manager for Realturf USA, notes, ‘Your artificial lawn is only as good as the sub-base underneath it.’
-
Check for Levelness: After compacting, assess the surface for levelness. Use a long level or straight edge to identify any high or low spots. Make adjustments as needed by adding or removing material to achieve a smooth, even surface. Insufficient base preparation can lead to problems such as cracking or uneven surfaces, which may affect the performance of your grass.
-
Install a Water Management Layer: If your area experiences inadequate water flow, consider adding a layer of sand atop the compacted base. This addition will facilitate water drainage and provide a more even surface for the grass, thereby enhancing the overall durability and performance of your artificial lawn.

Lay and Secure the Artificial Grass
-
Roll out the artificial lawn by laying the artificial grass over the prepared base. Allow the grass to acclimate to the temperature for several hours before cutting or securing it. This step helps prevent wrinkles and ensures a better fit.
-
Cut to Fit: Use a sharp utility knife to trim the edges of the grass to match your specific space. It is advisable to leave a slight overhang, which can be tucked under later for a seamless appearance.
-
Secure the Grass: To prevent shifting, secure the edges of the grass with landscape staples or nails, placing them every 6 to 12 inches along the perimeter and in high-traffic areas. Opt for high-quality nails that are 6 to 8 inches long to provide better stability.
-
Seam the artificial lawn: If your installation involves multiple pieces of artificial lawn, use seam tape and adhesive to join them. Ensure the seams are tight and secure to avoid visible lines, which can detract from the overall appearance of your lawn.
-
Tuck the Edges: Finally, tuck the edges of the grass under any borders or hardscaping. A putty knife can be useful for pushing the grass into position, ensuring a clean and professional finish.

Maintain Your Artificial Lawn for Longevity
-
Regular Cleaning: Rinse the surface with a hose weekly to remove dust, debris, and pet waste. This consistent upkeep is crucial for preserving the grass’s appearance and preventing unpleasant odors, especially in high-traffic areas.
-
Brush the Lawn: Use a stiff-bristled broom or lawn rake to brush the grass fibers against the grain. This technique keeps the fibers upright, preventing matting and ensuring a lush appearance, which is particularly important in areas with heavy foot traffic.
-
Check Infill Levels: Regularly monitor the infill levels of your grass. Maintaining appropriate infill is vital for the stability and cushioning of the grass, enhancing its overall performance and longevity. Monthly applications of pre-emergent weed control can also help inhibit weed growth.
-
Inspect for Damage: Periodically examine the surface for any signs of wear, such as tears or loose seams. Addressing these issues promptly is essential to prevent further deterioration and maintain the integrity of your lawn.
-
Seasonal Maintenance: In addition to regular cleaning, conduct a thorough deep clean at least once a year. This process should involve using specialized cleaners that are safe for grass and ensuring that drainage systems function properly to prevent water accumulation, which can damage the grass over time. By adhering to proper maintenance practices and considering professional deep cleaning services from Hall Turf, you can extend the lifespan of your artificial lawn and enjoy a beautiful, low-maintenance outdoor space for years to come.

Conclusion
Installing an artificial lawn can significantly enhance outdoor spaces, transforming them into lush, green havens that require minimal upkeep. This investment not only beautifies the landscape but also offers long-term benefits. By adhering to a systematic approach-from preparing the installation area to maintaining the lawn-homeowners can achieve a professional-grade result.
Thorough preparation is crucial for success. Leveling the ground and compacting the base material are essential steps that prevent future issues, such as uneven surfaces or water pooling. Additionally, employing proper installation techniques, including the use of high-quality materials and effective grass securing methods, contributes to the lawn’s durability and overall appearance.
Regular maintenance practices, such as cleaning and inspecting for damage, further extend the lifespan of the artificial grass. This commitment to upkeep ensures that the lawn remains a vibrant feature of the landscape.
In conclusion, embracing these best practices not only enhances the installation process but also fosters a dedication to maintaining the lawn’s integrity. By taking the time to implement these steps, homeowners can enjoy a vibrant, low-maintenance outdoor environment that stands the test of time.
Frequently Asked Questions
What is the first step in preparing the installation area for artificial grass?
The first step is to clear the area by removing any existing grass, weeds, and debris. This involves excavating the top layer of soil, approximately 3-4 inches deep, to eliminate organic material that could lead to uneven settling.
Why is it important to level the ground before installation?
Leveling the ground is crucial for effective water flow and enhances the overall appearance of the artificial lawn. It ensures that there are no bumps or depressions in the surface.
How should the base material be prepared after leveling the ground?
The base material should be compacted using a plate compactor. This step is vital to prevent water flow issues and to provide a solid foundation for the grass.
What should be done if water tends to pool in the installation area?
If water tends to pool, it is advisable to create a slight slope (around 2%) away from structures to facilitate runoff. This helps prevent water accumulation and extends the lifespan of the lawn.
What is the purpose of installing sturdy edging around the installation zone?
Sturdy edging is installed to prevent turf movement and ensure proper drainage. It should be secured with stakes or screws and sit flush with the ground.
How can future weed growth be prevented in the installation area?
To prevent future weed growth, a non-toxic weed killer should be applied to the area. Additionally, laying down a weed barrier fabric over the prepared area will protect against weeds while allowing sufficient water flow.
Should I consider professional help for the installation of synthetic grass?
Yes, while installing synthetic grass can be a DIY project, it can present unexpected challenges. Consulting with professionals can alleviate potential issues and ensure a smoother installation process.