
Introduction
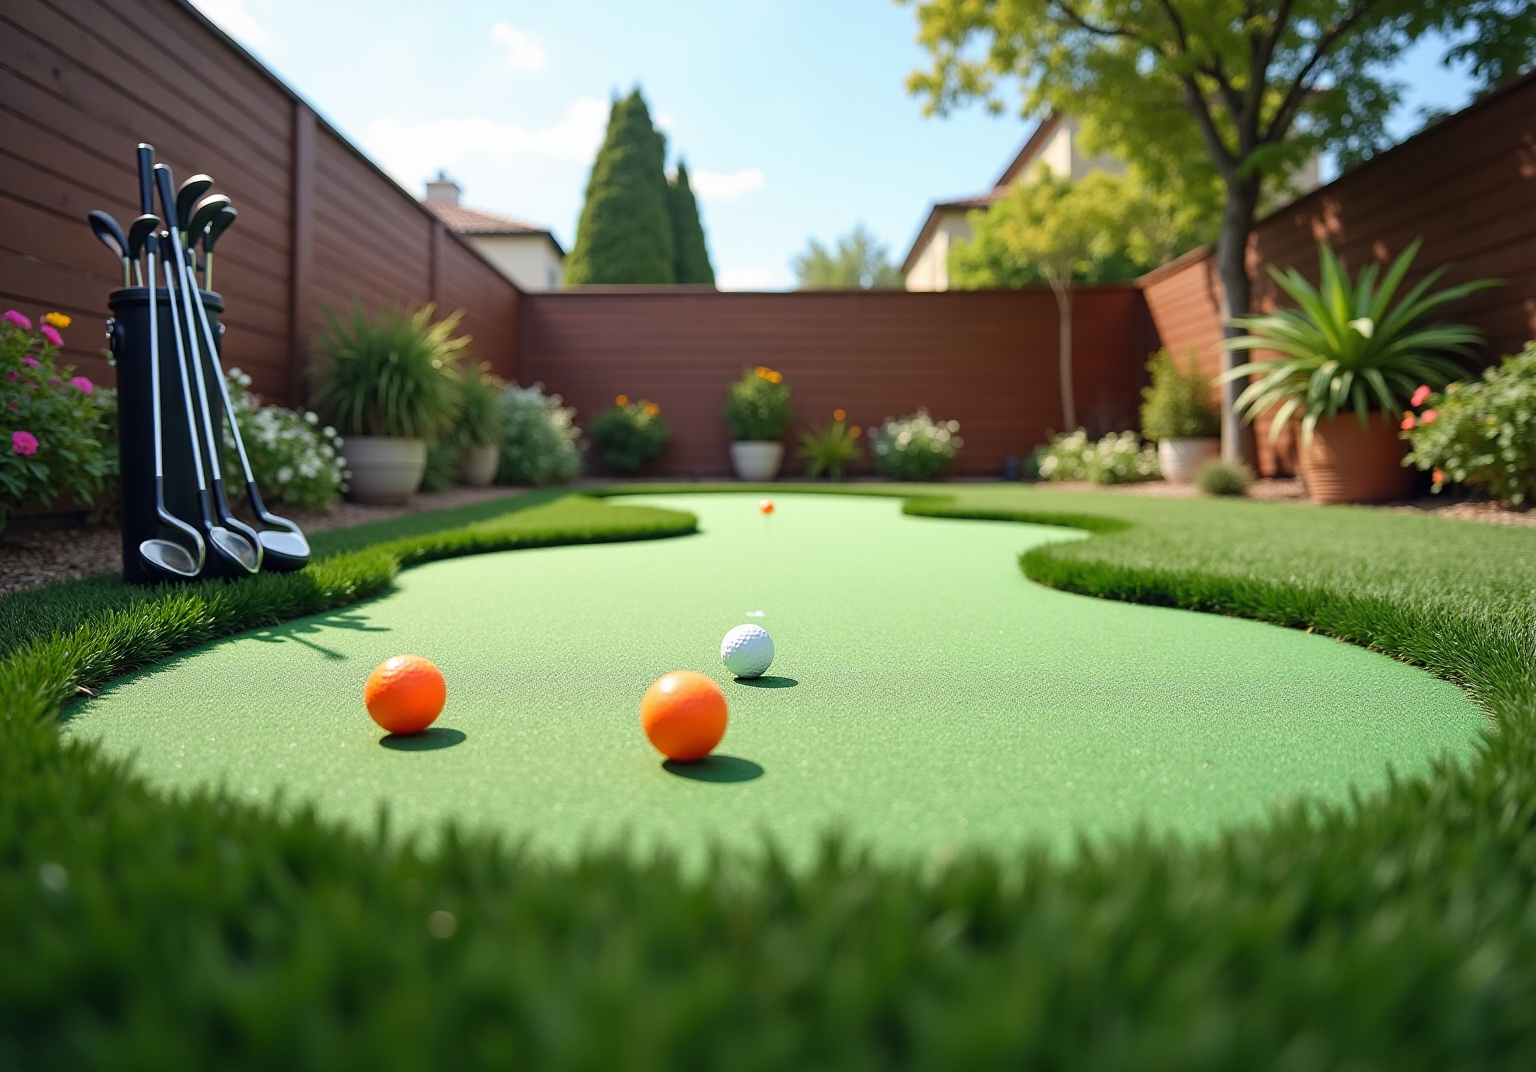
Transforming an ordinary outdoor space into a golfer’s paradise is achievable through the creation of a backyard putting green. This endeavor not only enhances property value but also offers homeowners a personal golfing retreat. However, achieving this dream necessitates careful planning and execution. Key factors such as site selection, turf choice, installation techniques, and maintenance must be considered.
What best practices can ensure a successful installation? This article explores the essential steps and considerations required to create a stunning and functional backyard green that endures over time.
Evaluate Key Considerations Before Installation
Before installing your putting green, evaluating several key considerations is crucial for a successful project:
- Location: Choose a site that receives ample sunlight and is distanced from large trees or structures that could cast shadows. This positioning is essential for growth and playability.
- Size: Measure the available area to determine the green’s size. A larger space allows for greater design flexibility, including slopes and undulations that enhance the golfing experience.
- Drainage: Assess the site’s drainage capabilities, which can harm the grass and hinder playability. A slight slope of 1-2% is recommended to facilitate effective water runoff.
- Soil Quality: Test the soil to understand its composition and drainage properties. Inferior soil may require adjustments or an alternative base material to support the grass effectively, ensuring durability and functionality.
- Budget: Create a budget that includes not only the cost of materials but also potential installation fees, maintenance, and any necessary landscaping adjustments. For a typical 300-500 square foot area, homeowners should plan for around $5,000 to $7,500, while larger setups can vary from $12,000 to $16,000 for an 800-1,200 square foot practice area.
By carefully considering these factors, homeowners can create a green that meets their expectations and enhances their backyard green space.

Choose the Right Turf for Your Green
Selecting the right grass for your green is crucial for achieving optimal performance. Here are key considerations to guide your selection:
- Material: Opt for synthetic options, such as nylon and polyethylene. Nylon is particularly favored due to its durability to withstand heavy foot traffic, making it ideal for frequent use.
- Pile Height: A height of around ½ inch is recommended for a smooth surface that facilitates rolling the ball. This height mimics natural grass and ensures a consistent roll, enhancing your golfing experience.
- Infill Options: The infill used can significantly impact grass performance. Sand infill is commonly employed for putting surfaces, as it improves ball roll and provides stability, contributing to a more realistic experience.
- Color and Texture: Choose a surface that closely resembles natural grass in both color and texture. This choice not only enhances the visual appeal of your space but also improves the authenticity of the playing experience, making it more enjoyable.
- Warranty and Maintenance: Always review the manufacturer’s warranty and maintenance requirements. High-quality turf typically comes with a warranty, ensuring your investment remains protected over time.
By carefully considering these factors, homeowners can create a golf practice area that performs exceptionally well in their backyard while adding lasting beauty to their outdoor space.

Implement Professional Installation Techniques
To ensure a successful installation of your putting green, follow these professional techniques:
- Preparation: Begin by clearing the area of debris, grass, and vegetation. Level the ground and create appropriate grading to facilitate drainage, which is essential for maintaining the quality of the grass.
- Base Layer: Install a layer of crushed stone or gravel, ideally 2-4 inches deep, to provide stability and promote drainage. Compact this layer thoroughly to prevent settling, ensuring a solid foundation for the grass.
- Turf Installation: Roll out the turf over the prepared base, stretching it tightly to eliminate wrinkles. Secure the edges with landscape staples or nails placed every 6-8 inches to maintain a clean finish.
- Seaming: For greens requiring multiple sections of grass, align seams meticulously and fasten them with adhesive or seam tape to prevent separation, which can impact the green’s functionality.
- Final Touches: After installation, add infill material as necessary and brush the surface to ensure even distribution. This step enhances both the appearance and performance, providing a more authentic playing experience.
By following these expert installation methods, homeowners can create a putting green that looks impressive and delivers outstanding performance for years to come.

Maintain Your Putting Green for Longevity
To maintain your putting green in optimal condition, it is essential to follow these best practices:
- Cleaning: Consistently remove debris such as leaves and dirt to prevent buildup. A leaf blower or broom is effective for this task.
- Brushing: Use a stiff-bristled broom to brush the grass fibers against the grain. This technique keeps the fibers upright and prevents matting, ensuring a healthy appearance.
- Rinsing: Periodically wash the grass with water to eliminate dust and pet waste, promoting a clean and hygienic surface.
- Weeding: Monitor for any weed growth and remove them promptly. Installing a weed barrier during the initial setup can significantly reduce this issue.
- Infill: Regularly check the infill levels and replenish as necessary to sustain the turf’s performance.
By implementing these practices, your backyard green remains a stunning and functional enhancement to your outdoor space for years to come.

Conclusion
In conclusion, successfully installing a backyard putting green hinges on meticulous planning and execution, creating an enjoyable and functional space for golf enthusiasts. By adhering to the essential practices outlined, homeowners can develop a green that fulfills both aesthetic desires and enhances their golfing experience.
Key considerations such as location, turf selection, professional installation techniques, and ongoing maintenance are crucial for achieving a successful outcome. Evaluating the site for sunlight, drainage, and soil quality lays the groundwork for a durable green. Selecting high-quality turf and utilizing expert installation methods further improve the quality of the final product. Moreover, regular maintenance is vital for ensuring the longevity and performance of the putting green, allowing it to remain an attractive feature of the backyard for years to come.
By embracing these best practices, homeowners can transform their outdoor spaces into personal golfing havens. Whether for leisure or practice, a well-installed and maintained putting green significantly enhances the enjoyment of any backyard, making it a valuable investment for golf lovers.
Frequently Asked Questions
What should I consider when choosing a location for my backyard putting green?
Choose a site that receives ample sunlight and is distanced from large trees or structures that could cast shadows, which is essential for optimal grass growth and playability.
How do I determine the size of the putting green?
Measure the available area to determine the green’s size. A larger space allows for greater design flexibility, including slopes and undulations that enhance the golfing experience.
Why is drainage important for a putting green?
Proper drainage is essential to avoid water accumulation, which can harm the grass and hinder playability. A slight slope of 1-2% is recommended to facilitate effective water runoff.
How can I assess the soil quality for my putting green?
Test the soil to understand its composition and drainage properties. Inferior soil may require adjustments or an alternative base material to support the grass effectively, ensuring durability and functionality.
What budget should I plan for installing a backyard putting green?
Establish a comprehensive budget that includes the cost of materials, potential installation fees, maintenance, and any necessary landscaping adjustments. For a typical 300-500 square foot area, plan for around $5,000 to $7,500, while larger setups can vary from $12,000 to $16,000 for an 800-1,200 square foot practice area.
How can these considerations affect the installation of my putting green?
By carefully considering location, size, drainage, soil quality, and budget, homeowners can set themselves up for a successful installation that meets their expectations and enhances their backyard green space.
List of Sources
- Evaluate Key Considerations Before Installation
- How Much Does a Backyard Putting Green Cost? [2025 Data] (https://homeadvisor.com/cost/outdoor-living/install-a-putting-green)
- How Much Does a Backyard Putting Green Cost in 2026? DIY vs Pro Prices – Mighty Grass (https://mightygrass.com/how-much-does-it-cost-to-install-an-artificial-turf-putting-green)
- Tour Greens | Backyard Putting Green Cost in 2025 (https://tourgreens.com/backyard-putting-green-cost.html)
- 5 Backyard Putting Green Installation Mistakes & How to Fix Them (https://aglgrass.com/blogs/backyard-putting-green-mistakes)
- grizzlyoutdoor.com (https://grizzlyoutdoor.com/blog/what-to-consider-before-installing-backyard-putting-green-turf)
- Choose the Right Turf for Your Green
- The Best Putting Green Turf: Buyer’s Guide (https://synlawn.com/articles/best-putting-green-turf-buyers-guide)
- 5 Popular Artificial Turf Putting Green Design Trends to Try in 2026 – SGW Sacramento (https://sgwsacramento.com/blog/5-popular-artificial-turf-putting-green-design-trends-to-try-in-2026)
- 2026’s Biggest Artificial Turf Putting Green Design Trends – OC Turf & Putting Greens (https://octurfandputtinggreens.com/2026s-biggest-artificial-turf-putting-green-design-trends)
- Artificial Turf Market Size to Surpass USD 16.51 Billion by 2035 Driven by Sports Infrastructure and Sustainable Landscaping Growth (https://finance.yahoo.com/news/artificial-turf-market-size-surpass-072300759.html)
- grizzlyoutdoor.com (https://grizzlyoutdoor.com/blog/what-to-consider-before-installing-backyard-putting-green-turf)
- Implement Professional Installation Techniques
- waypointconstruction.com (https://waypointconstruction.com/our-work/synthetic-lawn-turf-case-study)
- waypointconstruction.com (https://waypointconstruction.com/our-work/backyard-putting-green-case-study)
- Top 5 Turf Installation Quote Mistakes Contractors Keep Making (https://aglgrass.com/blogs/turf-installation-quote-mistakes)
- siteone.com (https://siteone.com/en/articles/hardscapes-outdoor-living/quoting-synthetic-turf-installation-projects)
- keystonesportsconstruction.com (https://keystonesportsconstruction.com/turf-field-safety-standards-and-best-practices)
- Maintain Your Putting Green for Longevity
- wintergreengrass.com (https://wintergreengrass.com/10-tips-for-maintaining-an-artificial-grass-putting-green)
- researchgate.net (https://researchgate.net/publication/305081018_Maintenance_of_Artificial_Turf_-_Putting_Research_into_Practice)
- How to Clean and Maintain Putting Green Turf: A Seasonal Guide (https://backninegreens.com/blog/how-to-clean-and-maintain-putting-green-turf-seasonal-checklist)
- waypointconstruction.com (https://waypointconstruction.com/our-work/backyard-putting-green-case-study)
- Artificial Golf Greens Maintenance Tips (https://southwestgreens.com/blog/artificial-golf-greens-maintenance-tips)